These flakey, fruity Strawberry Pop Tarts are homemade and irresistible. They make the perfect breakfast for easy mornings, or special occasions. You’ll never buy from a store again!
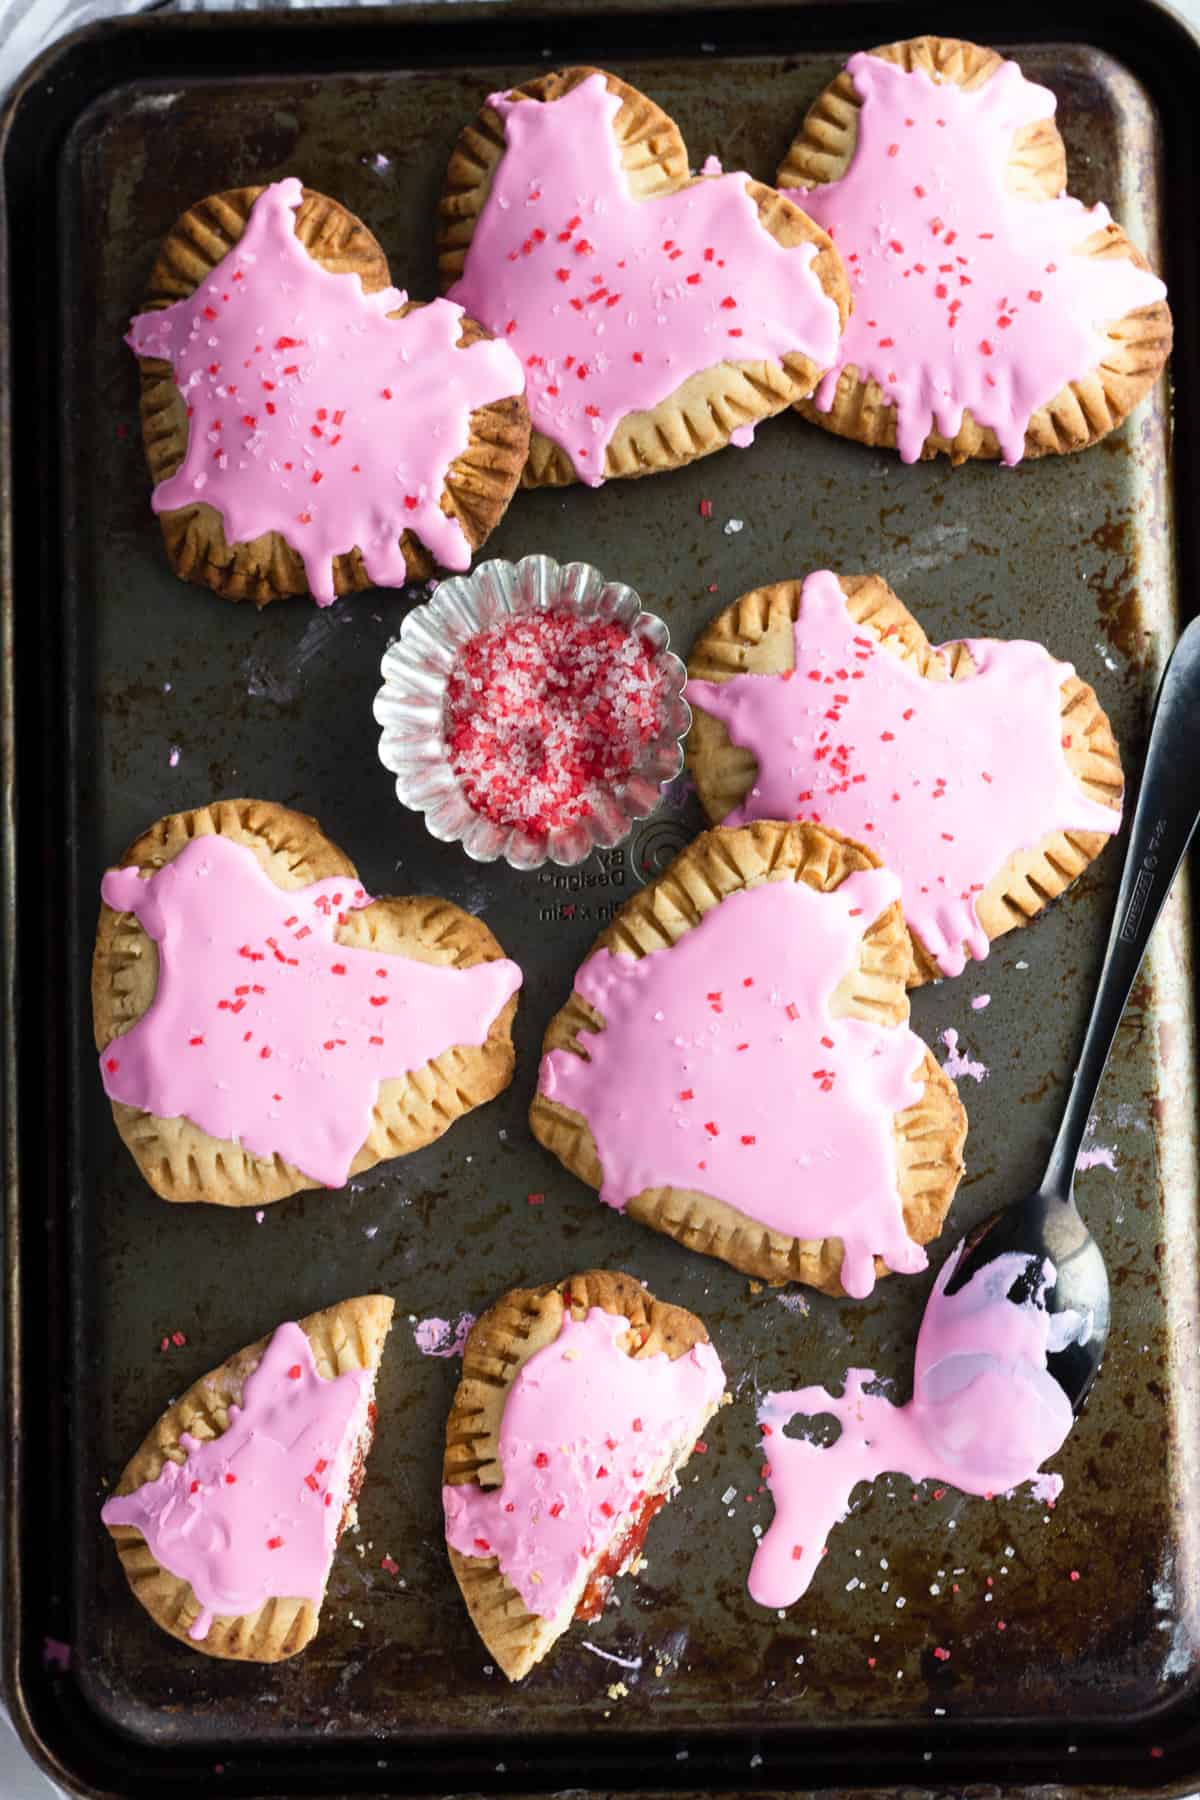
Homemade Strawberry Pop Tarts Recipe
Do you or your children enjoy eating Pop Tarts? If so, you’ll be glad to know that you can make them at home for a fraction of the cost. This Strawberry Pop Tarts recipe is fun and simple enough to follow, even if you’re not a baking expert.
Once you’ve prepared your homemade Pop Tarts, you may not want to go back to buying the prepackaged ones again. In addition to making the strawberry-flavored Pop Tarts, you can try other flavors for fun!
Why You’ll Love this Strawberry Pastry Recipe:
- Simple: Strawberry Pop Tarts aren’t difficult to make. You can have fun preparing them with loved ones at home.
- Delicious: These will turn out to be the best little pastries you’ve ever tasted because they’re fresh and delicious.
- Easy Breakfast: You can enjoy the pastries as a perfect grab-and-go breakfast or snack whenever you’re in the mood for them!
Trademark Note: In the spirit of transparency, I want to note that this is a copycat recipe for an existing product. Pop-Tarts is a proprietary brand that I want to acknowledge and give credit to.
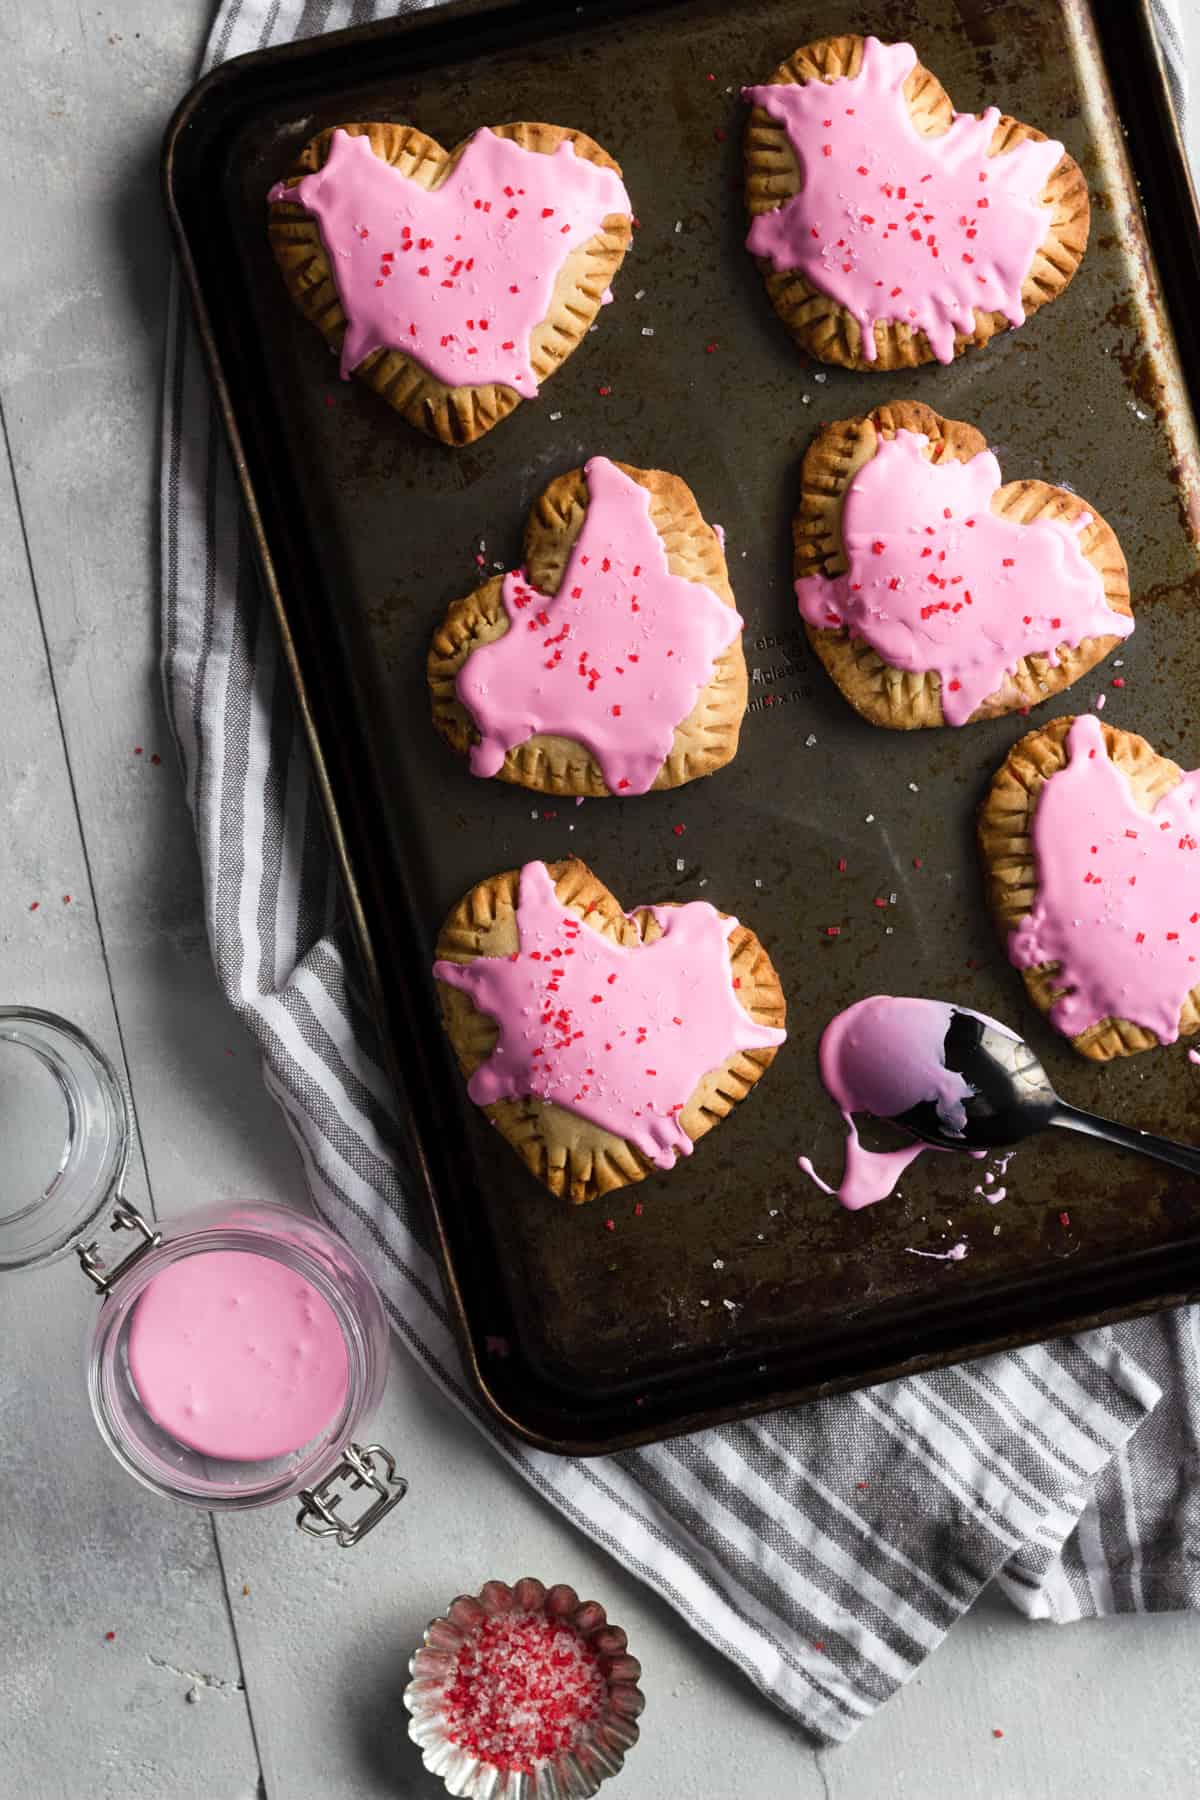

Email This Recipe
Enter your email and we’ll send the recipe directly to you!
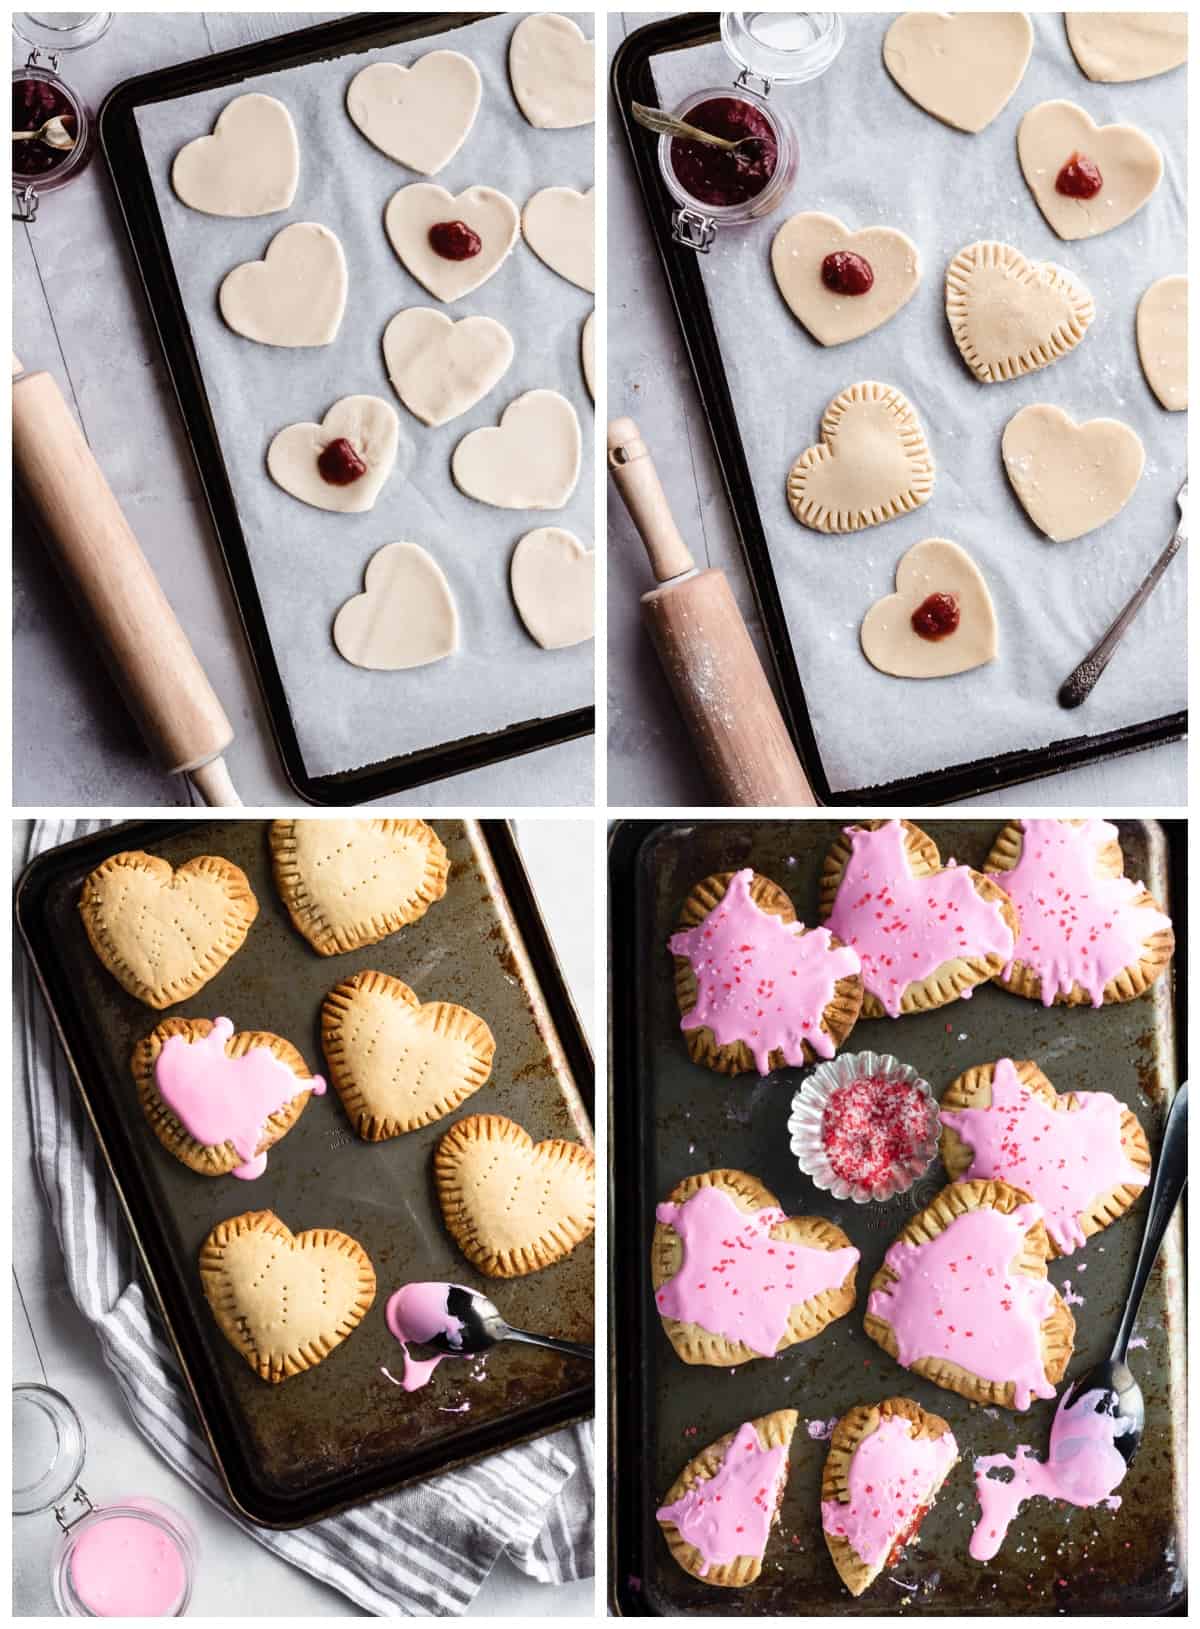
How to Make Strawberry Pop Tarts from Scratch
Be sure to see the recipe card below for full ingredients & instructions!
- Blend flour, sea salt, and sugar in a food processor.
- Add the chunks of cold butter to the food processor.
- Blend until you have a crumbly texture.
- Place the dough in a bowl and let it chill in the fridge for an hour.
- Roll half the dough with a rolling pin, and use a cookie cutter to cut out pieces from the dough.
- Place a tablespoon of jam on half the heart-shaped dough.
- Press the other pieces of dough on top and seal by pressing down on the sides with a fork.
- Bake for 25-30 minutes.
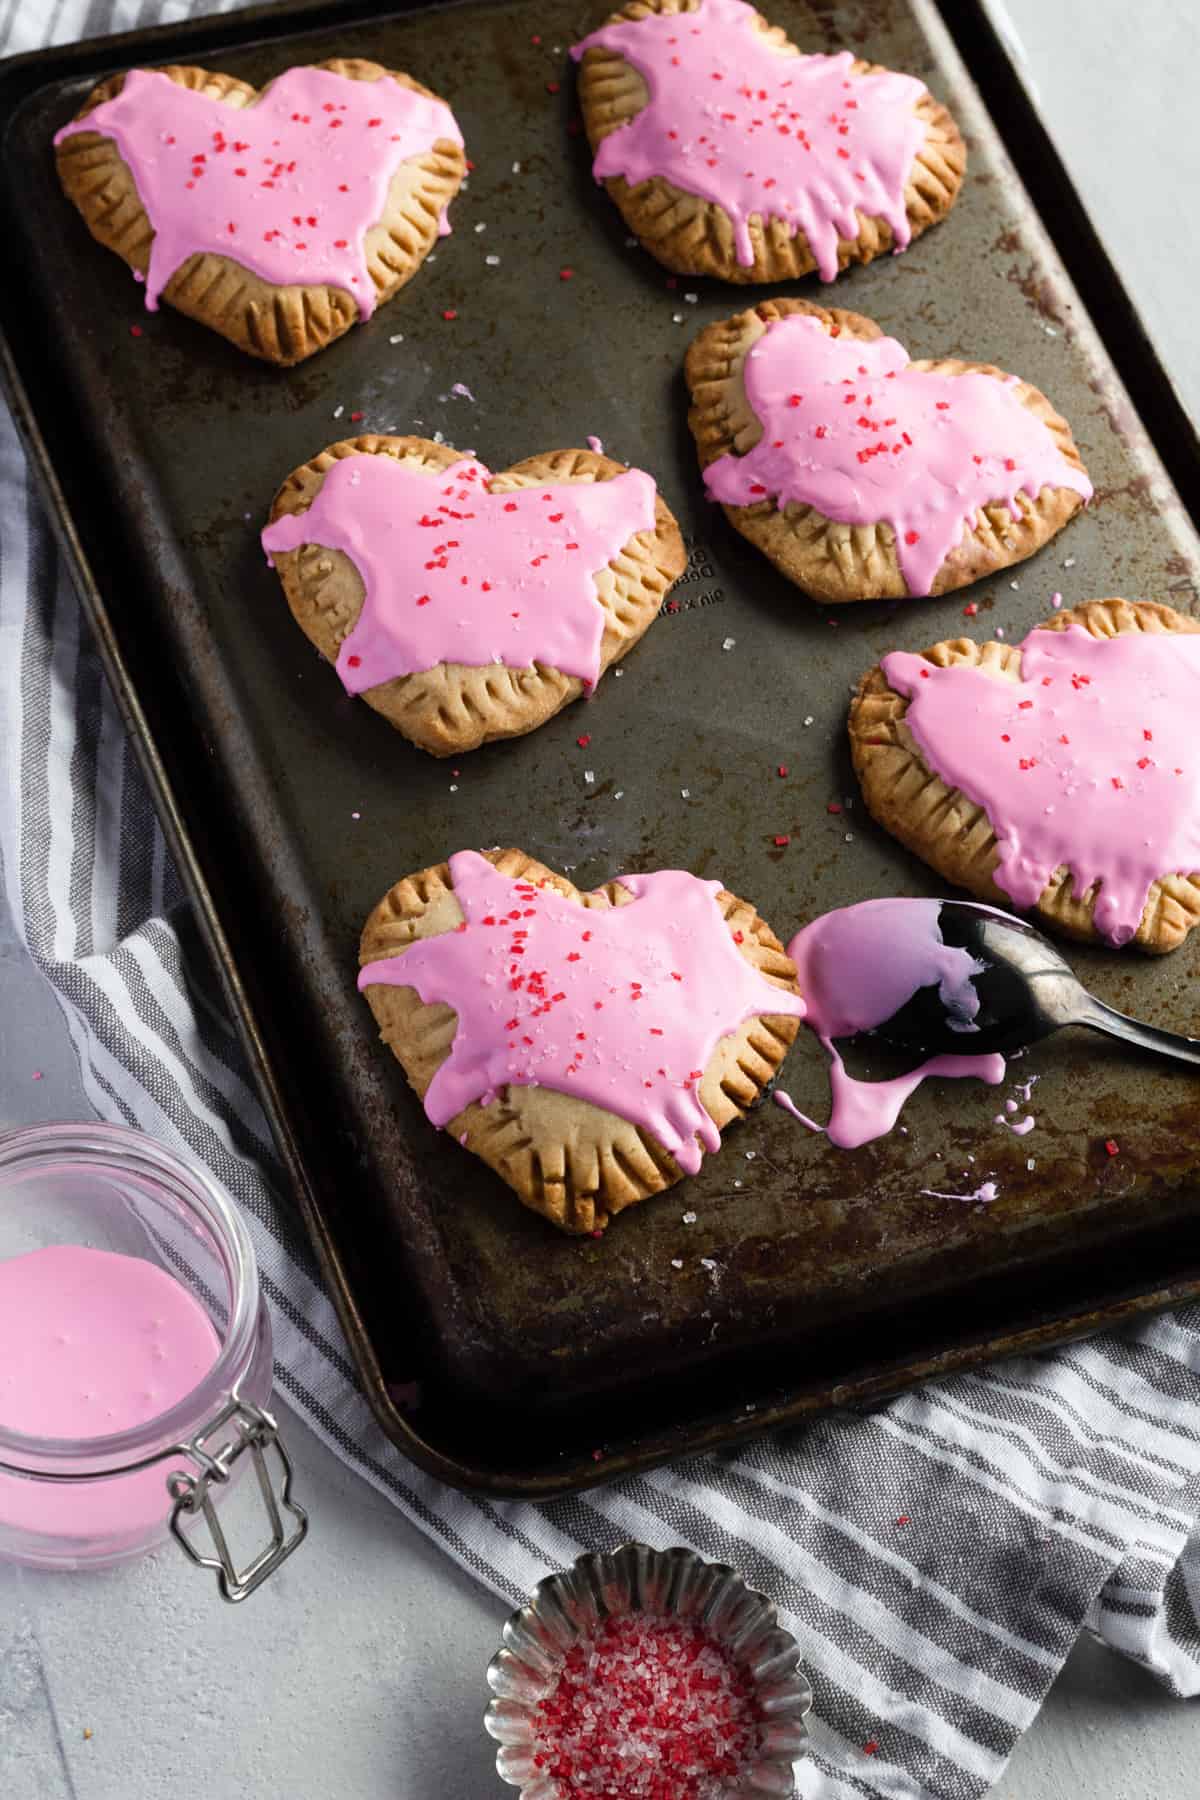
- Let the pastry pockets cool before you add your glaze.
Yes, you can freeze homemade Strawberry Pop Tarts if you’d like to make them in advance and keep them fresh until you’re ready to use them!
Frozen Pop Tarts taste like a frozen slice of pie. For some people, they’re a bit difficult to bite into, but others don’t seem to have that problem. Some people prefer them cold, while others like their Pop Tarts warm or at room temperature.
Yes, you sure can! The strawberry flavor is great, but you can customize your pop tarts by using your favorite jam or jelly in the center.
Making heart-shaped pop tarts is a great way to celebrate Valentine’s Day, or any special occasion. But you can make them rectangular, or any other shape you like.

Recipe Tips and Tricks
- If you don’t have a heart-shaped cookie cutter, you can use any shape that you prefer.
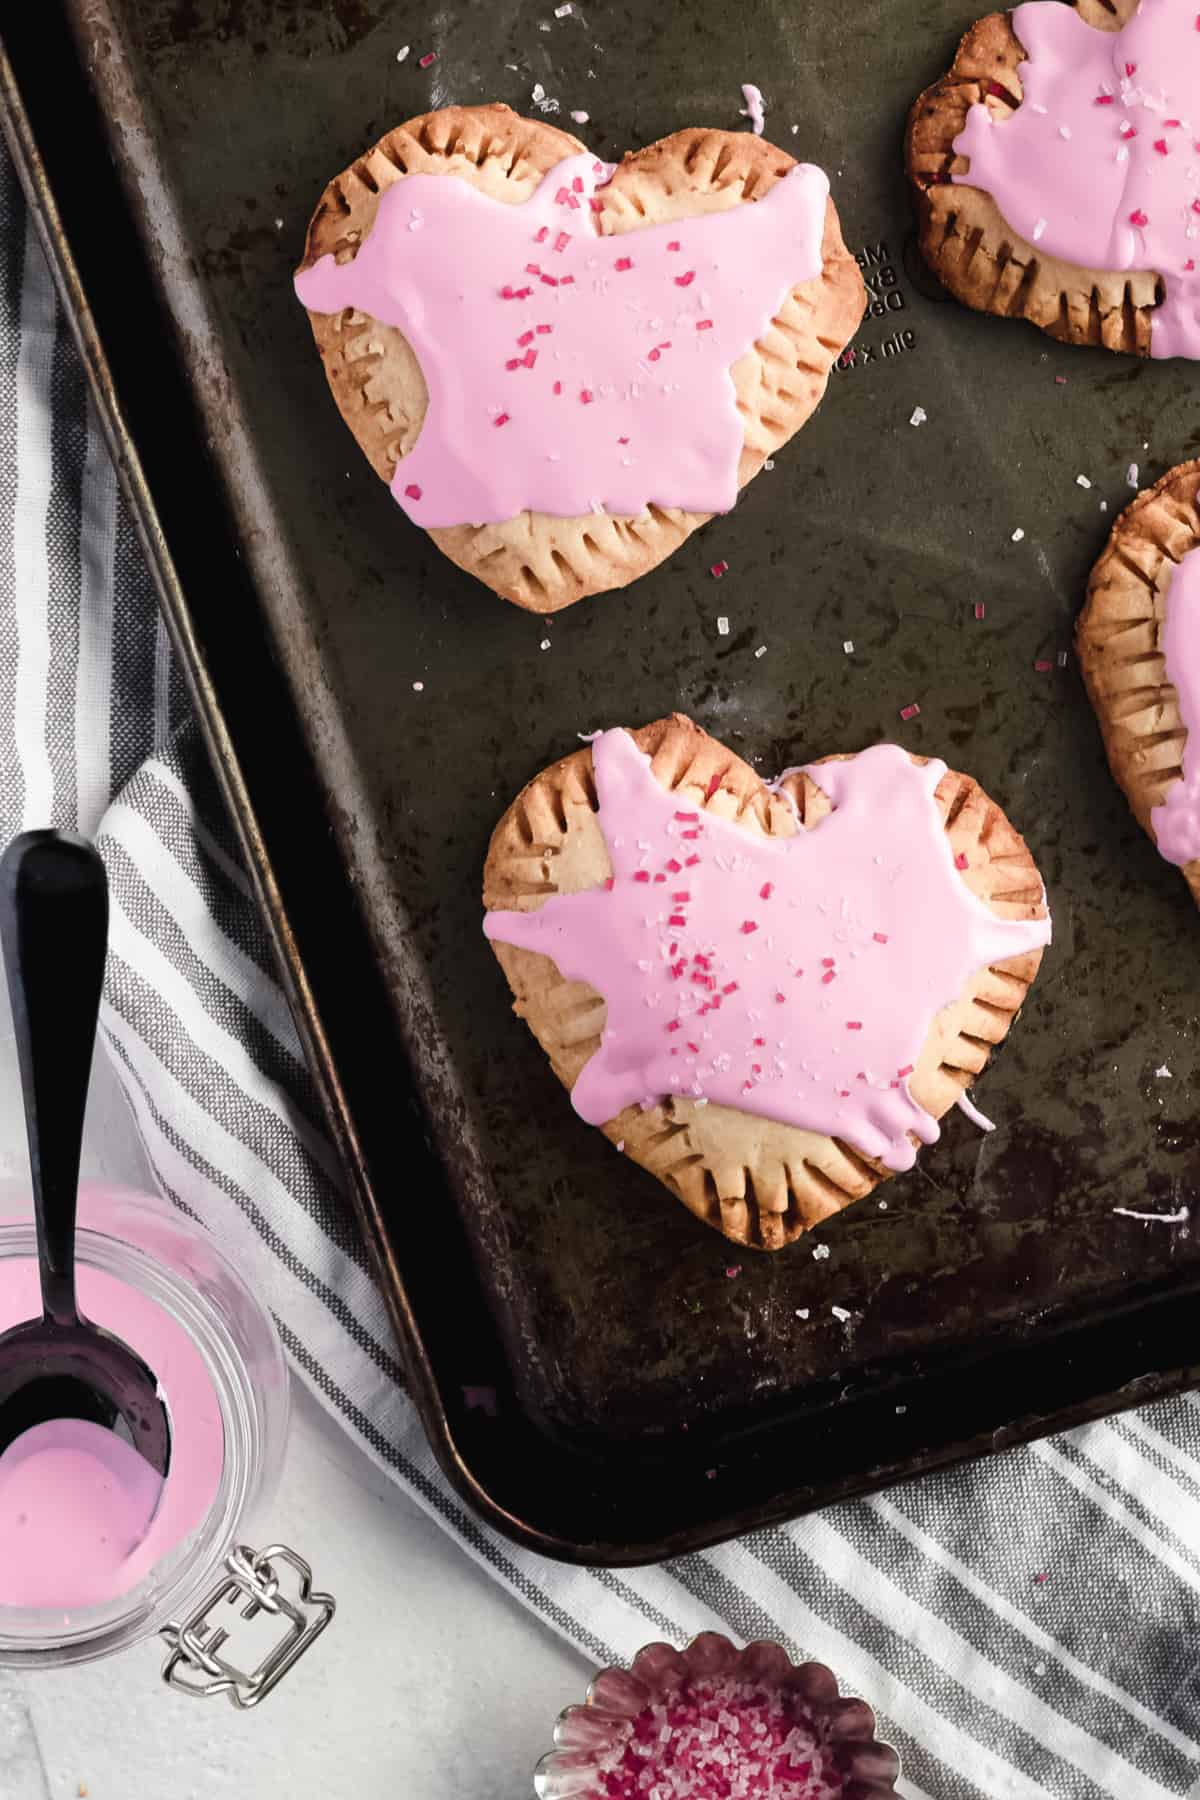
- Give your glaze some color by adding a touch of food coloring to the mixture when you prepare it. It’s optional but fun!
- Make sure you allow the dough to chill so that it will bake up flaky in the oven.
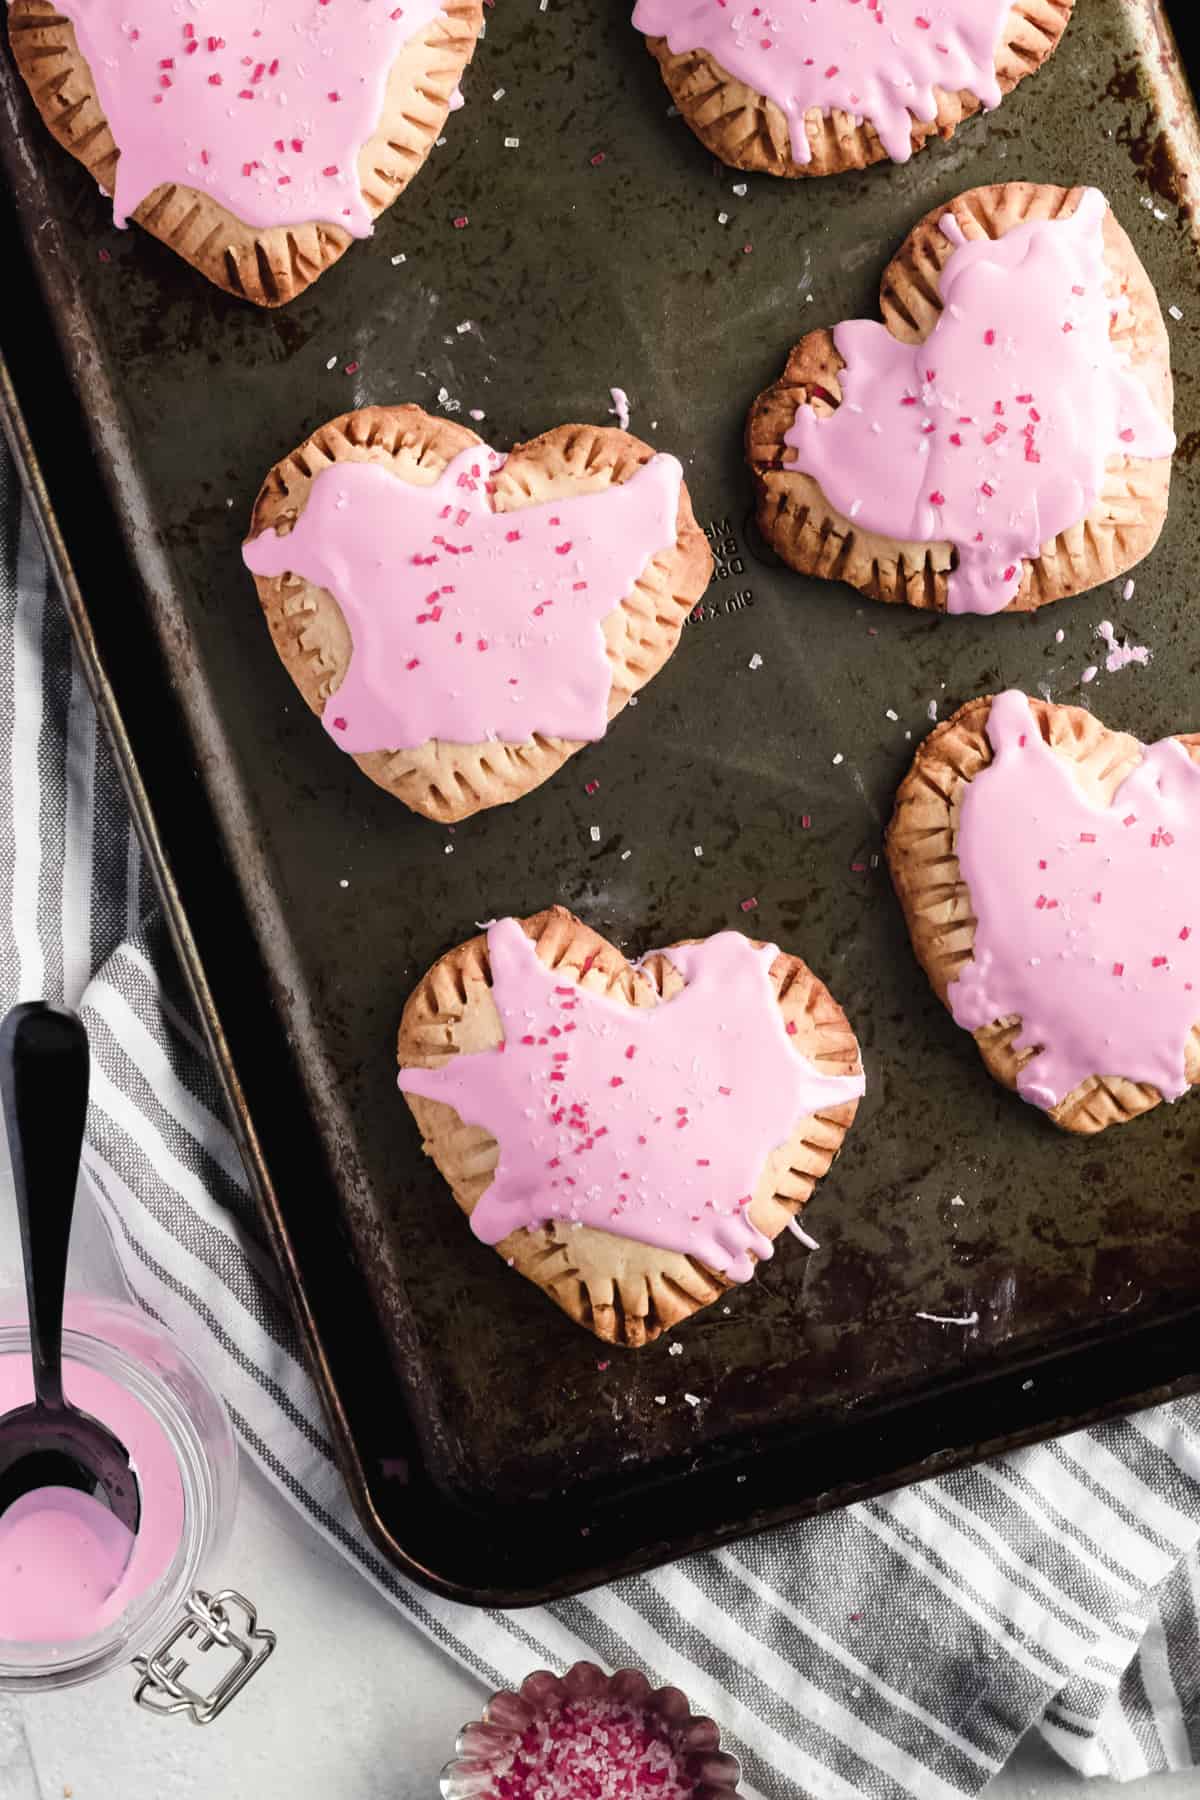
Enjoy the satisfying taste of these homemade Strawberry Pop Tarts. They’re fun and flavorful and will surely leave you feeling full. Most importantly, they taste even better than the store-bought variety!
If you make this recipe be sure to leave us a comment or rating. Enjoy!

Homemade Strawberry Pop Tarts Recipe

Email This Recipe
Enter your email and we’ll send the recipe directly to you!
Ingredients
For the Dough
- 2⅓ cups all-purpose flour 280 grams
- 1 teaspoon sea salt 5 grams
- 2 teaspoons granulated sugar 8 grams
- 1 cup unsalted butter 226 grams, chilled (2 sticks)
- ¼ cup cold water 57 grams
For the Filling
- 1 cup strawberry jam 340 grams
For the Glaze
- 1 tablespoon almond milk 14 grams
- ½ teaspoon almond extract 2 grams
- 1 cup powdered sugar 113 grams
- ½ teaspoon light corn syrup 3 grams, optional (great for hardening the glaze)
- Red or pink food coloring
Equipment
- Kitchen Scale (optional)
- Food Processor
- Rolling Pin
- Baking Sheet
Instructions
For the Dough
- Chill your butter sticks in the fridge until completely chilled.
- In a food processor, add the flour, sugar, and salt. Blend until combined.2⅓ cups all-purpose flour, 1 teaspoon sea salt, 2 teaspoons granulated sugar
- Slice the chilled butter sticks into roughly ½-inch chunks. Add butter chunks to the food processor with the flour blend. Cover and blend until the mixture is crumbly. Add water a little at a time and blend until a soft dough forms.1 cup unsalted butter, ¼ cup cold water
- Place the dough into a clean bowl and cover with plastic wrap. Chill in the refrigerator for at least 1 hour. This will help your dough be less sticky when it's time to roll it out.
- After the dough is chilled. Divide your dough in half with a knife. Place the other ball of dough back into the refrigerator until you are ready to work with it.
- On a lightly floured surface, roll your dough out with a rolling pin. The dough should be about ½ cm thick. Using a heart-shaped cookie cutter, lightly press into the dough to make an even amount of heart shape cutouts (or cut the dough into 8 equal-sized rectangles). Place your dough cut outs on a parchment lined baking sheet.
- Repeat this step until you have used up all the dough and are left with an even amount of heart cutouts.
- On half of the dough cutouts, place 1 tablespoon of jam in the center of the heart. Gently place a second heart cutout on top and press down the edges with a fork to seal.1 cup strawberry jam
- Place the prepared pastry pockets in the fridge or freezer to chill for at least 30 minutes before baking.
- Bake in a 375°F preheated oven for 25-30 minutes. The edges should be turning slightly brown. Let the pastry pocket cool completely before glazing.
For the Glaze
- In a small bowl, mix together the powdered sugar, almond milk, light corn syrup and almond extract.1 tablespoon almond milk, 1 cup powdered sugar, ½ teaspoon light corn syrup, ½ teaspoon almond extract
- Add a small amount of pink or red food coloring (optional). Mix until color is completely combined.Red or pink food coloring
- With a spoon, lightly spread the glaze over the cooled baked pastry pockets. Enjoy!
Notes
- If you don’t have a heart-shaped cookie cutter, you can use any shape that you prefer.
- Give your glaze some color by adding a touch of food coloring to the mixture when you prepare it. It’s optional but fun!
- Make sure you allow the dough to chill so that it will bake up flaky in the oven.




Leave a Review