This easy crepes recipe is the perfect foundation for both savory and sweet fillings. Garnish with your favorite toppings from chocolate drizzle to chopped strawberries. The possibilities are endless with these quick blender crepes!
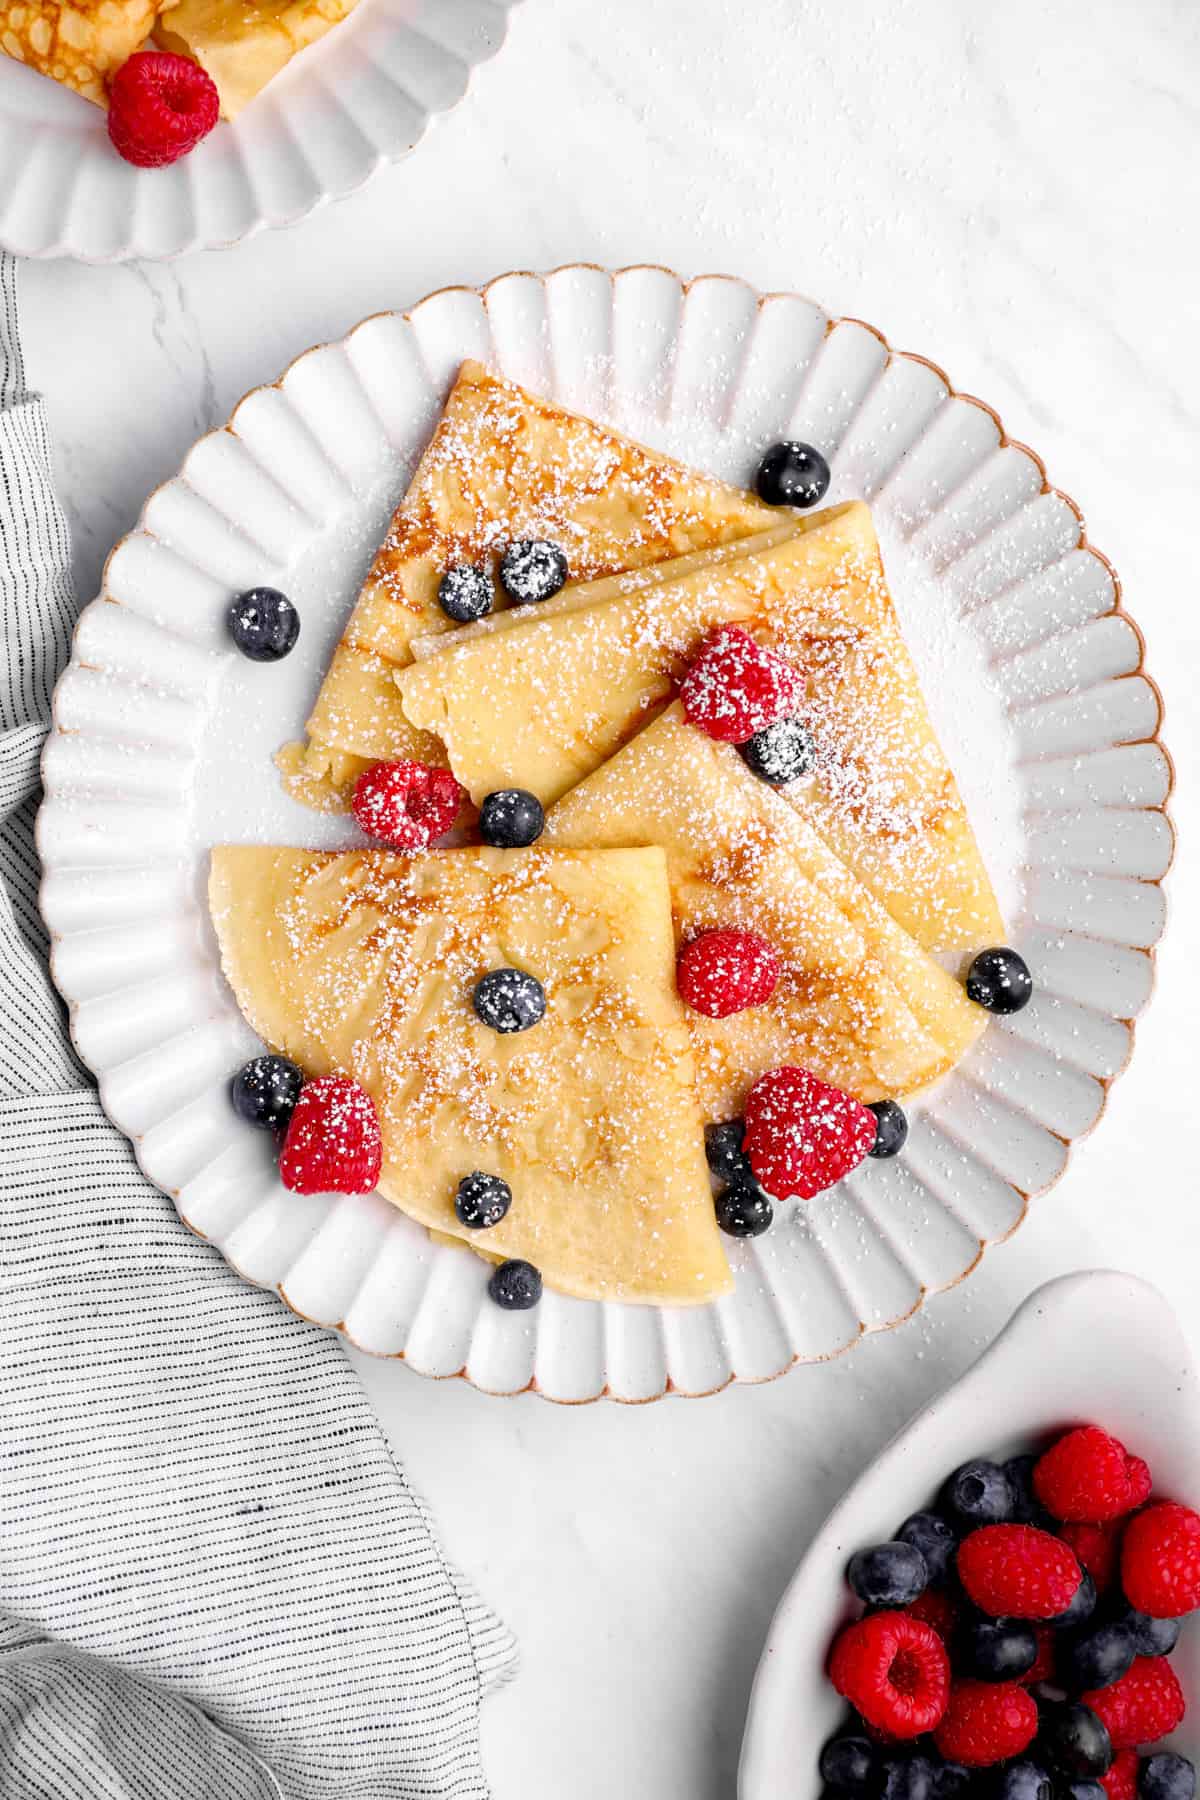
Blender Crepes
These are the best crepes because they are simple to make, delicious, and versatile. You can make them into whatever you want them to be!
Options for a sweet crepe include fresh fruit, Nutella, or chocolate. Or you can go in the opposite direction and make a savory crepe with your choice of protein, spinach, eggs, or cheese. Whatever you decide, this easy crepe recipe is perfect for either!
Why You’ll Love this Easy Crepes Recipe:
- Easy: These easy homemade crepes are super simple to make. Put the ingredients in a blender, let it sit, and cook in a pan for a couple of minutes!
- Versatile: This basic crepes recipe is great because of its versatility. You can use savory fillings or opt to make dessert crepes. It’s entirely up to you!


Email This Recipe
Enter your email and we’ll send the recipe directly to you!
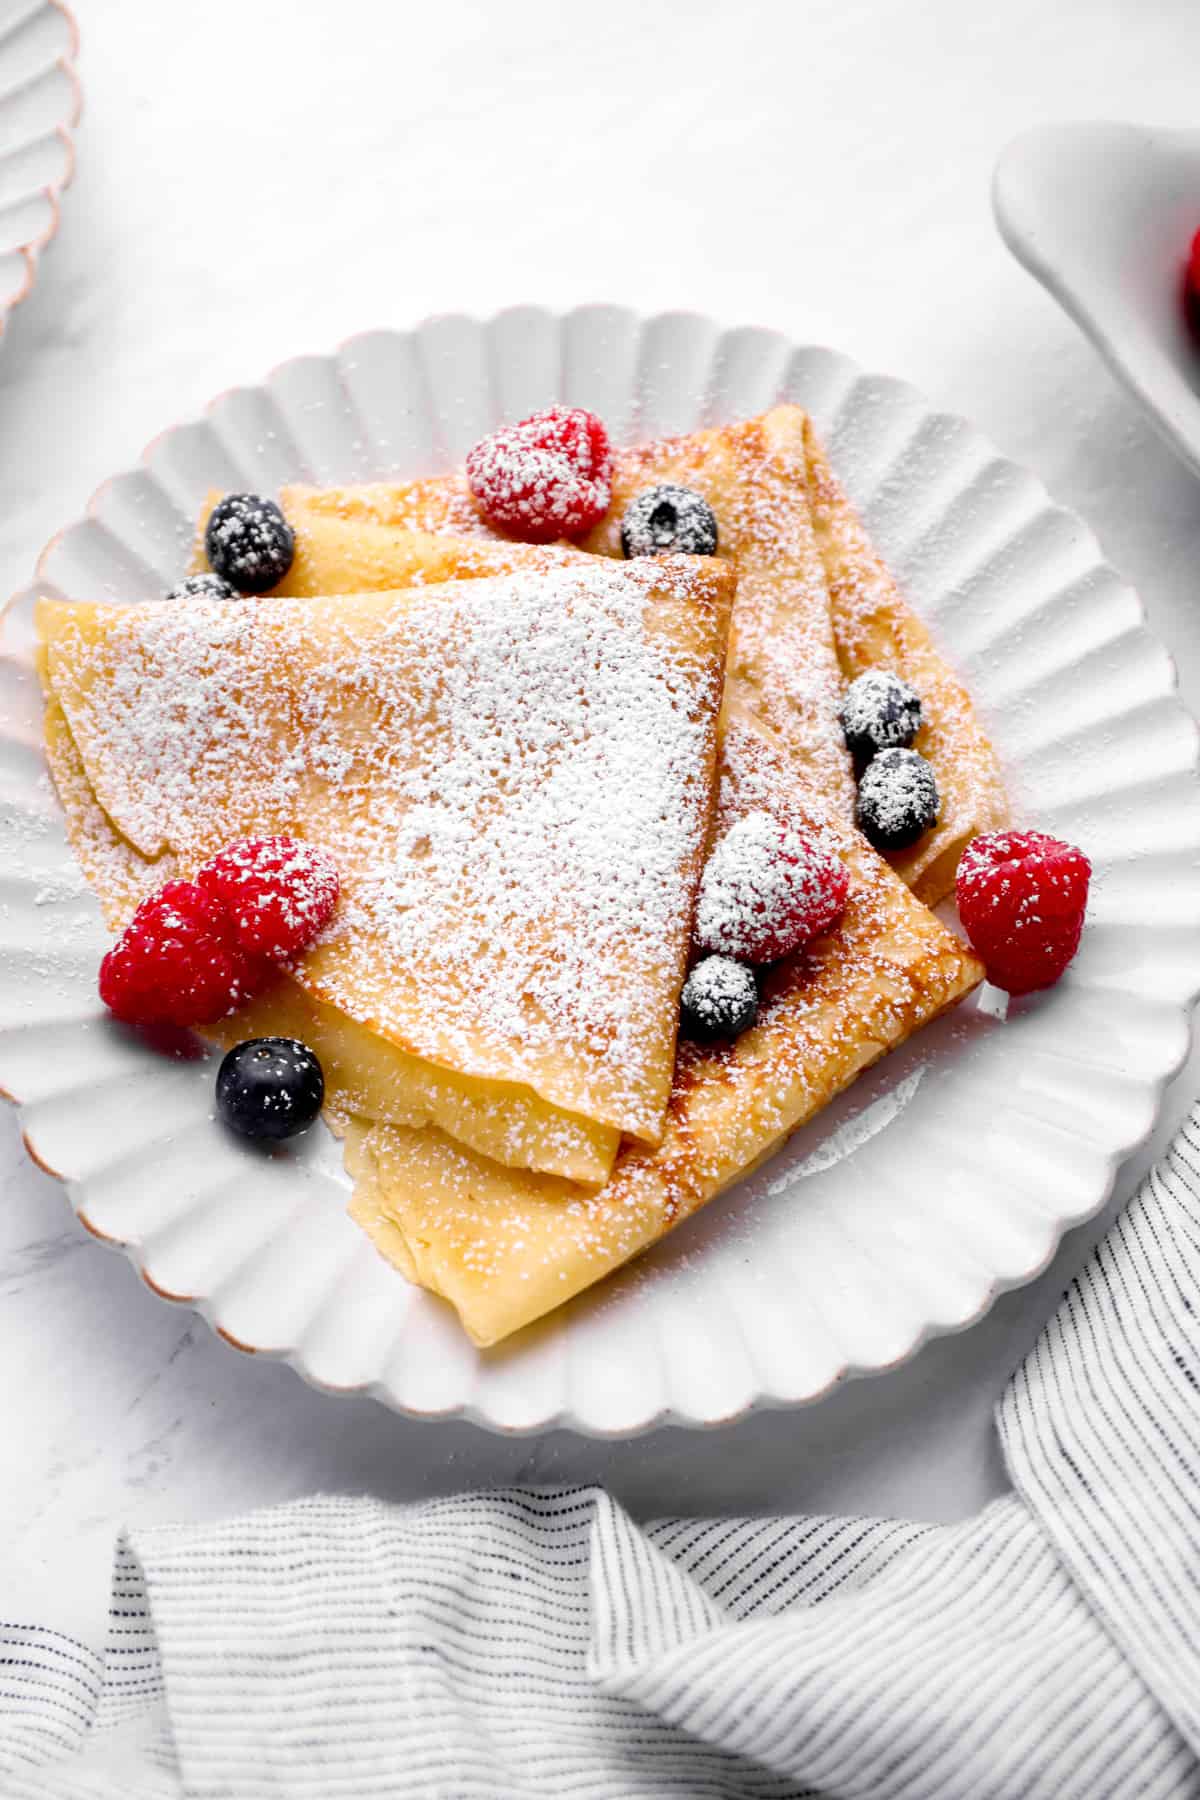
How to Make Easy Crepes
Be sure to see the recipe card below for full ingredients & instructions!
- Add wet ingredients to a blender for about 10-20 seconds. See the exact measurements to pour in the recipe card down below
- Next, add the dry ingredients and blend for another 10-20 seconds to create the crepe batter.
- Put the top back on the blender and let the batter rest at room temperature for half an hour.
- Then heat a nonstick pan over medium heat. Add in butter to evenly coat the bottom of the pan.
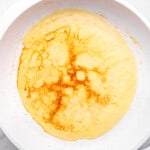
- Pour batter into the center of the pan and swirl it around, so it spreads out evenly. Cook until golden brown and then flip.
Repeat with the remaining batter, adding more butter as needed. Then serve with your favorite toppings and enjoy!
Ingredient Notes
- Milk: I opted for whole milk because it’s what I had on hand, but you can use whatever you like! Non-dairy milks should work with this recipe, but I haven’t tried them so I can’t vouch for it.
- Eggs: Bind our crepes together.
- Vanilla: Adds a subtle sweetness and vanilla flavor to the batter.
- All-Purpose Flour: Yields a soft and simple crepe.
- Sugar: Sweetens the batter just slightly.
- Butter: Adds great richness and fat to our batter.
- Salt: Balances the sweetness of the batter.
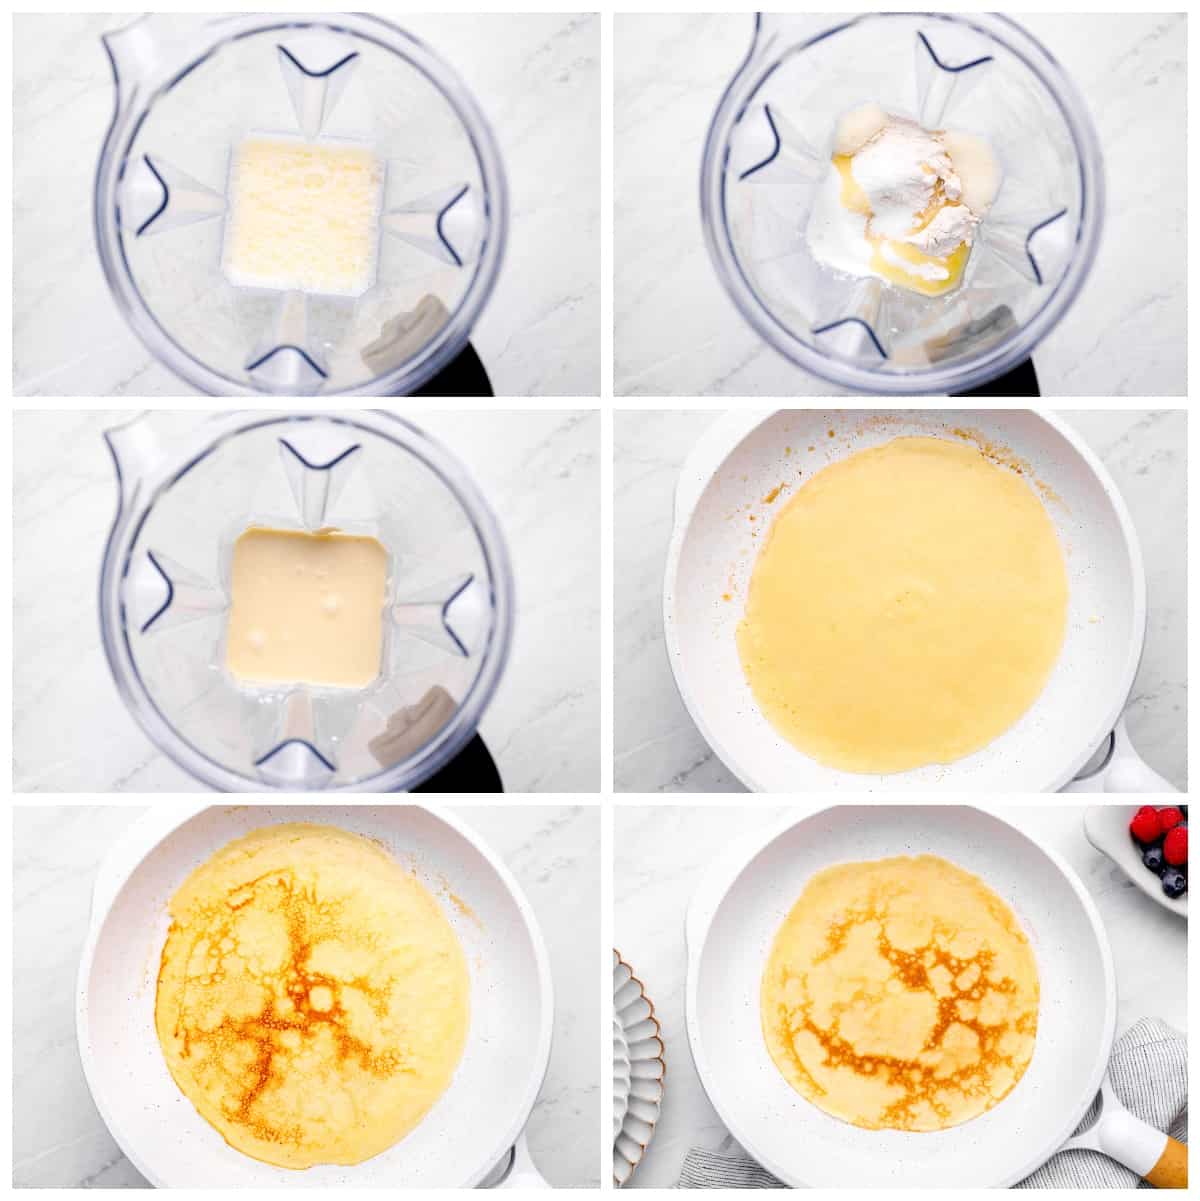
Crepes are thin, lacy French-style pancakes made without any leavening agents. They are usually served for breakfast or dessert, but can also be filled with savory ingredients and enjoyed for lunch or dinner.
Crepes are much thinner than pancakes because they aren’t made with leaveners. Since they are thinner, they tend to be crispier, lacier, and more buttery as well. This makes the crepe an excellent vehicle for practically any filling or topping you like, sweet or savory.
Yes! To make these crepes gluten-free, use your favorite gluten-free 1:1 flour.
If you don’t have a blender, the next best thing is a food processor. Alternatively, you can simply whisk the ingredients together in a large bowl until no lumps remain.
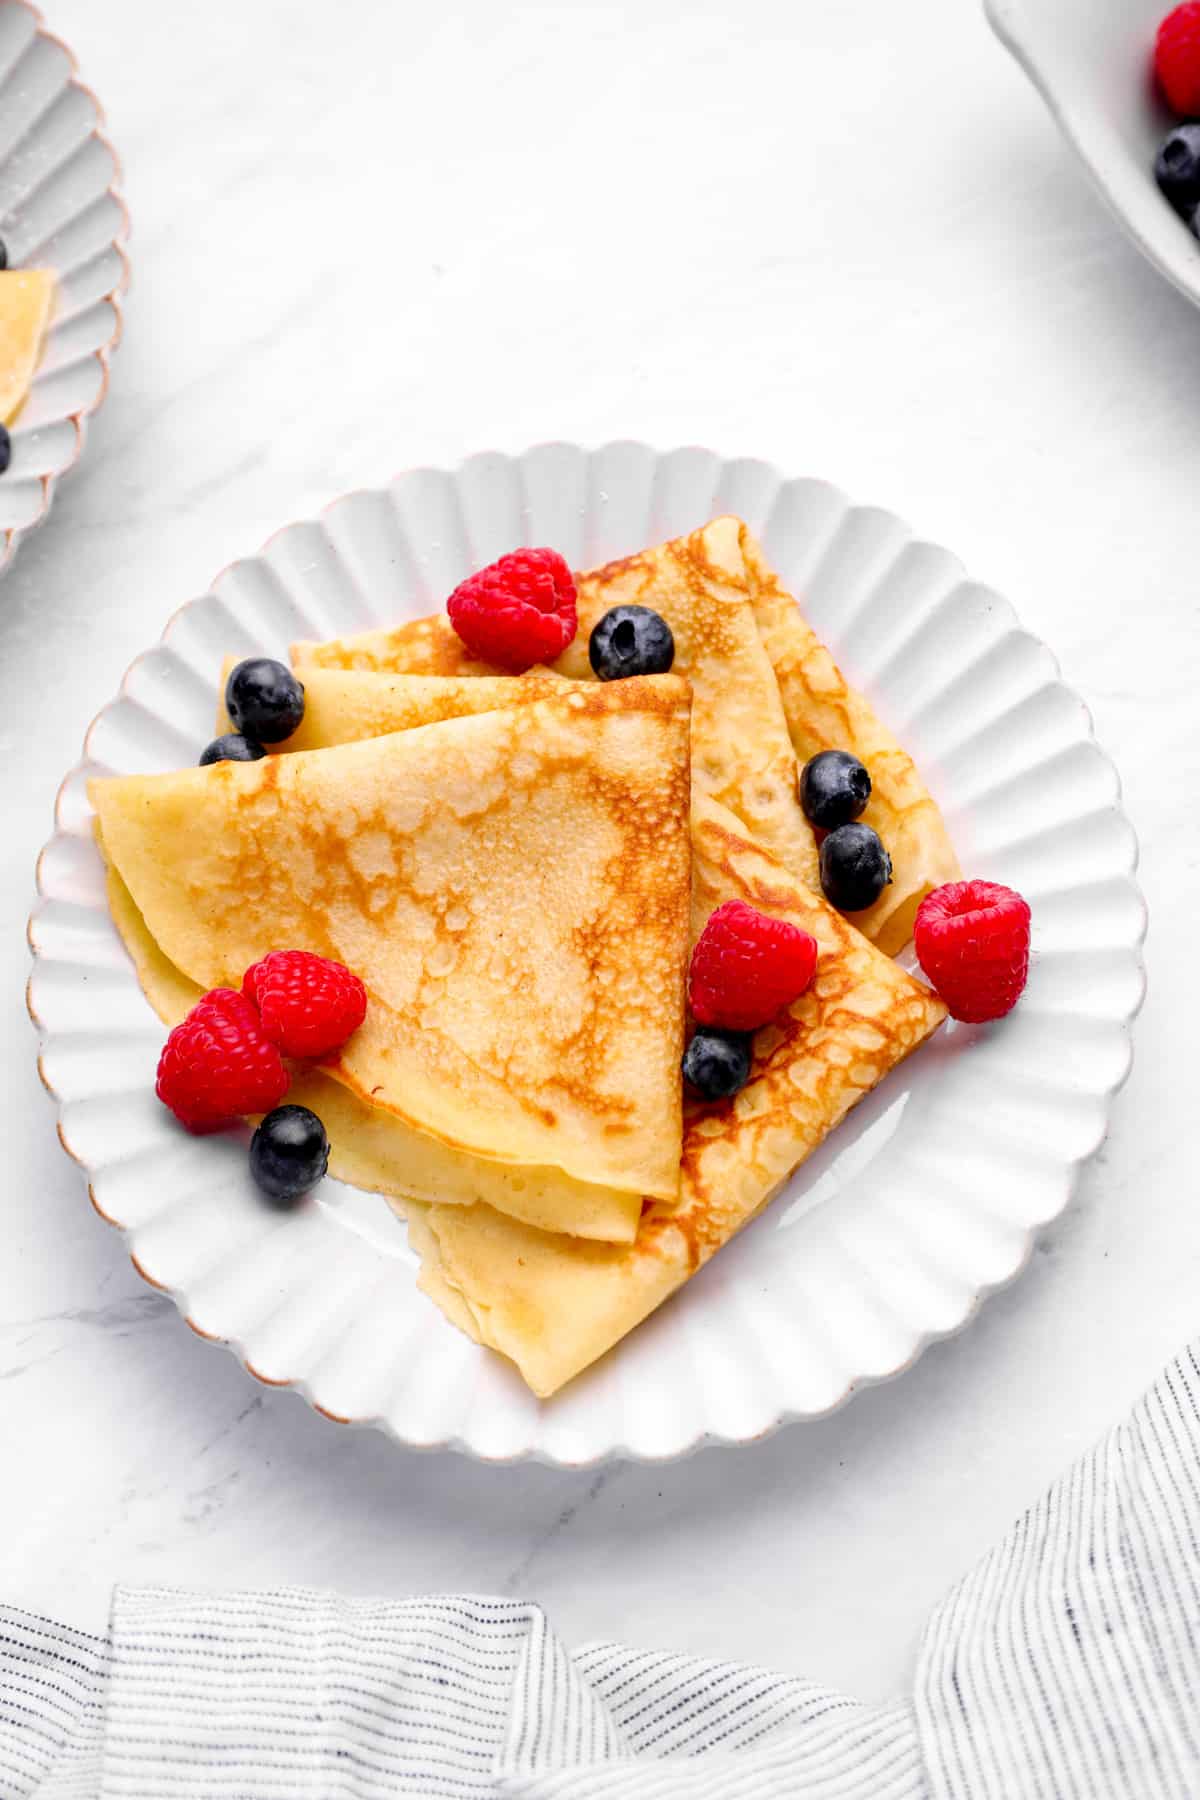

Fun Crepe Ideas
When making breakfast for family or friends, you can set up a crepe bar with various toppings in separate dishes and allow everyone to serve themselves. This way everyone can get what they want, and it’s a fun and memorable event to build your crepe too!
Make Ahead Instructions
The crepe batter can be made up to 1 day in advance. Store in an airtight container in the refrigerator until ready to use.
Storage Instructions
Store leftover easy crepes in an airtight container in the refrigerator for up to 3 days. Reheat in the microwave or arrange on a lined baking sheet covered with aluminum foil and warm in a 275°F degree oven for about 10 minutes.
Freezing Instructions
To freeze easy crepes, place a piece of parchment between each crepe so that they don’t stick together. Layer in a Ziplock bag or airtight container and freeze for up to 4 months. Let thaw overnight in the refrigerator before reheating. Do not freeze filled crepes.
Serving Suggestions
- Crepes can either be served rolled or folded into triangles– either way is delicious!
- Crepes can be used for virtually any meal from breakfast to dinner– including dessert. The possibilities are endless!
- Sweet Crepes:
- Fresh fruit or chocolate chips and whipped cream
- Nutella (by itself or with strawberries and bananas)
- Lemon curd
- Berries and yogurt or ricotta
- Chocolate sauce
- Caramel sauce
- Maple syrup
- Cinnamon and sugar
- Fruit jam
- Bananas and peanut butter
- Peanut butter and fluff
- Apples and cinnamon
- Savory Crepes:
- Brie and sautéed mushrooms
- Ham and cheese
- Spinach and goat cheese
- Egg and cheese
- Smoked salmon and cream cheese
- Buffalo chicken
- Roasted vegetables
Tips for the Best Easy Crepes
- Chill the Batter: Chilling the crepe batter for at least 20-30 minutes and up to 24 hours allows the flavors to develop and lets the flour fully hydrate. If you’re short on time, you can skip this step.
- Butter Often: The best part of crepes is their lacy and buttery crisp edges. To best achieve this, add more butter to the pan between each crepe.
- Swirl the Pan: Pour the batter into the center of the hot pan. Pick the pan up by the handle and swirl it so the batter spreads nice and thin across the whole surface of the pan. as far out as it can go. The thinner the crepe, the better the taste! If the batter is too thick to swirl around the pan, add another tablespoon of milk.
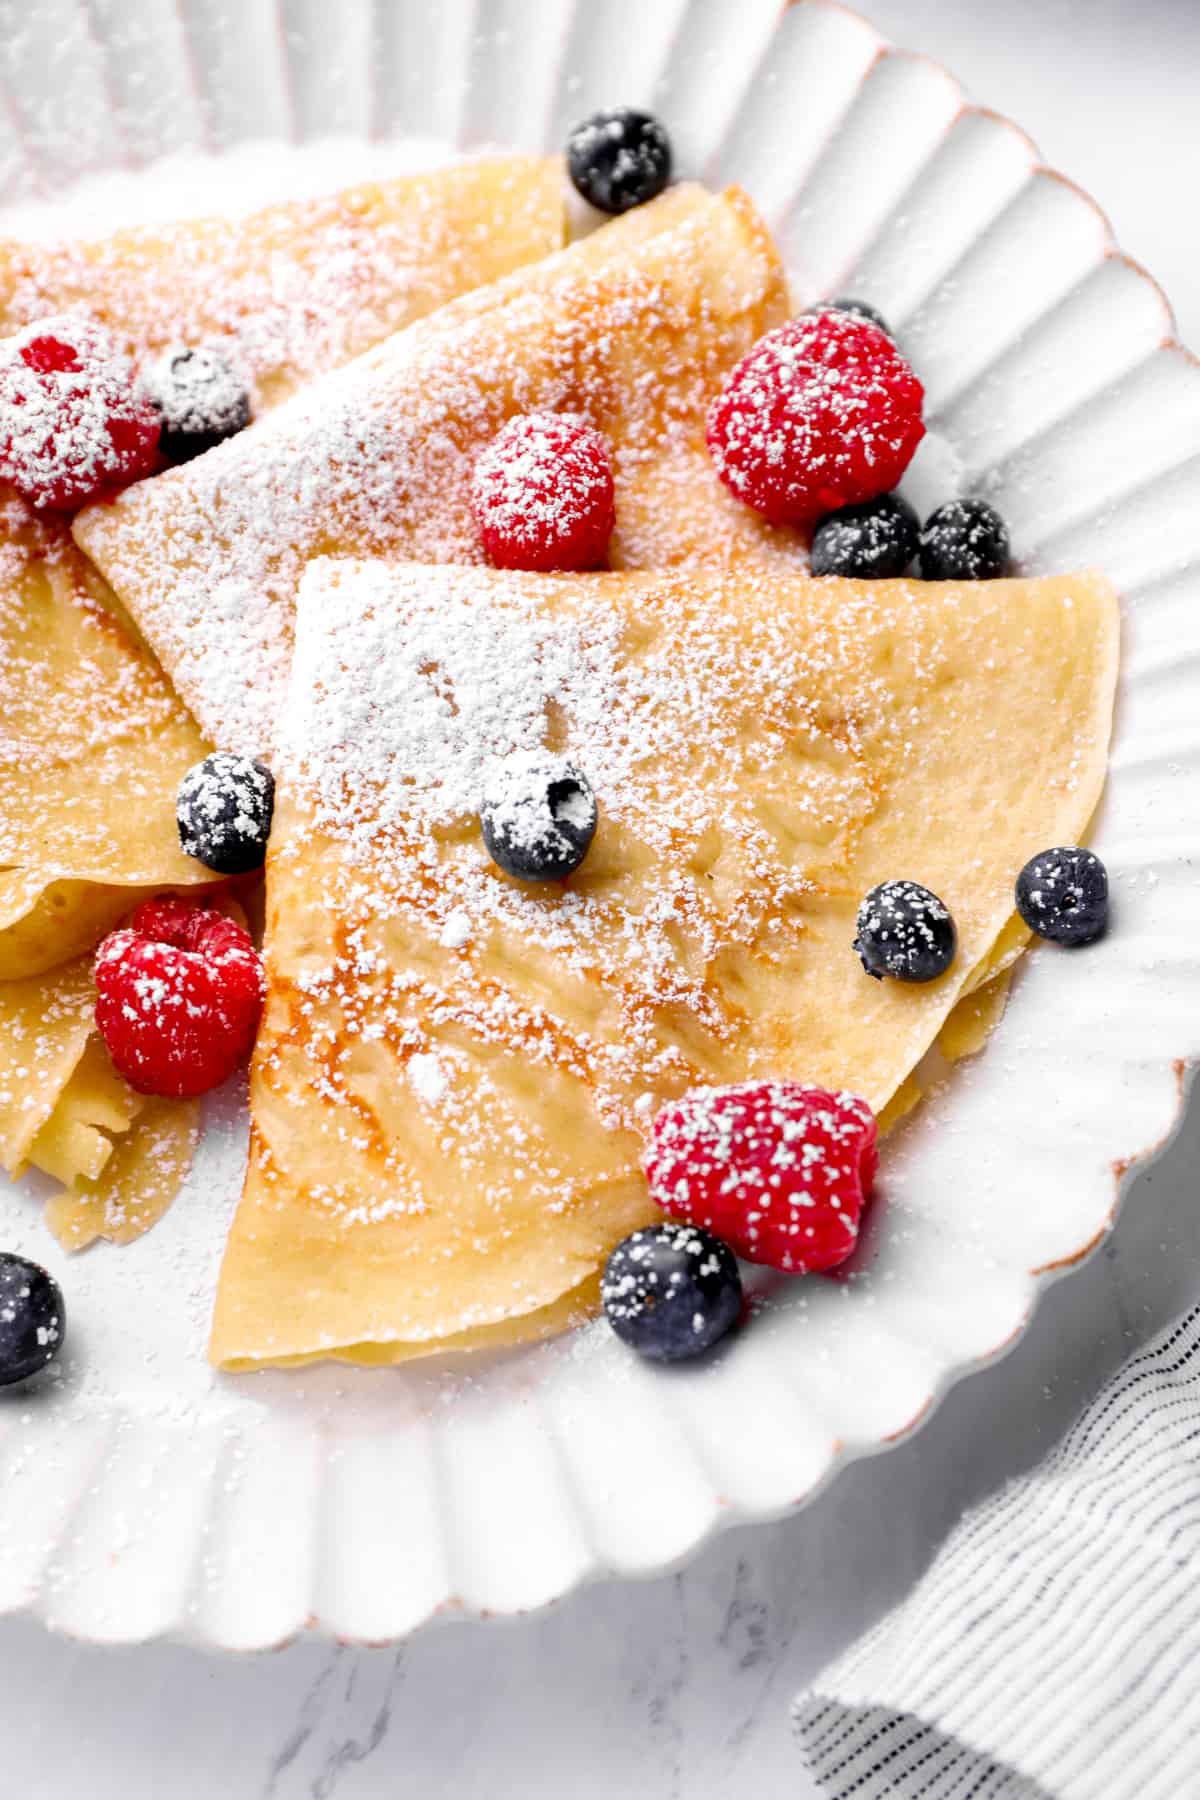
Whether you love sweet crepes or savory crepes (maybe both), this is an easy recipe to make for either. I’d love to know how your batch turned out and what toppings you like to pair with your delicious crepes. Let me know in the comments below!
If you make this recipe be sure to leave us a comment or rating. Enjoy!

Easy Crepes Recipe

Email This Recipe
Enter your email and we’ll send the recipe directly to you!
Ingredients
- 1¼ cups whole milk 284 grams, room temperature
- 2 large eggs 100 grams, room temperature
- ½ teaspoon pure vanilla extract 2 grams
- 1 cup all-purpose flour 120 grams
- 2 tablespoons granulated sugar 25 grams
- 3 tablespoons unsalted butter 42 grams, melted (plus more for serving)
- ⅛ teaspoon kosher salt
Equipment
- Kitchen Scale (optional)
- High Powered Blender (click for my favorite)
Instructions
- Add the milk, eggs, and vanilla to a blender and blend on medium speed until smooth, about 10-20 seconds.1¼ cups whole milk, 2 large eggs, ½ teaspoon pure vanilla extract
- Add in the flour, sugar, melted butter and salt. Blend for another 10-20 seconds until smooth.1 cup all-purpose flour, 2 tablespoons granulated sugar, 3 tablespoons unsalted butter, ⅛ teaspoon kosher salt
- Cover the blender and let it sit for 20-30 minutes at room temperature.
- Heat a nonstick pan over medium heat. Once warm, add in a teaspoon of butter, moving it around the pan to evenly coat.
- Pour in ¼ cup of the batter and immediately swirl the pan to spread it out into a thin even circle. Cook for 2 minutes until lightly browned, flip and cook for another minute.
- Repeat with the remaining batter, adding more butter as needed.
- Serve with toppings of choice.
Notes
- Crepes can either be served rolled or folded into triangles– either way is delicious!
- Crepes can be used for virtually any meal from breakfast to dinner– including dessert. The possibilities are endless!
- Chilling the crepe batter for at least 20-30 minutes and up to 24 hours allows the flavors to develop and lets the flour fully hydrate. If you’re short on time, you can skip this step.
- The best part of crepes is their lacy and buttery crisp edges. To best achieve this, add more butter to the pan between each crepe.
- Pour the batter into the center of the hot pan. Pick the pan up by the handle and swirl it so the batter spreads nice and thin across the whole surface of the pan. as far out as it can go. The thinner the crepe, the better the taste! If the batter is too thick to swirl around the pan, add another tablespoon of milk.

















Leave a Review