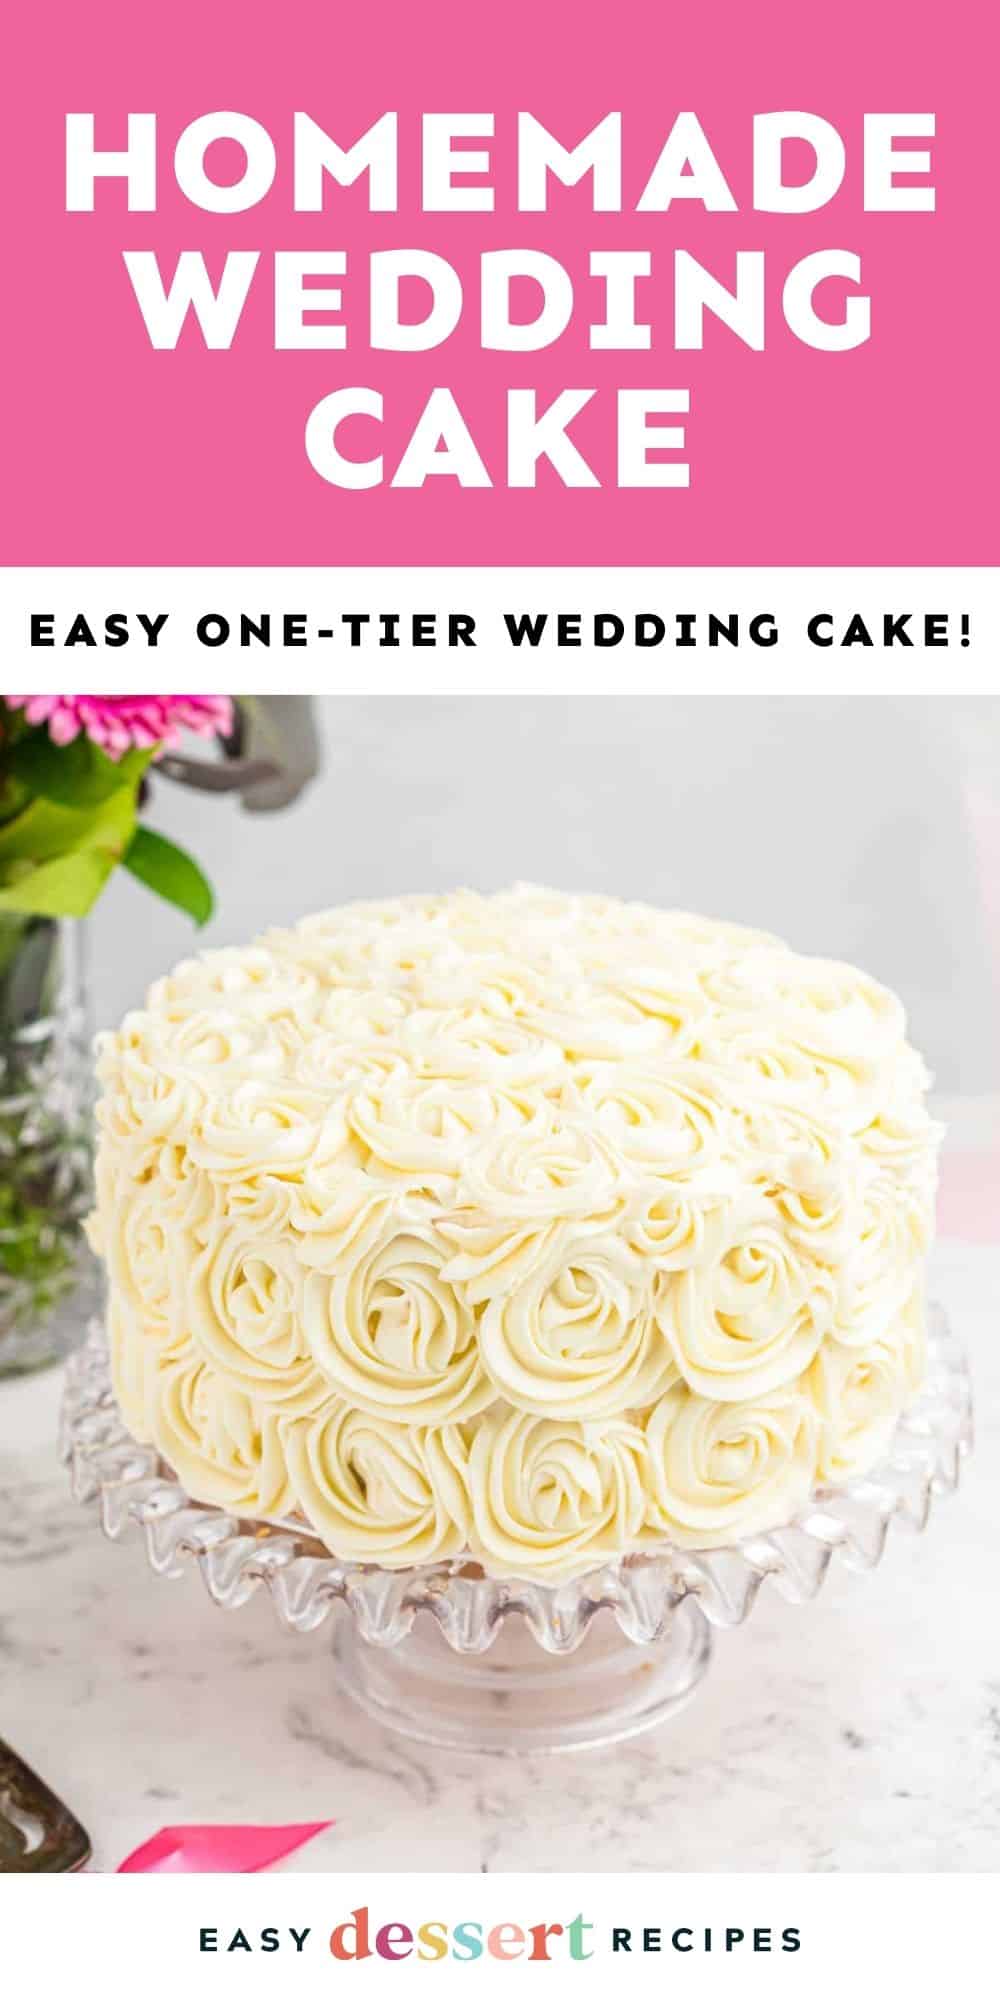
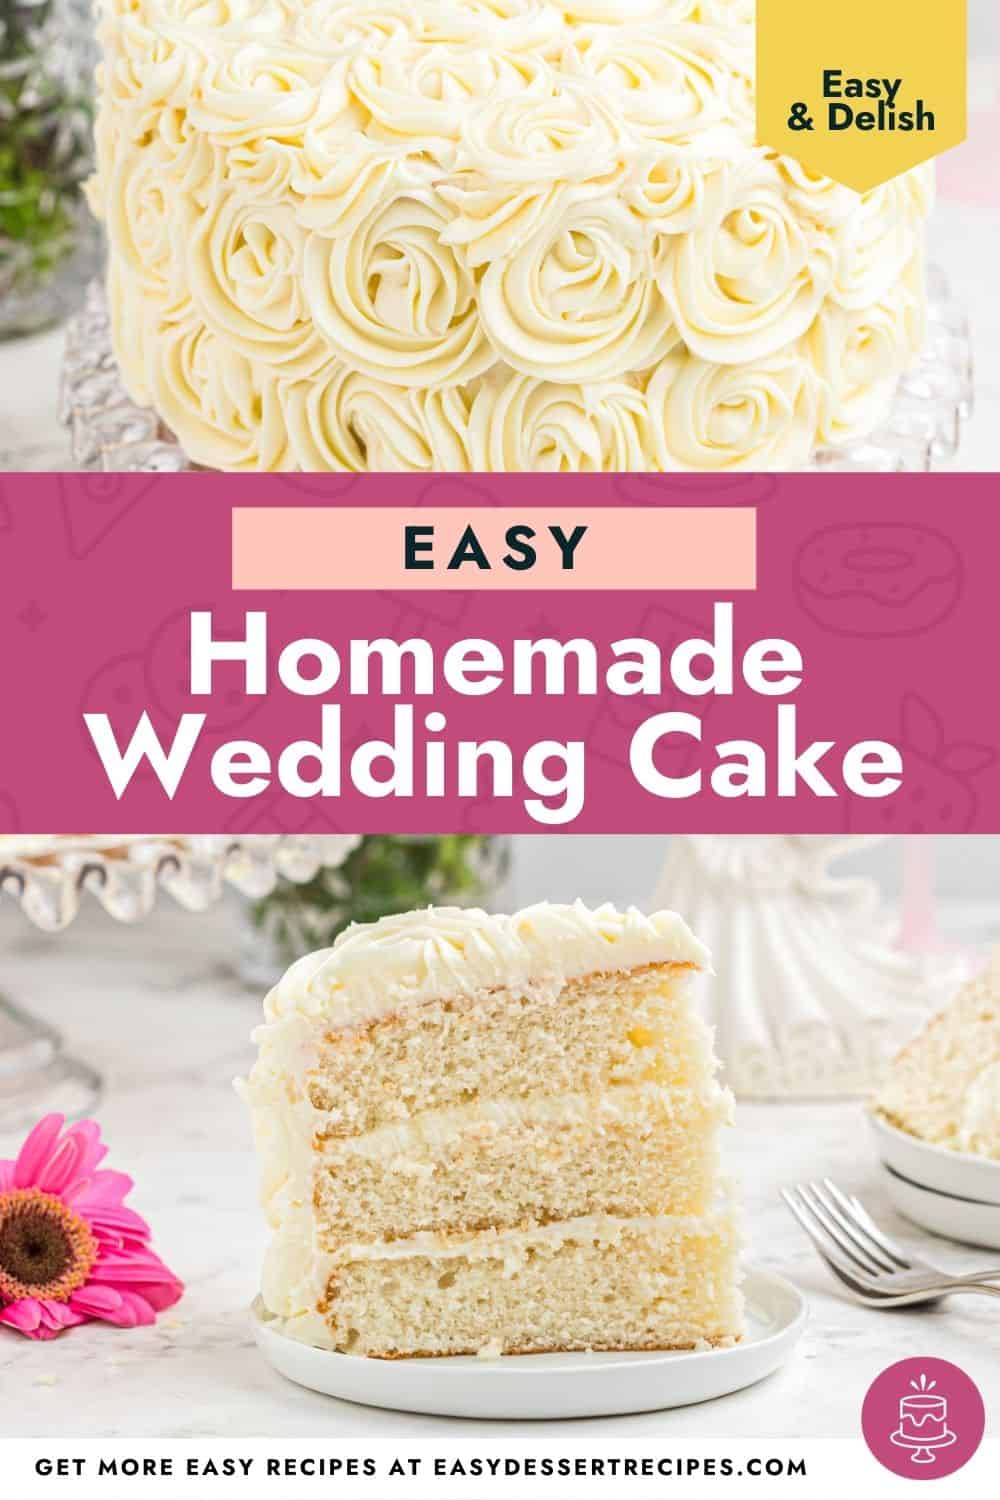
Planning a wedding can be stressful, but your dessert shouldn’t be! This simple white wedding cake recipe is my go-to for an elegant, DIY wedding centerpiece that doesn’t require a professional pastry degree. Unlike standard white cakes, my recipe is engineered to be sturdy enough for stacking while still maintaining a soft, tender crumb. Made with pantry staples and an easy homemade vanilla buttercream, this wedding cake is perfect for a one-tier celebration, bridal shower, or rehearsal dinner, taking one more thing off your wedding planning plate.

Top Reader Review
- “I love it.” –Karen Robinson
Easy DIY Wedding Cake
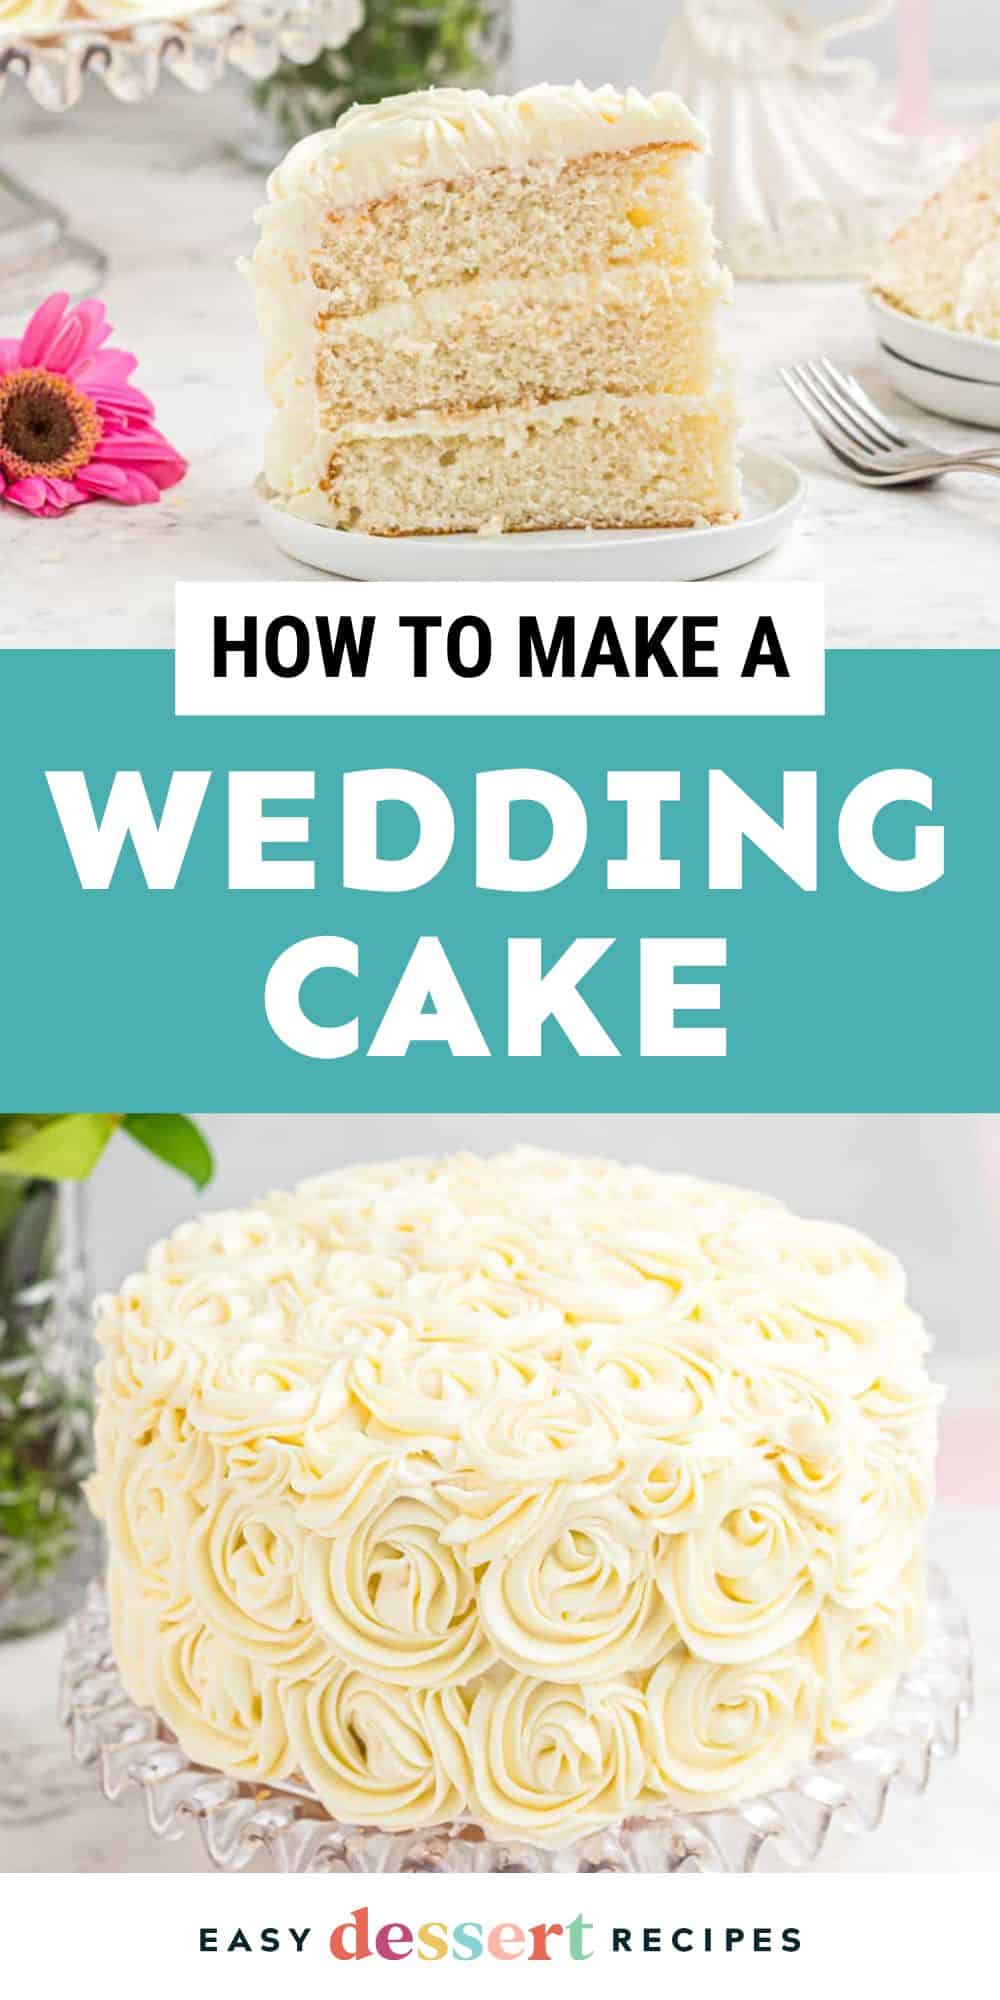
My simple white wedding cake strikes the perfect balance between a delicate texture and structural integrity. Most of the time, light and fluffy cakes crumble under the weight of a hefty buttercream frosting. But my wedding cake is designed to hold up for hours without losing its melt-in-your-mouth quality. The secret is in the combination of cake flour, which has a lower protein content and prevents the cake from turning out tough, and egg whites, which keep the cake pristine white.
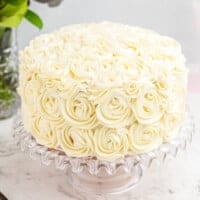
This is a fuss-free base that acts as a canvas. You can easily customize it with professional fillings like lemon curd or caramel sauce, or keep it classic with my crusting white buttercream. Finished with elegant rosettes, this DIY wedding cake is so impressive that no one will guess you made it yourself!

Email this Recipe
Enter your email and we’ll send the recipe directly to you!
By submitting this form, you consent to receive emails from Easy Dessert Recipes.
Use Room-Temperature Ingredients for Maximum Fluff
Bring your butter, egg whites, and milk to room temperature before mixing your batter. Cold ingredients can curdle and lead to dense, uneven layers. Room-temperature butter whips more easily, egg whites achieve greater volume, and milk blends more smoothly. All of this results in soft, airy layers for a beautifully even DIY wedding cake.
Simple White Wedding Cake Recipe
Equipment
- Kitchen Scale (optional)
- Stand Mixer
- 3 8-inch Round Cake Pan(s)
- Piping Tip Set
Ingredients
For the Cake:
- 4 cups cake flour
- 2 cups granulated sugar
- 1 tablespoon baking powder
- 1 teaspoon kosher salt
- 1 cup unsalted butter room temperature (2 sticks)
- 1 teaspoon pure vanilla extract *
- 8 large egg whites room temperature
- 1½ cups milk room temperature
For the Buttercream:**
- 2 cups unsalted butter room temperature (4 sticks)
- 2 tablespoons pure vanilla extract *
- ¼ teaspoon fine sea salt
- 8 cups powdered sugar sifted
- 3-4 tablespoons milk room temperature***
- 1 drop violet food coloring optional
Instructions
Bake the Cakes:
- Preheat oven to 350°F.

- In a medium bowl, sift the flour, sugar, baking powder, and salt together. Set aside.4 cups cake flour , 2 cups granulated sugar, 1 tablespoon baking powder, 1 teaspoon kosher salt
- In the bowl of a stand mixer fitted with the paddle attachment, beat the butter until it’s smooth, about 5 minutes. Add in the vanilla and eggs.1 cup unsalted butter, 1 teaspoon pure vanilla extract, 8 large egg whites
- Switch to the whisk attachment and continue beating the mixture on medium speed for about 30-60 seconds, until foamy.
- Add the flour mixture and milk, continuously mixing on low-to-medium speed until smooth and creamy.1½ cups milk
- Evenly divide the batter into three lightly buttered and floured 8-inch round cake pans (about 582 grams per pan).
- Bake for 25-28 minutes, or until a toothpick inserted in the center comes out clean. Let the cakes cool in their pans for about 5 minutes, then remove and cool completely on a wire rack, about 2 hours.
Make the Frosting:
- In the bowl of a stand mixer fitted with the paddle attachment, beat the butter on med-high speed for 5-8 minutes, or until smooth. Add the vanilla and salt, and beat until incorporated, about 1 minute. Turn the mixer down to the lowest speed, and add the sugar, 1 cup at a time, until incorporated. Once incorporated, turn the mixer to medium and beat for 2 minutes. Add milk as needed to thin the consistency. Once it reaches your desired consistency, turn the mixer to the lowest speed and beat for 3 minutes, or until silky smooth. Add the food coloring during this final mix, if using
Assemble and Decorate:
- Before assembling, cut the tops off of each layer to have even and flat layers.
- Place one cake layer on the cake stand, cut side up. Pipe an outline of frosting around the top of the cake, and then fill in the center. Repeat with the second cake layer. Top with the final layer, cut side down.
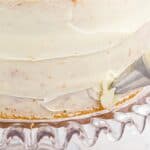
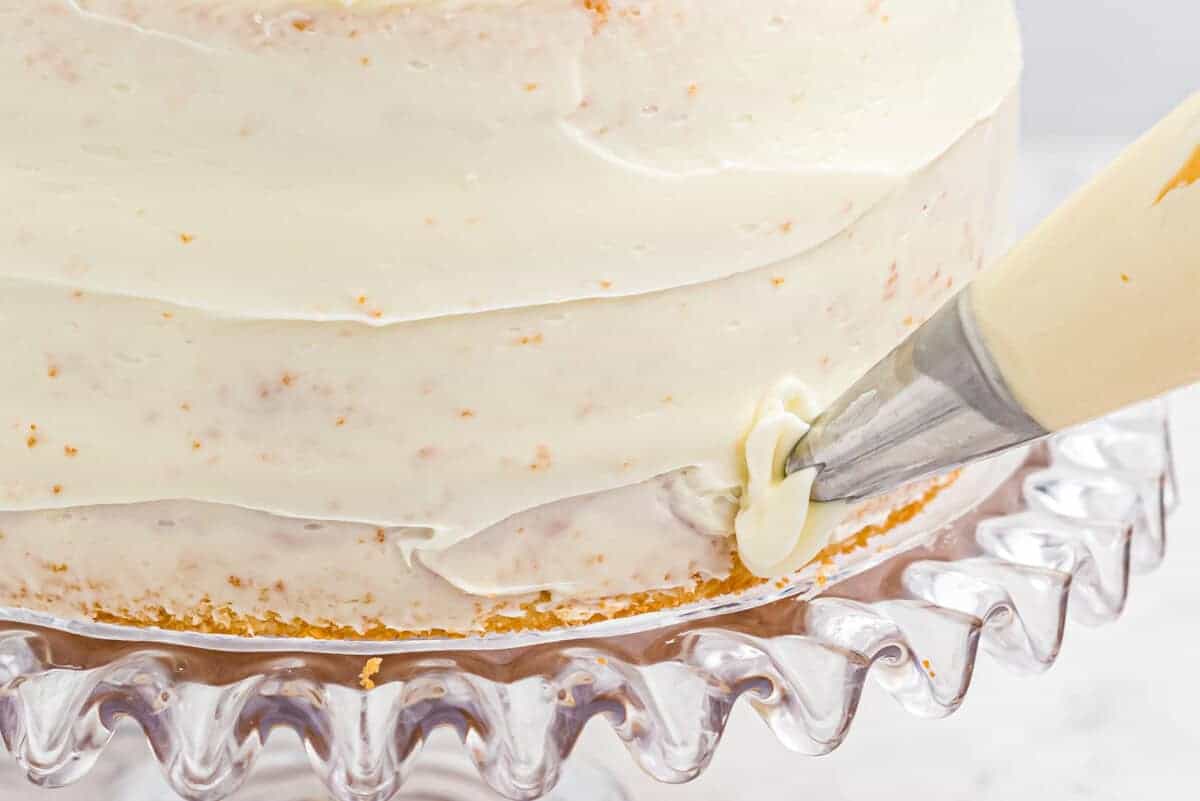
- Lightly frost the entire outer cake with a crumb coat.
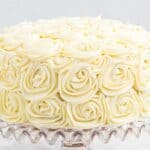
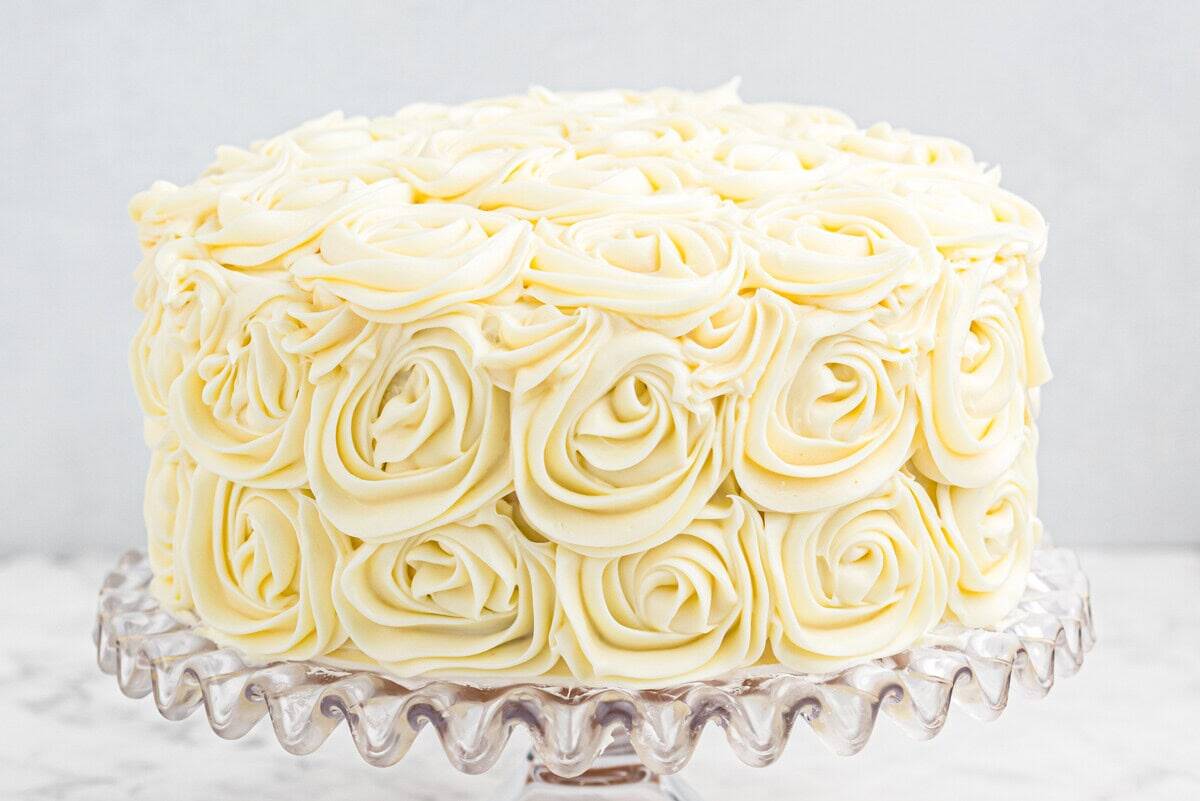
- Frost with a thicker final layer of frosting, or make rosettes if desired.
- To make the rosettes, begin with the bottom row. Fill a large piping bag fitted with a large star tip with buttercream frosting. Starting at the bottom of the cake, hold the bag straight up with the tip just next to the cake, squeeze the bag, and complete a full loop. Once you get to the end of the rosette shape, release pressure on the bag so you can pull the bag away.
- Repeat the rosettes until you have gone all the way around the cake. Then begin the next row. Continue until the entire cake is covered in rosettes. Any small uncovered areas, gently fill in with small rosettes.
Notes
- For a stable cake, use a cardboard cake round slightly smaller than your 8-inch layers. Secure the bottom layer to the round with a smear of buttercream. This allows you to move the cake safely from the turntable to the final display stand.
- If you plan to add heavy fresh flowers to the top, insert 3-4 bubble tea straws or wooden dowels into the center of the cake, cut flush to the frosting. This prevents the weight of the decor from sinking into your soft cake layers.
- When transporting, place it on a flat surface (like the floor of the car), not the seat. Keep the AC on high; buttercream softens quickly in a warm car, which can cause your layers to slide.
- Use room-temperature ingredients for easier mixing. The cakes will get a finer crumb this way.
- Make sure you’re not over-mixing your egg whites. You just want them foamy, not at stiff peaks.
- Try to get the cake layers even so they all bake at the same rate. I weighed my batter.
- If your oven runs hot or browns unevenly, rotate the pans at the 15-minute mark to keep all layers evenly pale.
- White cake can dry out quickly, so don’t overbake. Pull the layers as soon as the centers spring back. They should not be browned.
- Chill the cake layers for 20 minutes before leveling. Firm cakes cut cleanly and won’t shred under your knife or cake leveler.
- The purple food coloring is optional, but it helps neutralize the yellow tones of the butter, leaving you with a bright, crisp white finish.
- If the buttercream is melting off the cake as you’re piping it, your cake is likely too warm. Pop the cake in the refrigerator for 20-30 minutes, then try again.
- I used a Wilton 2D piping tip to make fuller rosettes with softer edges, which was perfect for hiding tiny imperfections in the frosting.
- If your kitchen is warm or the frosting feels too soft, pop the whole mixing bowl in the fridge for 15 minutes before piping.
How to Make White Wedding Cake Step-by-Step
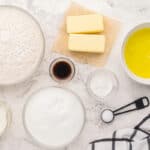
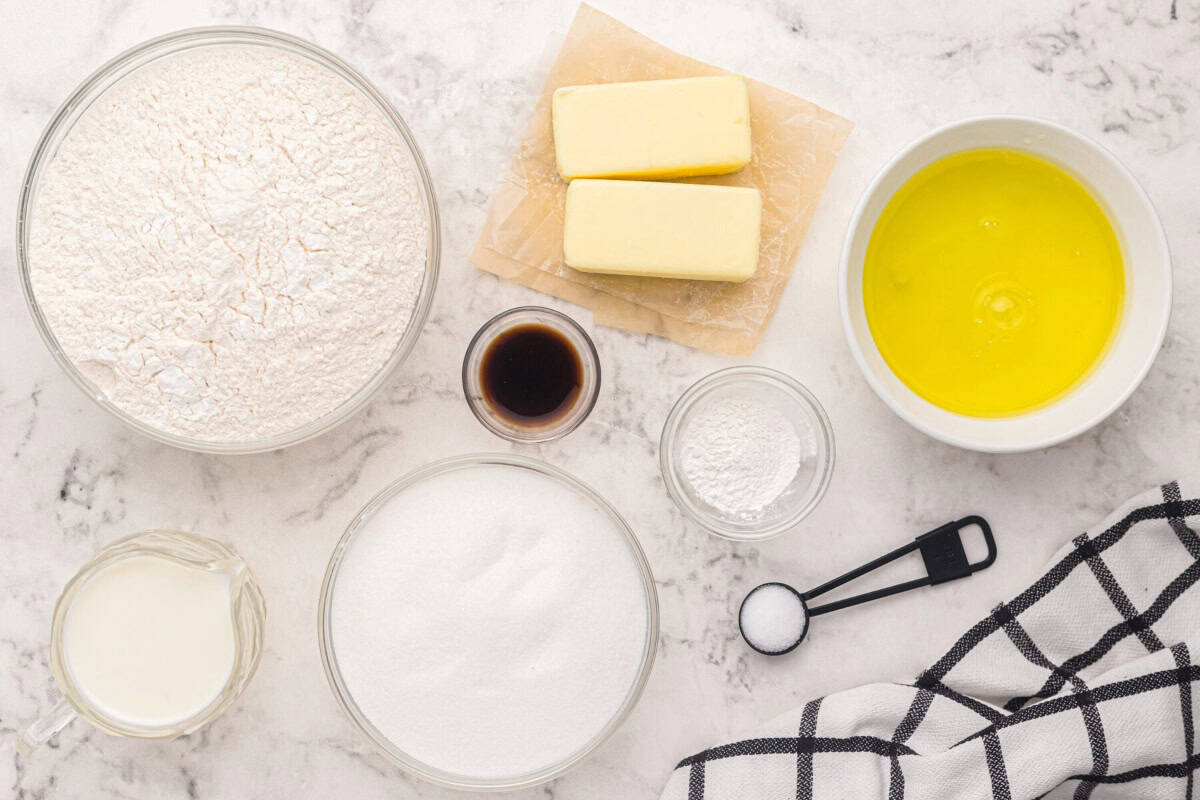
Prep: Gather up all of the ingredients needed to make this simple three-layer wedding cake. Preheat your oven to 350°F. Bring the butter, egg whites, and milk to room temperature for 15-30 minutes before beginning so they mix more easily. Save the egg yolks and set them in an airtight container in the refrigerator to use another time (I love using them in this Boston cream pie poke cake recipe!). Butter and flour three 8-inch round cake pans and set aside.
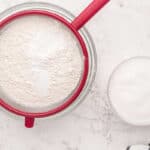
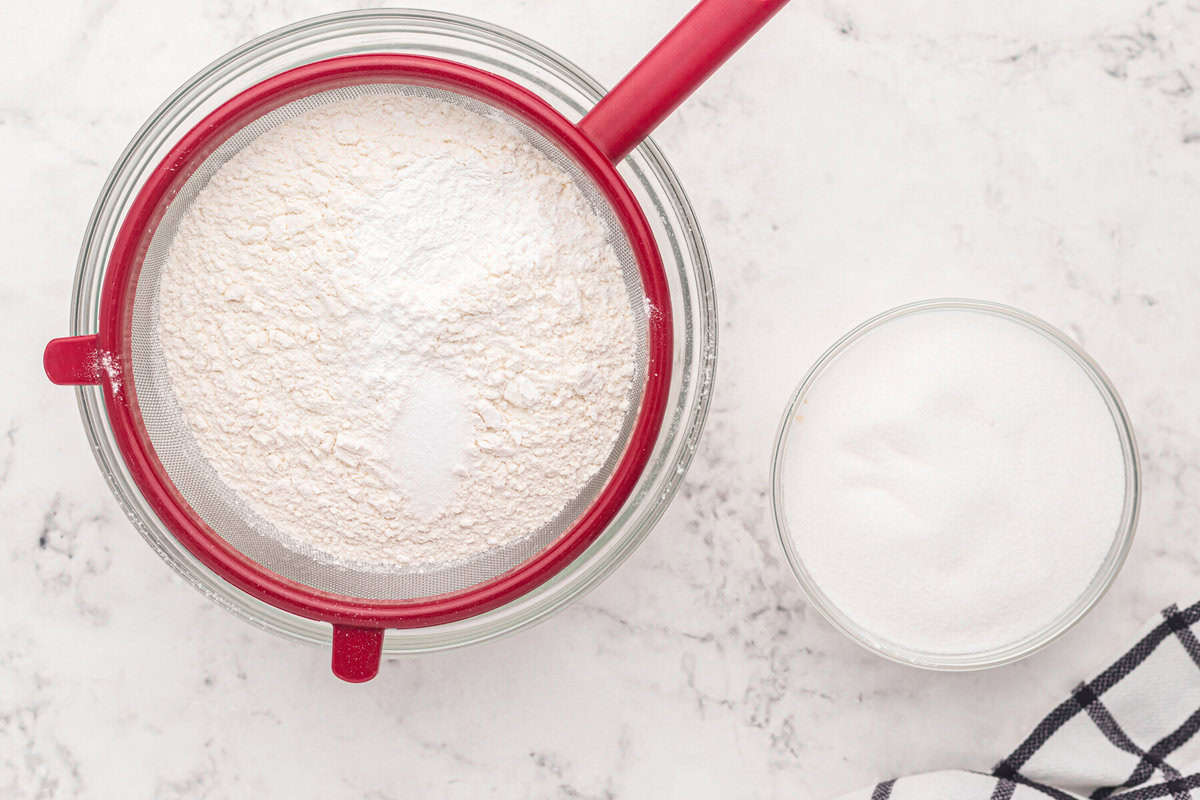
Sift the Dry Ingredients: In a medium bowl, sift 4 cups of cake flour, 2 cups of granulated sugar, 1 tablespoon of baking powder, and 1 teaspoon of kosher salt together. Set aside. Siting helps ensure your cake gets an even, tight texture.
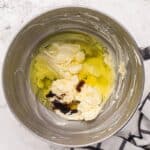
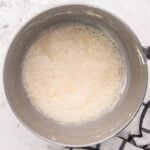
Beat the Butter: In a large bowl or stand mixer fitted with the paddle attachment, beat 1 cup of room-temperature unsalted butter until it’s smooth. Add in 1 teaspoon of vanilla extract and 8 large, room-temperature egg whites.
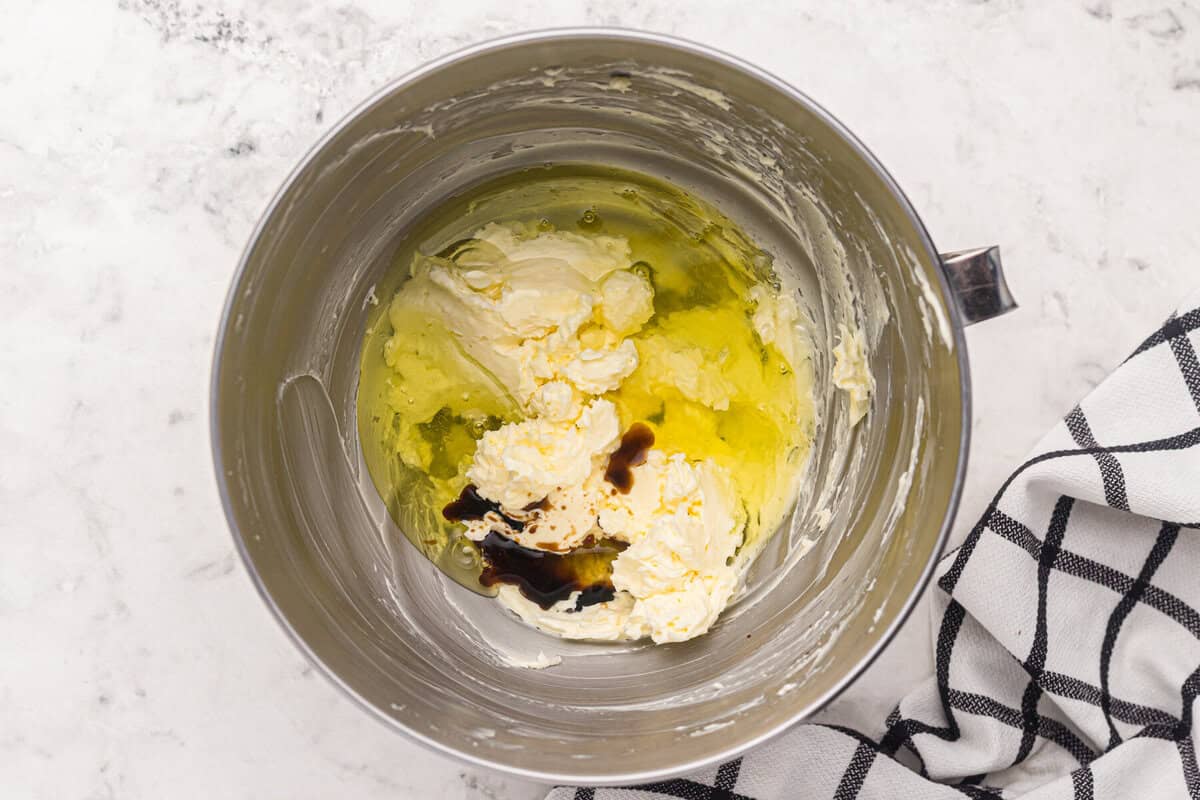
Whip the Egg Whites: Switch to the whisk attachment and continue beating the mixture on medium speed for about 30-60 seconds, incorporating a small amount of air into the egg whites. Don’t overmix until they are peaks; just add enough air for it to begin to slightly foam.

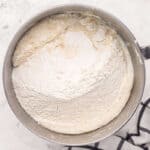
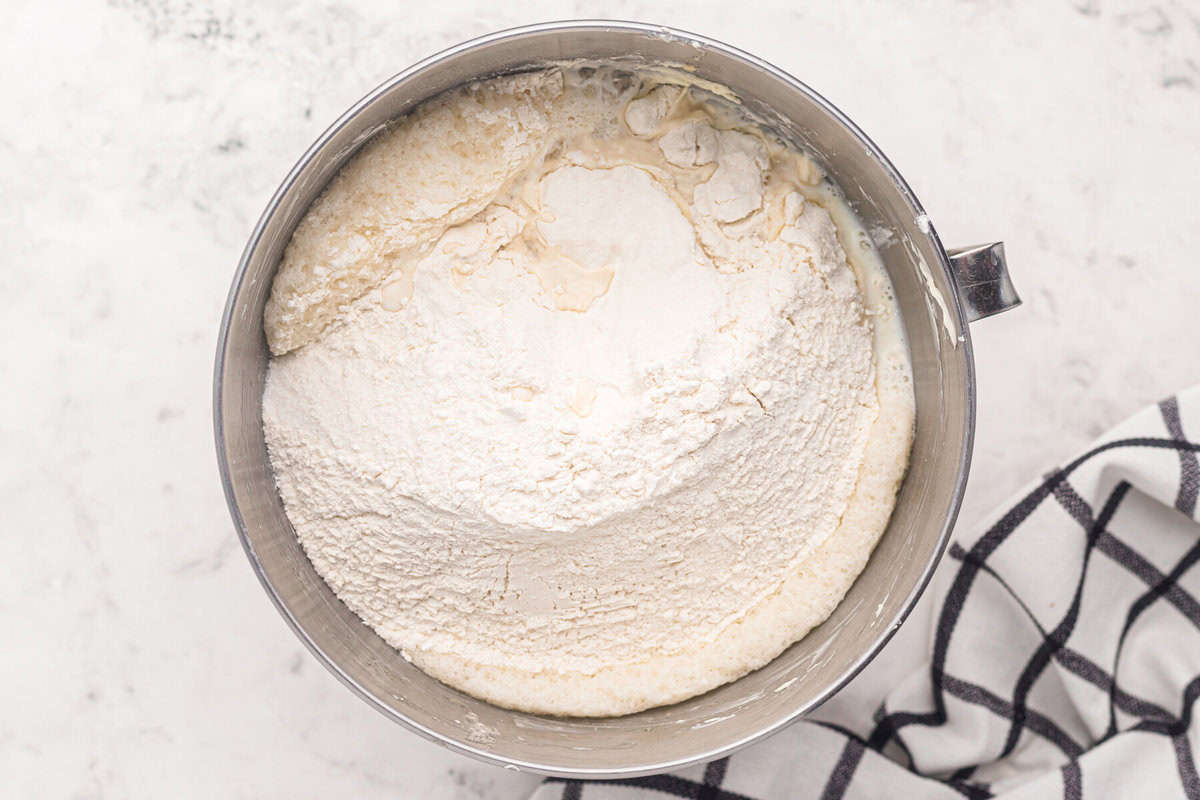
Mix the Batter: Add the flour mixture and 1½ cups of room-temperature milk, continuously mixing on low-to-medium speed. Be sure to scrape the sides of the bowl to incorporate all of the dry ingredients.
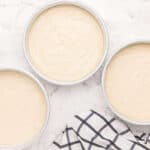
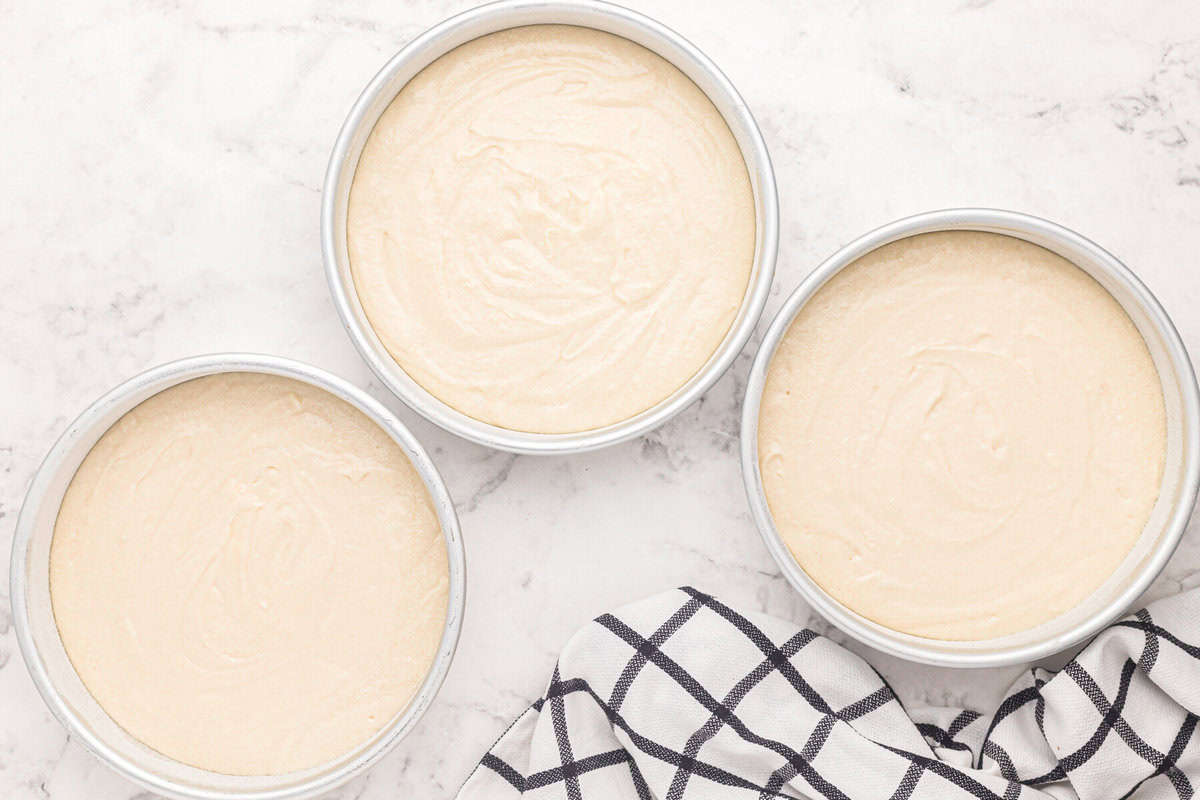
Portion the Cakes: Once the batter is smooth and creamy, evenly divide the batter into three lightly buttered and floured 8-inch round cake pans (about 582 grams per pan).
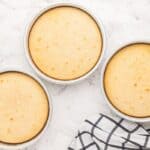
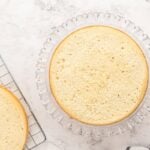
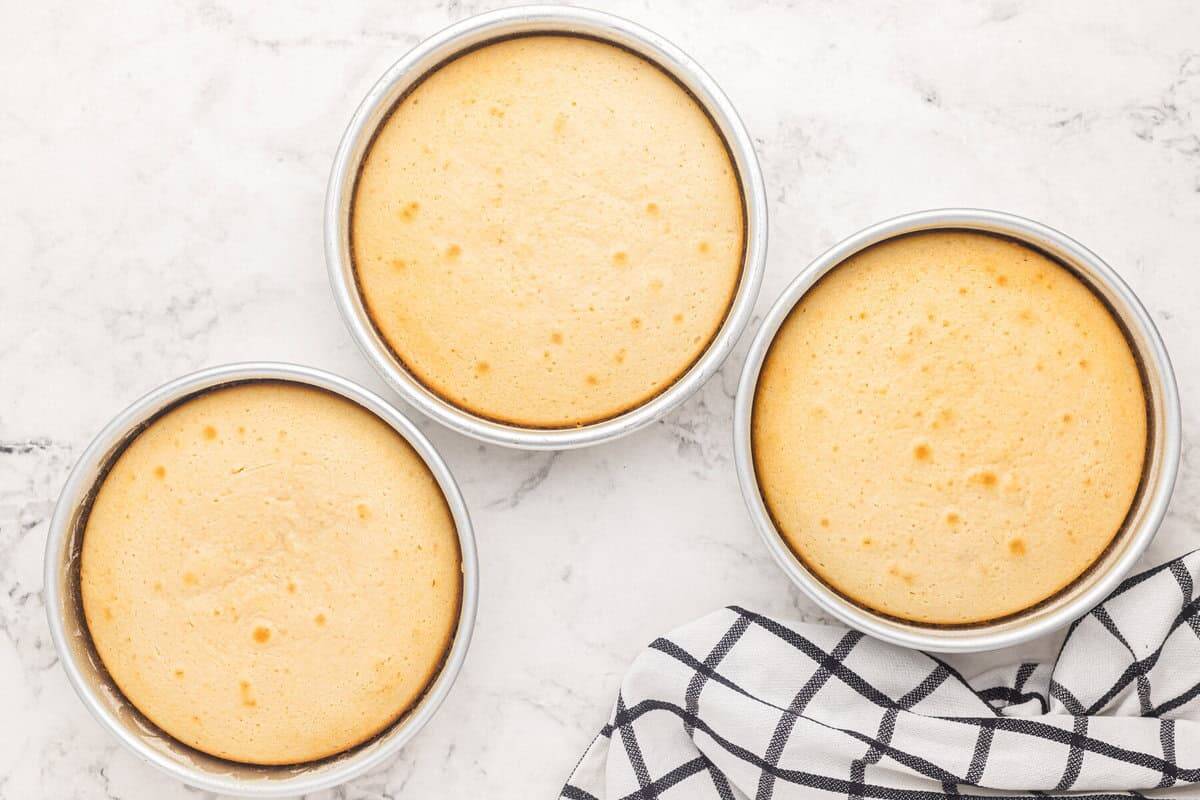
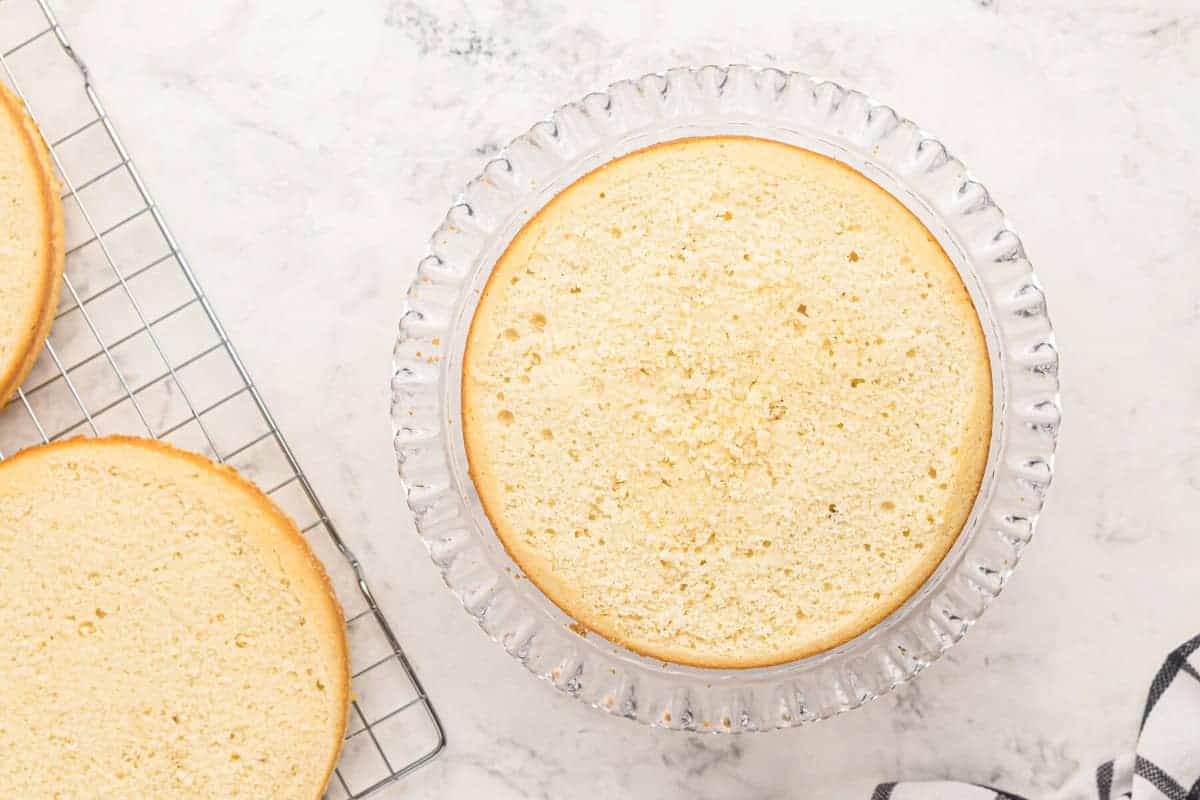
Bake the Cakes: Bake your white cakes in the preheated oven for 25-28 minutes, or until a toothpick inserted in the center comes out with just a few moist crumbs. Rotate after 15 minutes to avoid uneven browning. Let the cakes cool in their pans for about 5 minutes, then remove from the pans to let them cool completely on a wire rack.
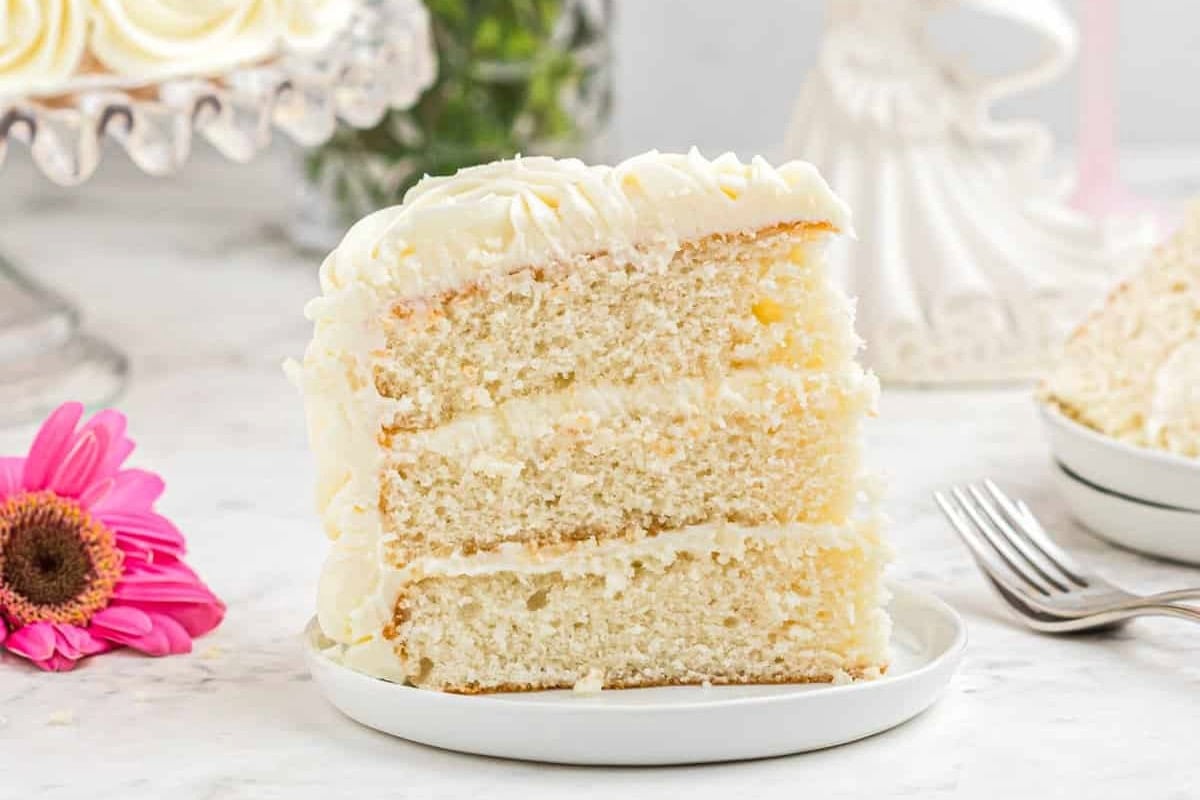
Level the Cakes: Before assembling, cut the tops off of each layer to have even and flat layers. I like to chill the cakes for 20 minutes before leveling them to avoid tearing them.
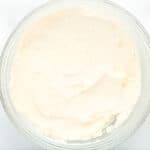
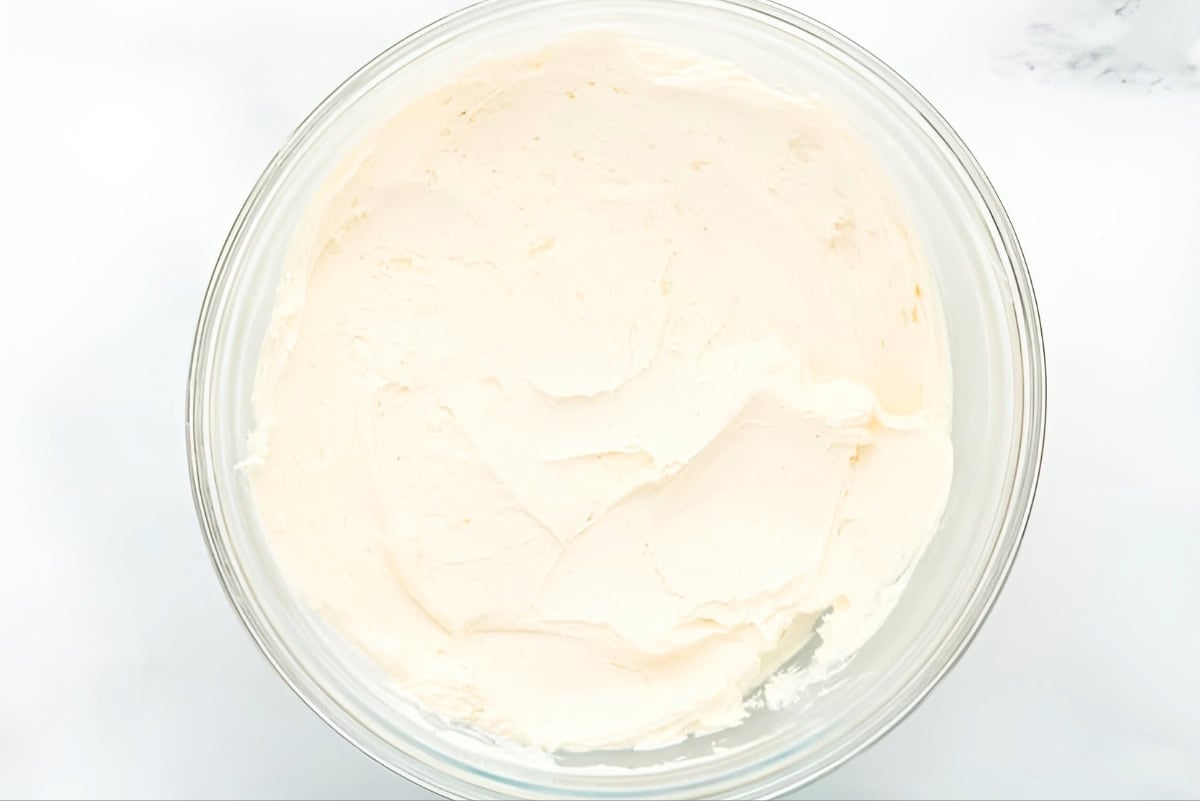
Make the Frosting: In the bowl of a stand mixer fitted with the paddle attachment, beat 2 cups of room-temperature unsalted butter on med-high speed for 5-8 minutes, or until smooth. Add 2 tablespoons of vanilla extract and ¼ teaspoon of fine sea salt, and beat until incorporated, about 1 minute. Turn the mixer down to the lowest speed, and add 8 cups of powdered sugar, 1 cup at a time, until incorporated. Once incorporated, turn the mixer to medium and beat for 2 minutes. Add 3-4 tablespoons of milk as needed to thin the consistency. Once it reaches your desired consistency, turn the mixer to the lowest speed and beat for 3 minutes, or until silky smooth. Add 1 drop of violet food coloring during this final mix, if using, for a whiter result.
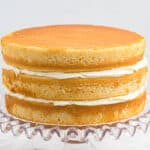
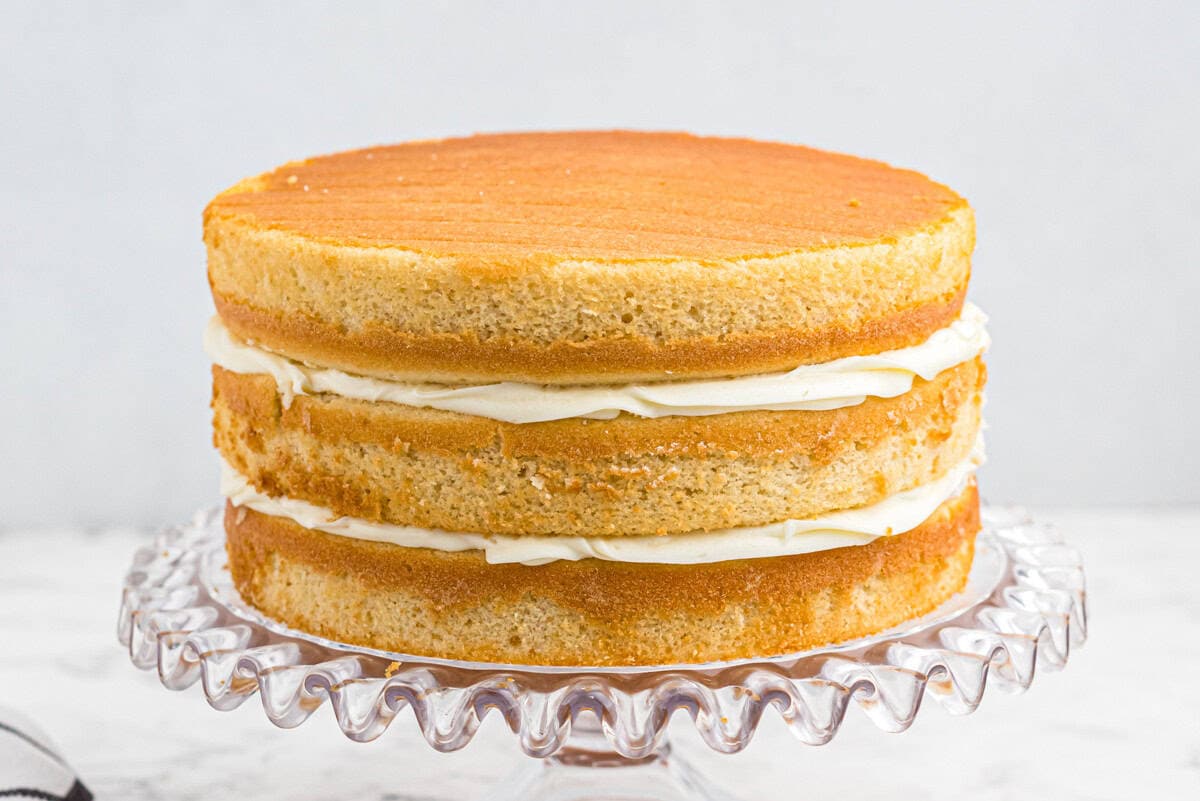
Fill the Cake: Place one leveled cake layer on a cake stand, cut side up. Pipe an outline of frosting around the top of the cake, and then fill in the center and spread the frosting to cover. Lightly add the next cake layer, and gently press it into the bottom layer, cut side up. Frost just like you did the previous layer. Top with the final leveled cake layer, cut side down, to create an even stack.
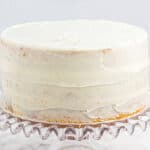
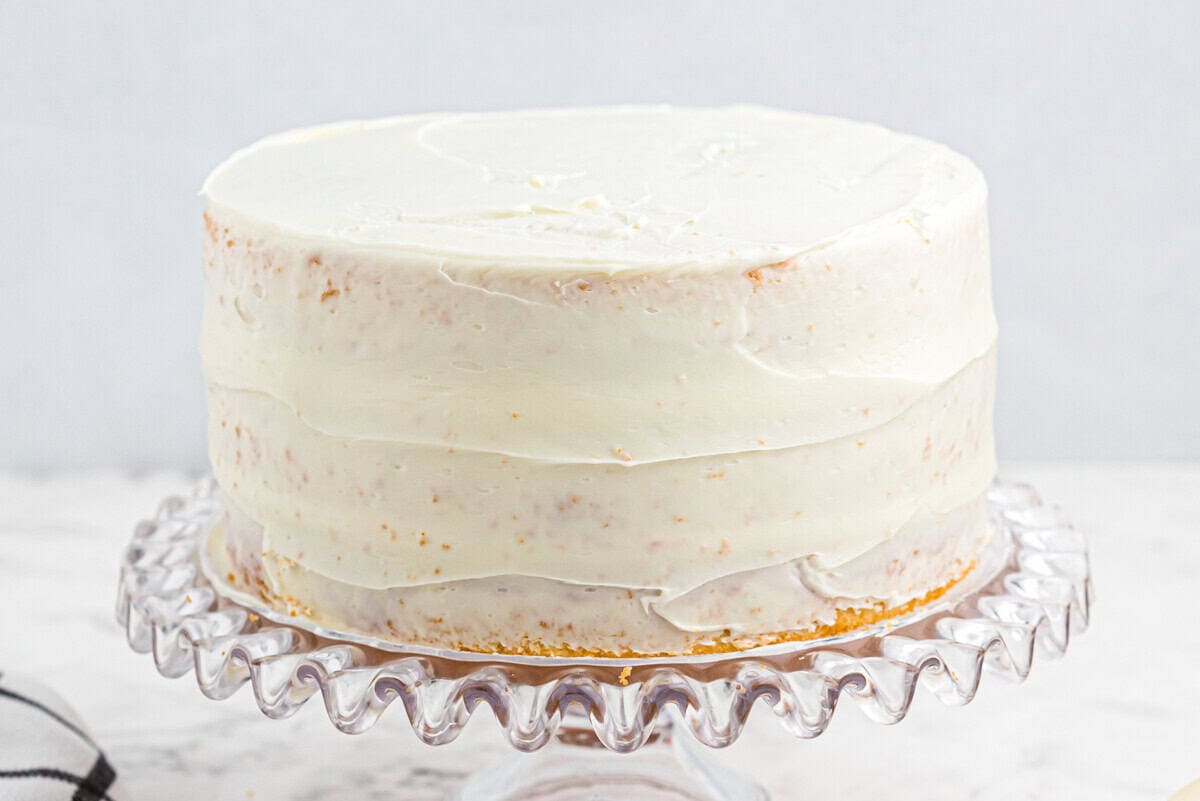
Crumb Coat the Cake: Lightly frost the entire outer cake with a crumb coat. This will make the cake look cleaner and well-covered. I like to chill the cake after the crumb coat to lock everything in–even just 15 minutes helps a lot.
Frost the Cake: To finish the cake simply, add a second, thicker layer of frosting around the outside and smooth with a cake scraper or offset spatula. To make the rosettes, begin with the bottom row. Fill a large decorating bag fitted with a large star tip (I used Wilton 2D) with buttercream frosting. Starting at the bottom of the cake, hold the bag straight up with the tip just next to the cake, squeeze the bag, and complete a full loop. Once you get to the end of the rosette shape, release pressure on the bag so you can pull the bag away.
Refine the Cake: Repeat the rosettes until you have gone all the way around the cake. Then begin the next row. Continue until the entire cake is covered in rosettes. Any small uncovered areas, gently fill in with small rosettes. If you’re nervous about your first wedding cake, remember that the rosettes are your best friend. They are incredibly forgiving and hide any imperfections in your crumb coat or leveling. You’ve got this!
How to Store and Freeze
Store leftover white wedding cake in an airtight container or cake cloche in the refrigerator for up to 3 days. To freeze, tightly wrap in 2 layers of plastic wrap and 1 layer of aluminum foil for up to 3 months. Let thaw overnight in the refrigerator before enjoying.
For a stress-free DIY wedding, bake the layers 2 days ahead, wrap them tightly in plastic, and refrigerate. You can crumb coat the cake 24 hours before the event. Perform the final rosette piping the morning of the wedding or the night before for the freshest results.
The safest way to transport a cake is on a flat, level surface. The floor of your car is much better than a slanted seat! Keep the car cool with the AC on high. If you are worried about stability, chill the cake for at least 4 hours before the drive to lock the buttercream in place.
While this cake is self-supporting, I recommend inserting 3 bubble tea straws or wooden dowels in a triangle pattern if you are adding heavy fresh flowers. If you have a long drive to the venue, a central staking dowel is recommended to keep the layers from sliding during transport
As written, this recipe serves 24 people. For larger parties, I recommend baking this cake as is and using it as your beautiful cutting cake. You can bake additional batches (enough for 45-50 guests) in a 9×13-inch pan (one batch fits perfectly!) at 325°F for 35-45 minutes. Cut into 1×2-inch slices for the perfect serving.


Leave a Reply