


These chocolate cake pops made with cake mix are one of my go-to desserts when I need something festive, fun, and fast. I start with a simple boxed chocolate cake mix, blend it with creamy store-bought chocolate frosting, then dip each cake ball in rich melted chocolate for a treat that’s part cake, part truffle, and completely irresistible. The best part? These cake mix pops are incredibly easy to make with no special equipment required, and they’re perfect for decorating with kids or serving at parties.

Cake Pops with Cake Mix
If you’ve ever felt intimidated by cake pops, don’t worry! I’ve tested this method several times to make it as foolproof as possible. By starting with a boxed cake mix and premade frosting, I eliminate most of the guesswork and get consistent results every time. These cake mix cake pops come out moist, rich, and coated in a smooth chocolate shell. If you have extra time, I recommend making my homemade double chocolate cake and chocolate buttercream instead for an elevated flavor.
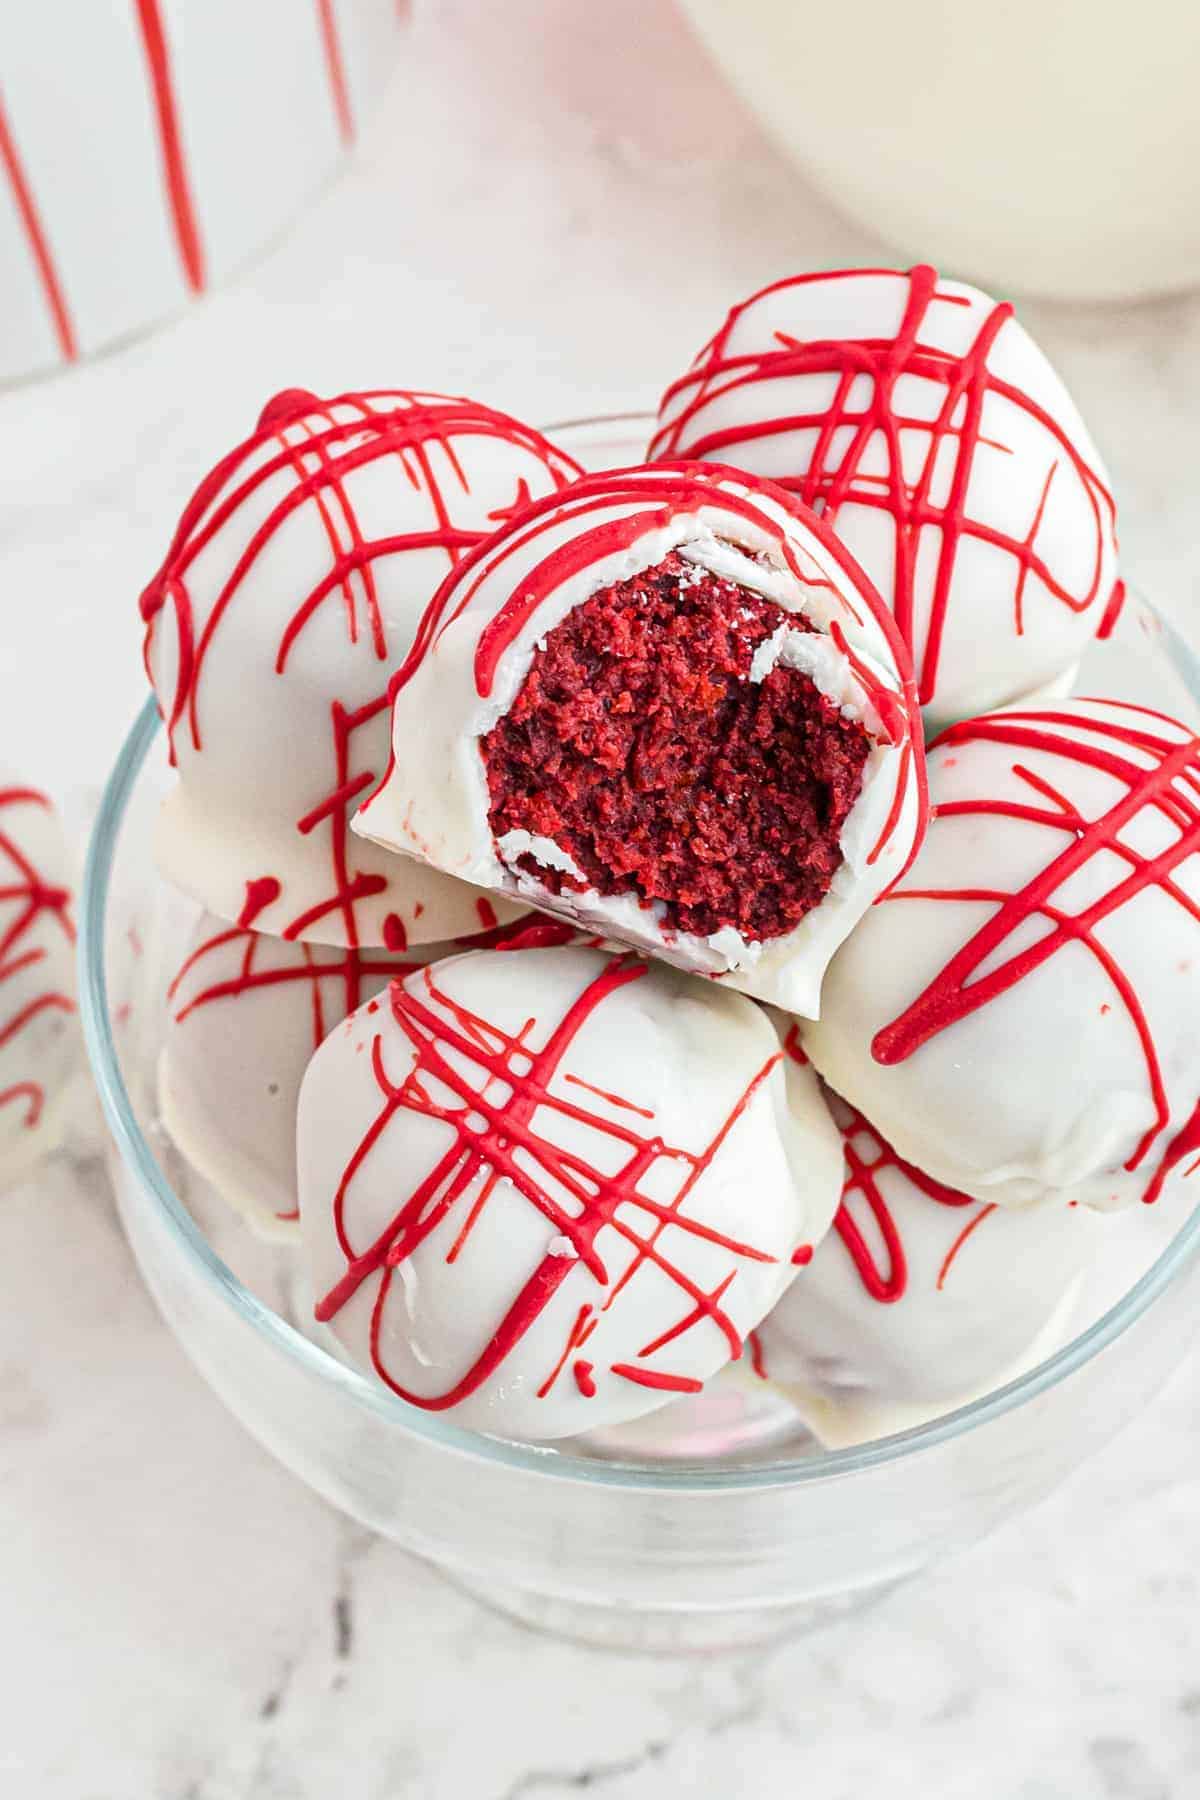
I love making these chocolate cake truffles with my kids, who enjoy crumbling the cake, mixing in the frosting, and picking out the toppings. Whether you decorate them with sprinkles, drizzle them with white chocolate, or keep them simple, these cake pop balls are always a hit.

Email this Recipe
Enter your email and we’ll send the recipe directly to you!
By submitting this form, you consent to receive emails from Easy Dessert Recipes.
The Secret to Secure Cake Pops
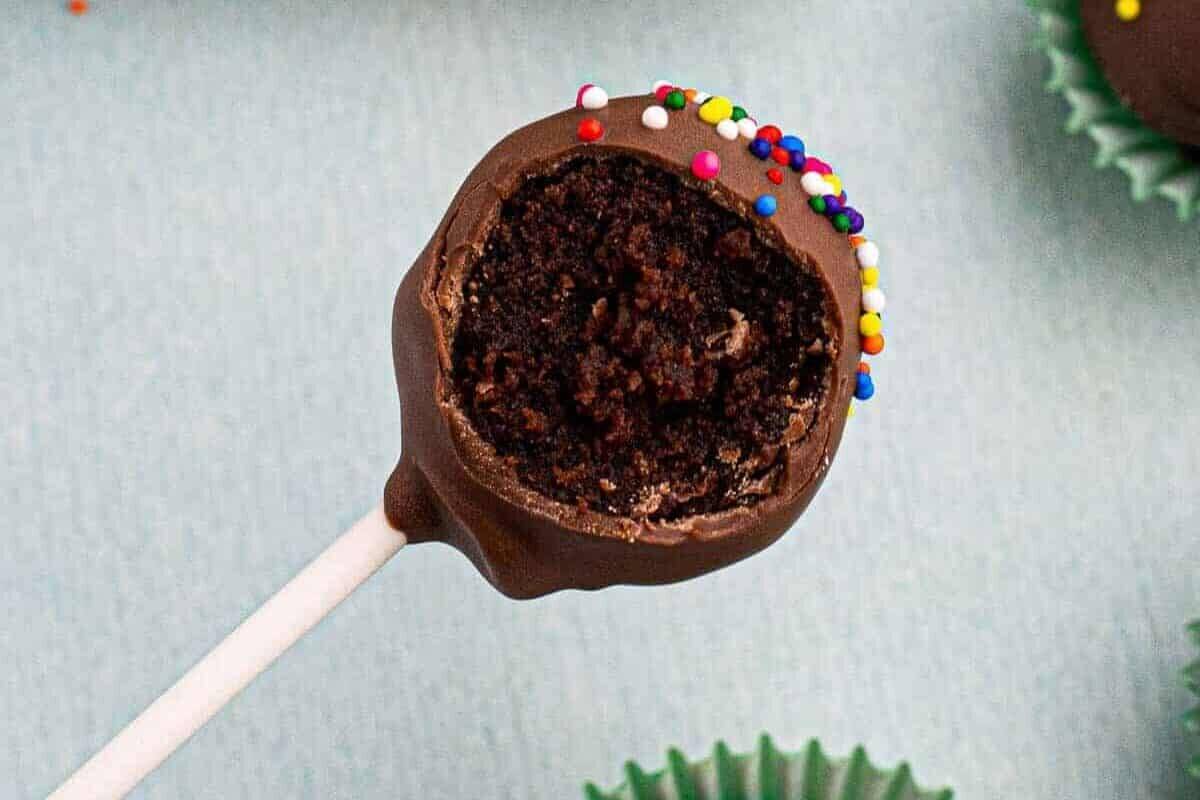
If your cake pops are falling off the stick, they might be too large or too warm. Make sure they’re only 1-1½ inches in size at most so they don’t break apart. Refrigerate them for a full 30 minutes before dipping to help them stay firm and secure. And don’t forget to dip the stick into melted chocolate before inserting it into the truffle. It acts like edible glue!

Chocolate Cake Pops Recipe (with Cake Mix)
Equipment
- Kitchen Scale (optional)
- 9×13 Baking Pan
- Cookie Portion Scoop (optional)
Ingredients
- 15.25 ounces chocolate cake mix (1 box)*
- 1 cup water
- ½ cup vegetable oil
- 3 large eggs
- 16 ounces chocolate frosting (1 tub)
- 10 ounces melting chocolate (1 bag)**
Instructions
Bake the Cake:
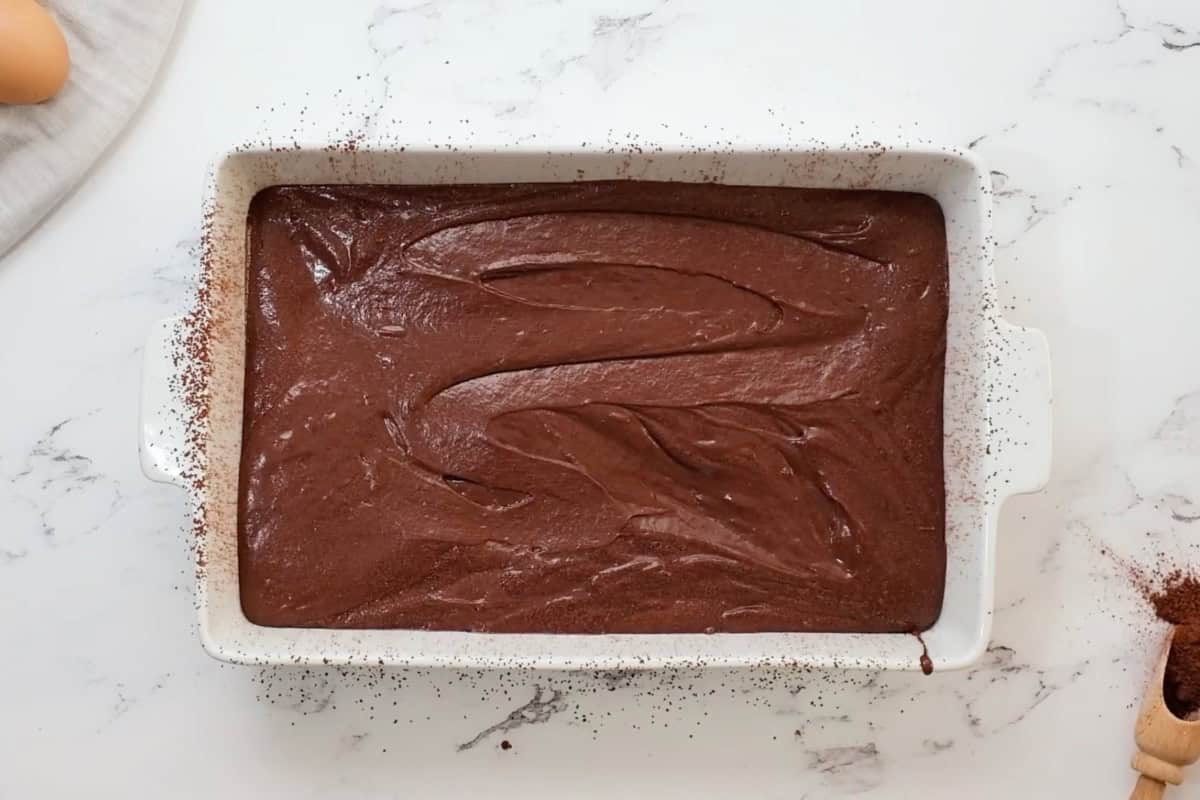
- Preheat the oven to 350°F. Coat a 9×13 baking pan with butter or nonstick spray and set aside.
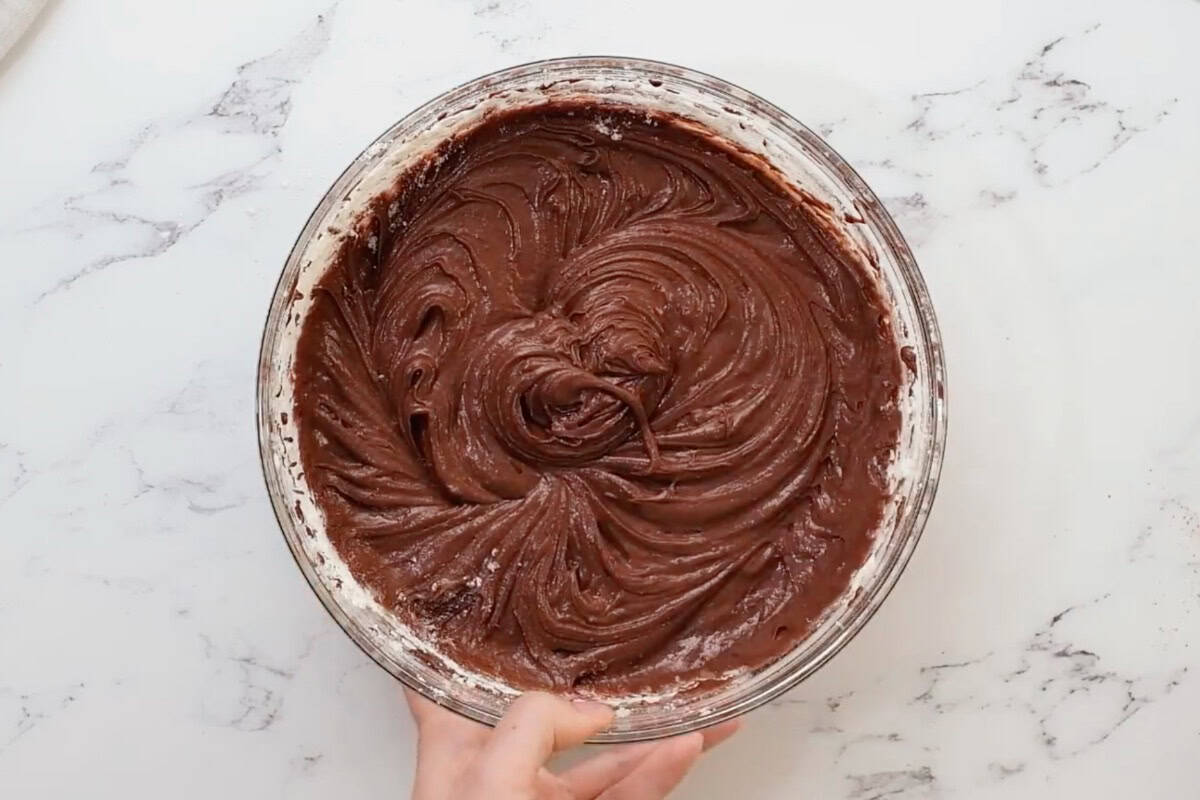
- Mix the cake mix, water, oil, and eggs together in a medium bowl.15.25 ounces chocolate cake mix, 1 cup water, ½ cup vegetable oil, 3 large eggs

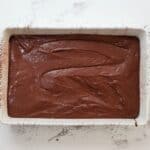
- Pour into the prepared baking pan and bake according to the instructions on the package, or about 30 minutes. Remove from the oven and allow to cool.
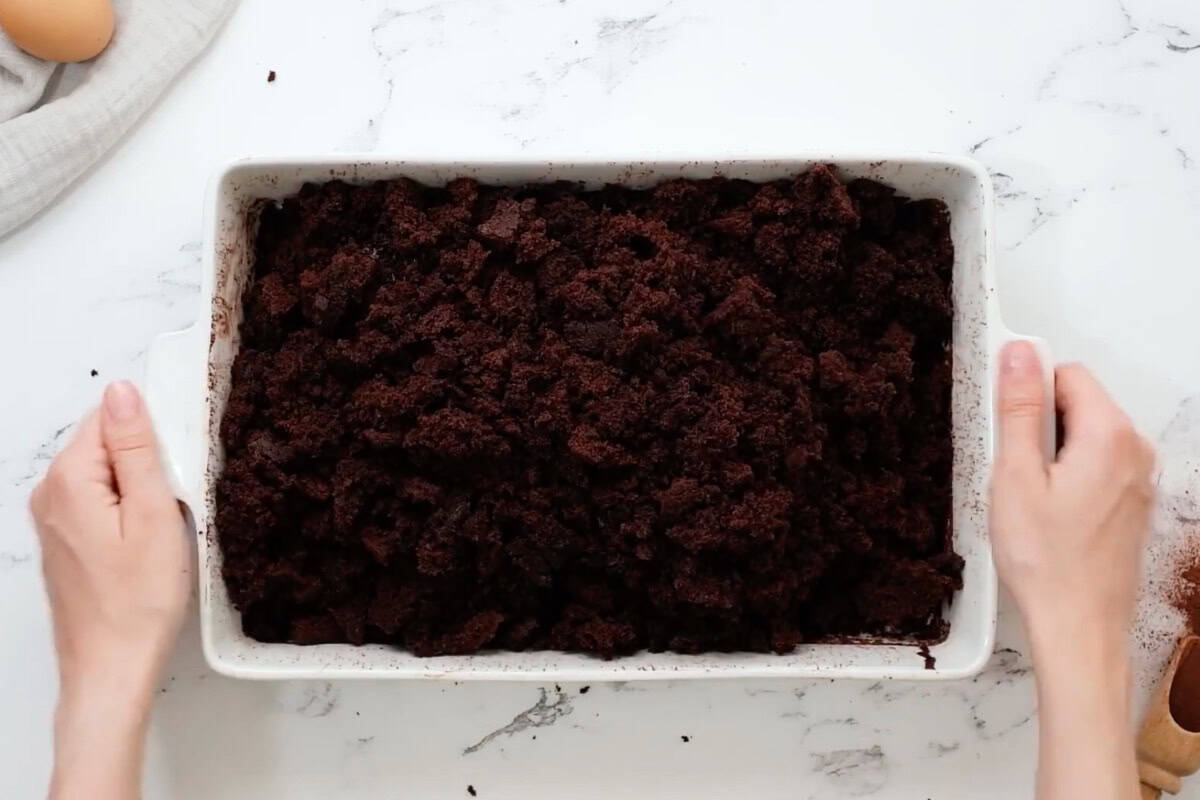
Form the Cake Balls:
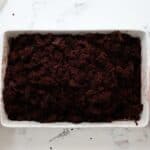
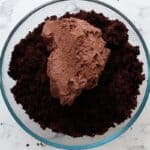
- Once the cake has cooled, break it into pieces until it forms a fine crumble.
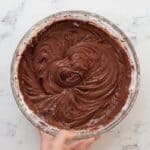
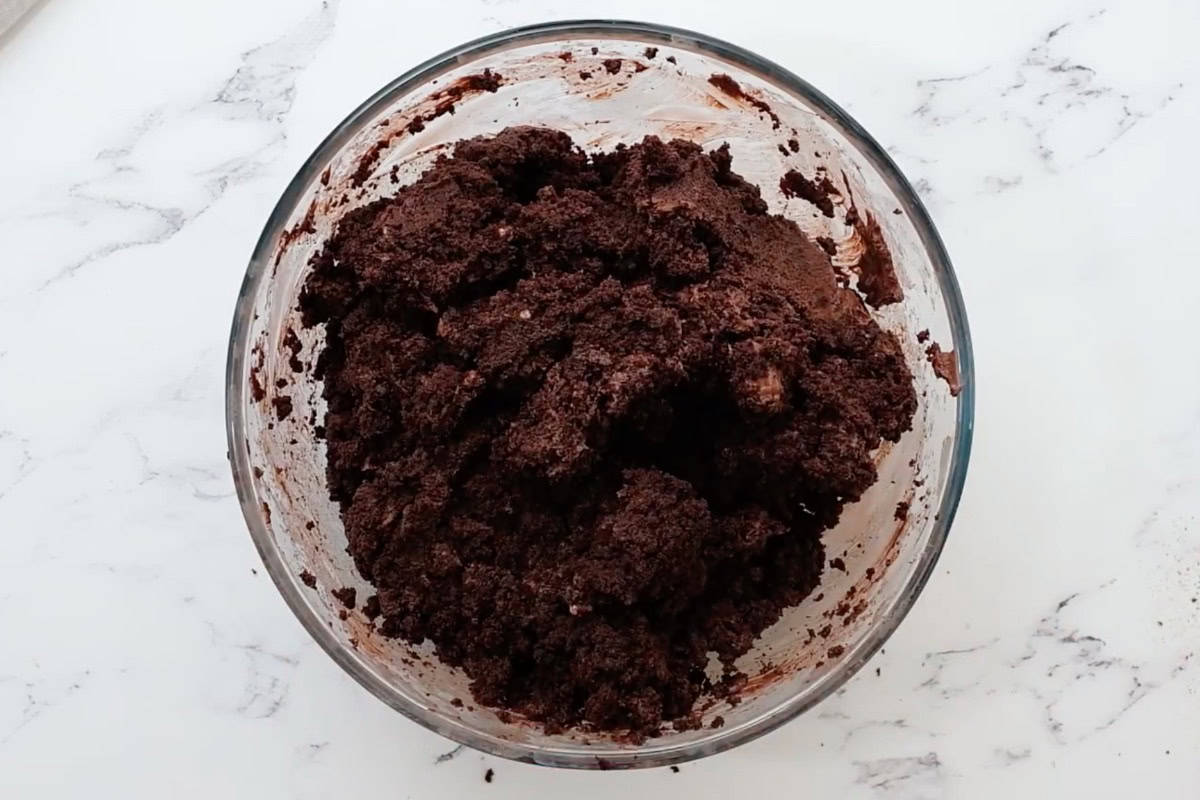
- Stir in the frosting, mixing until the crumble forms into a small ball and sticks together.16 ounces chocolate frosting
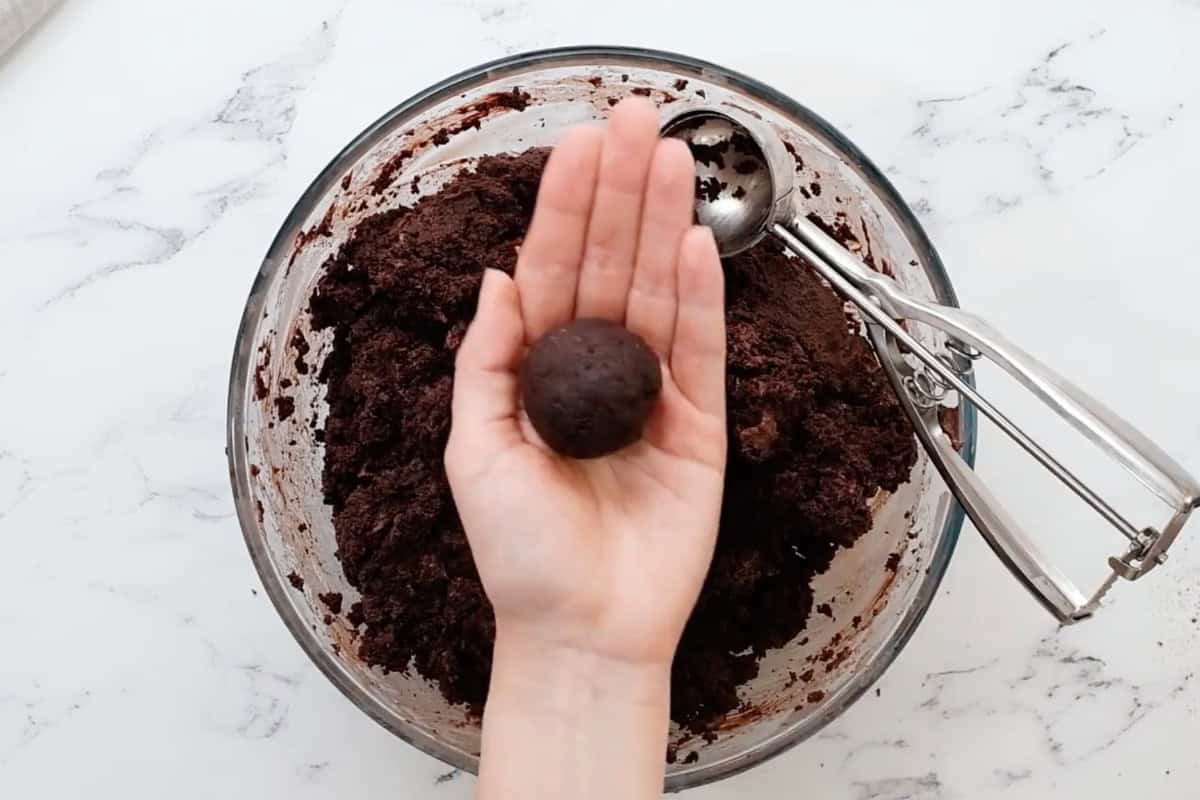
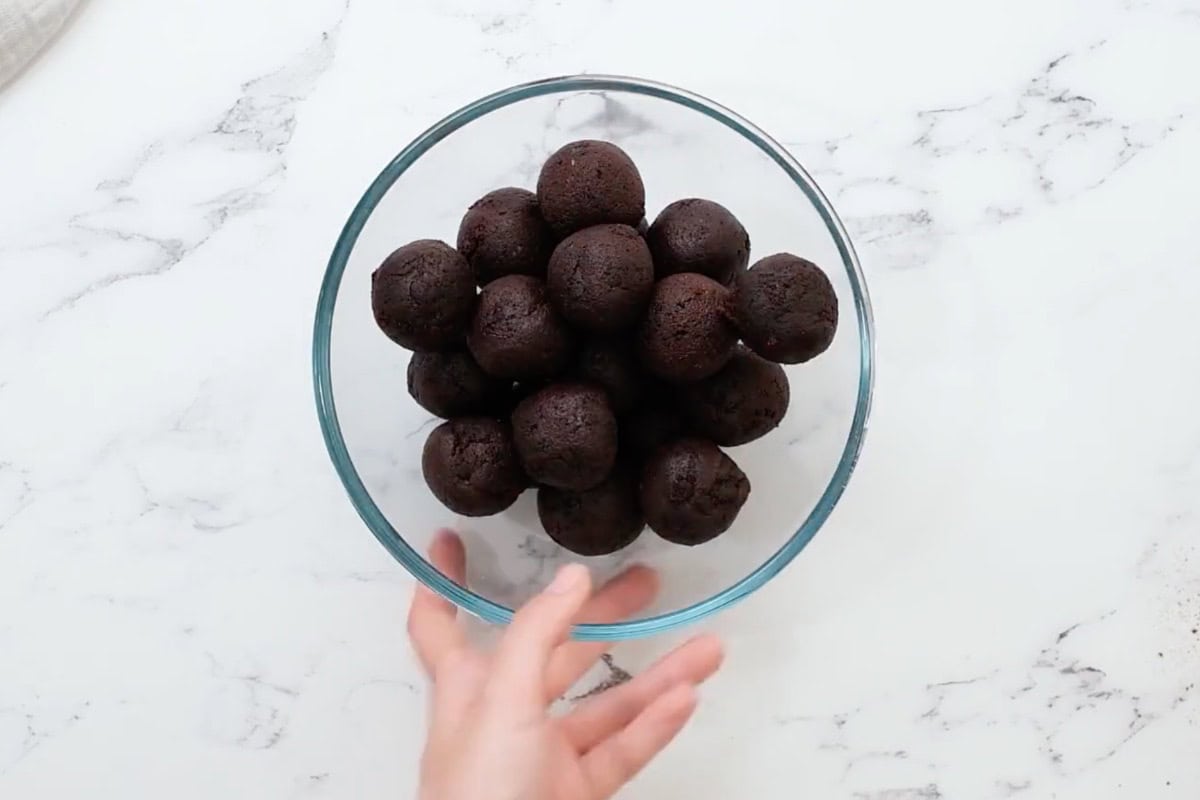
- Scoop into 1½ inch balls and roll into a round shape using your hands.
- Place the shaped balls into a large bowl and refrigerate for about 30 minutes.


Assemble the Cake Pops:
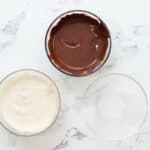
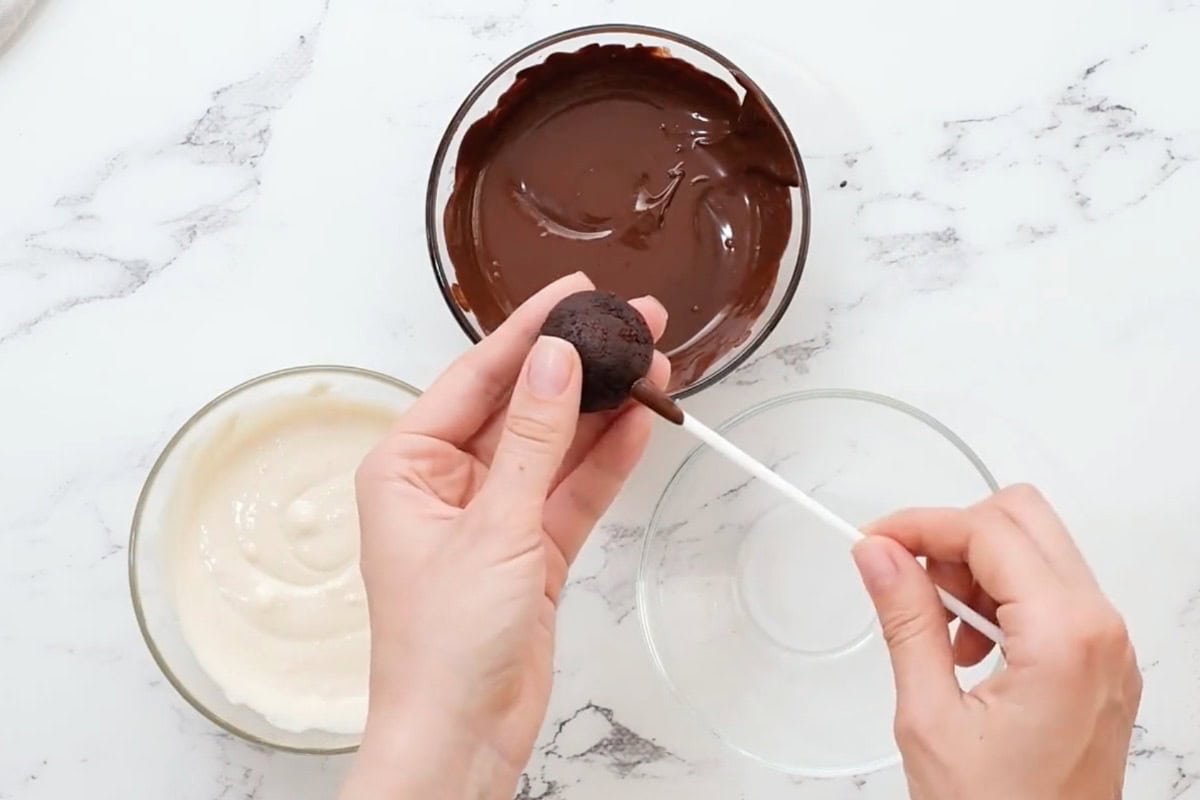
- Melt the chocolate in the microwave, stirring in 30-second increments until smooth.10 ounces melting chocolate
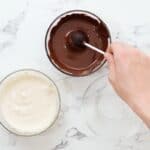
- Place a pop stick into the melted chocolate, just covering the top of the stick, before inserting it into the cake pop (this helps hold the cake pop on the stick when you are dipping).
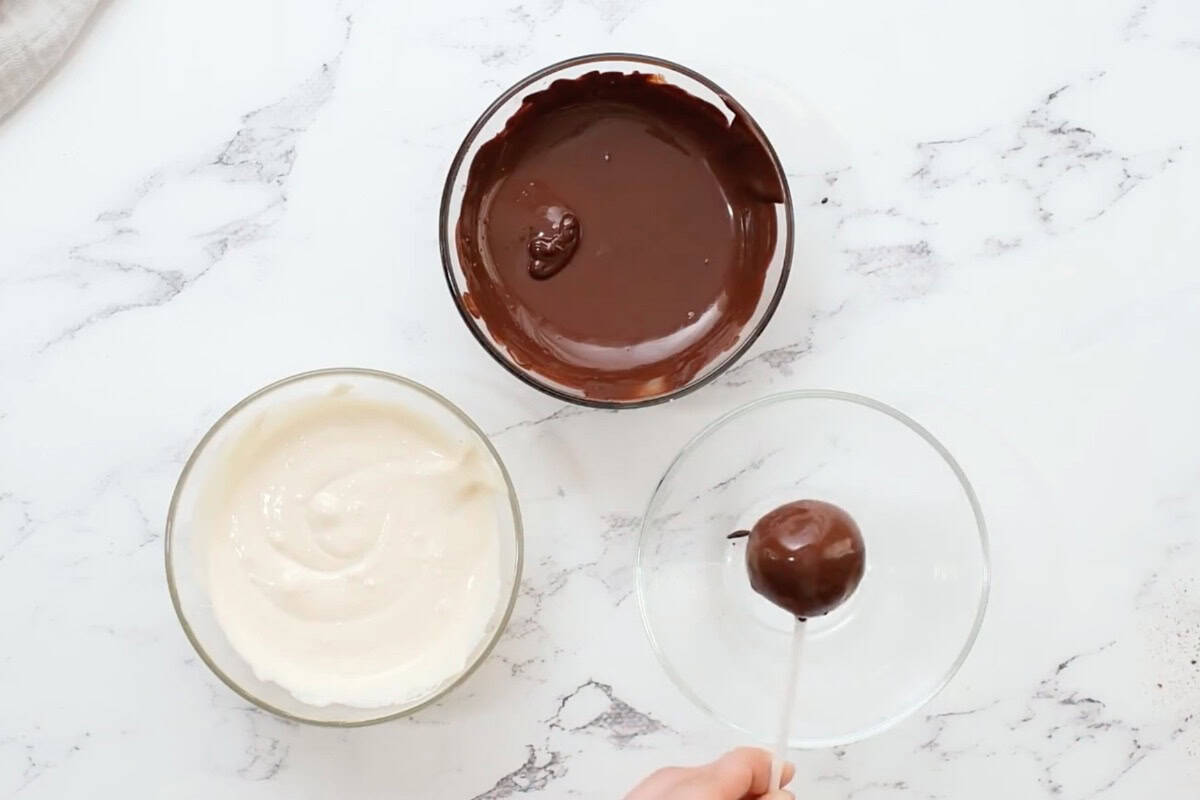
- Dip the entire ball of cake into the chocolate until it is completely covered.
- Tap the middle of the stick onto the edge of the bowl so the excess chocolate drips back into the bowl. Allow the chocolate to set.


To Make Cake Balls/Truffles:
- In a medium microwave-safe bowl, melt the chocolate. Using a fork, dip each cake ball into the chocolate briefly, then let drip off. Allow the chocolate to set before serving.
Notes
- Use a cookie scoop to make sure each cake ball is the roughly the same size. Trust me, they’re way more impressive to present when they’re more uniform.
- I place the balls in the refrigerator to help them hold their shape while dipping into the warm chocolate, and the coolness of the cake quickens the setting of the chocolate.
- When microwaving the chocolate, do so in 30-second intervals. Chocolate can burn pretty quickly in the microwave, so make sure you’re checking on it and stirring often!
- You can use all milk chocolate, all white chocolate, or a combo.
- If you’re using sprinkles, toss them on the truffles right after they’ve been dipped and the chocolate is still wet.
How to Make Chocolate Cake Pops Step-by-Step
Make the Batter: Preheat your oven to 350°F, then coat a 9×13 baking pan with butter or nonstick spray and set it aside. Next, mix 15.25 ounces (1 box) of chocolate cake mix with 1 cup of water, ½ cup of vegetable oil, and 3 large eggs in a medium bowl.
Bake the Cake: Pour cake batter into the prepared baking pan, and bake according to the instructions on the package (about 30 minutes). Remove from the oven and allow to cool completely before moving on to the next step. This can be done ahead of time, so it’s cooled and ready to crumble.
Crumble the Cake: Once the chocolate cake has fully cooled, break it into pieces (using a fork or mixer) until it turns into a fine crumble.
Add the Frosting: Then combine 16 ounces (1 tub) of chocolate frosting with the cake crumbles, mixing until it becomes a fairly-wet dough that sticks together easily. You may need to add slightly more or less frosting than instructed, so add a little at a time until you get the right consistency. You want the crumbs to bind, but you don’t want the cake balls to be too dense.
Scoop the Truffles: Use a cooke scoop or tablespoon to gather the cake mixture into 1½ inch balls. Gently roll the dough between your palms to form it into a round shape.
Chill: Place the shaped balls into a large bowl and refrigerate for about 30 minutes. Chilling helps the cake mixture set and become firm, so they’re easier to work with when assembling the cake pops. If they are too warm, they may fall apart.
Assemble the Cake Pops: In a microwave-safe bowl, melt 10 ounces of melting chocolate, stirring in 30-second increments. Place a pop stick into the melted chocolate (just covering the top of the stick), then insert it into the cake ball. The melted chocolate is key to helping the stick stay in place. Place them in the fridge again to chill, so the chocolate has time to set.
Dip and Set: Next, dip the entire cake ball into the melted chocolate, coating it completely. Tap the middle of the stick onto the edge of the bowl to remove excess. Place the assembled cake pops I the fridge to chill so the chocolate can set before serving.
How to Store and Reheat
Store chocolate cake pops in an airtight container at room temperature for up to 5 days, in the refrigerator for up to 2 weeks, or in the freezer for up to 6 weeks. Let thaw at room temperature before enjoying.


Leave a Reply