


When I want a breakfast that looks fancy but is secretly simple, I make these sweet crepes. If you’ve ever struggled with lumpy batter or rubbery results, this is the recipe for you. I use a blender for a silky-smooth batter, and I show you how to use your first crepe to help you troubleshoot for perfect results in under 30 minutes. It’s the most reliable, foolproof method I’ve found for impressing guests without the stress!

Easy Blender Crepes
While traditional crepes have a reputation for being finicky, my blender method turns them into a 30-minute masterpiece. Using my high-powered blender over a traditional whisk, I guarantee a silky, lump-free batter every time. This quick pulse, combined with a short 20-minute rest, is my secret for getting those gorgeous, lacy edges that make crepes so special.
I use a nonstick pan to make these sweet crepes even more foolproof, since it requires just a tiny bit of butter for a golden sear. The nonstick surface makes them easy to flip, and a little bit of wrist finesse is all you need to help the batter spread into a beautiful, thin circle. Whether you fill them with Nutella or top them with fresh berries and powdered sugar, this reliable base recipe is the ultimate fancy shortcut.


Email this Recipe
Enter your email and we’ll send the recipe directly to you!
By submitting this form, you consent to receive emails from Easy Dessert Recipes.
Use the First Crepe to Troubleshoot
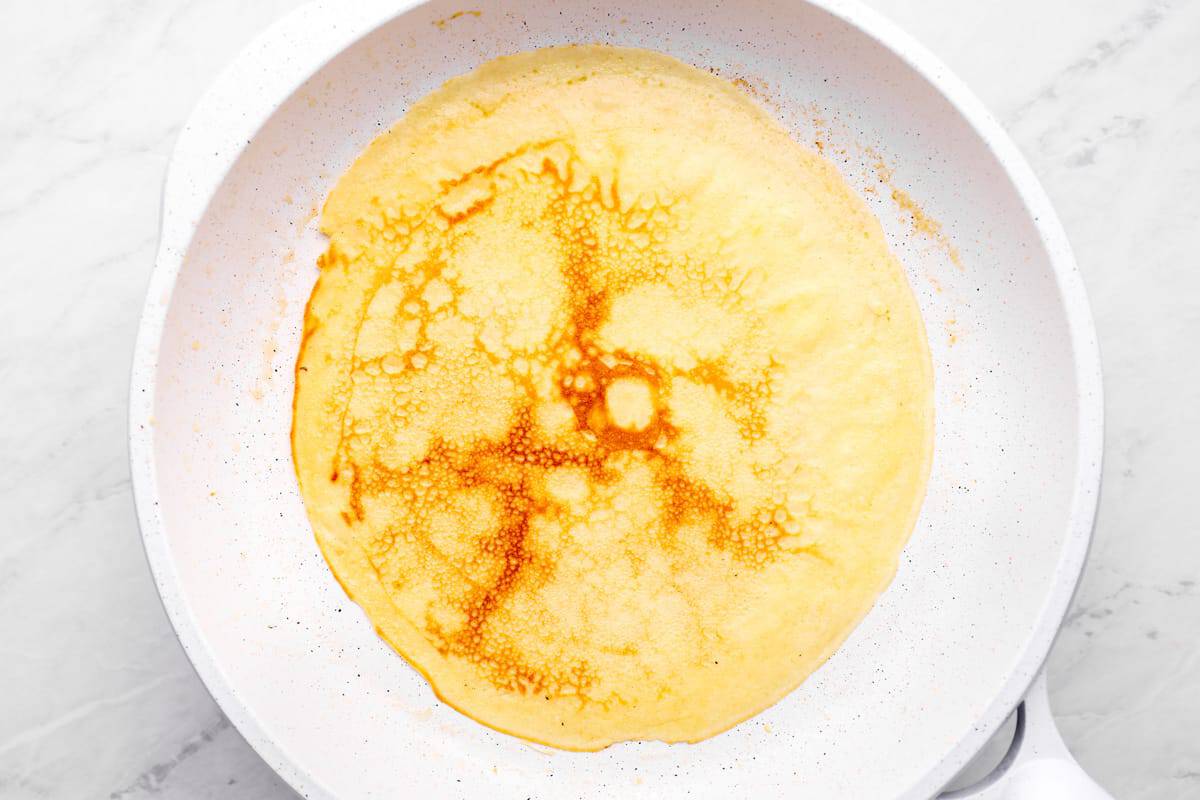
The first crepe is rarely a masterpiece, but it’s always a great teacher. Before you eat your mistake (no judgment here!), take a second to look at the texture. It’s your best guide for dialing in the heat and perfecting your swirl for the next round.
- Full of Holes: Your pan is too hot. The butter is bubbling too violently, and the batter is setting before it can fill the gaps. To fix this, lift the pan off the heat for 30 seconds before the next pour.
- Pale and Rubbery: Your pan is too cool. The batter is steaming instead of searing, which develops a tough, leathery texture. To fix this, increase the heat by a notch and wait for the shimmer in the butter.
- Blotchy: You have too much residual butter in the pan. To fix this, use a paper towel to wipe the pan almost dry after greasing; you want a microscopic film, not a puddle.

Sweet Crepes Recipe
Equipment
- Kitchen Scale (optional)
- High Powered Blender
Ingredients
- 1¼ cups whole milk room temperature
- 2 large eggs room temperature
- ½ teaspoon pure vanilla extract *
- 1 cup all-purpose flour
- 2 tablespoons granulated sugar
- 3 tablespoons unsalted butter melted (plus more for serving)
- ⅛ teaspoon kosher salt
Instructions
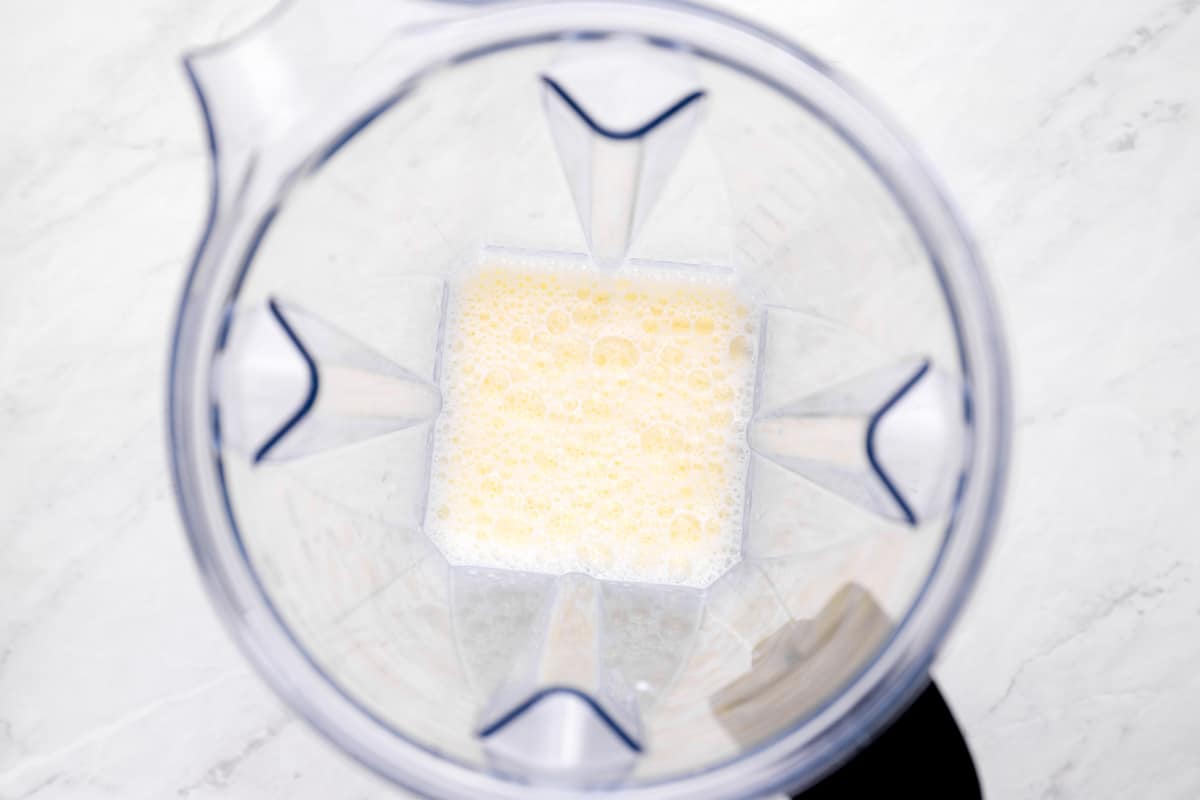
- Add the milk, eggs, and vanilla to a blender and blend on medium speed until smooth, about 10-20 seconds.1¼ cups whole milk, 2 large eggs, ½ teaspoon pure vanilla extract

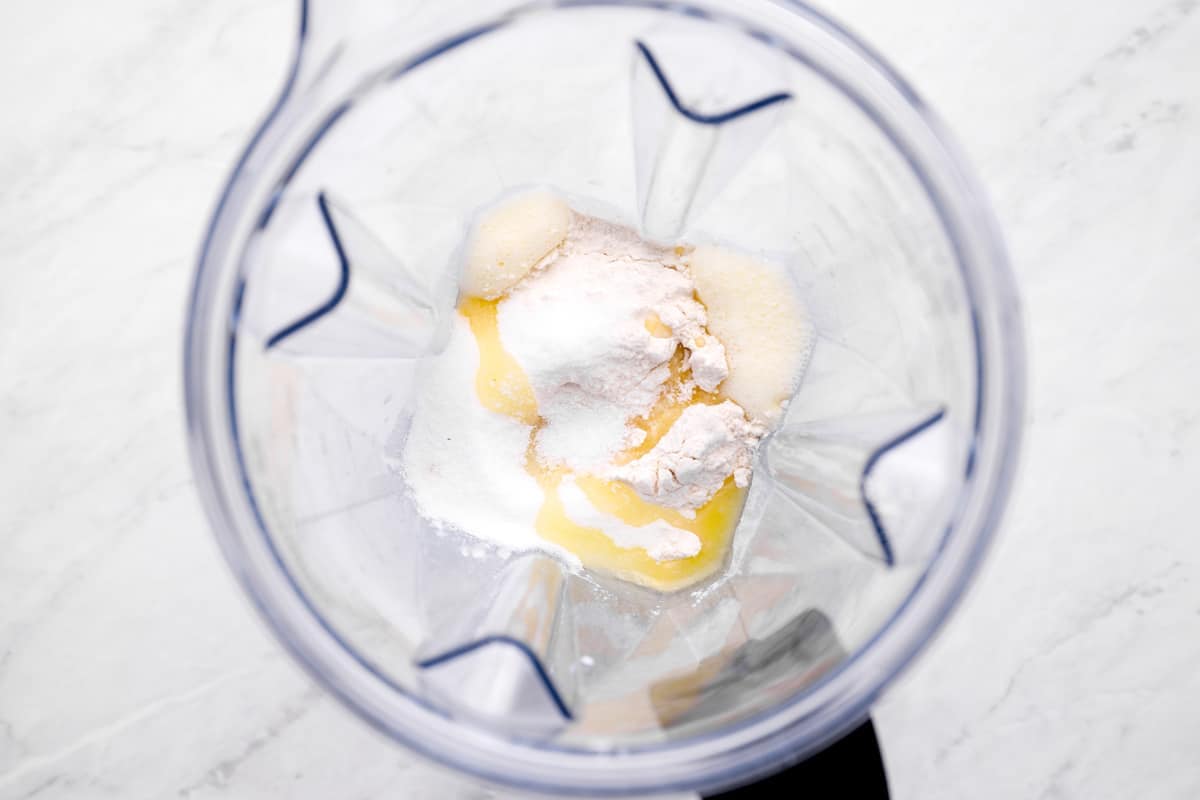
- Add in the flour, sugar, melted butter and salt. Blend for another 10-20 seconds until smooth.1 cup all-purpose flour, 2 tablespoons granulated sugar, 3 tablespoons unsalted butter, ⅛ teaspoon kosher salt
- Cover the blender and let it sit for 20-30 minutes at room temperature.
- Heat a nonstick pan over medium heat. Once warm, add in a teaspoon of butter, moving it around the pan to evenly coat.
- Pour in ¼ cup of the batter and immediately swirl the pan to spread it out into a thin, even circle. Cook for 1-2 minutes until lightly browned, flip and cook for another minute.
- Repeat with the remaining batter, adding more butter as needed.
- Serve with toppings of choice.


Notes
- If you don’t have a blender, use a food processor or a hand blender/whisk.
- While you can skip resting the batter, even just 20-30 minutes makes a huge difference in the final texture/flavor.
- If the batter is too thick to swirl around the pan, add another tbsp of milk.
- I used an 8-inch non-stick skillet for this recipe. If you use a larger pan, you’ll get fewer crepes, and you may need to increase the batter to ⅓ cup per crepe.
- The pan is hot enough when a tiny drop of water flicked onto the pan evaporates instantly.
- Add more butter between each crepe to get lacy edges.
- Try to spread the batter across the whole surface of the pan. The thinner the crepe, the better the taste!
- Once the edges start to curl up, use a thin offset spatula or a butter knife to lift the crepe from the center and flip.
- The first crepe often comes out a bit wonky, but don’t panic. The next one will be better!
- As you finish each crepe, stack them directly on top of each other on a plate and cover them with a clean kitchen towel to keep them soft and pliable.
- Crepes can either be served rolled or folded into triangles–either way is delicious!
- I love them filled with fresh fruit and whipped cream, Nutella, or lemon curd for breakfast or dessert.
Make it Savory
This blender crepe batter is lightly sweet with a hint of vanilla, which is perfect for breakfast or dessert. However, crepes are an incredibly versatile base for savory recipes, too! To make the batter a bit more savory, reduce the sugar to 1 teaspoon, and omit the vanilla extract. Then, you can fill it with ham and cheese, scrambled eggs, and more!
How to Make Sweet Crepes in a Blender Step-by-Step
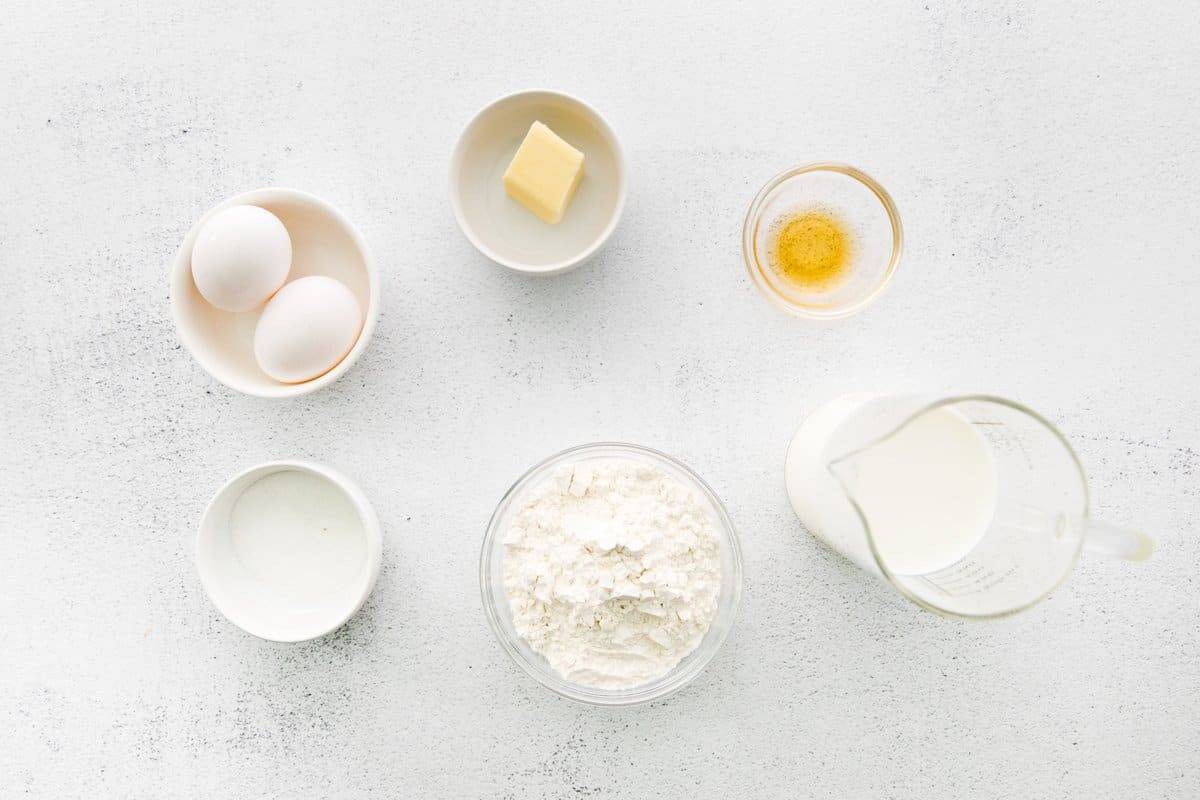
Prep: Gather up the short list of ingredients for these sweet crepes. Set the eggs and milk out on the counter for about 30 minutes to bring them to room temperature. Cold milk will solidify the melted butter upon contact, creating little butter chunks in the batter rather than a smooth emulsion. Then, melt the butter in the microwave in 10-second increments until liquid.
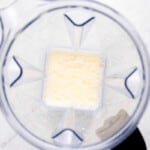
Blend the Wet Ingredients: Add 1¼ cups of room-temperature whole milk, 2 large room-temperature eggs, and ½ teaspoon of vanilla extract to a blender and blend on medium speed until smooth, about 10-20 seconds.
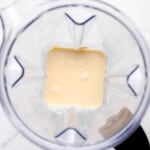
Blend in the Dry Ingredients: Add in 1 cup of all-purpose flour, 2 tablespoons of granulated sugar, 3 tablespoons of melted unsalted butter, and ⅛ teaspoon kosher salt. I recommend all-purpose flour to give these crepes structure so they don’t tear. Blend for another 10-20 seconds until smooth. Take care not to overblend the batter, or your crepes will turn out rubbery. You can always sift the batter through a fine-mesh sieve if it is still a bit lumpy.
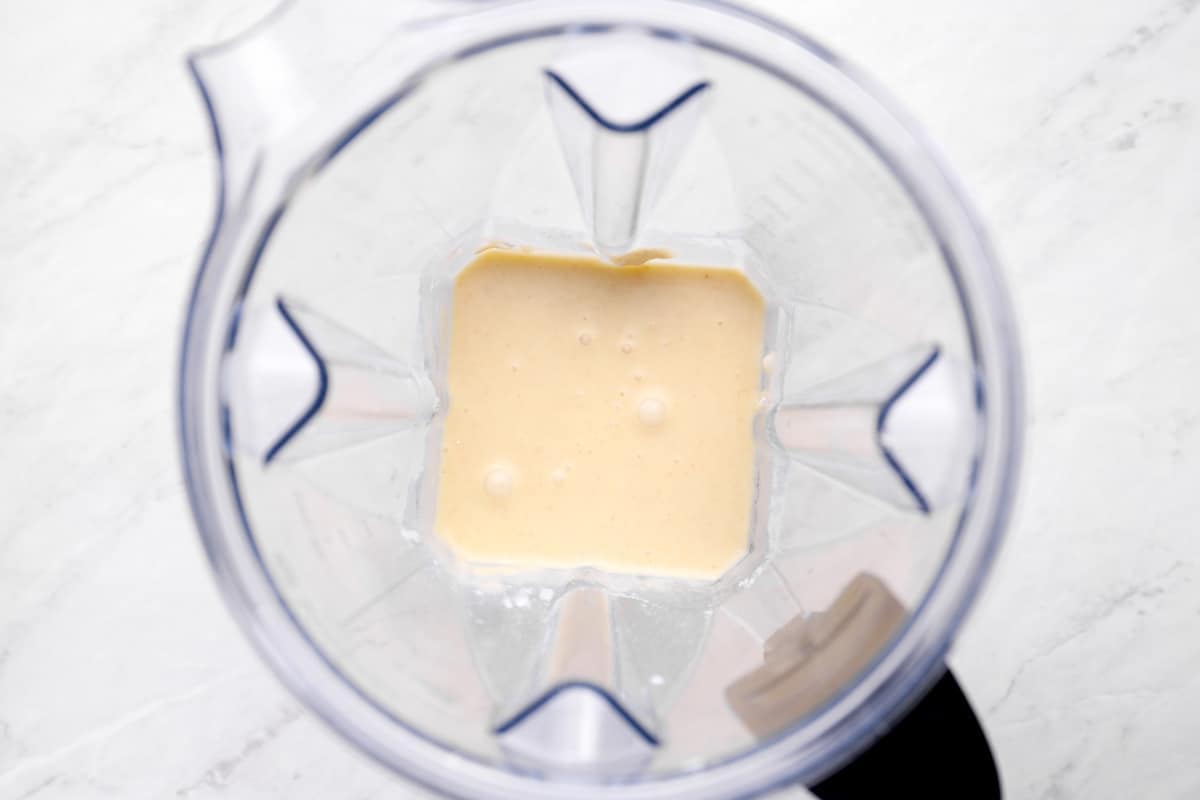
Rest the Batter: Cover the blender and let your batter sit for 20-30 minutes at room temperature. This helps the flavors to fully develop and the batter to properly hydrate. You can skip this step if you’re in a rush, but I really recommend it for the best results.
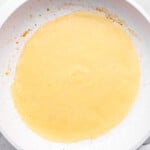
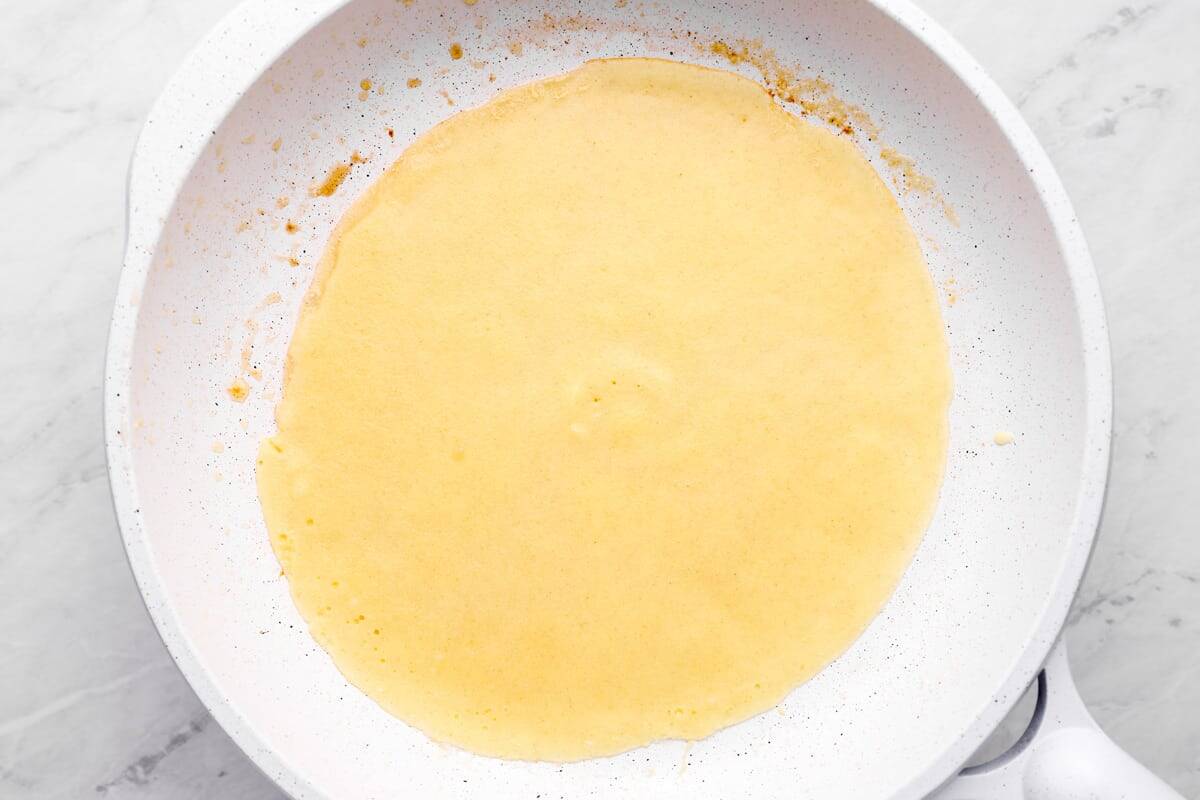
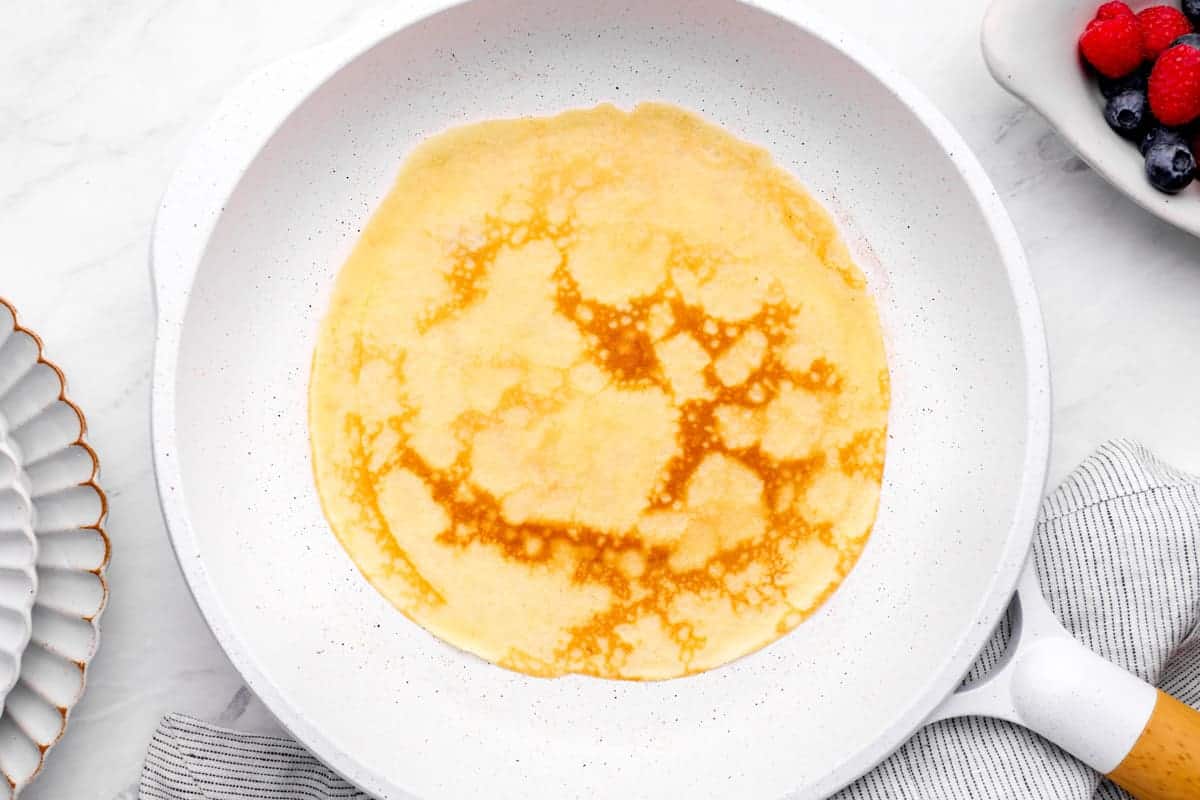
Cook the Crepes: Heat a nonstick pan over medium heat. You’ll know it’s ready if you flick a bit of water in and it immediately evaporates. Once warm, add in a teaspoon of butter, moving it around the pan to evenly coat. Pour in ¼ cup of the batter, and immediately lift the pan off the heat, and swirl it to spread the batter out into a thin, even circle. The swirl should be a circular motion starting from the wrist, tilting the pan so the batter hits the edges like a clock (12, 3, 6, 9). The batter should be thin enough to coat the bottom in about 3-5 seconds. If it sets before you finish the circle, your pan is too hot!
Flip the Crepe: Cook for 1-2 minutes, or until lightly browned. You’ll know the crepe is ready to flip when the edges start to curl up, the surface turns matte, and you can easily lift it with a thin spatula or butter knife. Flip the crepe and cook for another minute, until fully set.
Repeat and Serve: Repeat with the remaining batter, adding more butter between each crepe to ensure you get those lacy edges. Stack finished crepes under a kitchen towel to keep them moist and pliable while you finish using up the rest of the batter. Serve your homemade blender crepes with the fillings and toppings of your choice, and enjoy!
How to Store, Freeze, and Reheat
Store leftover cooked crepes (unfilled) in an airtight container in the refrigerator for up to 3 days, or freeze them with parchment stacked between each for up to 4 months. Let thaw overnight in the refrigerator before reheating in the microwave or arrange on a lined baking sheet covered with aluminum foil and warm in a 275°F oven for about 10 minutes. I do not recommend freezing filled crepes.
Blending creates air bubbles. If you cook the batter immediately, those bubbles can leave tiny holes in your crepes. Resting the batter allows the gluten to relax, the bubbles to dissipate, and gives the flour time to hydrate. This helps prevent the crepes from turning out rubbery or tearing easily.
Absolutely! Simply whisk the flour, sugar, and salt in a bowl. In a separate jug, whisk the eggs, milk, and vanilla. Slowly pour the wet ingredients into the dry, whisking constantly to prevent lumps. Stir in the melted butter last. If it’s still lumpy, pour it through a fine-mesh sieve.
This usually happens if the pan wasn’t hot enough when you poured the batter, or if you aren’t using a true non-stick surface. Make sure the butter is shimmering before you pour, and don’t try to flip the crepe until the edges are visibly dry and starting to curl.
This is almost always because the crepe isn’t fully set yet. Wait until the edges are brown and pulling away from the pan on their own. If the center still looks wet or shiny, it’s too early to flip!
Stack them on a plate as you go and cover them with a clean kitchen towel. The steam keeps them soft. If you need to keep them warm for longer than 20 minutes, place the stack in an oven set to 200°F, covered tightly with foil to keep them from drying out.


Leave a Reply