


These adorable Father’s Day cookies are the perfect craft recipe to make with the kiddos to show dad just how special he is! I made a simple sugar cookie base and buttercream frosting combo that is both delicious and easy. My kids love decorating these frosted sugar cookies for Father’s Day every year, and Pat is always impressed with their handiwork. Best dad ever!

Decorating Simple Sugar Cookies for Father’s Day
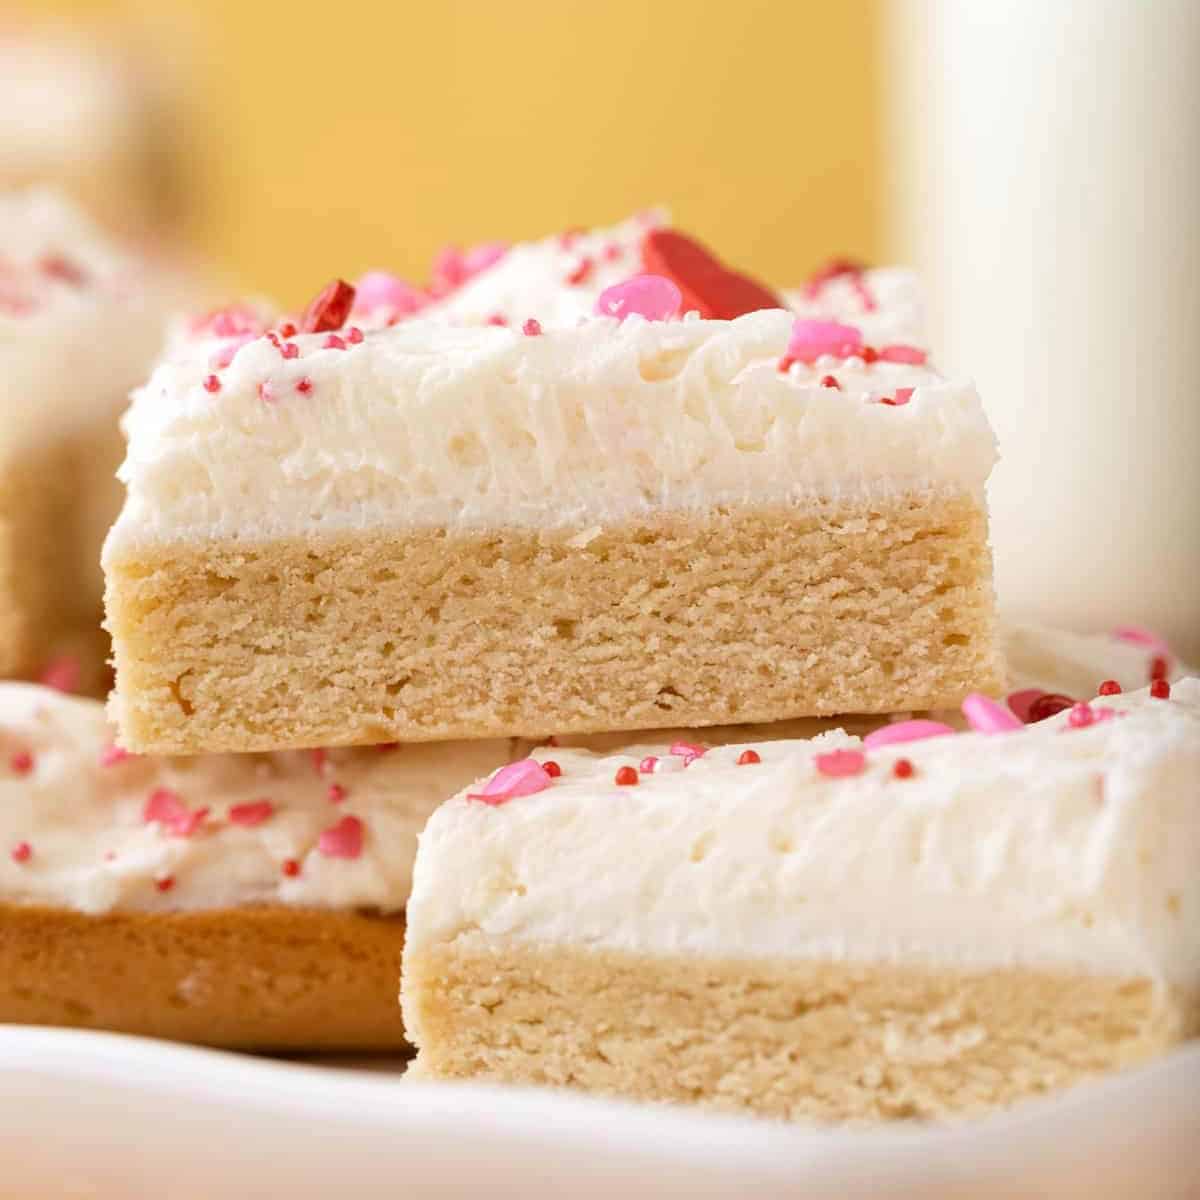
Sweets are a surefire way to any dad’s heart, and this simple cookie recipe is a proven winner! These rolled and cut-out sugar cookies are the perfect base for decorating. They’re sturdy instead of crumbly, so they hold up under frosting. But they’re still deliciously soft and tender when you bite into one.
The buttercream frosting comes together with just a couple of ingredients, and it’s easy to dye with food coloring, so you can achieve any decorating style you please. Go simple or complex with your Father’s Day cookie decorating. My kids did really well with stick figures, animals, and basic letters. But now that they’re getting older, we might try some new ideas!


Email this Recipe
Enter your email and we’ll send the recipe directly to you!
By submitting this form, you consent to receive emails from Easy Dessert Recipes.

Father’s Day Sugar Cookies Recipe
Equipment
- Stand Mixer
- Baking Sheet
- Rolling Pin
Ingredients
For the Sugar Cookies:
- 1 cup vegetable shortening
- 1 cup granulated sugar
- 2 large eggs room temperature
- 2 tablespoons milk
- 1 tablespoon pure vanilla extract
- 3½ cups all-purpose flour
- 2 teaspoons baking powder
- 1 teaspoon kosher salt
For the Buttercream:
- 1 cup unsalted butter slightly melted
- 2½ cups powdered sugar
- 1 tablespoon vanilla extract
- Gel Food Coloring black and red
Instructions
Make the Cookie Dough:
- Line 2 baking sheets with parchment paper. Set aside.
- In the bowl of a stand mixer fitted with the paddle attachment, beat the shortening, sugar, eggs, milk, and vanilla extract together until smooth; about 1-2 minutes.1 cup vegetable shortening, 1 cup granulated sugar, 2 large eggs, 2 tablespoons milk, 1 tablespoon pure vanilla extract
- In a separate medium bowl, whisk the flour, baking powder, and salt together.3½ cups all-purpose flour, 2 teaspoons baking powder, 1 teaspoon kosher salt
- Add the dry ingredients to the wet ingredients and mix just until well combined and the dough starts to stick together, about 1-2 minutes. Do not overmix.
- Sprinkle a clean work surface lightly with flour and place about ⅓ of the dough onto the prepared surface to roll out. Sprinkle the top of the dough with flour to prevent the dough from sticking to the rolling pin.
- Roll out the dough to ⅜-inch thickness and cut out cookies into 3½-inch squares.
- Place the cut out cookies onto 1 prepared baking sheet. The cookies can be placed close together on the baking sheet for this step. Place the cookies in the freezer for 20 minutes before baking.
Bake the Cookies:
- While the cookies chill, preheat oven to 350°F
- When ready to bake, place 6 cookies onto the second baking sheet about 2 inches apart. Let the rest of the dough chill until you need it.
- Bake thick-cut cookies for 12-14 minutes; or thinner cookies for 8-10 minutes.
- Repeat with remaining cookies. Let cookies cool completely before frosting.
Make the Buttercream:
- In a large bowl, beat together butter, powdered sugar, and vanilla until light and fluffy, about 5 minutes.1 cup unsalted butter, 2½ cups powdered sugar, 1 tablespoon vanilla extract
- Separate the buttercream into 3 smaller bowls to color. Use food coloring to color 2 of the bowls red and black. Stir completely to make sure all color is worked evenly into the buttercream.Gel Food Coloring
Decorate the Cookies:
- Place the colored buttercreams into Ziplock bags and seal. Cut a small opening in the bottom corner of each bag. For background colors, the tips can be cut larger. For frostings you’ll be printing with, keep the tip cut small.
- Start decorating with background colors on all cookies. Simply start by lining the outside of the cookie then continue filling in following the shape of the cookie. Work on decorating cookies in layers – first the background color then print and stick figures.
Notes
- Sugar cookies are so easy to customize. To add a unique flavor, add ½-1 teaspoon of your favorite extract to either the cookie dough or the buttercream frosting (or both!). I like almond, lemon, maple, or orange.
- To help prevent the cookies from spreading during baking, it’s important to freeze the cookies for at least 20 minutes before baking.
- For soft and thick cookies, it’s recommended to use a rolling pin with thickness rings and use the ⅜-inch thickness ring.
- If you aren’t cutting these cookies out thick, you’ll want to reduce your baking time to reflect that (start checking cookies after 8 minutes instead of 12 minutes).
- I used a 3½-inch square cutter. Use a similarly-sized cutter for the best results.
- If the frosting is not squeezing out of the bag smoothly, roll the piping bag between your hands to warm the frosting a bit, making it easier to squeeze. Do not microwave the frosting to soften it. This will lead to a melted mess!
Decorating Ideas from My Kids!
If you’re looking for decorating ideas for your Father’s Day cookies, my boys have a few tips.
- Use your dad’s favorite colors for the frosting.
- Draw your pet if you have a cat or a dog or a fish!
- Make your cookies look like a basketball or baseball.
- Write “Best Dad” or “#1 Dad”.
- Don’t forget cookies for Grandpa!

How to Make Father’s Day Cookies Step-by-Step
Prep: Gather the list of ingredients for this sugar cookie recipe. Line 2 baking sheets with parchment paper and set aside. Then bring the eggs to room temperature and slightly melt the butter, so everything is ready to mix.

Mix the Wet Ingredients: In the bowl of a stand mixer fitted with the paddle attachment, beat 1 cup of vegetable shortening, 1 cup of granulated sugar, 2 large eggs, 2 tablespoons of milk, and 1 tablespoon of vanilla extract together until smooth, about 1-2 minutes.

Combine the Dough: In a separate medium bowl, whisk 3½ cups of all-purpose flour, 2 teaspoons of baking powder, and 1 teaspoon of kosher salt together. Add the dry ingredients to the wet ingredients, and mix just until well combined. As soon as the dough starts to stick together and there are no large dry lumps, it’s good to go.

Cut and Bake the Cookies: Sprinkle a clean work surface lightly with flour and place about ⅓ of the dough onto the prepared surface to roll out. Sprinkle the top of the dough with flour to prevent the dough from sticking to the rolling pin. Roll out the dough to ⅜-inch thickness and cut out cookies into 3½-inch squares (or other shapes). Place the cut-out sugar cookies onto 1 prepared baking sheet, then place them in the freezer for 20 minutes. While the cookies chill, preheat oven to 350°F. Place 6 cookies onto the second baking sheet about 2 inches apart, and bake for 12-14 minutes for thick-cut cookies; or 8-10 minutes for thinner cookies. Repeat with the remaining dough. Let cookies cool completely before frosting.

Make the Frosting: In a large bowl, beat together 1 cup of slightly melted unsalted butter, 2½ cups of powdered sugar, and 1 tablespoon of vanilla extract until light and fluffy, about 5 minutes. If the icing seems too thick, beat in a tablespoon of water. Separate the buttercream into 3 smaller bowls to color. Use food coloring to color 2 of the bowls red and black. Stir completely to make sure all color is worked evenly into the buttercream.

Decorate the Cookies: Place the colored buttercreams into resealable bags, and seal. Cut a small opening in the bottom corner of each bag. For background colors, the tips can be cut larger. For frostings you’ll be printing with, keep the tip cut small. Start decorating with background colors on all cookies. Simply start by lining the outside of the cookie, then continue filling in following the shape of the cookie. Work on decorating cookies in layers – first the background color, then print and stick figures.

How to Store and Freeze
- Decorated Cookies: Store fully decorated Father’s Day sugar cookies in a single layer in an airtight container. Keep at room temperature for up to 3 days, or in the refrigerator for up to 1 week.
- Frosting: Buttercream frosting can be frozen in an airtight container for up to 3 months. Let come to room temperature before piping.
- Dough: Cut the dough into shapes, arrange on a lined baking sheet, and freeze until solid. Transfer frozen dough to an airtight container or Ziplock bag and freeze for up to 2 months. Add an additional 2 minutes to the baking time.
- Cookies: Freeze fully frosted cookies in an even layer on a lined baking sheet until solid. Transfer to an airtight container or Ziplock bag and freeze for up to 2 months. Let cookies come to room temperature before serving.


Leave a Reply