

My homemade Crunch bars recipe is ridiculously simple to make with just 4 ingredients and no baking! With all the crispy texture of a real Crunch candy bar and none of the mysterious ingredients, these no bake chocolate crunch bars will still satisfy all those cravings. They’re just as tasty as that crunchy candy bar, but better for your kids and more budget-friendly!
No Bake Chocolate Crunch Bars
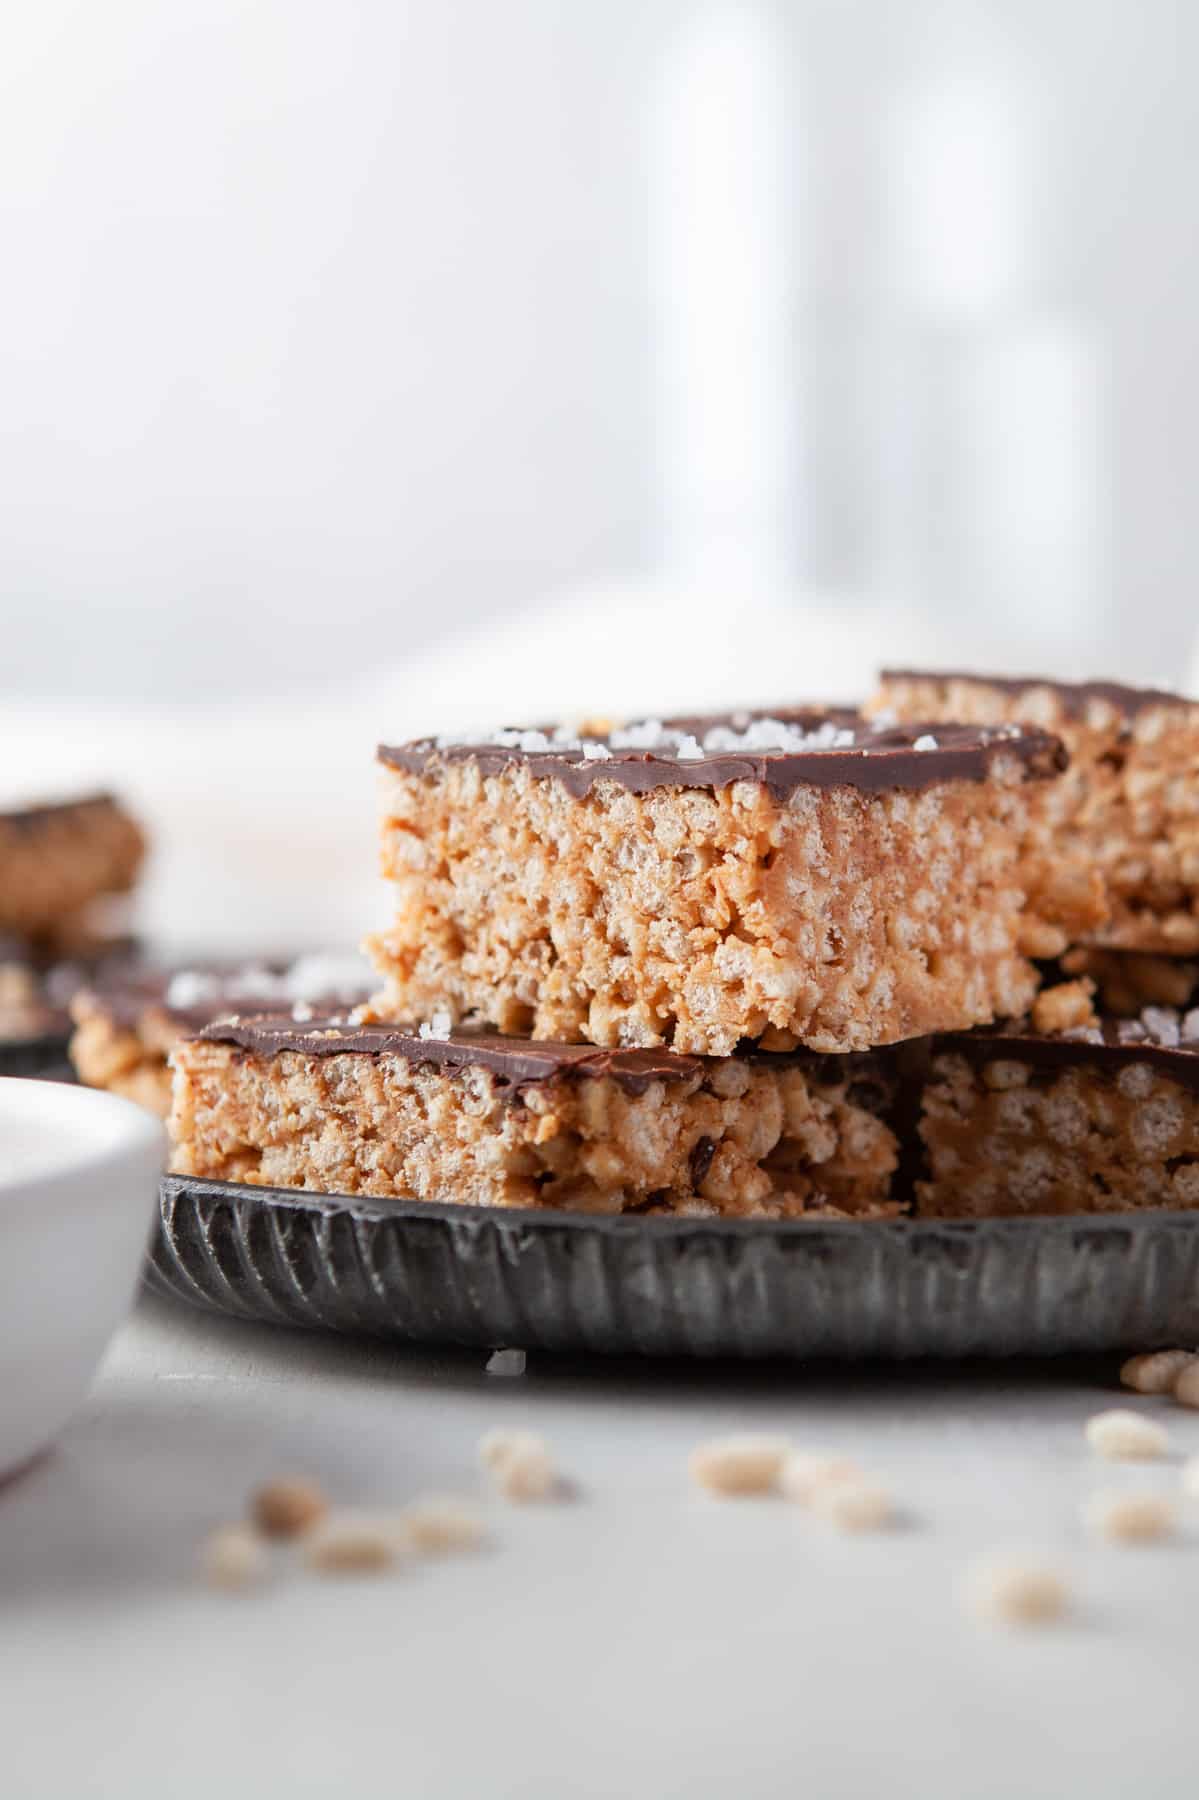
I’ve always loved the simplicity of Nestle Crunch Bars. And last time I had one, it got me thinking: why pay for a mass-produced candy bar when I can probably make a more wholesome version myself? My homemade crunch bars recipe takes just minutes to put together, with the simplest ingredients: chocolate chips, butter, Rice Krispies, and a hint of salt.
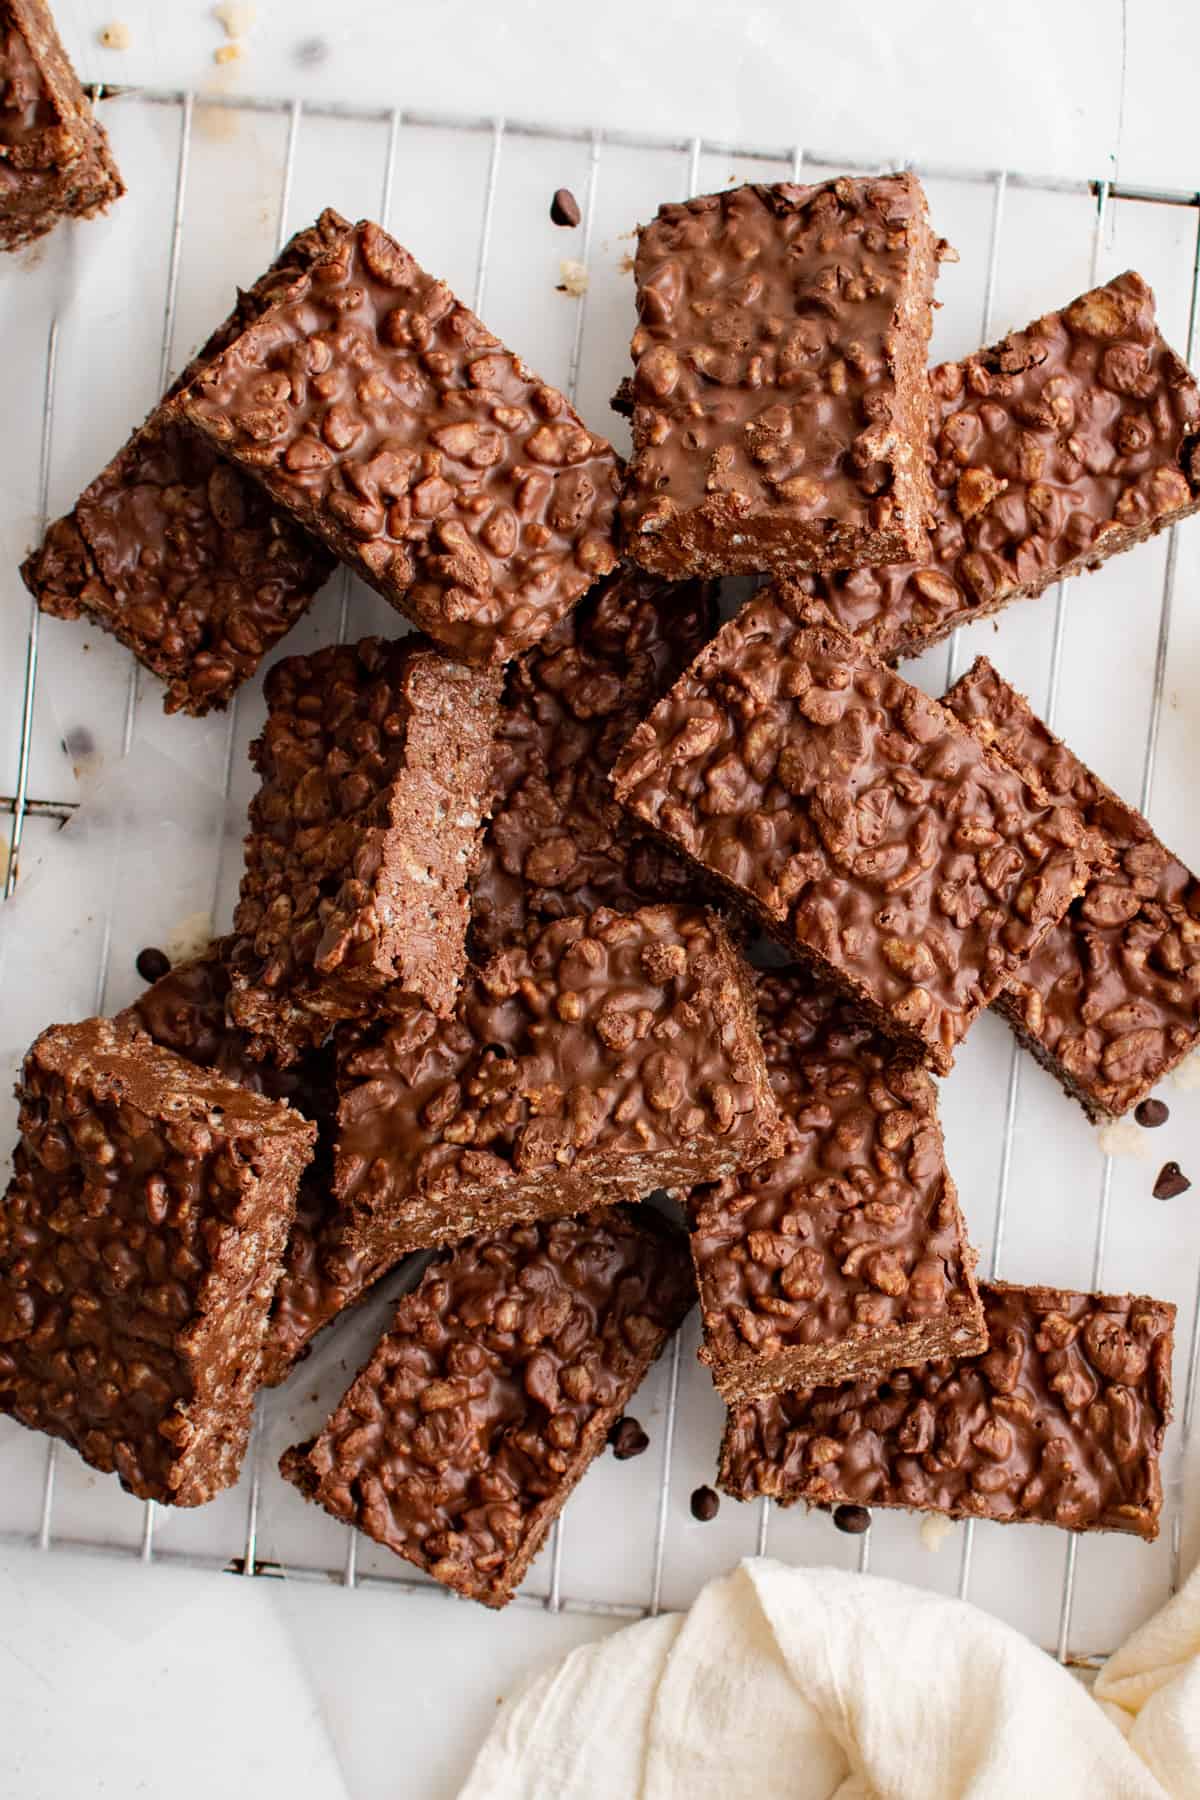
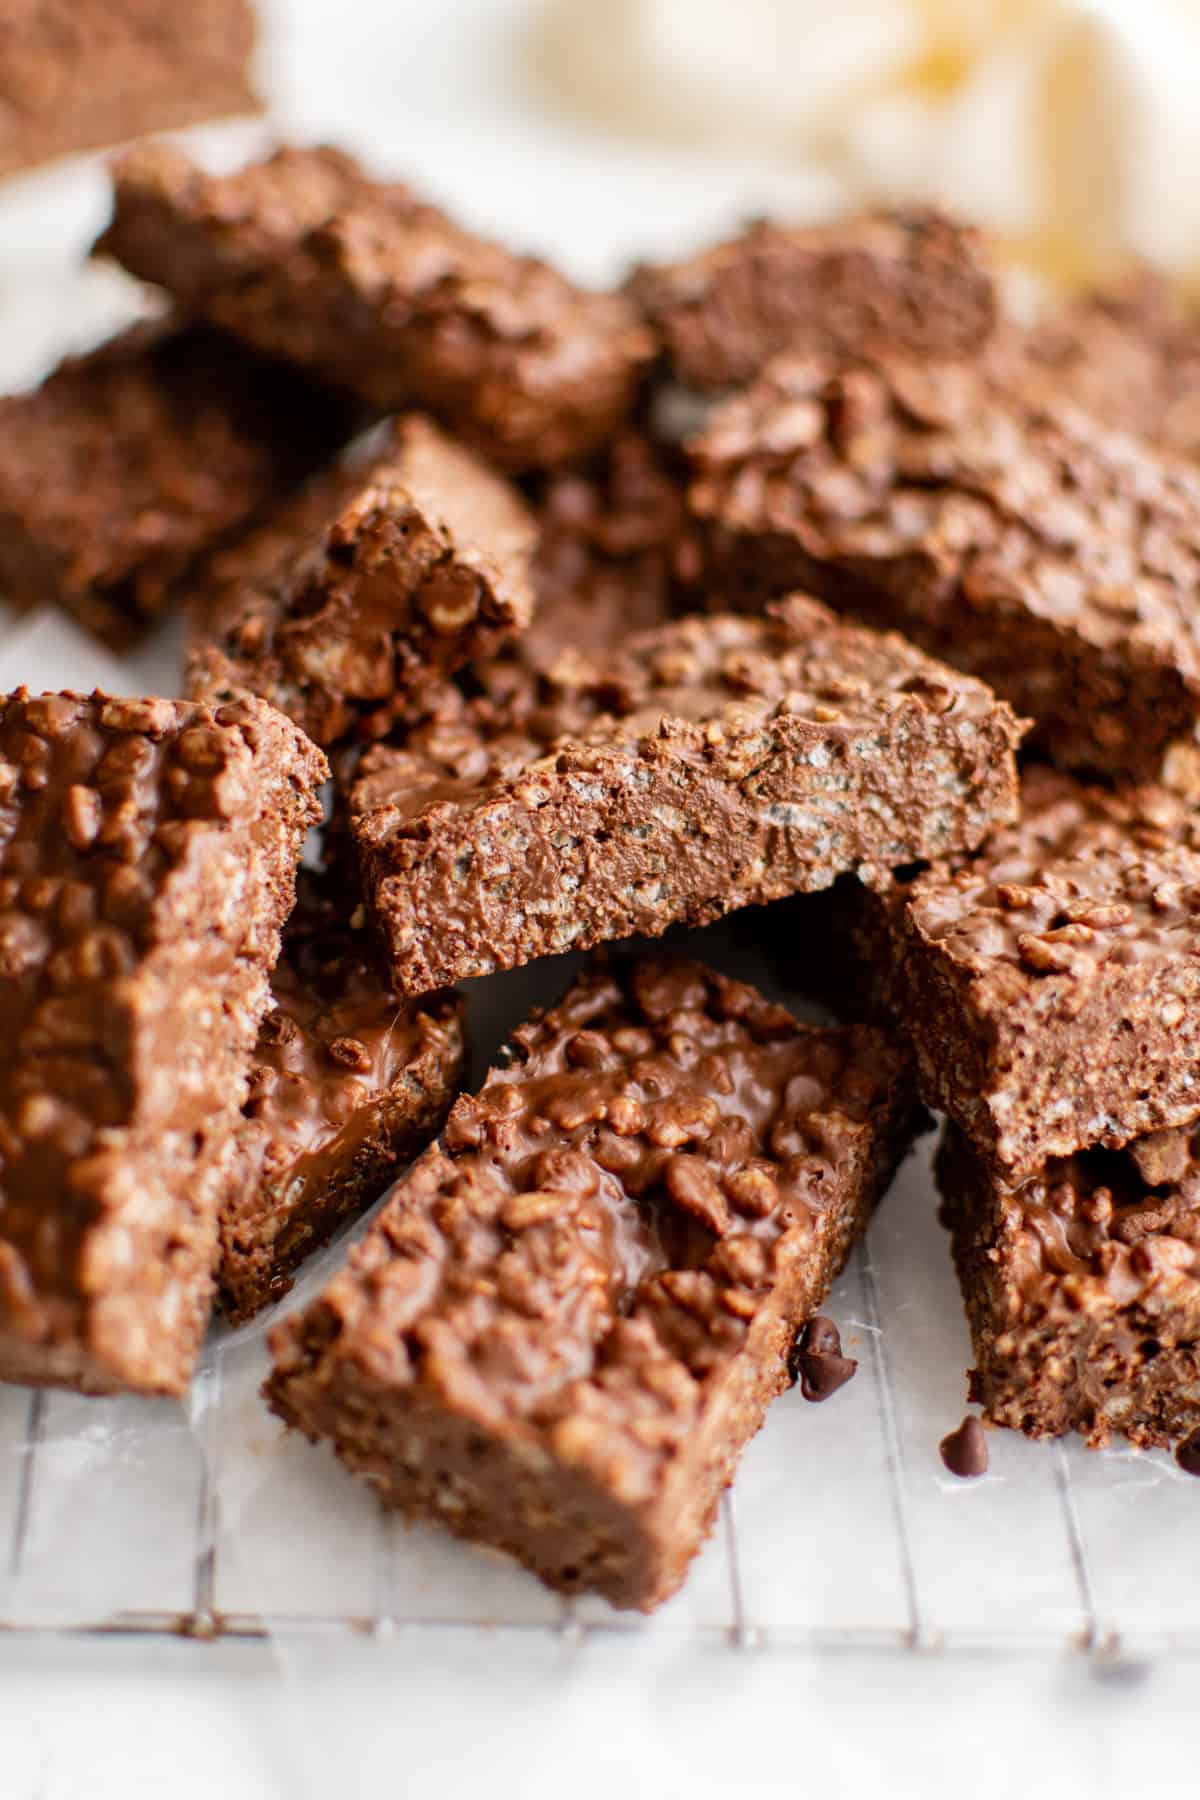
These no-bake chocolate bars really have the perfect amount of crunch in every bite, thanks to Rice Krispies cereal. They’re actually a lot like my chocolate Rice Krispie treats, but without the marshmallow. My kids love taking these yummy homemade candy bars to school for a fun snack, and I feel much better letting them have one!


Email this Recipe
Enter your email and we’ll send the recipe directly to you!
By submitting this form, you consent to receive emails from Easy Dessert Recipes.
One Simple Tip!
When lining the baking pan with parchment, keep the paper long enough to stick out over the sides. Once the crunch bars are set, you’ll be able to grab the ends of the paper and pull the bars right out of the pan with ease!

Homemade Crunch Bars Recipe
Equipment
- Kitchen Scale (optional)
- 8×8 Baking Pan
Ingredients
- 6 tablespoons unsalted butter (¾ stick)
- 3 cups milk or semisweet chocolate chips *
- 3 cups Rice Krispies cereal
- ⅛ teaspoon kosher salt
Instructions
- Line an 8×8-inch baking pan with parchment paper and spray the sides with nonstick butter spray. Set aside.
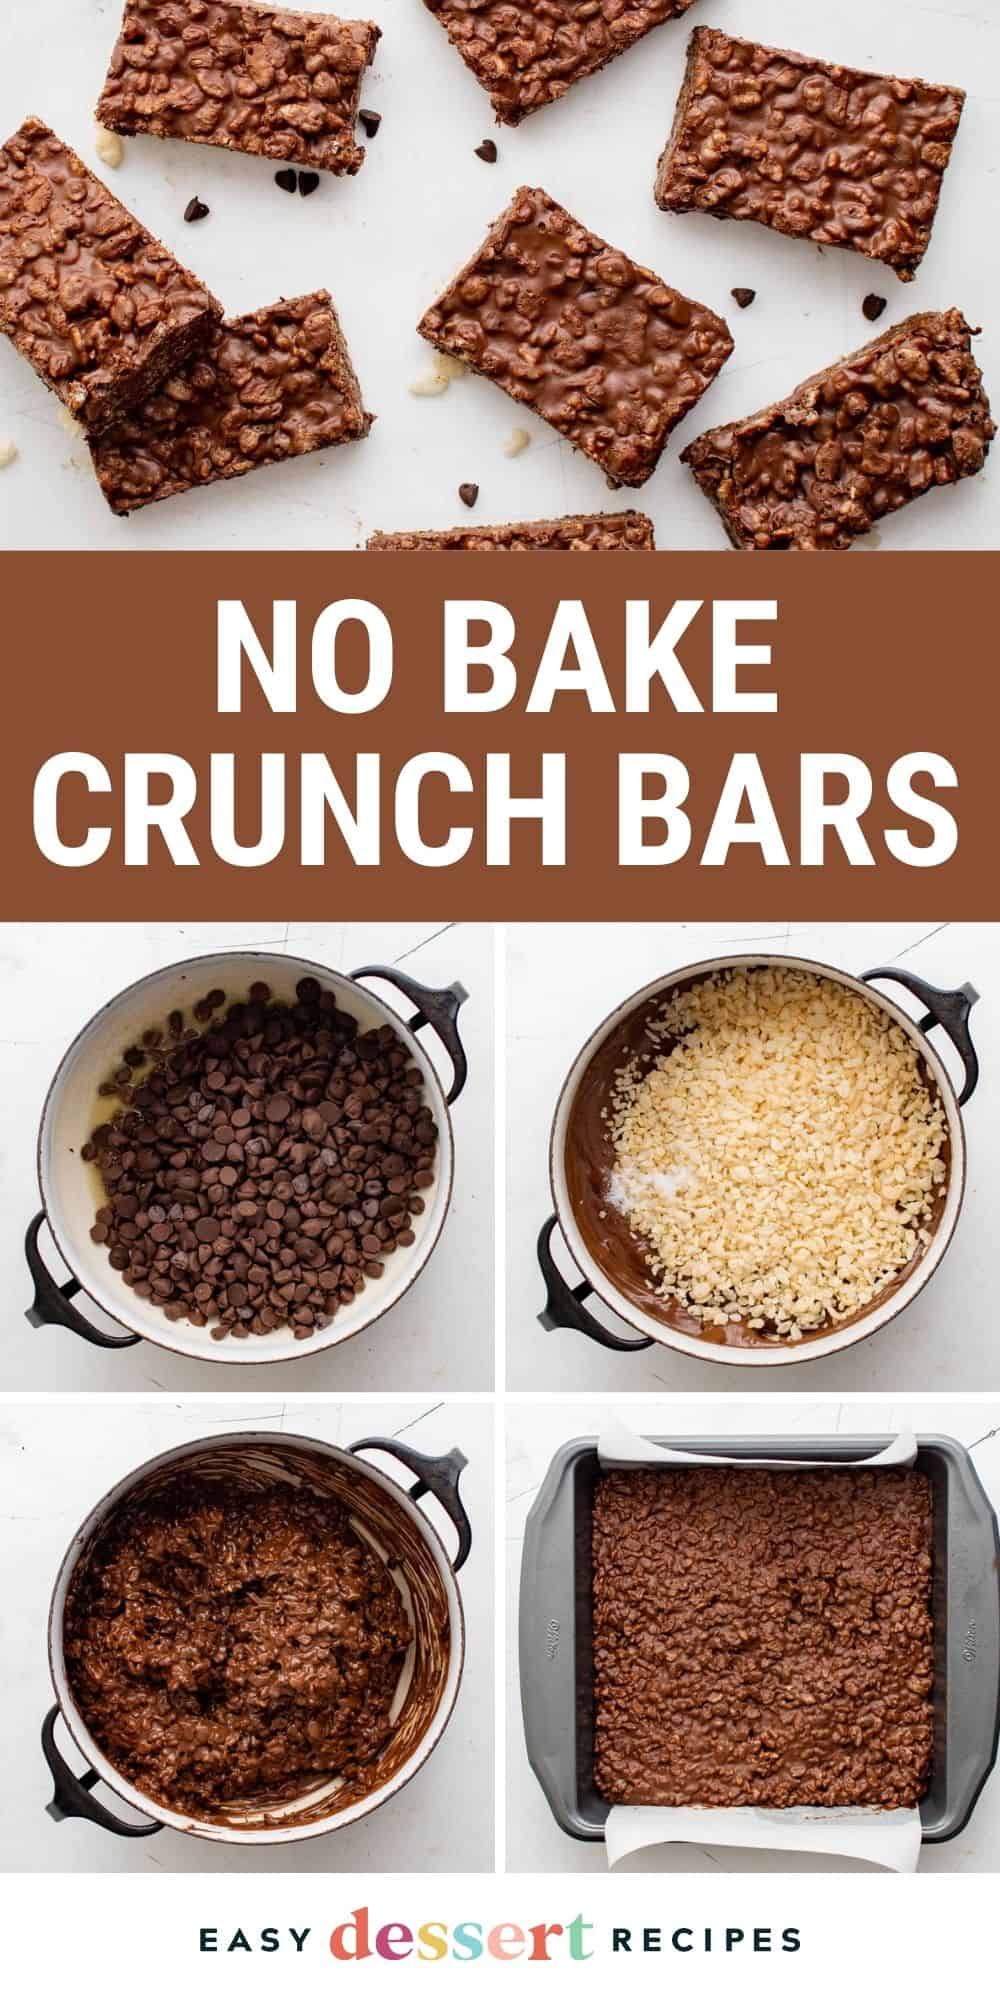
- Melt the butter in a large pan set over medium heat, then stir in the chocolate chips until fully melted.6 tablespoons unsalted butter, 3 cups milk or semisweet chocolate chips

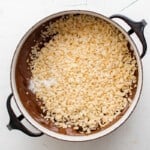
- Remove the pan from the heat and stir in the Rice Krispies and salt until all of it is mixed in.3 cups Rice Krispies cereal, ⅛ teaspoon kosher salt
- Pour the mixture into the prepared baking pan and spread it out evenly.
- Let it cool for at least 1 hour before slicing and serving.


Notes
- As long as the chocolate is pourable consistency, the Rice Krispies should stay crisp–unless you’re using stale cereal.
- To help the bars set faster, place them in the freezer.
Flavor Variations to Try
- For peanut butter crunch bars, use only 1½ cups of chocolate chips, ¼ cup of butter (½ stick), and stir in 1 cup of peanut butter! Follow this same formula for any other nut butter or Nutella!
- For swirled crunch bars, use 1½ cups of chocolate chips and 1½ cups of white chocolate chips. Lightly fold together to avoid losing the swirls.
- For nutty crunch bars, add 1 cup of chopped nuts, such as peanuts, walnuts, or pecans!
How to Make Crunch Bars Step-by-Step
Prep: Gather the short list of ingredients for this homemade chocolate crunch bar recipe. Line an 8×8-inch baking pan with parchment paper, spray the sides with nonstick butter spray, and set it aside.

Melt the Butter: Slice 3/4 stick of unsalted butter into tablespoon-sized pats to help it melt evenly. Then melt the 6 tablespoons of butter in a large pan set over medium heat.

Melt the Chocolate: To the melted butter, stir in 3 cups of milk or semisweet chocolate chips until fully melted.

Stir in the Cereal: Remove the pan from heat and stir in 3 cups of Rice Krispies cereal and ⅛ teaspoon of kosher salt.

Mix: Continue stirring until the cereal is fully coated in the melted chocolate mixture.

Set the Bars: Pour the mixture into the prepared baking pan and spread it out evenly. Let it cool for at least 1 hour to fully set.

Slice and Serve: Once fully set, slice no bake chocolate crunch bars into squares, rectangles, or however you’d like to portion them. Then serve and enjoy!

How to Store
Store homemade crunch bars in an airtight container at room temperature, in the refrigerator for up to 5 days, or in the freezer for up to 3 months. Let thaw slightly on the countertop before enjoying.


Leave a Reply