

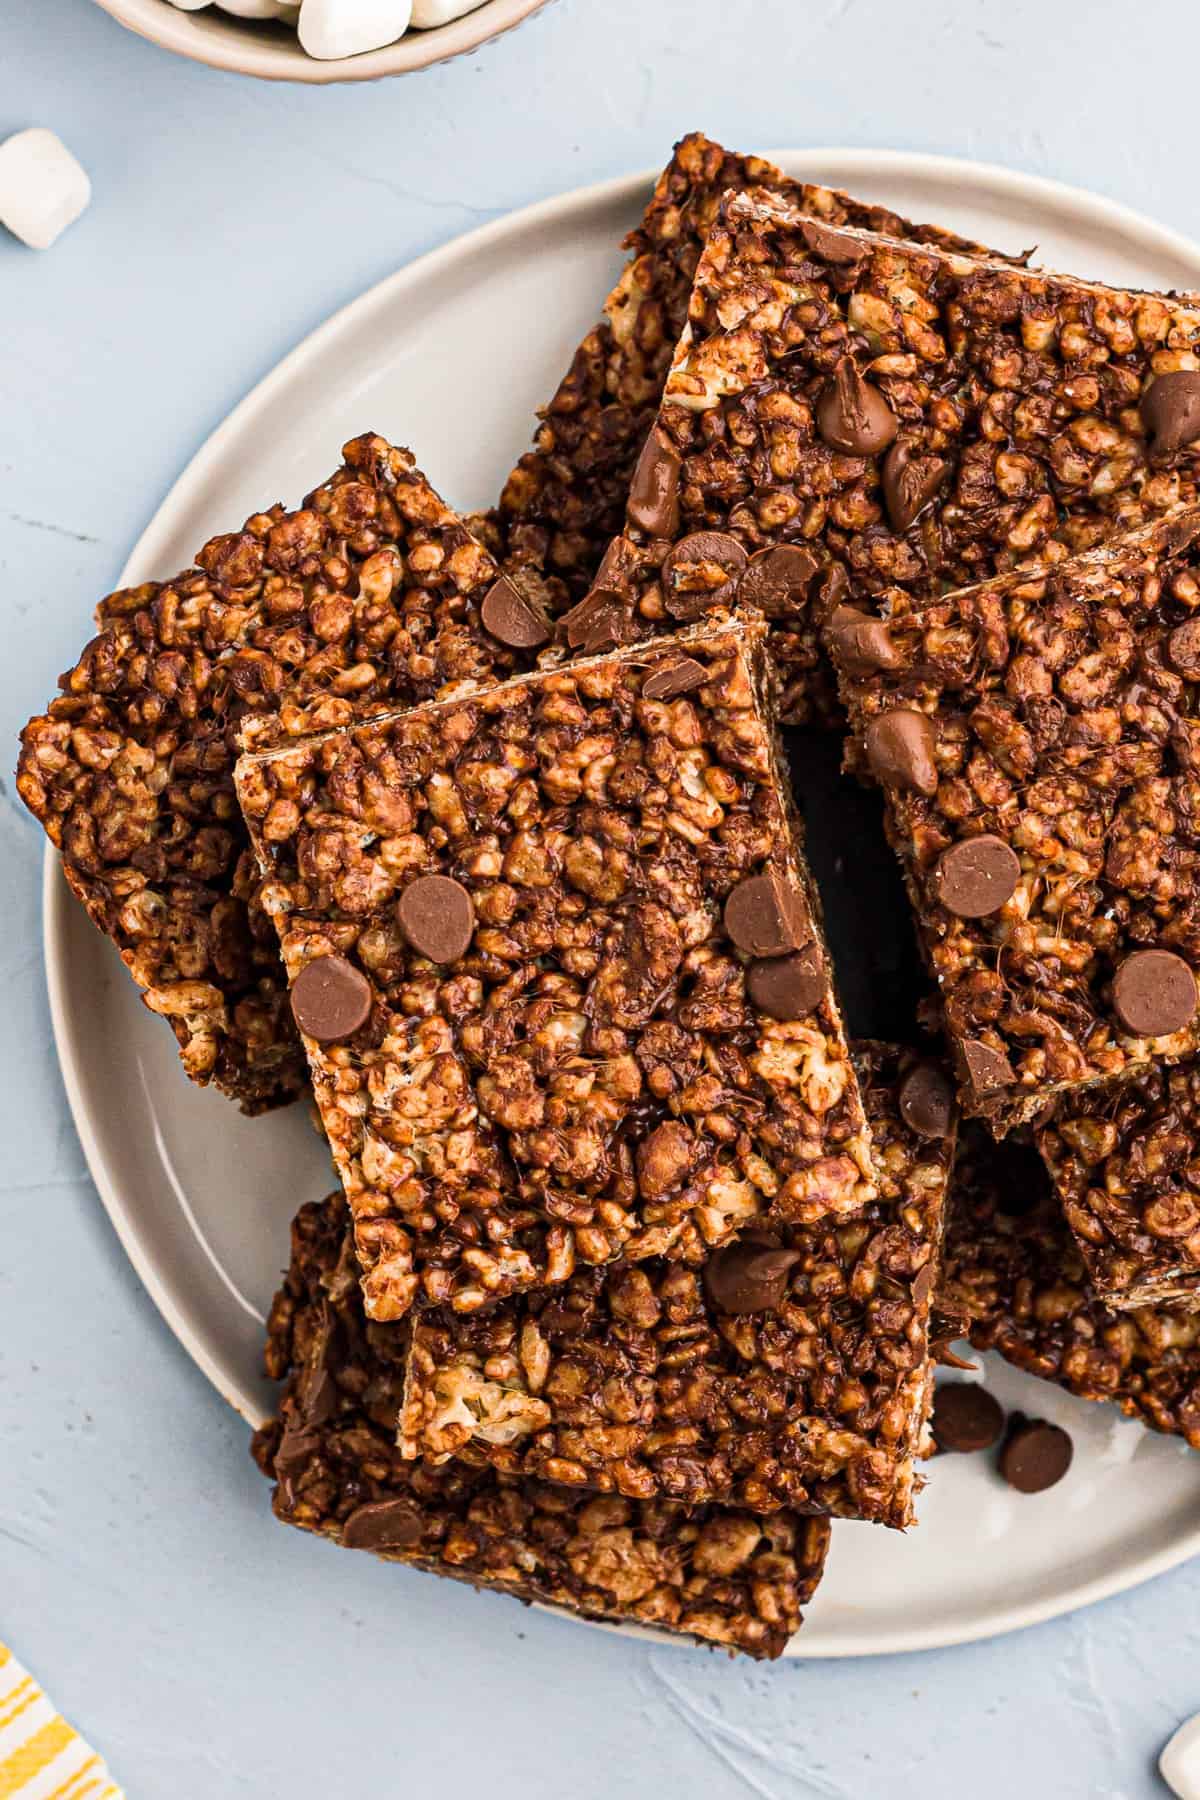

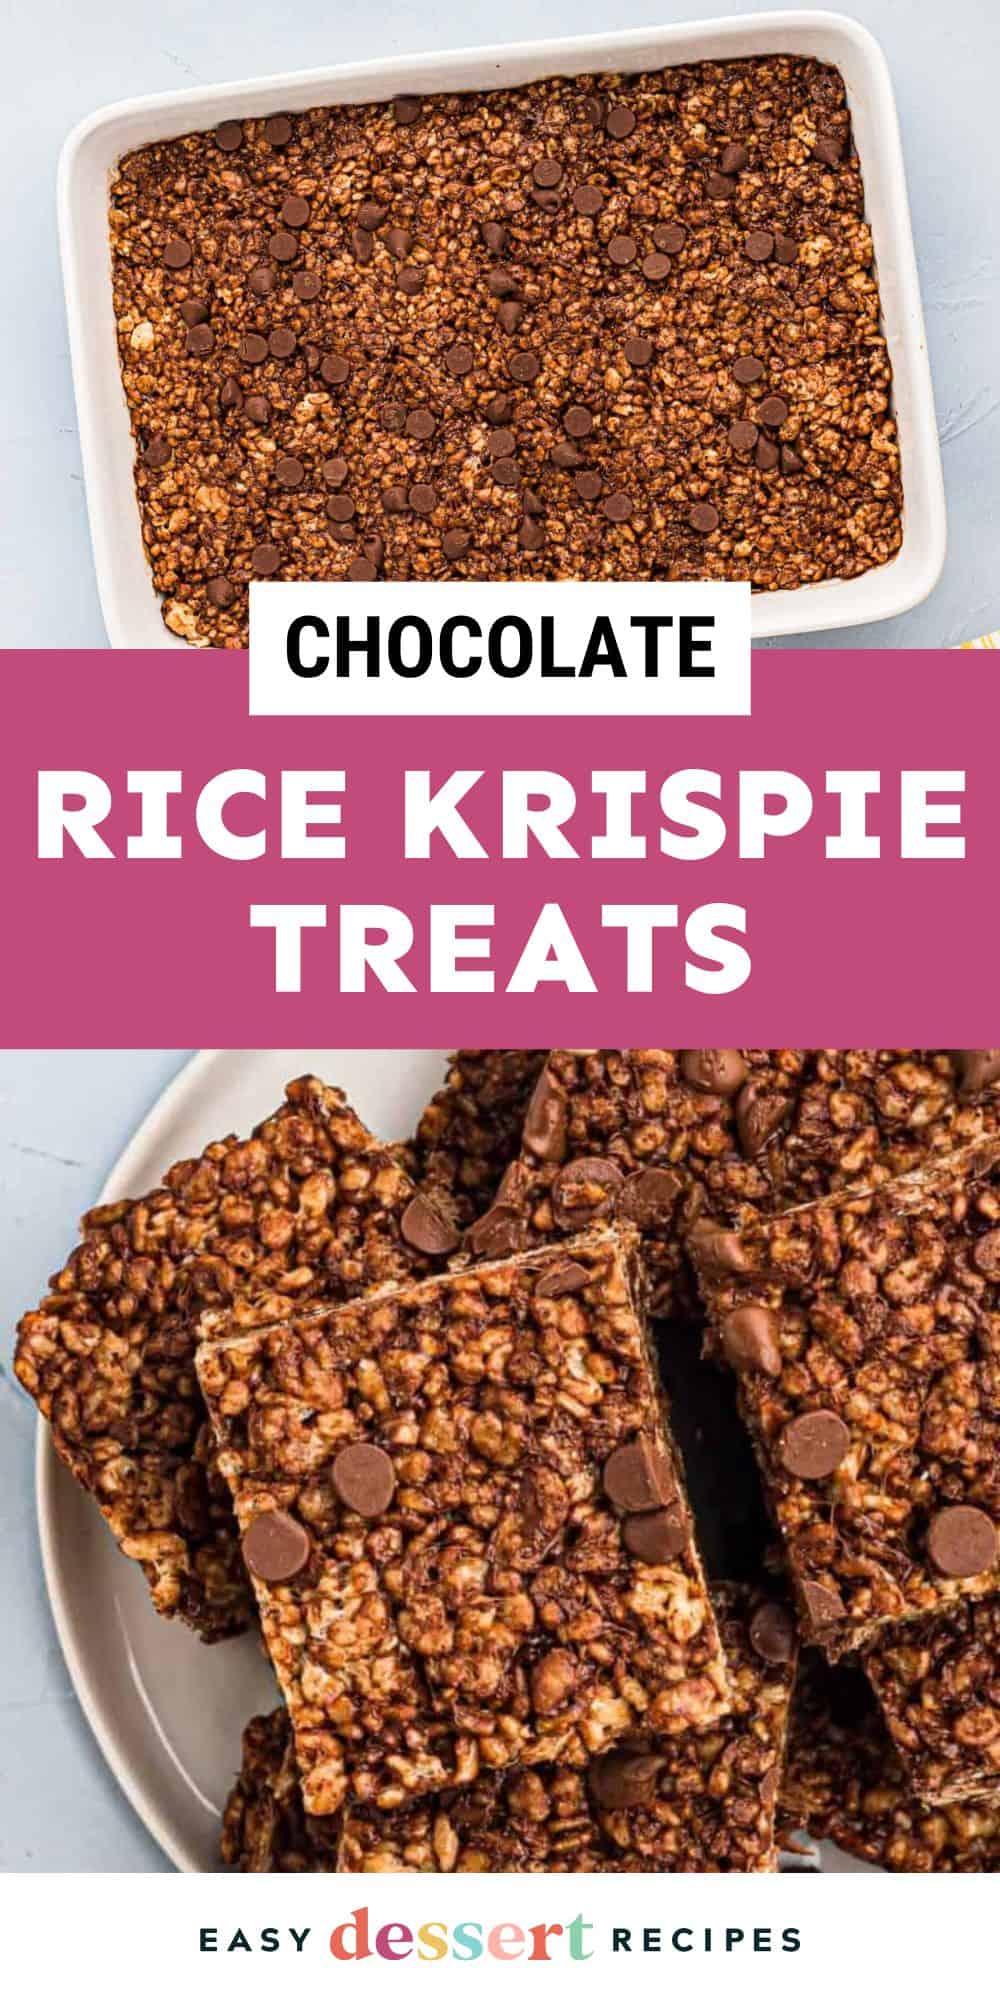
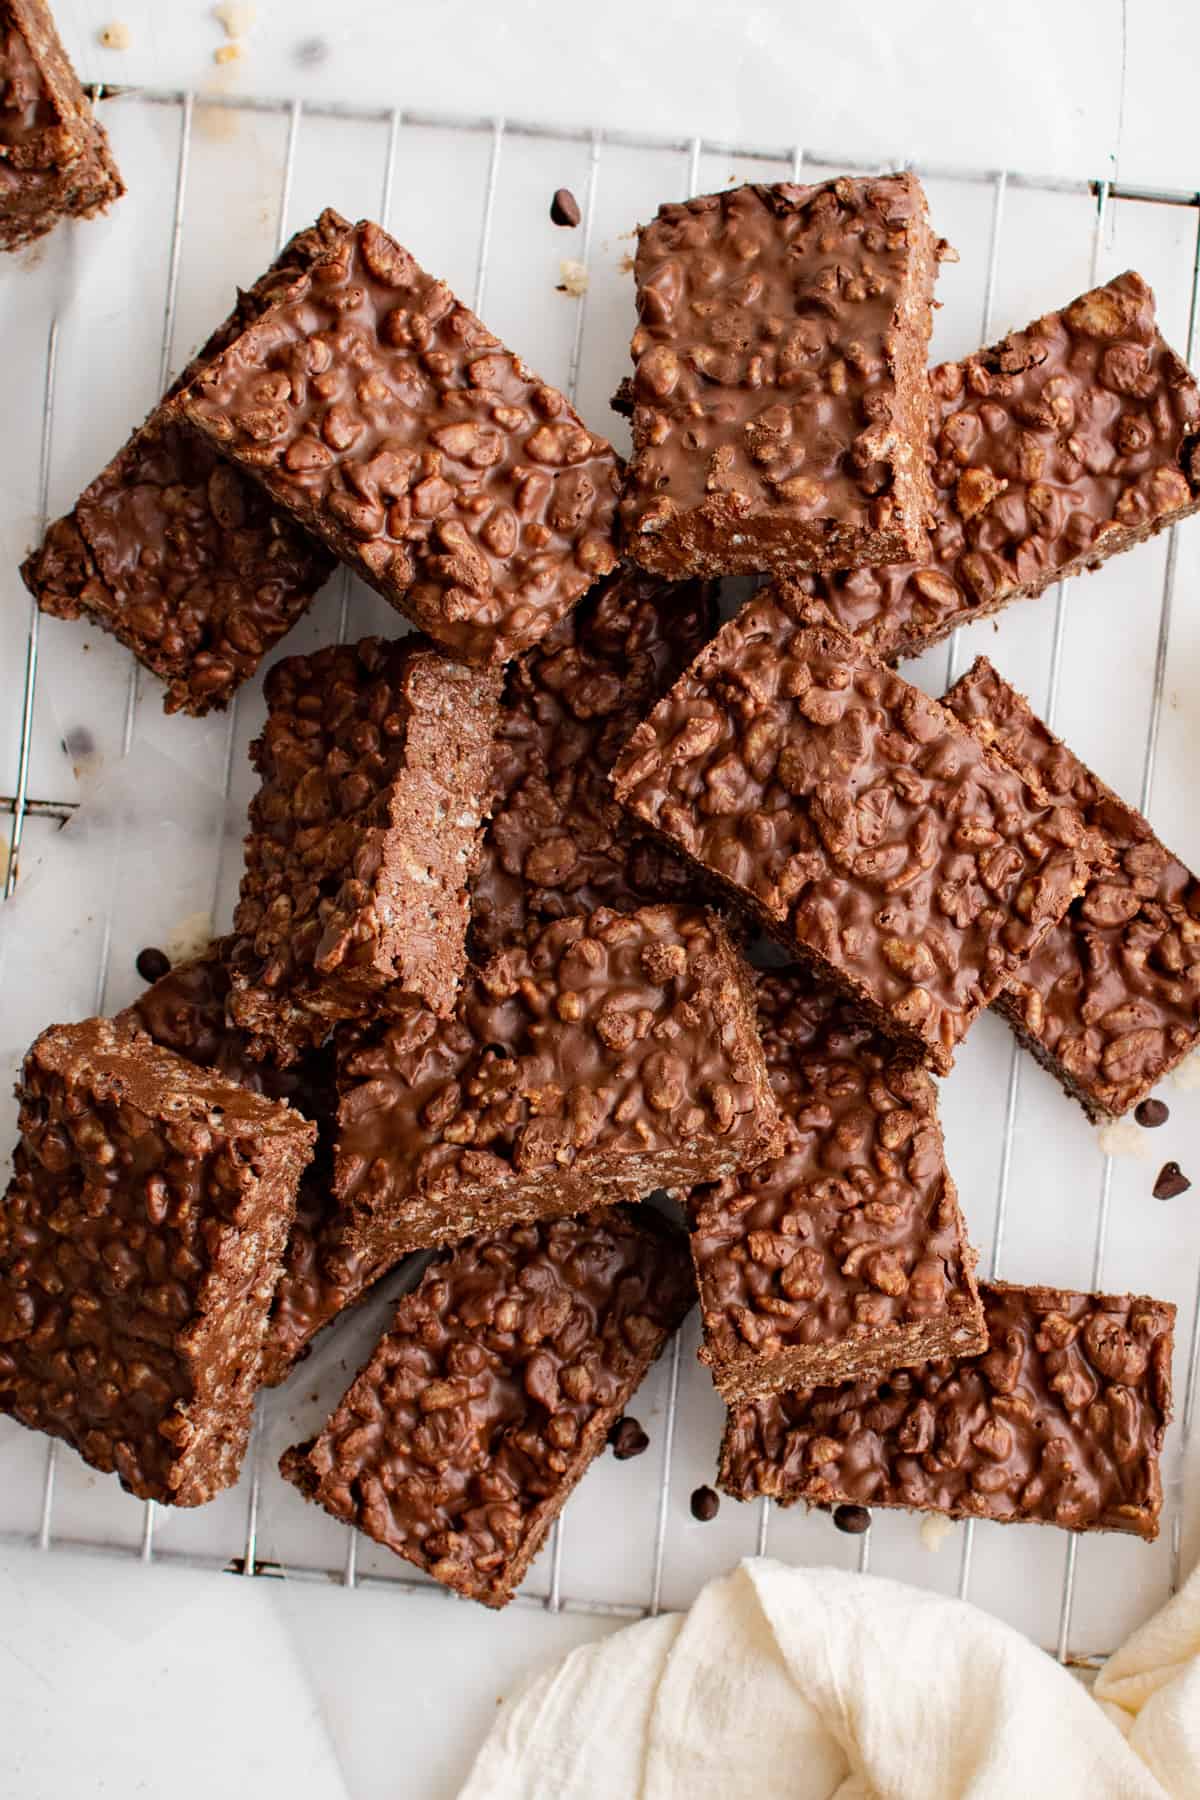
My chocolate-infused Rice Krispie Treats recipe is one of my most-loved desserts because it’s so easy, so tasty, and so versatile. I make these easy homemade treats with Rice Krispies cereal, marshmallows, butter, chocolate chips, and about 10 minutes of hands-on time — that’s it! These no-bake chocolate Rice Krispie squares are perfect for snack time, and my kids devour them every time.
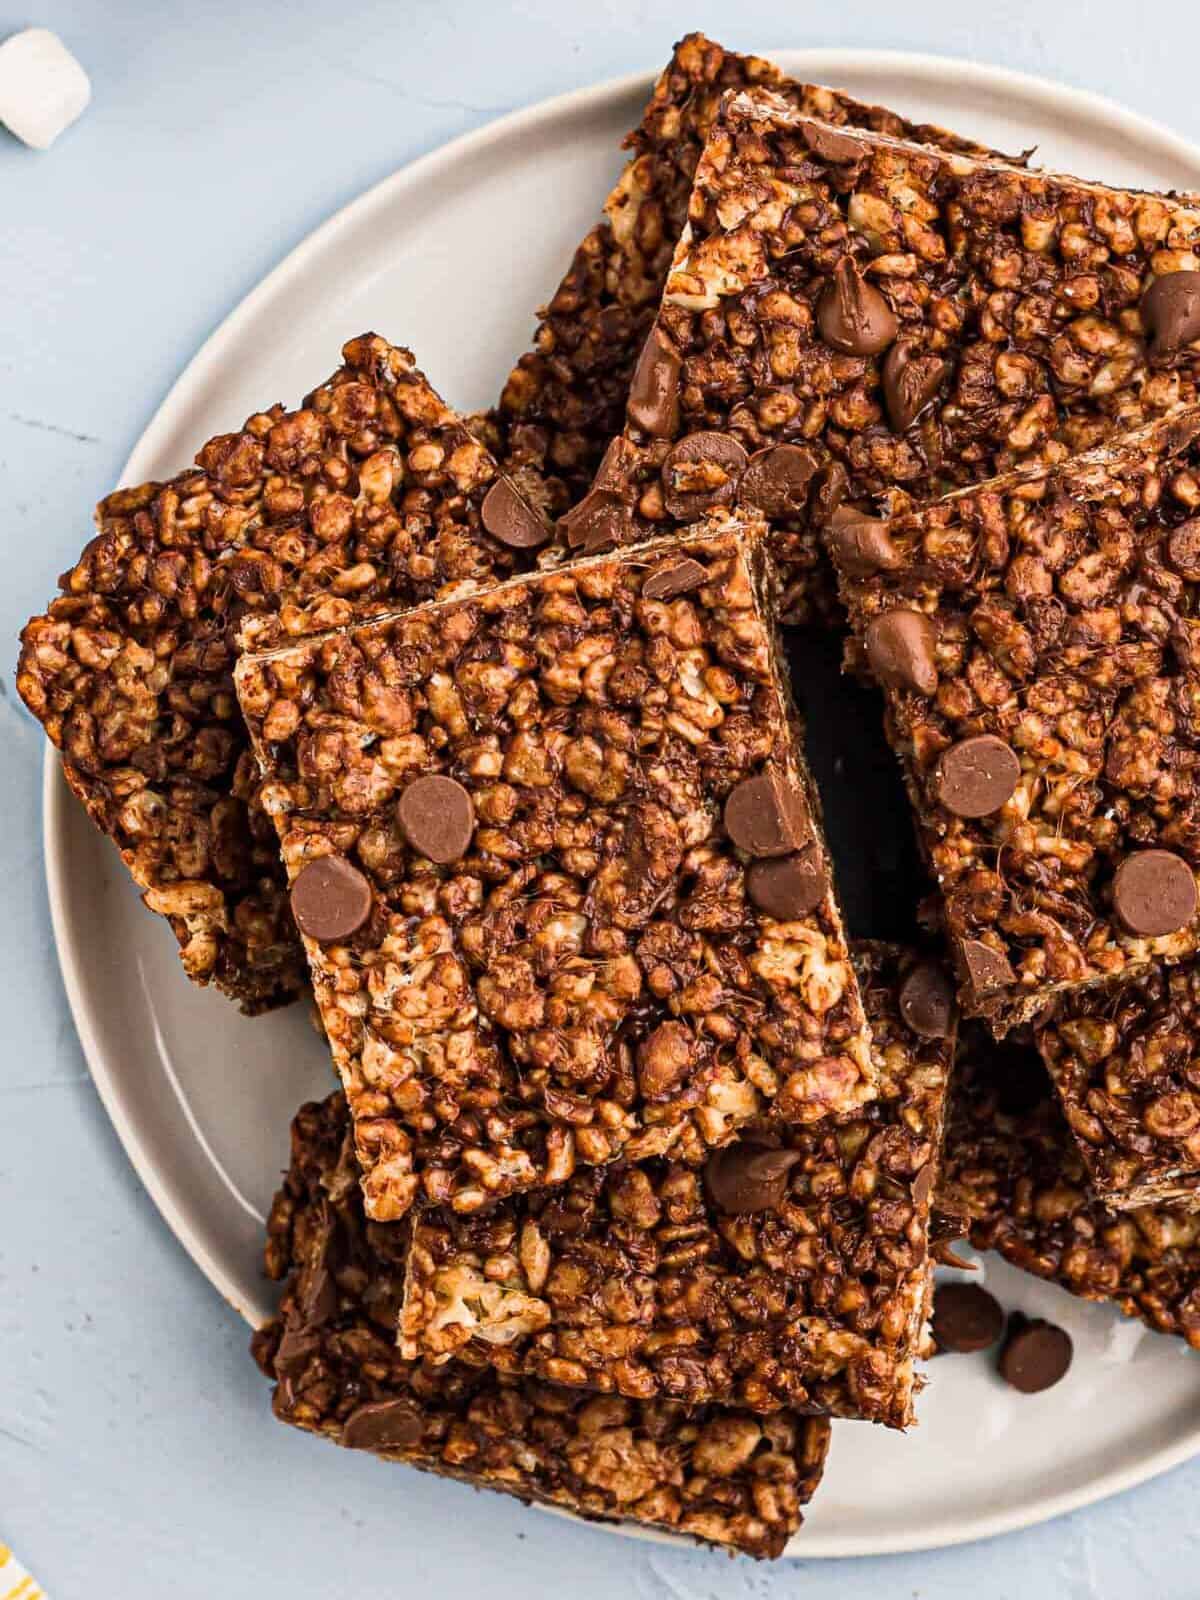
Rice Krispies Treats with Chocolate Chips
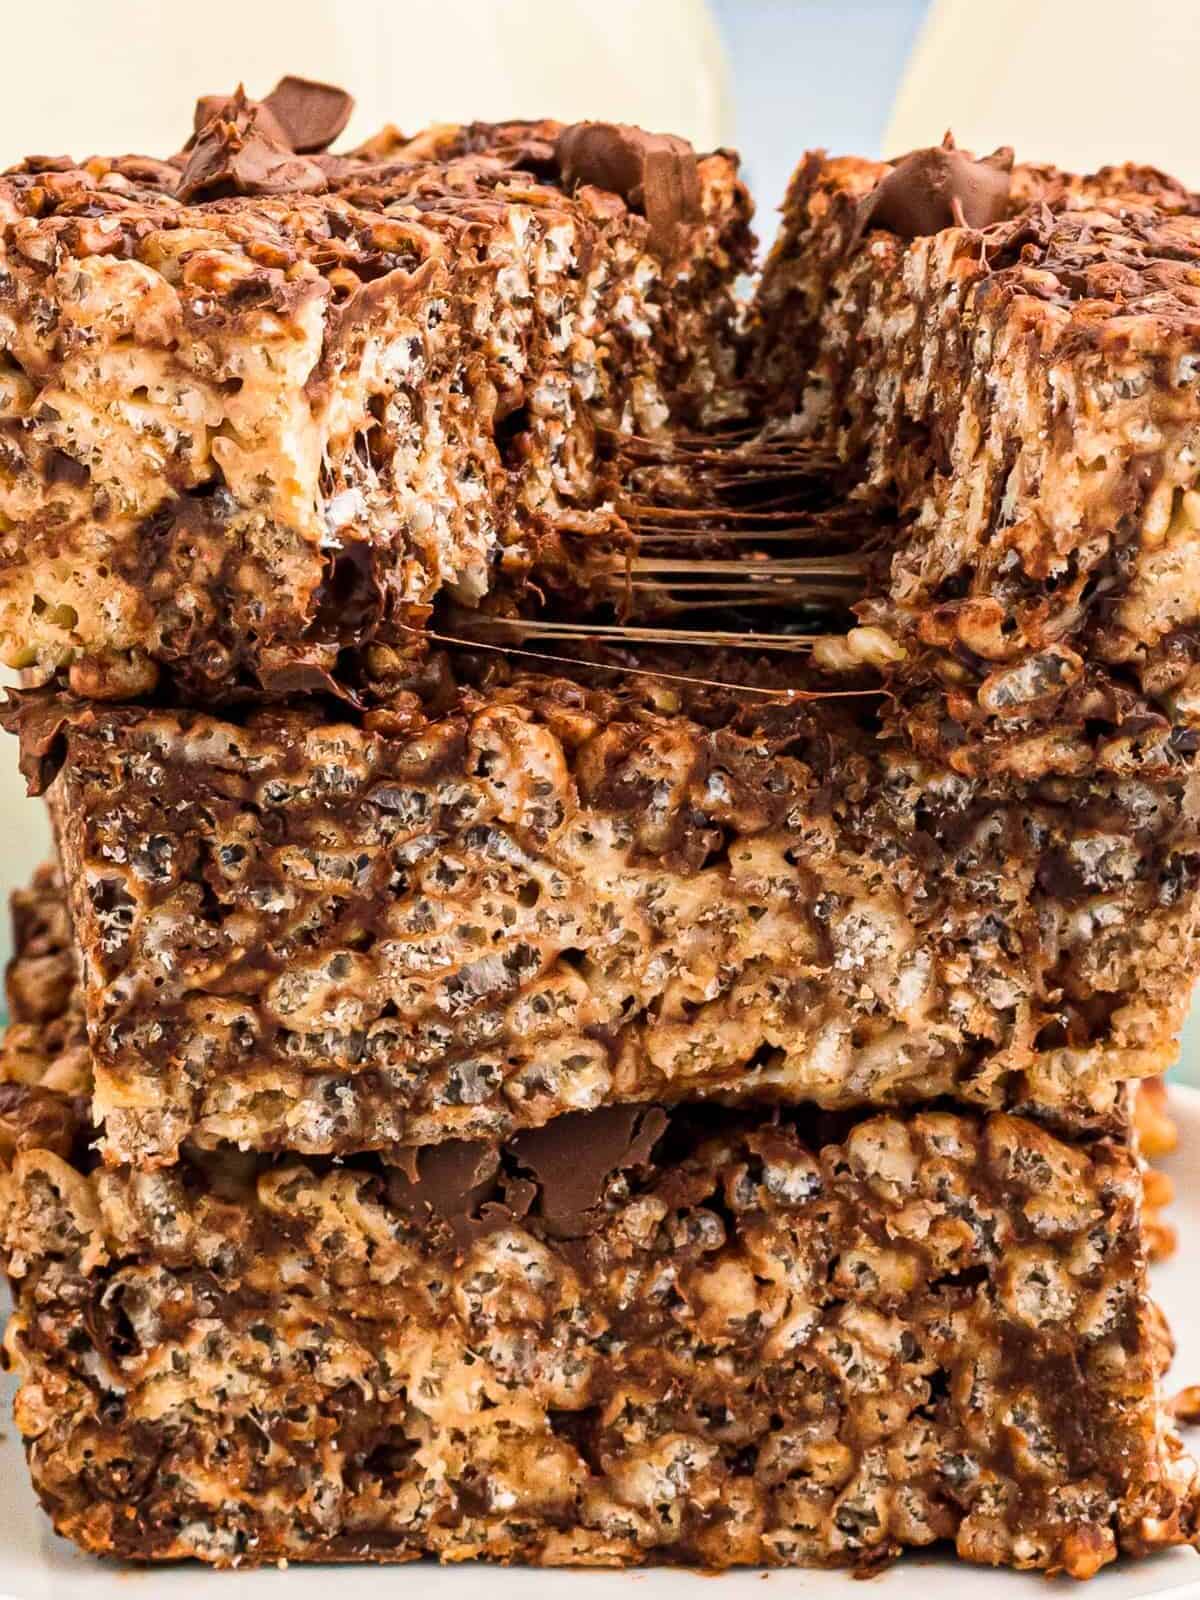
These chewy marshmallow cereal bars are my chocolatey take on classic rice krispie treats, and I think I might like them even better. My simple recipe uses just 4 ingredients and comes together in under an hour for an easy any-time dessert. No oven needed, just a few quick minutes on the stovetop, then let the treats set. I use chocolate chips for my Rice Krispies treats because I prefer the way it melts in with the original cereal flavor. But for a full-on chocolate experience, feel free to swap in some cocoa Krispies!

Email this Recipe
Enter your email and we’ll send the recipe directly to you!
By submitting this form, you consent to receive emails from Easy Dessert Recipes.
These homemade Rice Krispie Treats are the perfect example of a truly easy dessert recipe! Less than 5 ingredients, no baking, simple steps, and a delicious treat that’s ready in no time. I’ve made so many cereal bar treats since I first made these, but this is the one I always go back to for any occasion.


Founder, Easy Dessert Recipes



Chocolate Rice Krispie Treats Recipe
Equipment
- 9×13 Baking Pan
Ingredients
- 3 tablespoons unsalted butter
- 4 cups mini marshmallows *
- 6 cups rice krispies cereal **
- 1 cup semisweet chocolate chips
Instructions
- In a large saucepan set over low heat, melt the butter, stirring continuously.3 tablespoons unsalted butter

- Once melted, add in the marshmallows.4 cups mini marshmallows
- Continue stirring until the marshmallows have completely melted into the butter. Remove from stovetop.
- Pour in the Rice Krispies, and stir until they are evenly coated in the melted marshmallow mixture.6 cups rice krispies cereal
- Add in the chocolate chips and stir to combine with the cereal mixture. Continue stirring until the chips have completely melted into the cereal and marshmallows.1 cup semisweet chocolate chips
- Line a 9×13-inch baking pan with wax paper, or coat with butter.
- Use a lightly sprayed rubber spatula, and pour the Krispie mixture into the pan.
- Use the back of a spatula or a piece of wax paper over the treats and press into the pan. Sprinkle more chocolate chips on top if desired.
- Allow the treats to cool and the marshmallows to set, about 30 minutes. Cut into squares and serve.


Notes
- While Rice Krispies cereal is made from rice, it also contains malt, which is made from barley and may contain gluten. To ensure your treats are gluten-free, look for the Rice Krispies that are labelled as certified gluten-free!
- When you add the marshmallows to the butter, stir continuously! This will prevent the marshmallows from clumping together or getting stuck to the pan and burning.
- For gooier treats, use a 7-ounce tub of marshmallow creme in place of the marshmallows.
- Too much marshmallow and butter can make Rice Krispie treats sticky. Also, using marshmallow fluff in place of the marshmallows can make the treats stickier than usual. To combat this, simply add a bit more cereal!
- If your treats are hard, you may have overcooked the marshmallows when melting them or you may have packed the mixture too tightly into the pan. Keep an eye on the marshmallows as they melt, and gently pack the mixture into the pan.
Foolproof Tips
- Keep stirring! When you add the marshmallows to the butter, stir continuously. This will prevent the marshmallows from clumping together or getting stuck to the pan and burning.
- Fix sticky treats. If you don’t stick to the right ratio of marshmallow/butter to cereal, the treats will become very sticky. To fix this issue, increase the amount of cereal slightly to help even things out.
- Don’t overpack the pan. When pouring the Rice Krispies mixture into the baking pan, press it in gently. Packing it down tightly can leave you with treats that come out hard instead of chewy. Instead, just smooth it into the corners, and into an even layer.
- Amp up the flavor. To give these chocolate cereal treats a boost of gourmet flavor, add a pinch of espresso powder or brown the butter.
How to Make Chocolate Rice Krispie Treats Step-by-Step
Prep: Gather the short list of ingredients for this homemade Rice Krispie treats recipe.

Add the Marshmallows: In a large saucepan set over low heat, melt 3 tablespoons of unsalted butter, stirring continuously. Once melted, add in 4 cups of miniature marshmallows.

Melt the Marshmallows: Continue stirring until the marshmallows have completely melted and mixed with the butter. Then remove from the heat.

Stir in the Cereal: Next, stir in 6 cups of Rice Krispies cereal. Fold them in until they are evenly coated with the melted marshmallow mixture.

Add the Chocolate: Then, stir in 1 cup of semisweet chocolate chips and combine with the cereal mixture. Continue stirring until the chips have completely melted into the cereal and marshmallows, turning the mixture chocolate-brown.

Pour into a Pan: Line a 9×13-inch baking pan with wax paper, or coat with butter. Pour the chocolate Rice Krispies mixture into the pan, and spread into an even layer using a greased rubber spatula. Sprinkle more chocolate chips on top if desired.
Set and Slice: I recommend allowing the treats to cool for at least 30 minutes, so the marshmallows can fully set. Then slice into squares and enjoy!

How to Store
Store leftover chocolate chip rice krispie treats in an airtight container at room temperature for up to 1 week, in the refrigerator for up to 2 weeks, or in the freezer for up to 3 months.
To ensure they don’t dry out or get freezer burn, I recommend wrapping them in plastic wrap or wax paper, and then placing them in a freeze-safe resealable bag. When you’re ready to eat one, just let it thaw out at room temperature for a couple of hours. It’ll be as good as new!

















Leave a Reply