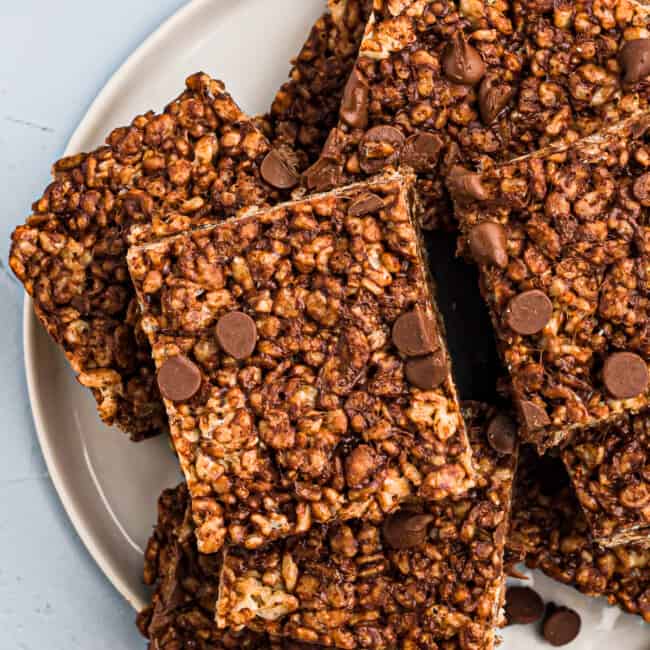
These cute, fun, and colorful Easter Rice Krispie Treats are perfect to serve this holiday. Topped with M&Ms and drizzled with white chocolate, they are a great treat for kids of all ages!
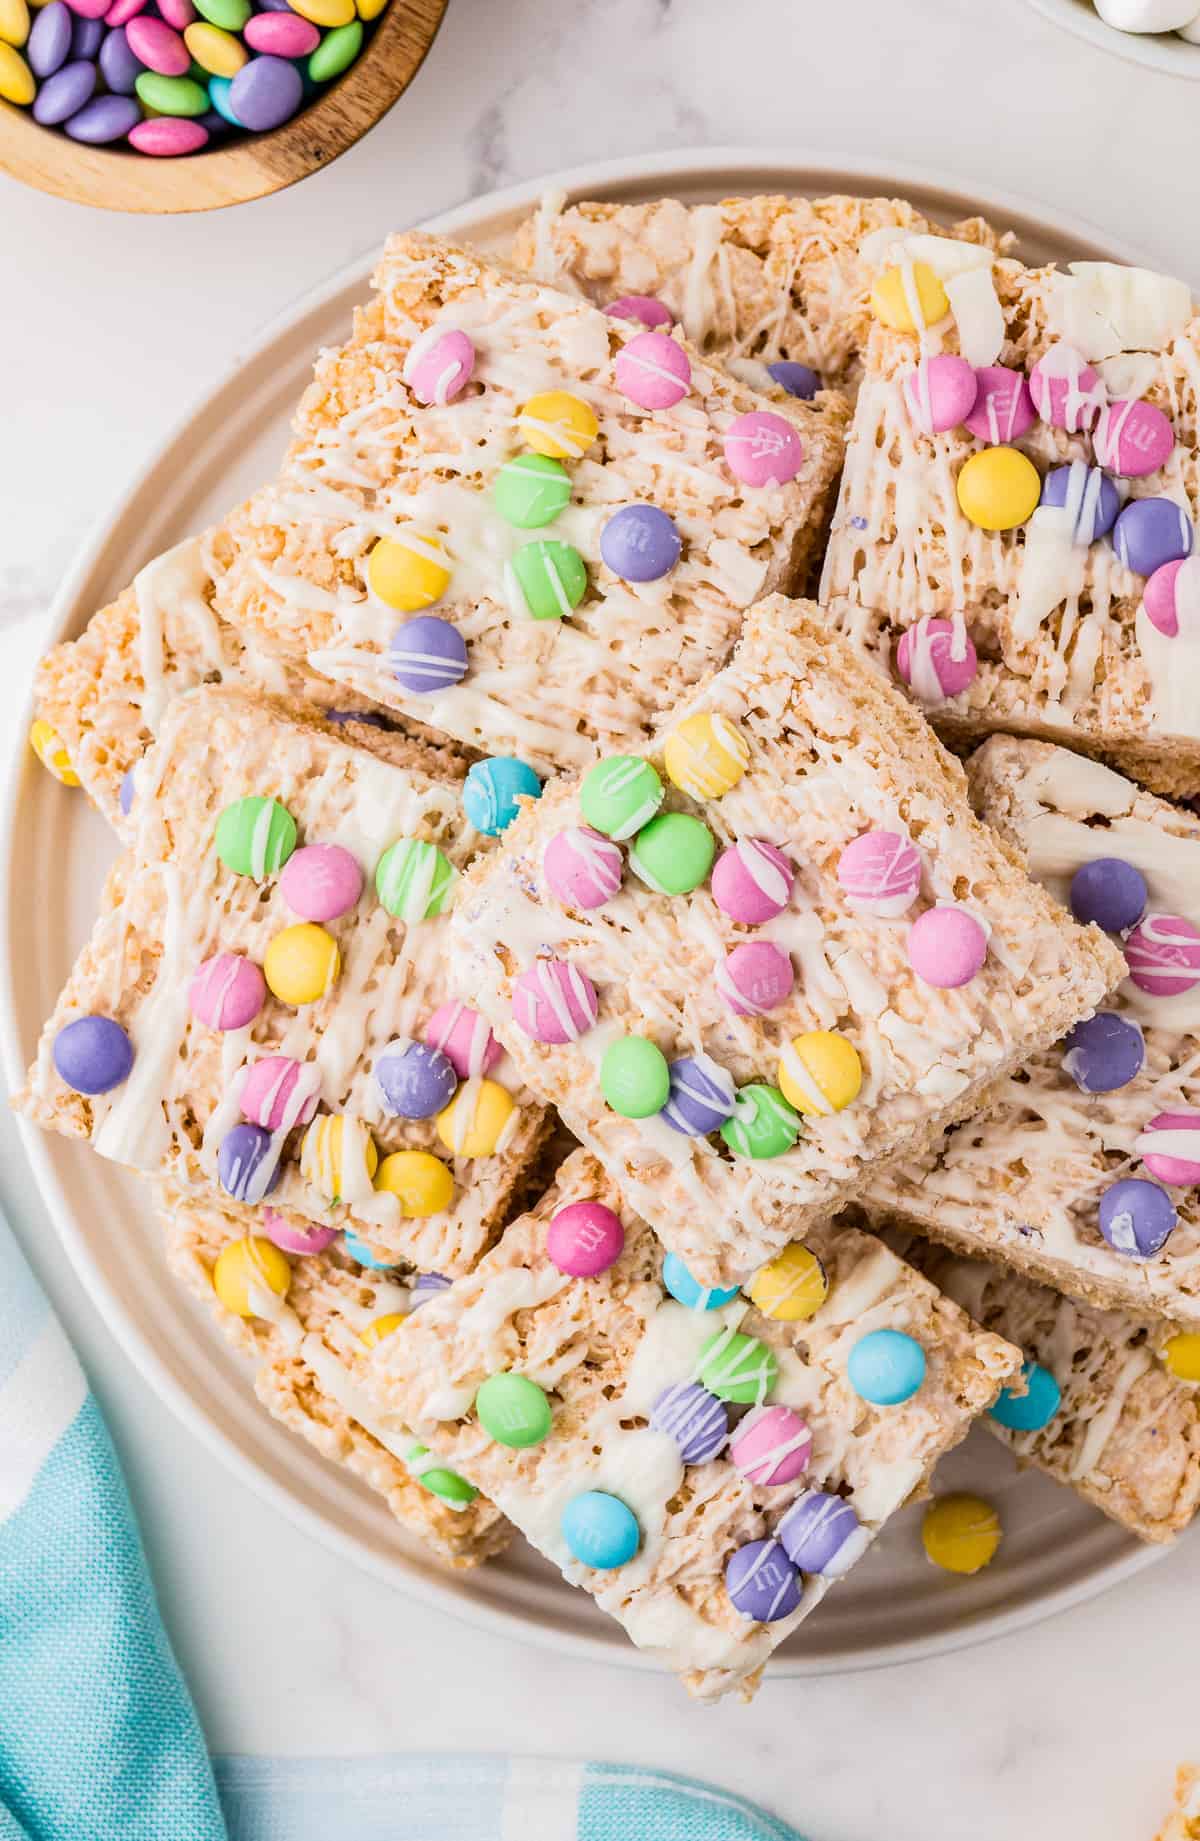
What’s in Rice Krispies Easter Treats?
Rice Krispie treats have had an Easter makeover with this tasty recipe! Perfectly chocolatey and bright and colorful, they are a perfect treat to share with family and friends.
- Unsalted Butter: I like to use unsalted butter, but if you don’t have any, you can use salted butter and omit the kosher salt. I do not recommend using margarine.
- Vanilla Extract: Enhances the sweetness of the treats.
- Kosher Salt: Enhances the natural flavor of the Rice Krispies.
- Marshmallows: You’ll need 25 ounces of mini marshmallows. You could also use a 16-ounce tub of marshmallow fluff instead!
- Rice Krispies Cereal: You can use generic crispy rice cereal instead; just make sure it hasn’t gone stale!
- White Melting Chocolate: Creates the perfect sweet drizzle.
- Easter M&Ms: Pastel and festive for the holiday!
Pro Tip: Maintain a low cooking heat for melting the butter and marshmallows. This will help keep the chewy consistency of the treat. If you attempt to increase the heat, your treats will likely be on the tough side.
Variations on Rice Krispie Treats for Easter
These Rice Krispie treats are obviously great for Easter and spring, but you can easily use different colored M&Ms to suit any occasion. I used white chocolate to drizzle the treats, but you can use semisweet or milk if you prefer.

Email This Recipe
Enter your email and we’ll send the recipe directly to you!
Not necessarily! While Rice Krispies cereal is made from rice, it also contains malt, which is made from barley and may contain gluten. To ensure your treats are gluten-free, look for the Rice Krispies that are labeled as certified gluten-free!
No, I do not recommend using old marshmallows, as they are dry and won’t melt as well.
You can use a 16-ounce tub of marshmallow fluff!
You may have overcooked the marshmallows when melting them, leading to hard treats, or you may have packed the mixture too tightly into the pan. Keep an eye on the marshmallows as they melt, and gently pack the mixture into the pan.
Too much marshmallow and butter can make Rice Krispie treats sticky. Also, using marshmallow fluff in place of the marshmallows can make the treats stickier than usual. To combat this, simply add a bit more cereal!
How to Store
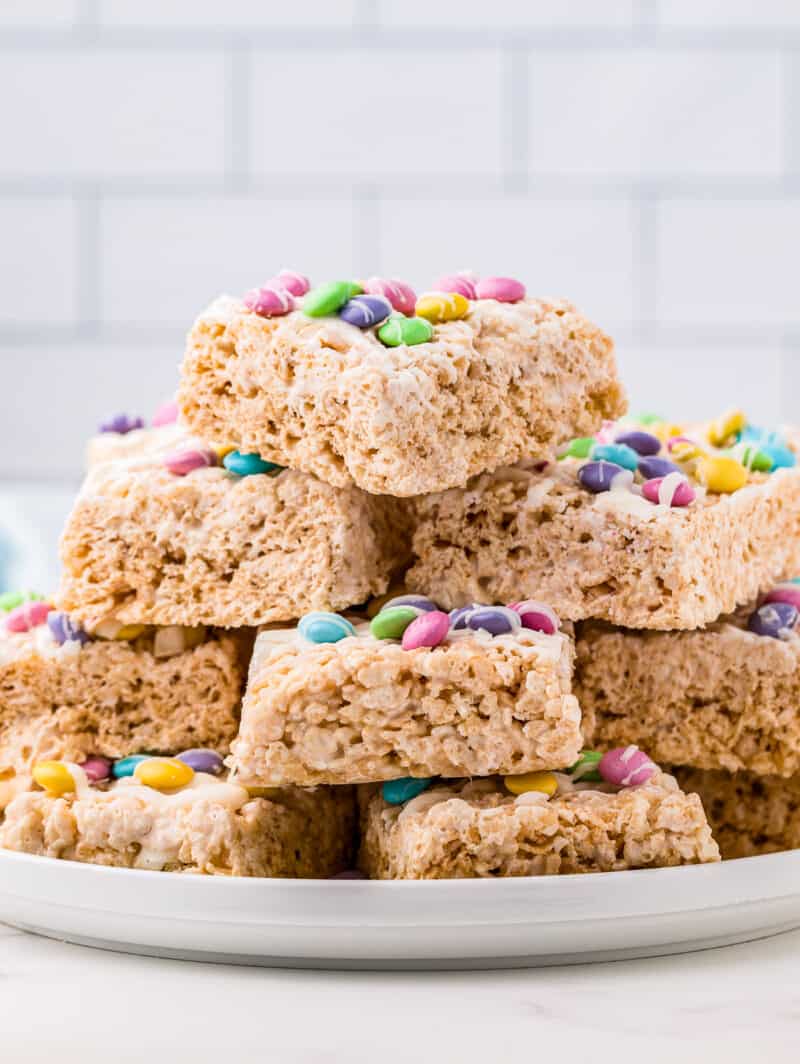
It’s best to enjoy these Easter Rice Krispie treats within 5 days of making them. They are still good to eat after that time, but they will start to harden a little. To extend the life of your Easter treats, store them in an airtight container.
How to Freeze
If you aren’t going to eat all of these treats within 5 days, it’s best to freeze them to keep them fresh. Wrap the squares in plastic wrap before freezing in an airtight container or Ziplock bag. Frozen Rice Krispie treats will keep well for around 6 weeks. Thaw them at room temperature for 15-30 minutes before enjoying.
Serving Suggestions
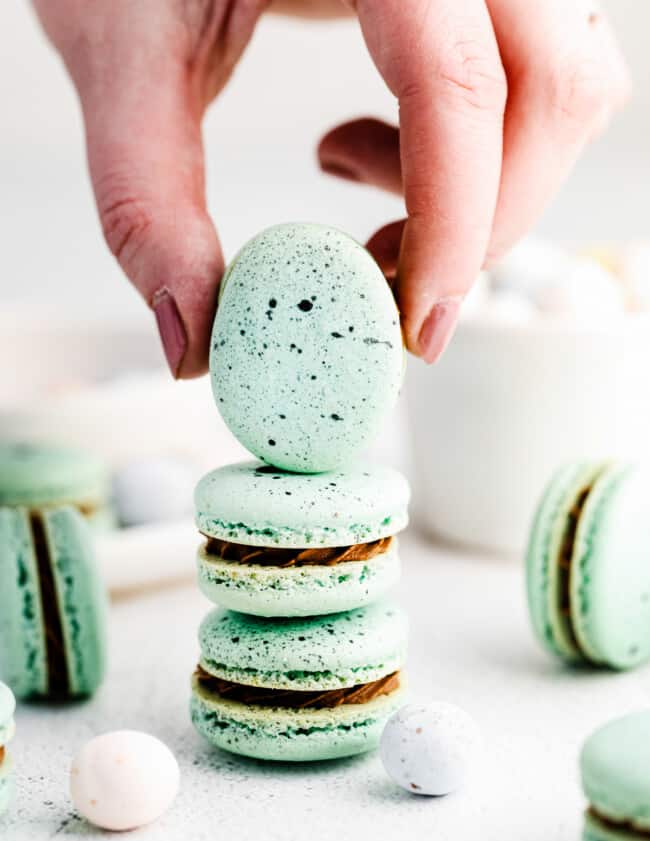
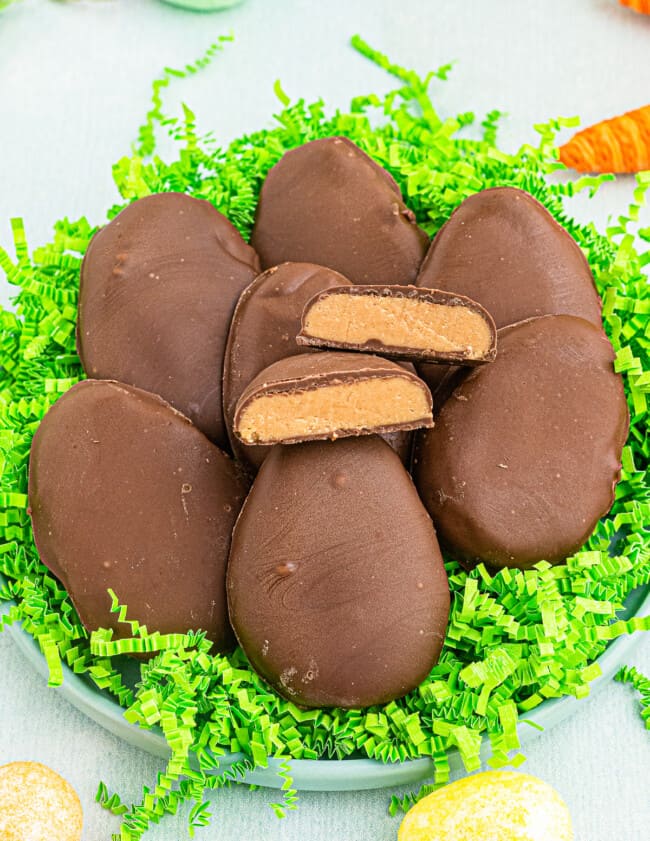
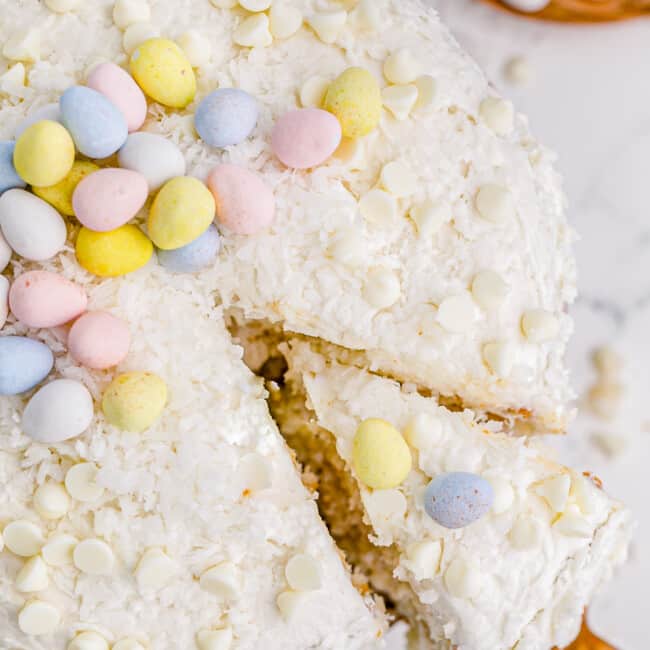
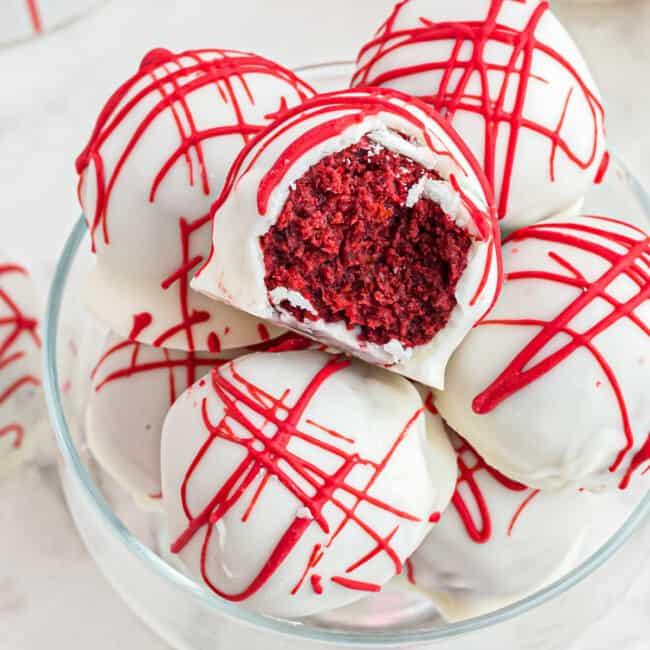
Make these part of your Easter dessert table alongside other festive treats, like bird’s nest cookies, bunny bark, Robin’s egg macarons, Easter cookie dough truffles, bunny bait snack mix, or Easter basket cookie cups.

Easter Rice Krispie Treats Recipe
Ingredients
- ¼ cup unsalted butter 57 grams (½ stick)
- ¼ teaspoon pure vanilla extract 1 gram
- ¼ teaspoon kosher salt
- 25 ounces mini marshmallows 717 grams (2½ 10-ounce bags)
- 10 cups Rice Krispies cereal 250 grams
- 8 ounces white melting chocolate 227 grams, Ghirardelli recommended (2 bars)
- ½ cup Easter M&M’s 100 grams
Equipment
- Kitchen Scale (optional)
- 9×13 Baking Pan
- Dutch Oven (optional)
Instructions
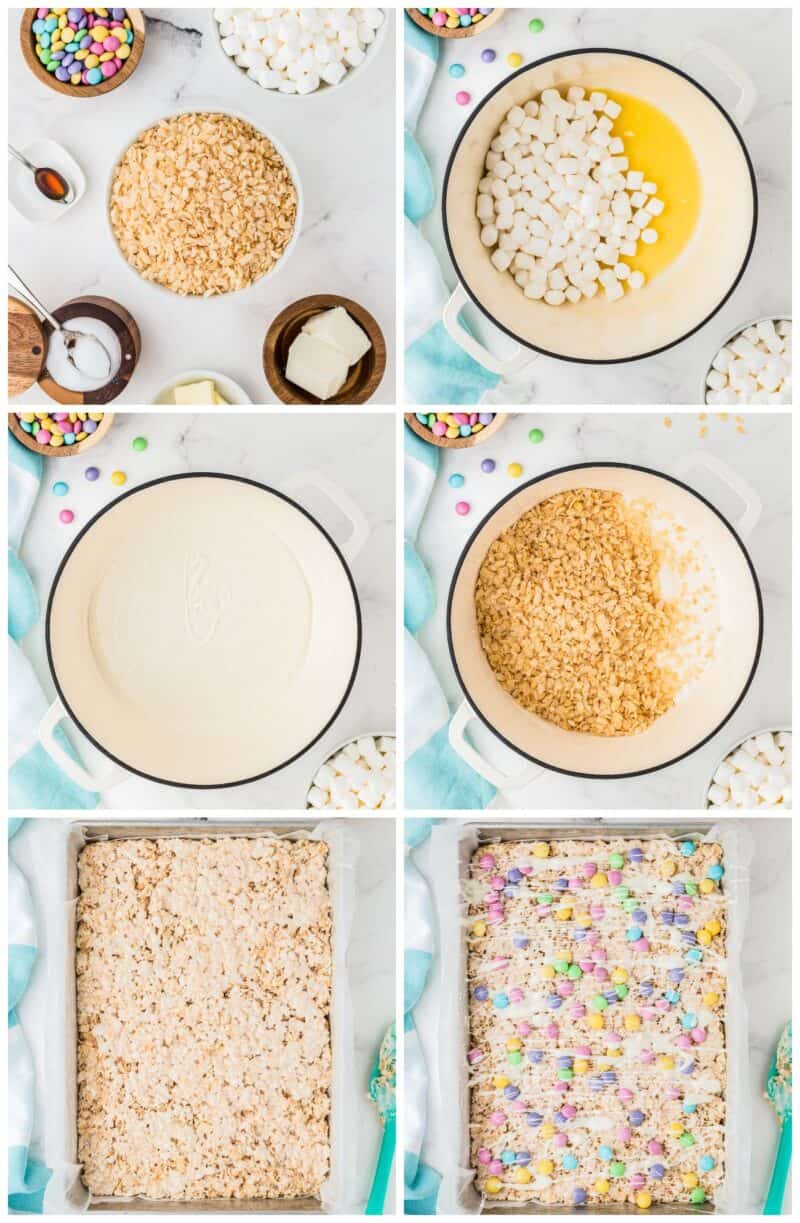
- Line a 9×13 inch rectangular cake pan with parchment paper. Extend the parchment over both ends of the baking pan. Lightly spray the surface of the parchment that is inside the pan with nonstick spray to avoid the treats sticking after they set.
- Using a large, deep pot or dutch oven, heat the butter over low heat. Using a silicone spatula, stir the butter until it is melted.¼ cup unsalted butter
- Stir in the pure vanilla extract and salt.¼ teaspoon pure vanilla extract, ¼ teaspoon kosher salt
- Pour in the marshmallows. Take your time to stir the mixture slowly until you see the mixture is completely melted.25 ounces mini marshmallows
- Remove the pot from heat. Begin to fold in the cereal right away. Ensure all of the cereal is completely coated with the marshmallow mixture.10 cups Rice Krispies cereal
- Transfer mixture to the prepared pan.
- Using a silicone spatula, carefully distribute mixture equally across the pan.
- Very gently press the mixture down into the pan so it is even across the top and remains secure in the pan. An easy way to press the treats into place is to spray a piece of parchment paper with cooking spray. Place the parchment over the treats and very gently press the treats with your hands.
- Melt the white chocolate in a small microwavable bowl in the microwave using package instructions. Drizzle the melted goodness with a tablespoon over the entire pan of treats. See directions for melting almond bark on the package.8 ounces white melting chocolate
- Immediately sprinkle M&M's onto the warm drizzled white chocolate.½ cup Easter M&M’s
- For best results, let the treats set for at least 30-60 minutes at room temperature. This will allow the chocolate to harden.
- Before cutting, remove the rice krispie treats by using both sides of the parchment paper to lift the treats out of the pan and placing them onto a cutting surface. Cut into equal portions.
Notes
- Spray a sheet of wax paper the size of your pan with cooking spray and use it to gently spread and press the treats evenly in the pan.
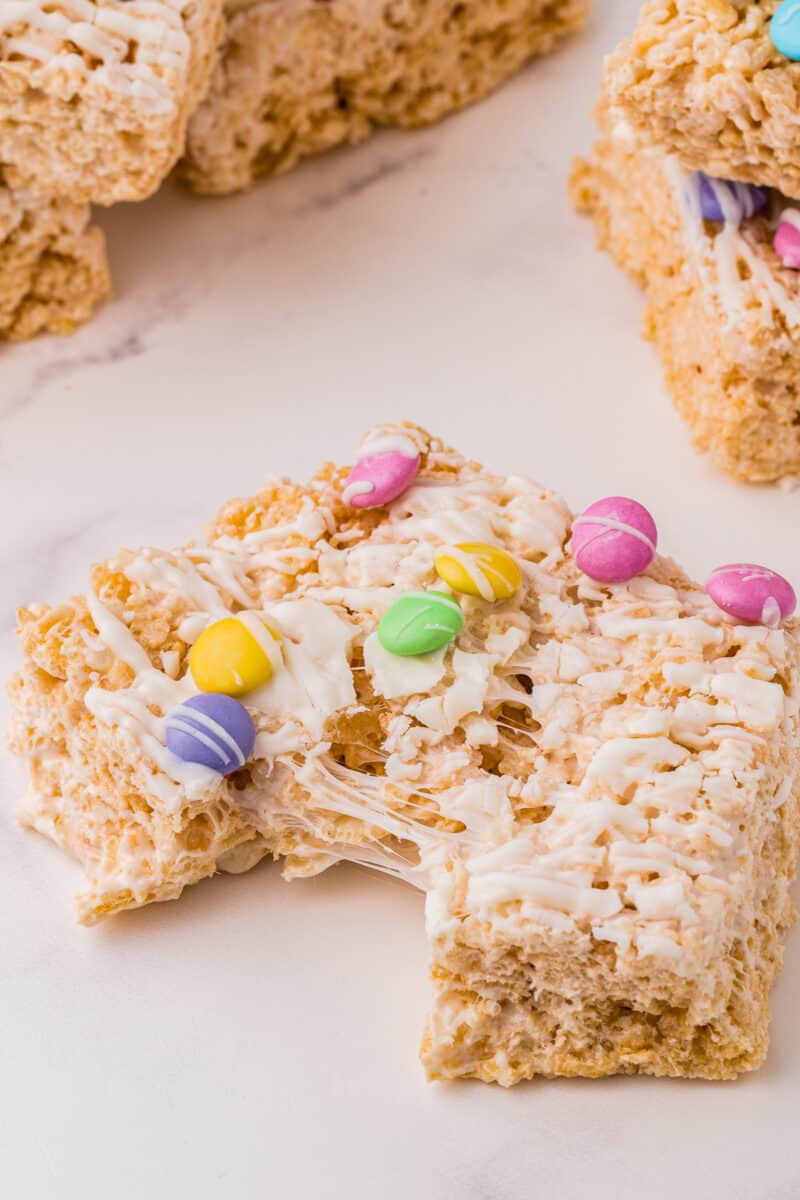
- Maintain a low cooking heat for melting the butter and marshmallows. This will help keep the chewy consistency of the treat. If you attempt to increase the heat, your treats will likely be on the tough side. This is what helps you achieve the gooeyness of the treats.
- To help speed up the melting process, it may help to slice the butter in small pieces.
- Do not over press the treats when placing them in the cake pan. Over pressing will cause the treats to be harder than desired.










Leave a Review