

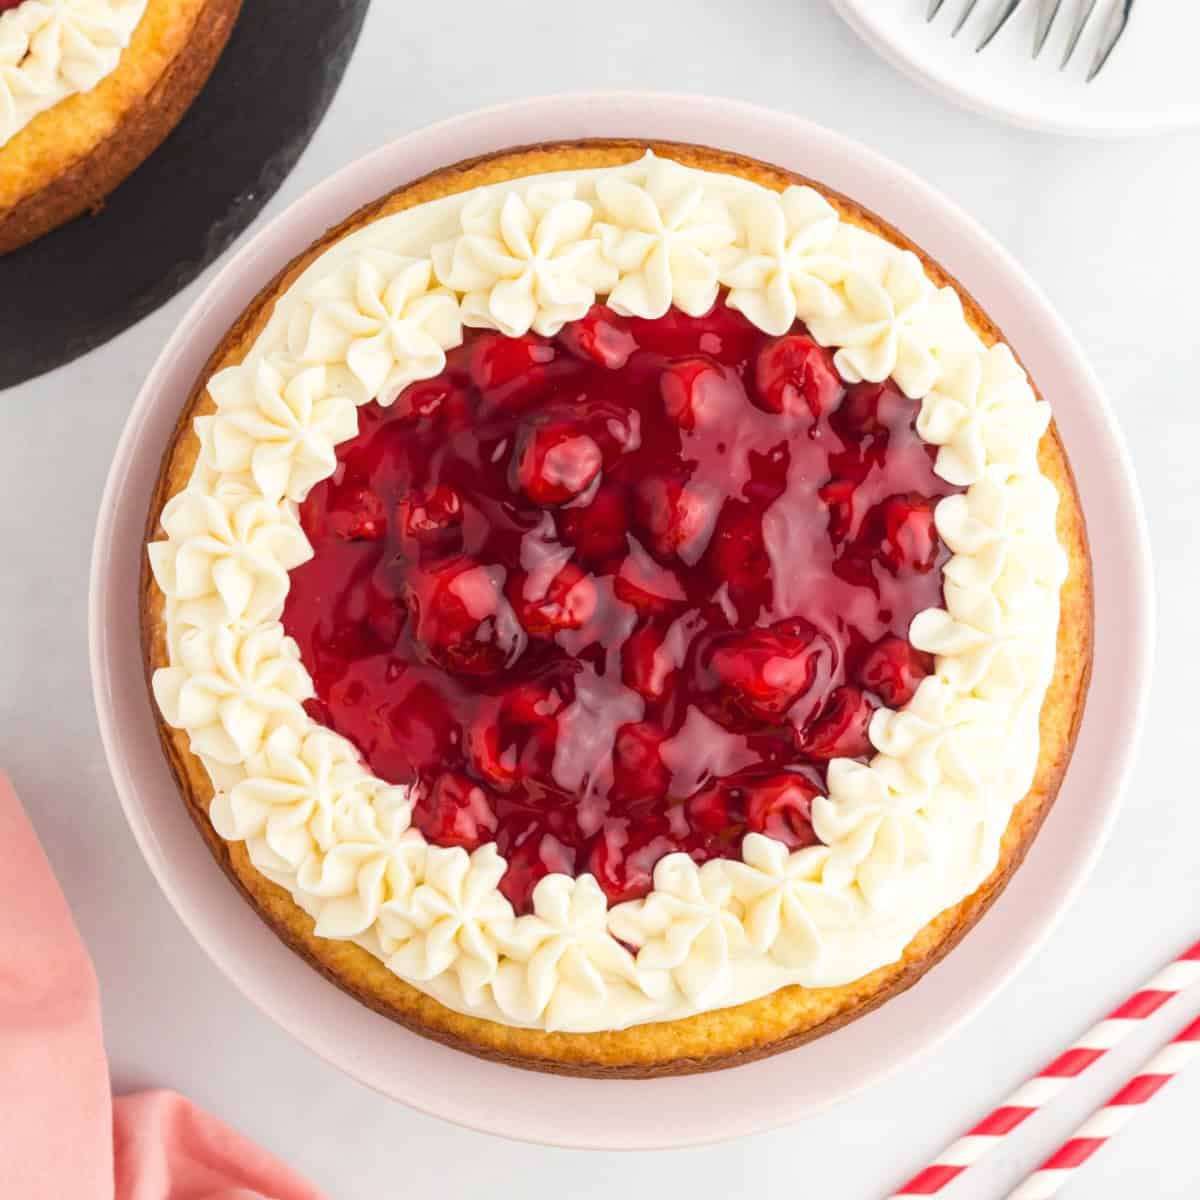
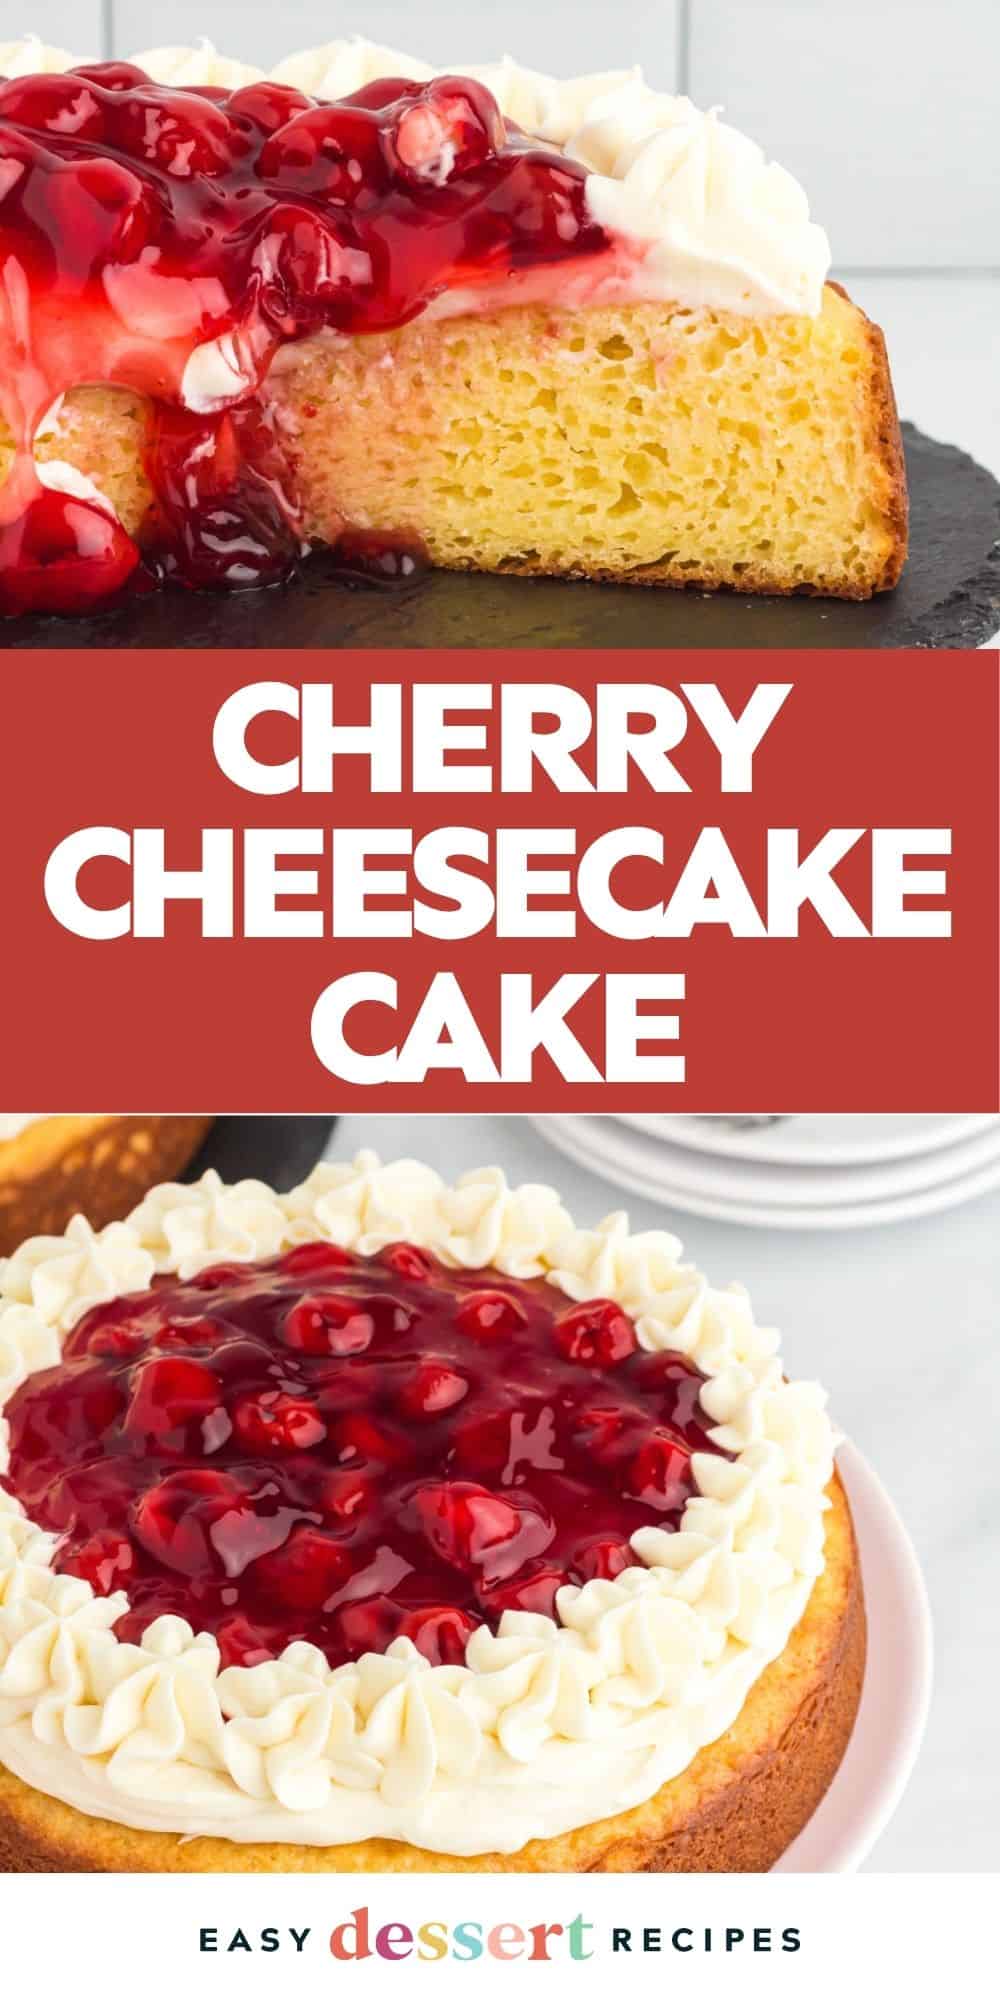
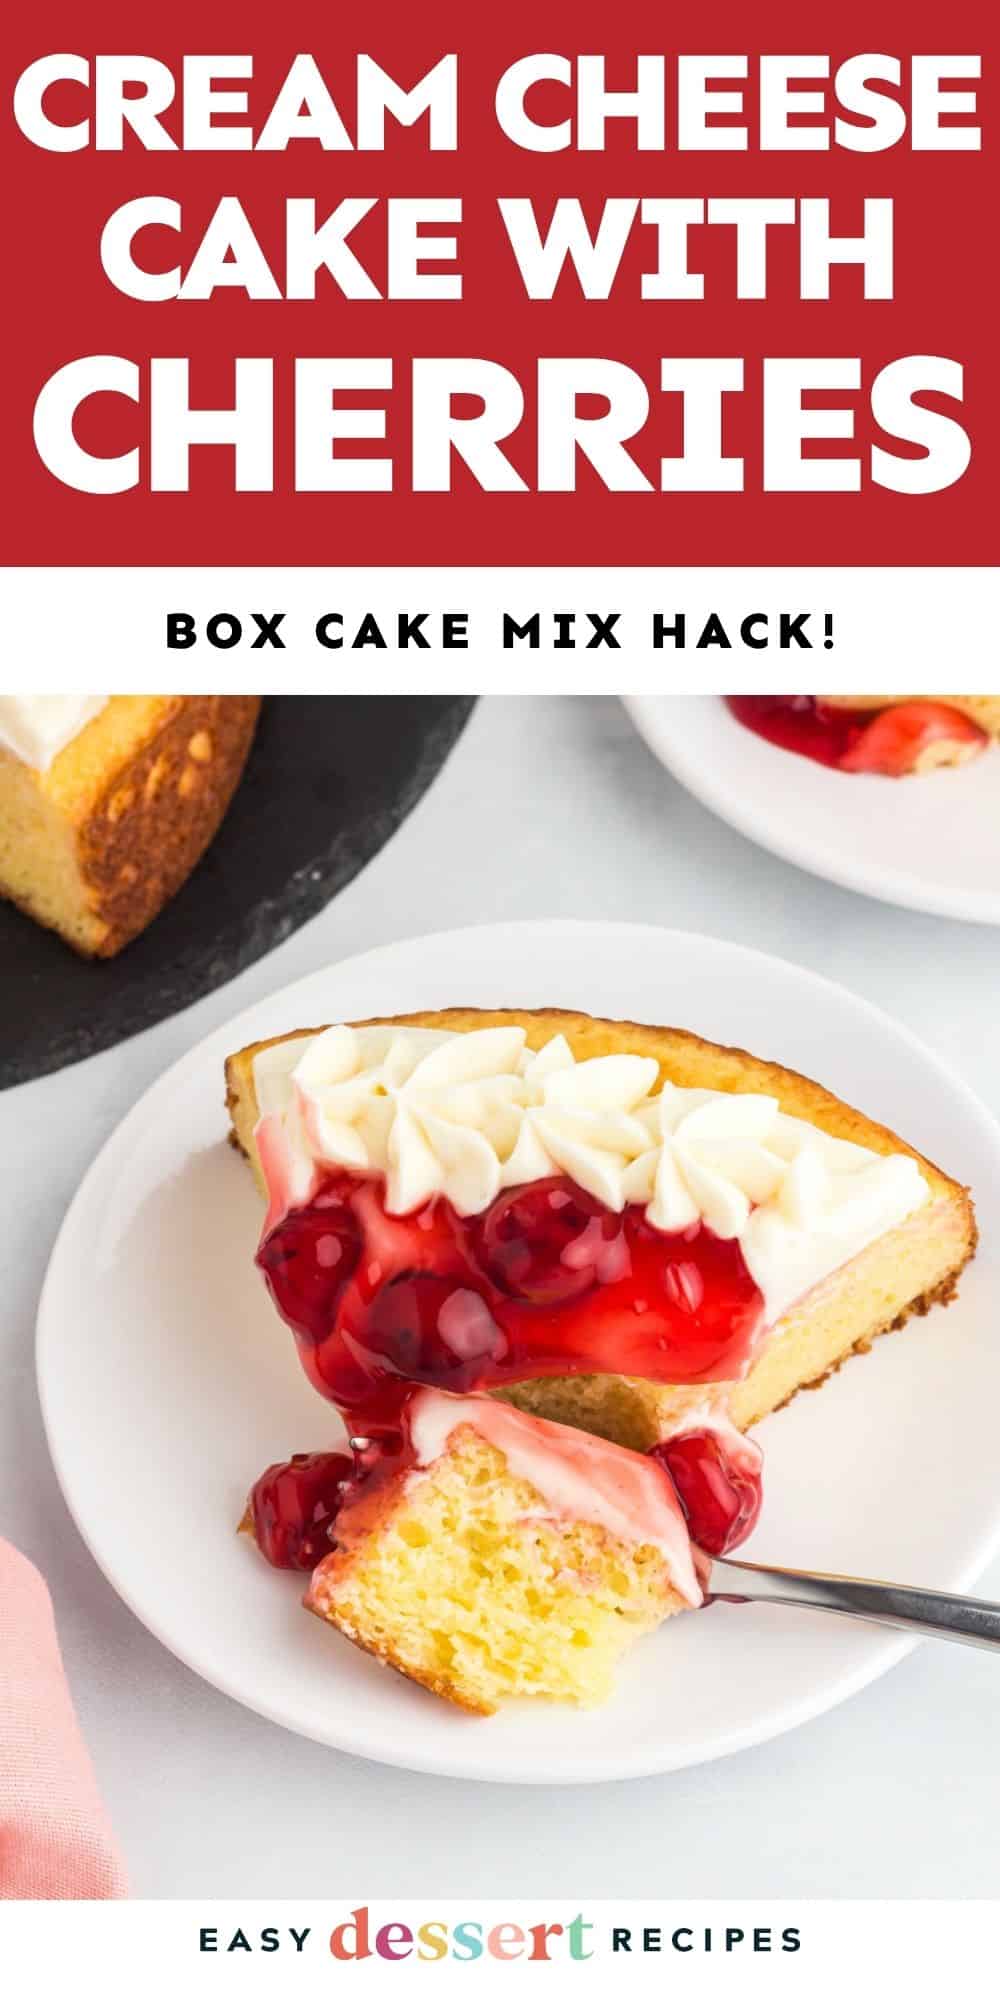
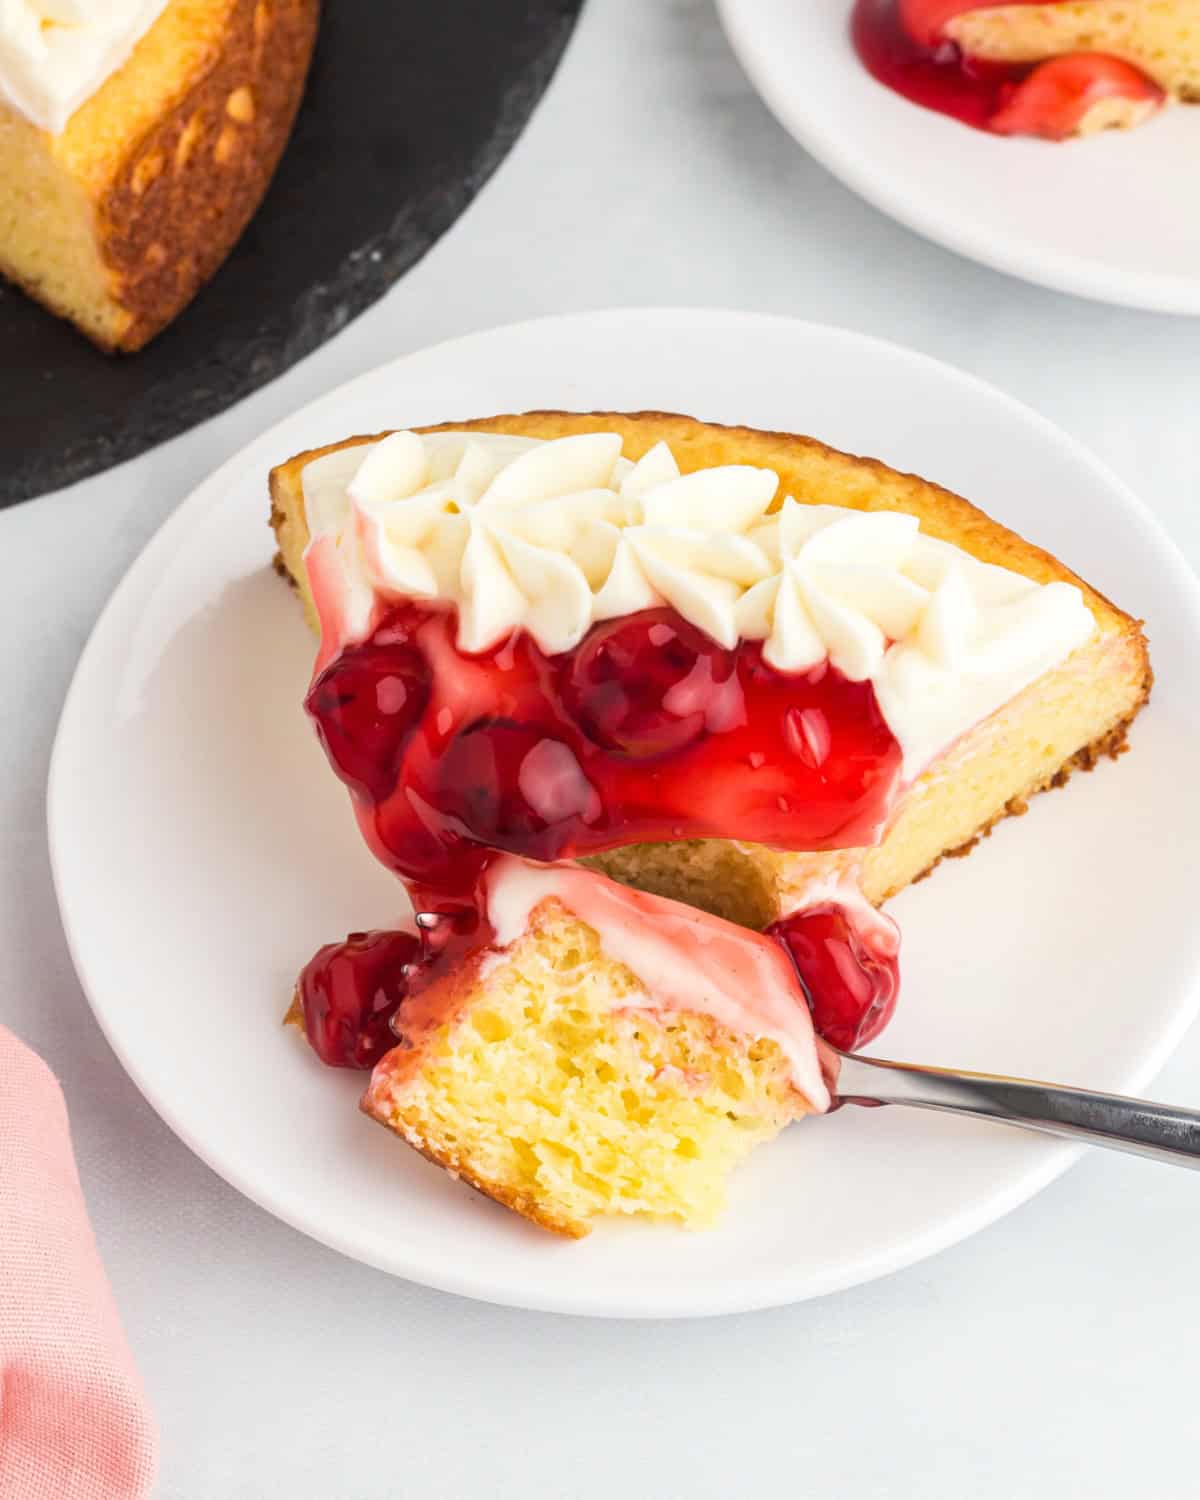
This cherry cheesecake cake is the ultimate cake mix hack, filled with layers of unbelievable flavor! I start by infusing a box of white cake mix with cream cheese and cheesecake pudding mix for a moist, dense texture. Then I top off each layer with cream cheese frosting and cherry pie filling for the most deliciously easy cake!
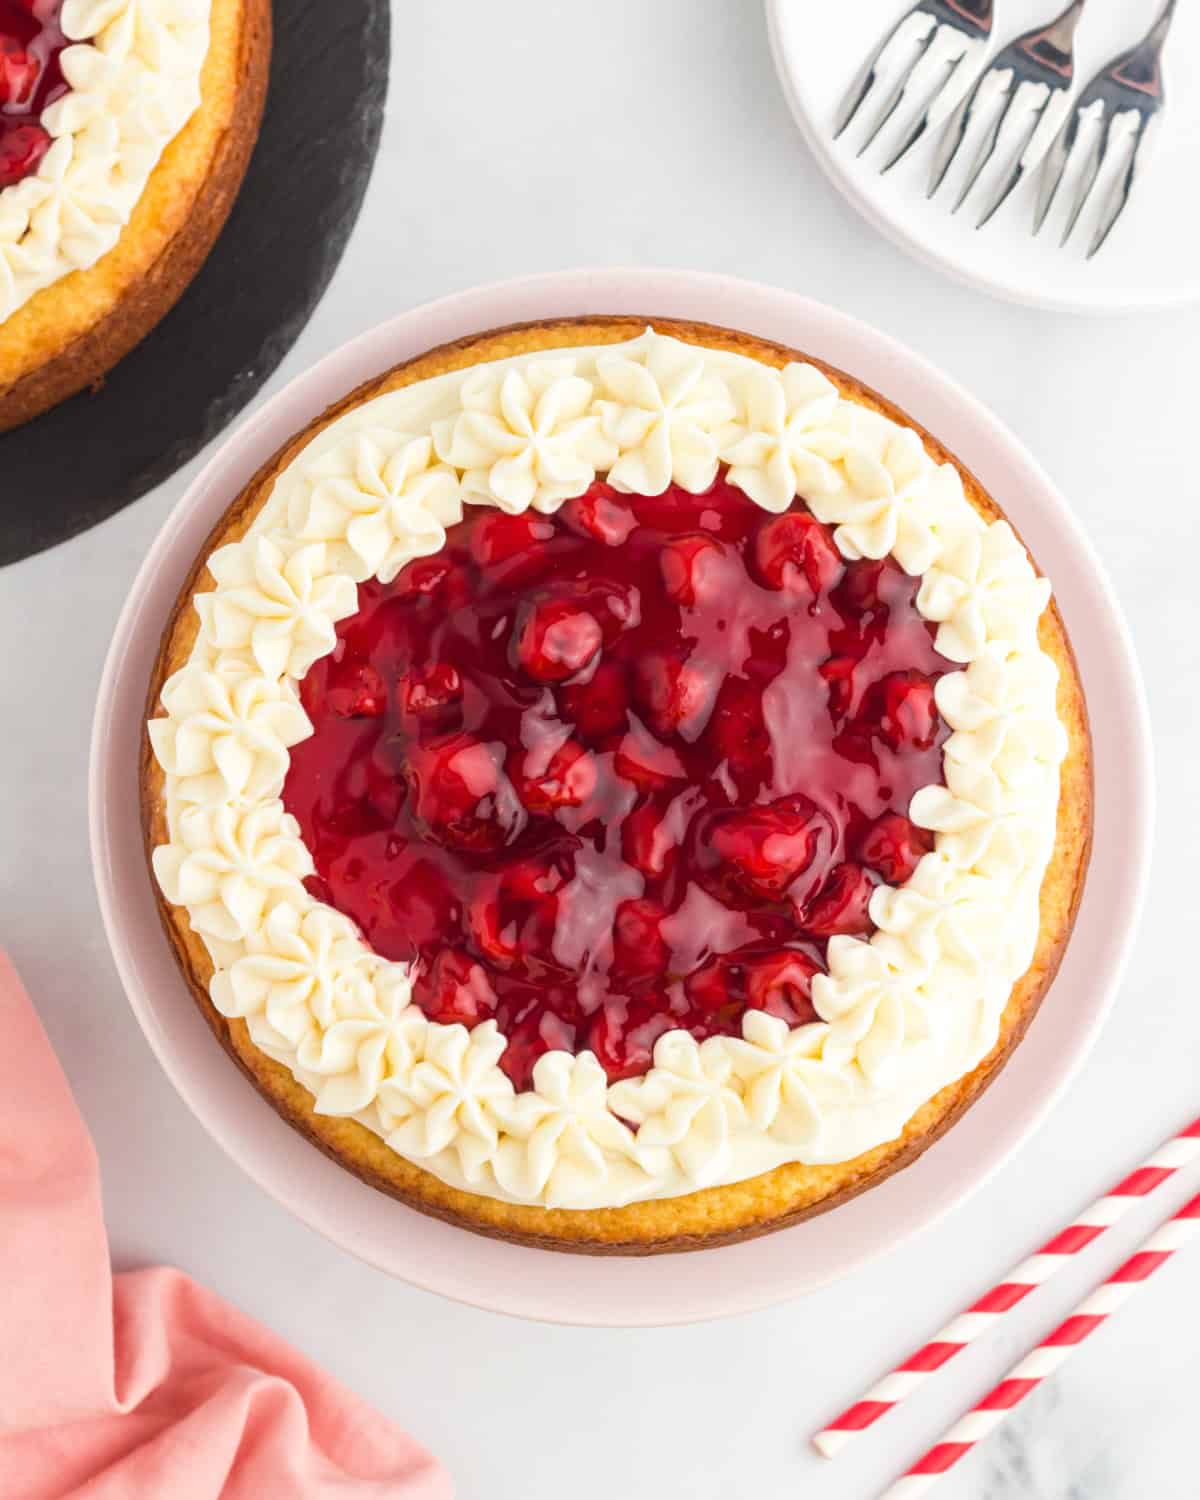
Cheesecake Cake with Cream Cheese Frosting and Cherry Pie Topping
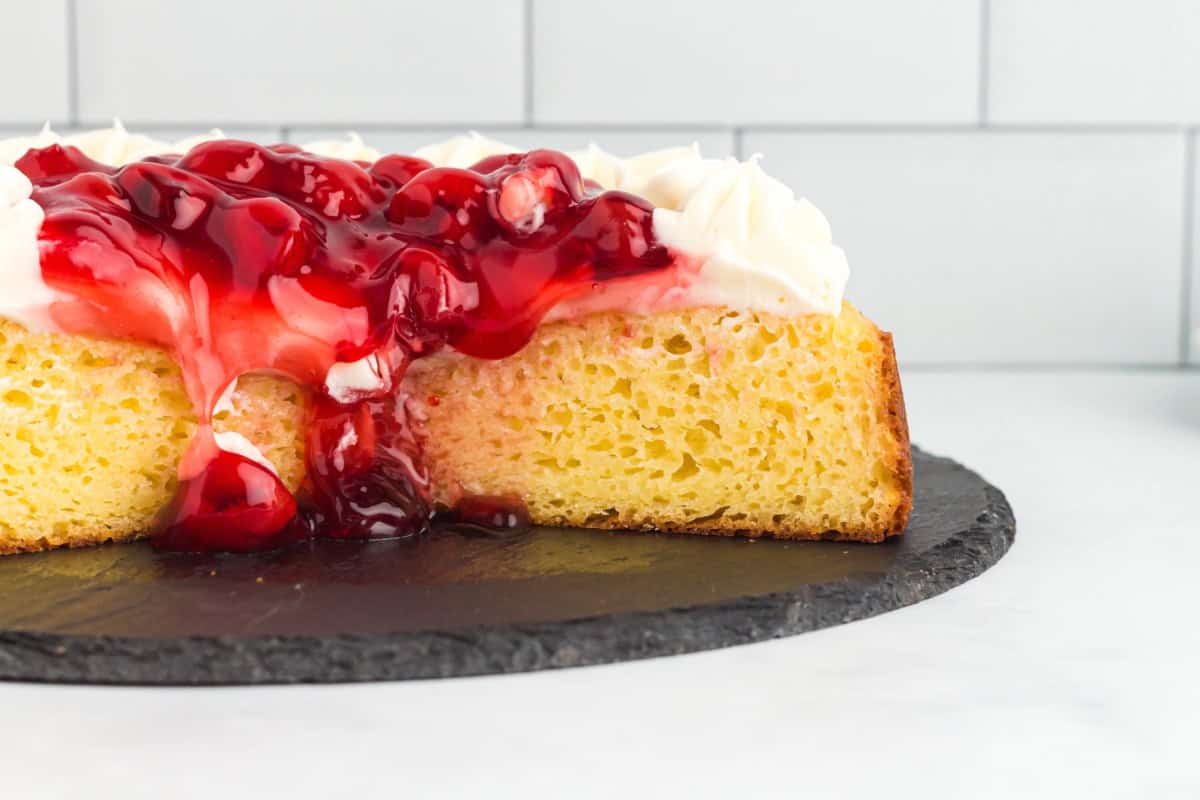
I’ve made a layered cheesecake cake before, but I decided to really go for it and blend the two layers into one! So the cake itself has real cheesecake flavor, and a density that lands somewhere between traditional cheesecake and pound cake. Adding these extra ingredients right into the cake batter is one of my favorite box mix hacks yet!
With summer parties to attend, I’ve had cherry desserts on my mind — especially my cherry cheesecake. So to finish off my cakes, I made a simple cream cheese frosting, then dumped a can of cherry pie filling right on top. It’s so good! It’s the easiest dessert and doesn’t require perfect measurements, so I can just get something ready without much hassle.

Email this Recipe
Enter your email and we’ll send the recipe directly to you!
By submitting this form, you consent to receive emails from Easy Dessert Recipes.

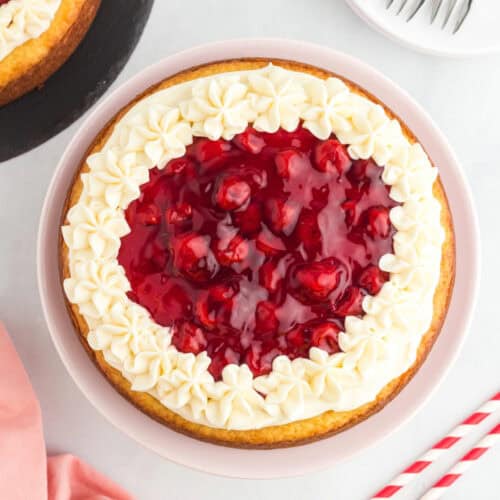
Cherry Cheesecake Cake Recipe
Equipment
- (2) 8-inch Round Cake Pan(s)
- Hand Mixer
Ingredients
For the Cake:
- 8 ounces cream cheese full-fat; softened to room temperature*
- ½ cup milk room temperature**
- ½ cup vegetable oil
- 4 large eggs room temperature
- 15.25 ounces white cake mix 1 box
- ⅓ cup granulated sugar
- 3 tablespoons Jell-O Instant Cheesecake Pudding Mix dry mix only
For the Cream Cheese Frosting:
- 8 ounces cream cheese full-fat; softened to room temperature*
- 2 cups powdered sugar
- 1¼ cup heavy cream cold
- 2 tablespoons Jell-O Instant Cheesecake Pudding Mix dry mix only
- 2 teaspoons vanilla extract
- 21 ounces cherry pie filling 1 can***
Instructions
Bake the Cakes:
- Preheat oven to 350°F.
- Line the bottom of two 8” cake pans with parchment paper, and spray the inside of both cake pans well with non-stick baking spray. Set aside.
- In a large bowl, beat softened cream cheese with an electric mixer on high speed until smooth.8 ounces cream cheese

- Add milk and vegetable oil to the cream cheese, and beat on medium speed until fully combined.½ cup milk, ½ cup vegetable oil
- Beat eggs into the wet mixture on low speed just until combined.4 large eggs
- On low speed, beat the cake mix, sugar and Jell-O pudding mix into the wet ingredients just until combined. Again, do not overmix the batter or the cake will not rise properly.15.25 ounces white cake mix, ⅓ cup granulated sugar, 3 tablespoons Jell-O Instant Cheesecake Pudding Mix
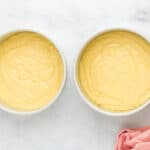
- Using a spatula, split the batter evenly between the two prepared cake pans. This is about 580 grams per cake pan.
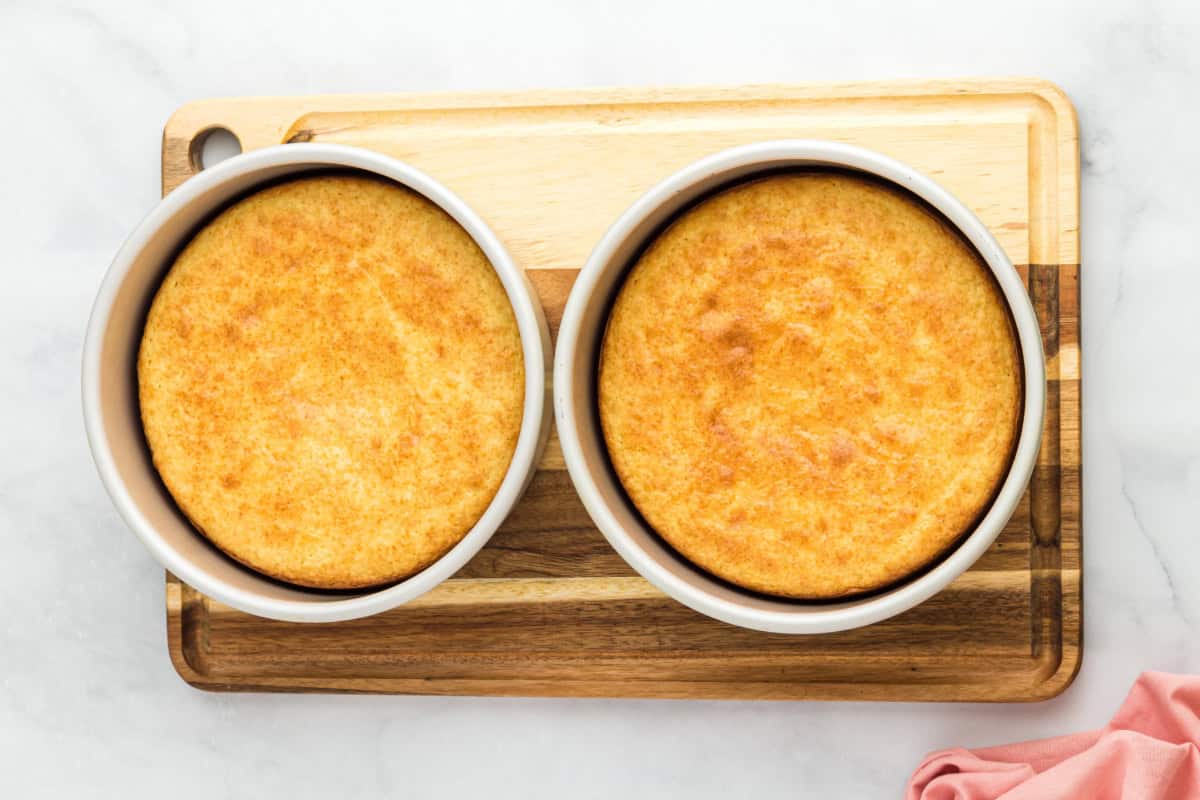
- Place the cakes in the oven to bake for 32 to 35 minutes; or until a toothpick inserted in the middle comes out clean.
- Let the cakes cool completely before removing from the pans and frosting.
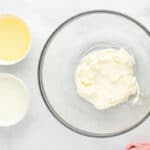

Make the Cream Cheese Frosting:
- In a large bowl, beat the softened cream cheese until smooth.8 ounces cream cheese
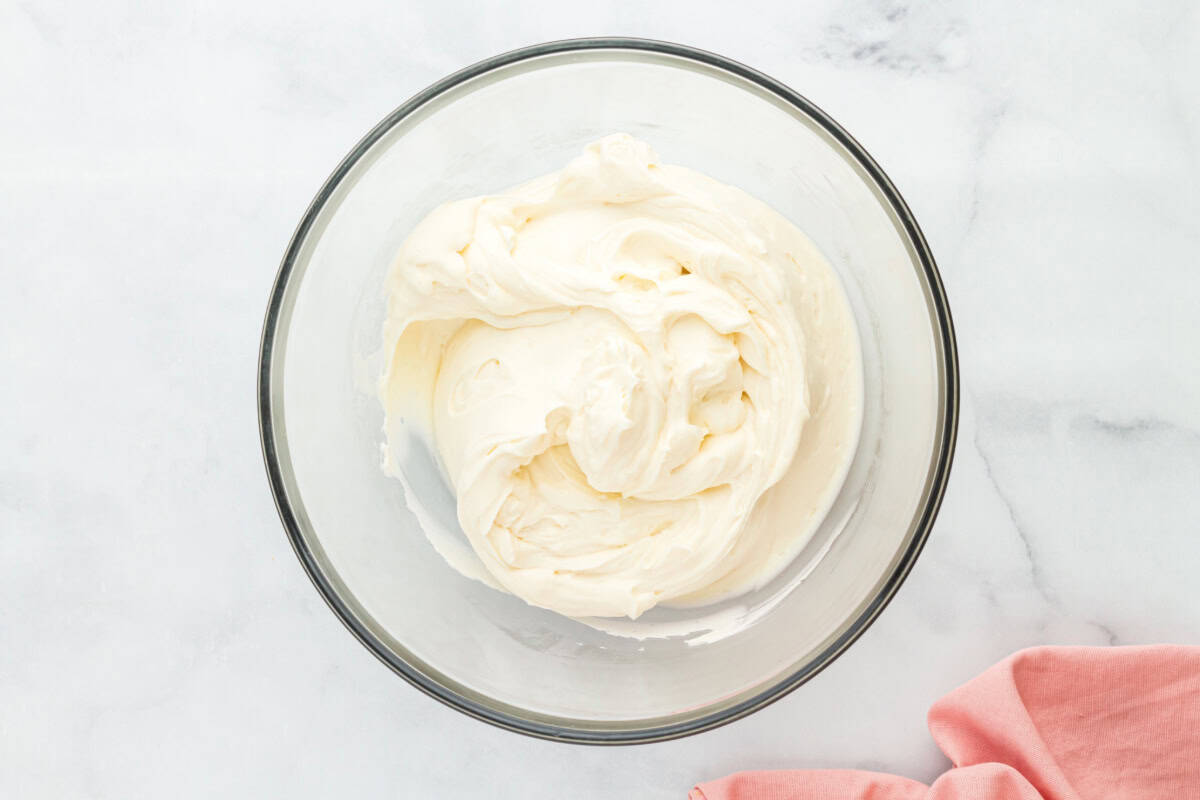
- Add the powdered sugar, heavy cream, Jell-O pudding mix and vanilla extract to the cream cheese, and beat on low speed until fully combined. Once combined, turn the speed up to high and beat for 5 minutes until soft peaks form.2 cups powdered sugar, 1¼ cup heavy cream, 2 tablespoons Jell-O Instant Cheesecake Pudding Mix, 2 teaspoons vanilla extract
Assemble the Cake:
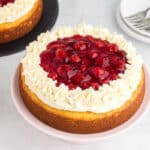
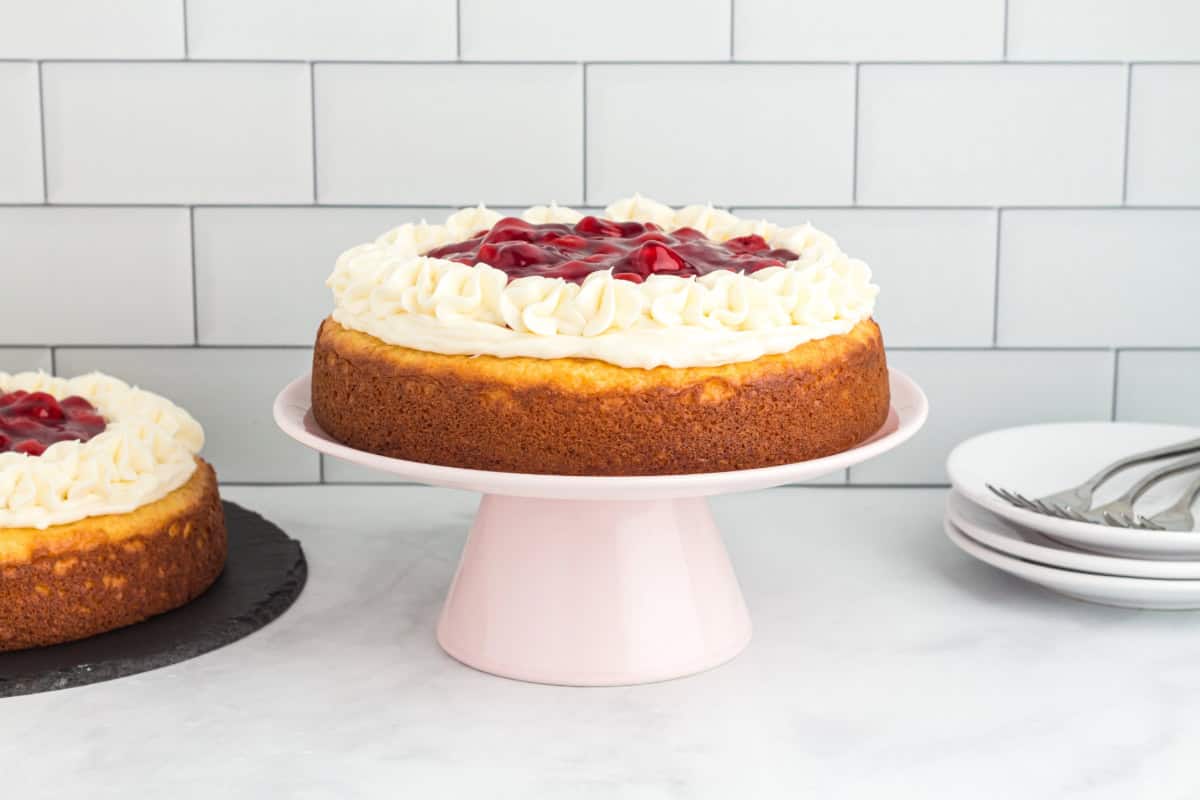
- Spread frosting in a thin layer over each cake, then top each with ½ of the cherry pie filling.21 ounces cherry pie filling
Notes
- For a super smooth batter and frosting, use room temperature cream cheese, eggs, and milk.
- I recommend beating the cream cheese by itself until it’s completely smooth before adding any other ingredients.
- To get a fluffy whipped frosting, use cold heavy cream. I recommend chilling your mixing bowl and beaters in the freezer for 30 minutes beforehand.
- Use only the dry ingredients from the cake and Jell-O mixes. Follow this recipe’s ingredient list, not the one on the box.
- This is a dense, moist cake. If yours is dry, it might be overbaked. Check that you used the correct size cake mix (around 15.25 oz or 430g).
- To prevent the cake from sinking, use the toothpick test. If it comes out with wet batter, it needs more time in the oven.
- To create a layered cake: simply add some of the cream cheese frosting to the top of one cake layer, add the second cake on top, then finish with the rest of the frosting and the cherry pie filling.
Make a Layered Cake
I prefer to serve each layer as its own cake, with plenty of cherry topping and cream cheese to go around. Because of the denser texture, doubling up the layers can be a lot for one slice. But if you want, it’s really easy to make a naked layered cake (aka no frosted sides). Add a thin layer of the cream cheese frosting and a little bit of cherry filling between the two stacked cake rounds. Then top it off with the rest of the frosting and cherries. Voila!
How to Make Cherry Pie Cream Cheese Cake Step by Step
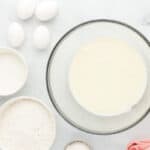
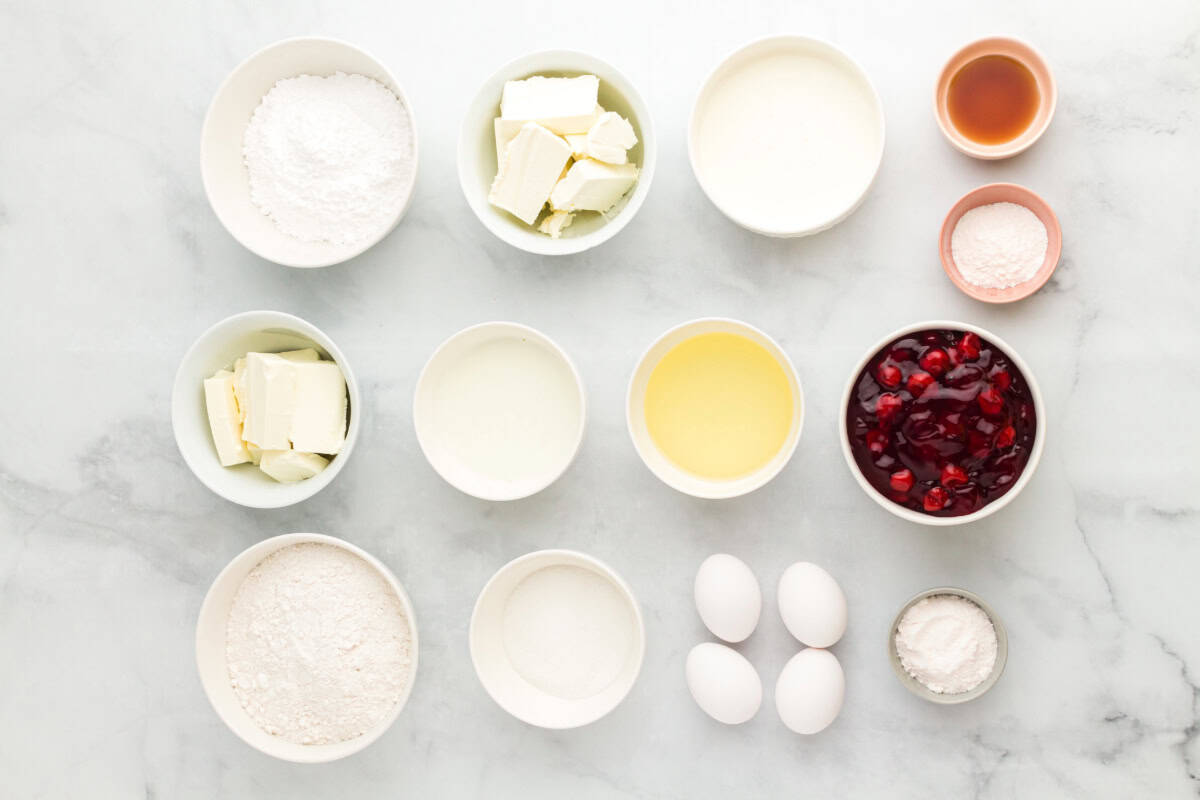
Prep: Gather the list of ingredients for this cheesecake pudding mix cake recipe. Set out the cream cheese, milk, and eggs for 30-60 minutes before starting so they come to room temperature. Preheat your oven to 350°F. Then line the bottom of two 8-inch cake pans with parchment paper, and give them a good spray with non-stick baking spray. Set them aside for now.
Mix Wet Ingredients: In a large bowl, use an electric mixer on high to beat 8 ounces of softened cream cheese until smooth. Then add ½ cup of milk and ½ cup of vegetable oil, and beat on medium speed until everything is well combined.
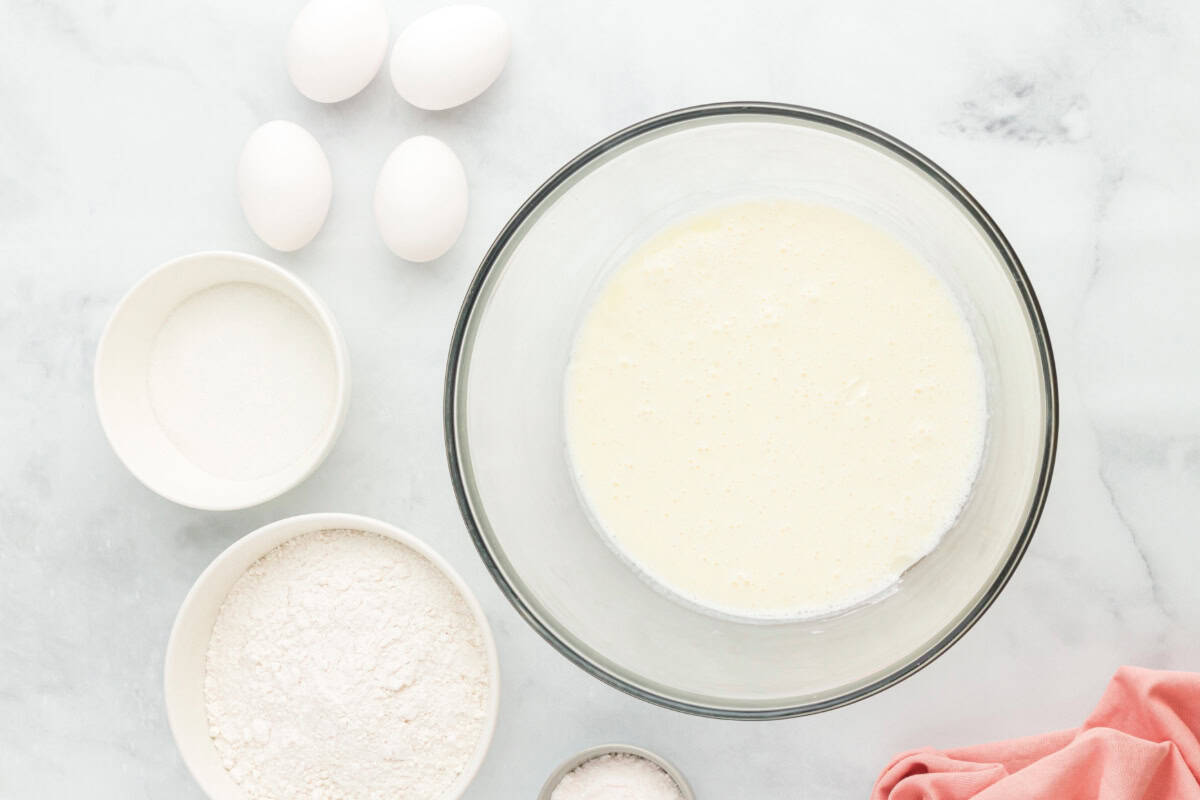
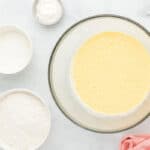
Add Eggs: Then add 4 large eggs, and beat on low speed just until they’re incorporated. This should just be a quick mix, until the mixture starts to turn light yellow.
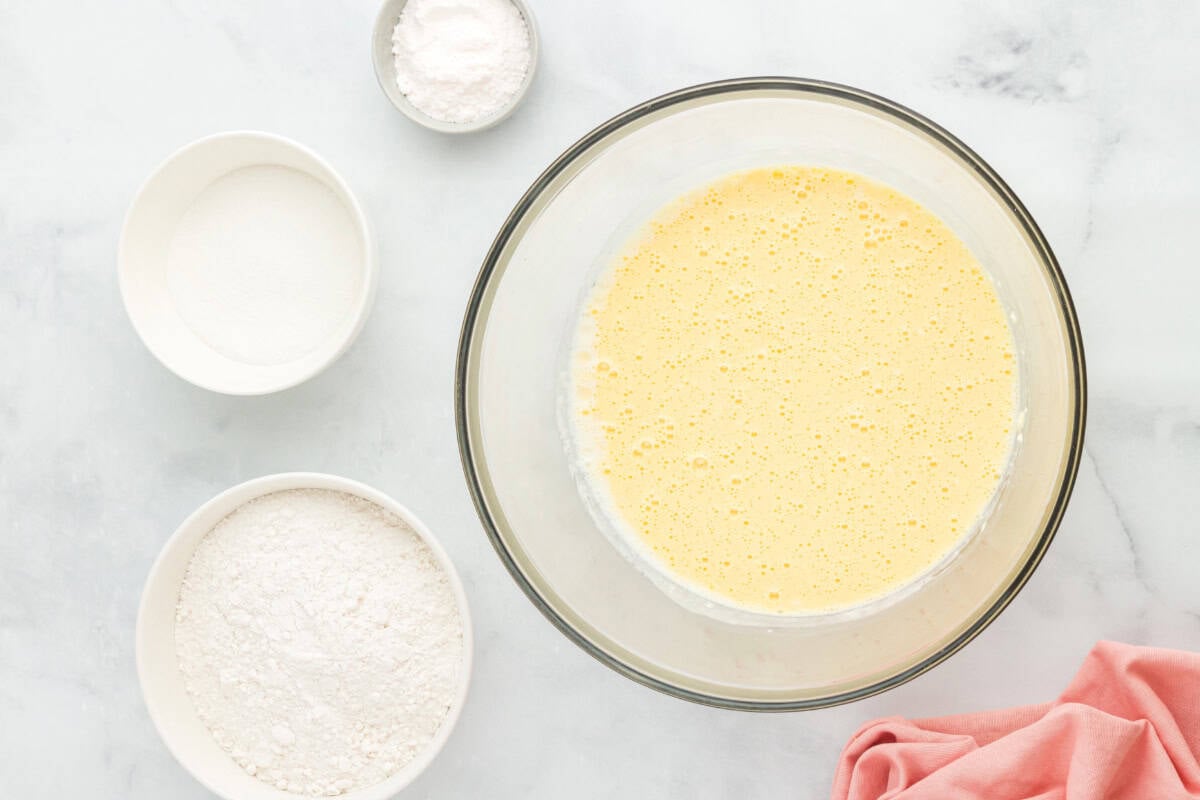
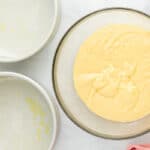
Add Dry Ingredients: Next, gradually add 15.25 ounces of white cake mix, ⅓ cup of granulated sugar, and 3 tablespoons of Jell-O Instant Cheesecake Pudding Mix to your wet ingredients. Continue mixing on low speed just until combined.
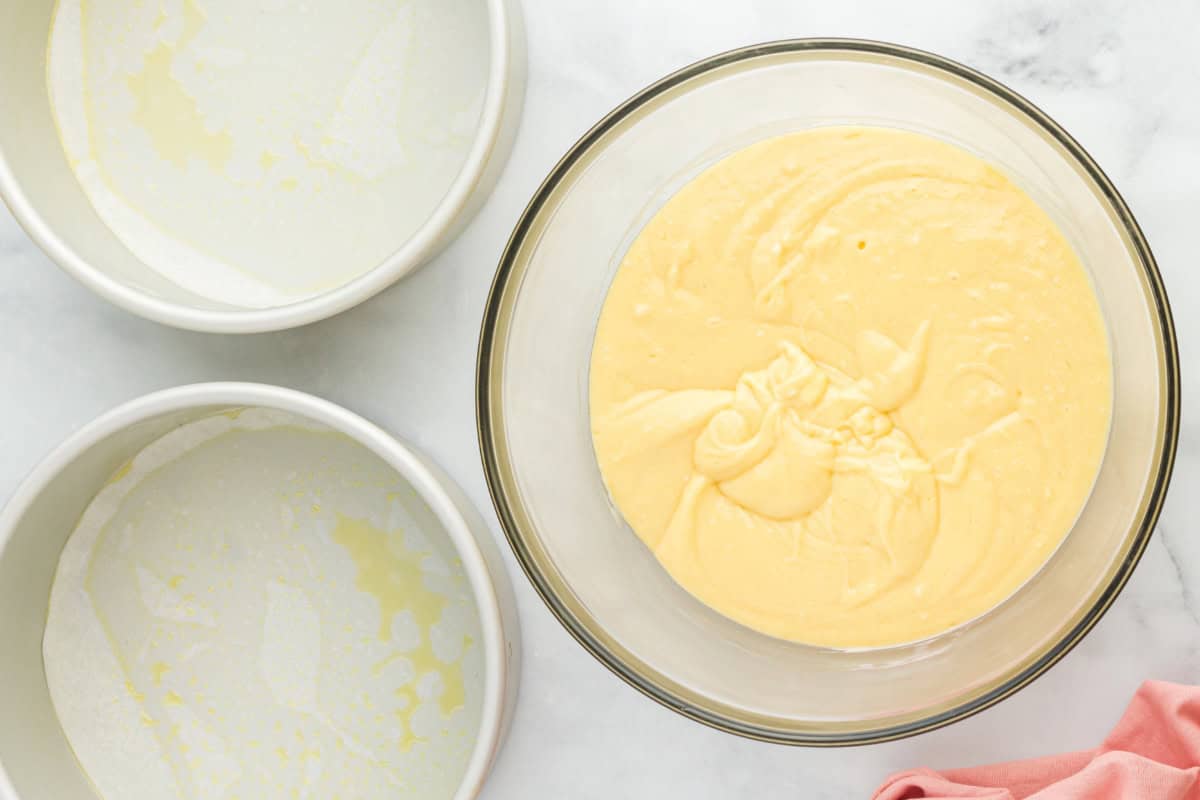
Divide the Batter: Grab a rubber spatula and divide the cream cheese cake batter evenly between your two prepared cake pans. Try to make them as even as possible, so they bake just right in the oven.
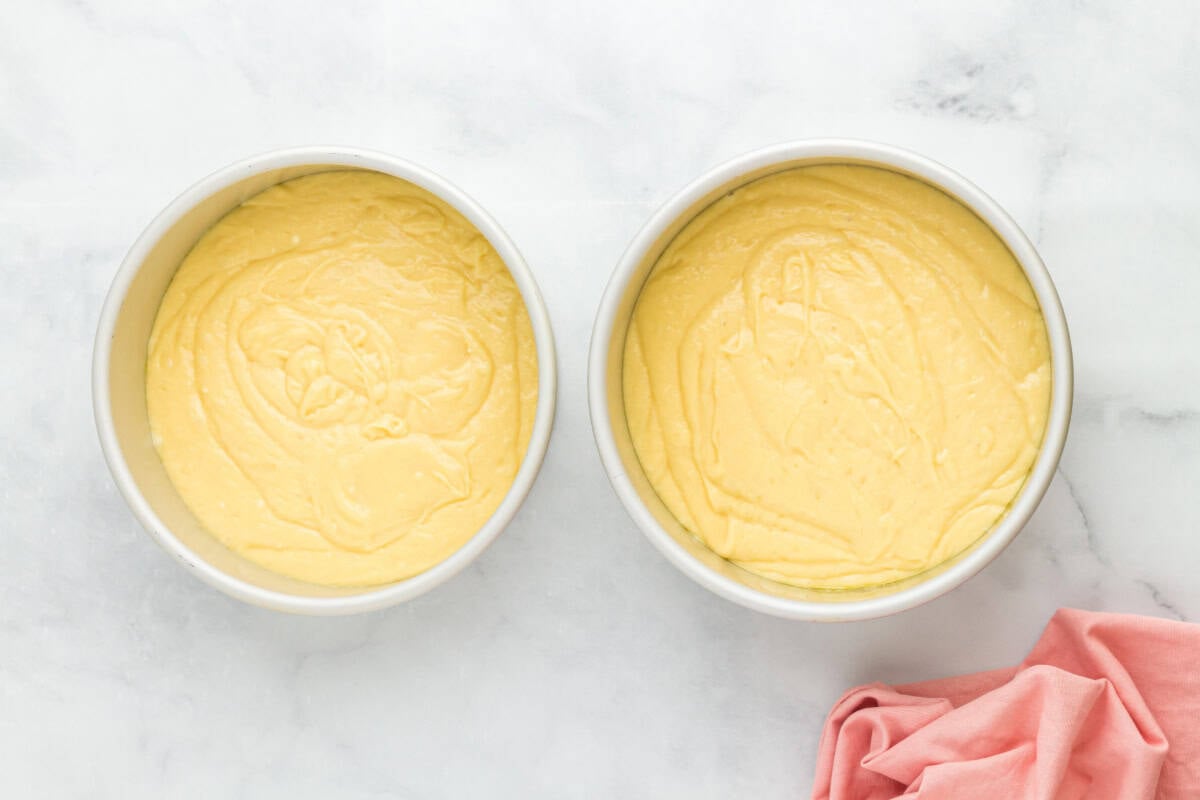
Bake the Cakes: Pop the cakes in the 350°F oven, and bake for about 32 to 35 minutes. A good way to check if they’re done is to insert a toothpick into the middle — if it comes out clean, they’re ready! Let the cakes cool completely before you take them out of the pans to frost them. If they’re still warm, the frosting will melt!
Make the Cream Cheese Frosting: In a large bowl, beat the other block (another 8 ounces) of softened cream cheese until it’s nice and smooth. Then add 2 cups of powdered sugar, 1 ¼ cup of cold heavy cream, 2 tablespoons of Jell-O cheesecake pudding mix, and 2 teaspoons of vanilla extract. Start by beating everything on low speed until it’s all combined. Then crank the speed up to high and beat for another 5 minutes, until soft peaks begin to form.
Frost and Assemble: Spread a thin layer of cream cheese frosting over each of the cooled cakes, then split 1 can of cherry pie filling between each cake. Now for the fun part – decorate it however you like! I used a Wilton 1M tip to create the frosting swirls around the edges.
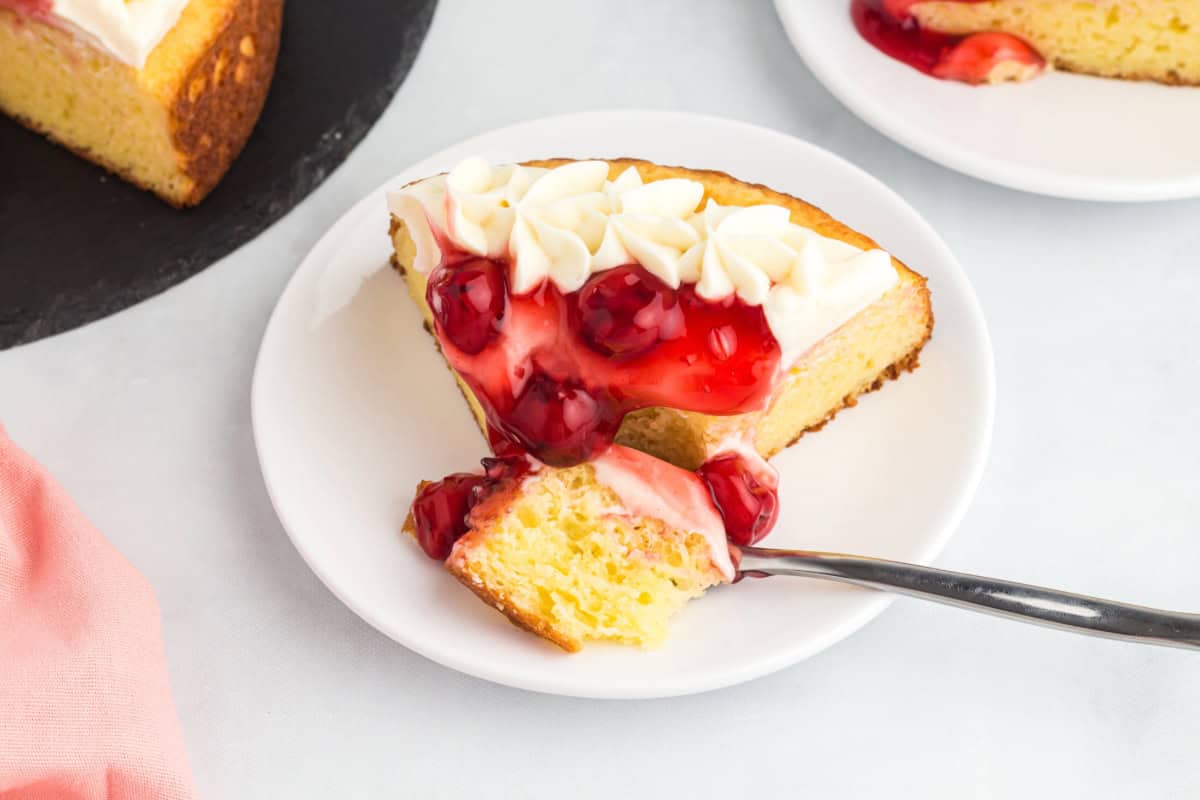
Serve: Serve slices of this cake chilled or at room temperature. Enjoy!
How to Store
This cherry cheesecake cake should be stored in an airtight container, and/or wrapped/tented with foil. Make sure it’s sealed to keep air out, so it stays moist.
- Fridge: Because of the cream cheese, this dessert is best kept in the fridge — not at room temperature. Keep in the refrigerator for up to 4 days.
- Freezer: You can also freeze it for up to 3 months by wrapping it tightly in plastic wrap or placing it in a freezer-safe container. Just be aware that freezing might change the texture of the frosting.
- Serve: When you’re ready to enjoy it again, thaw the cake overnight in the fridge and let it come to room temperature before serving.












Leave a Reply