

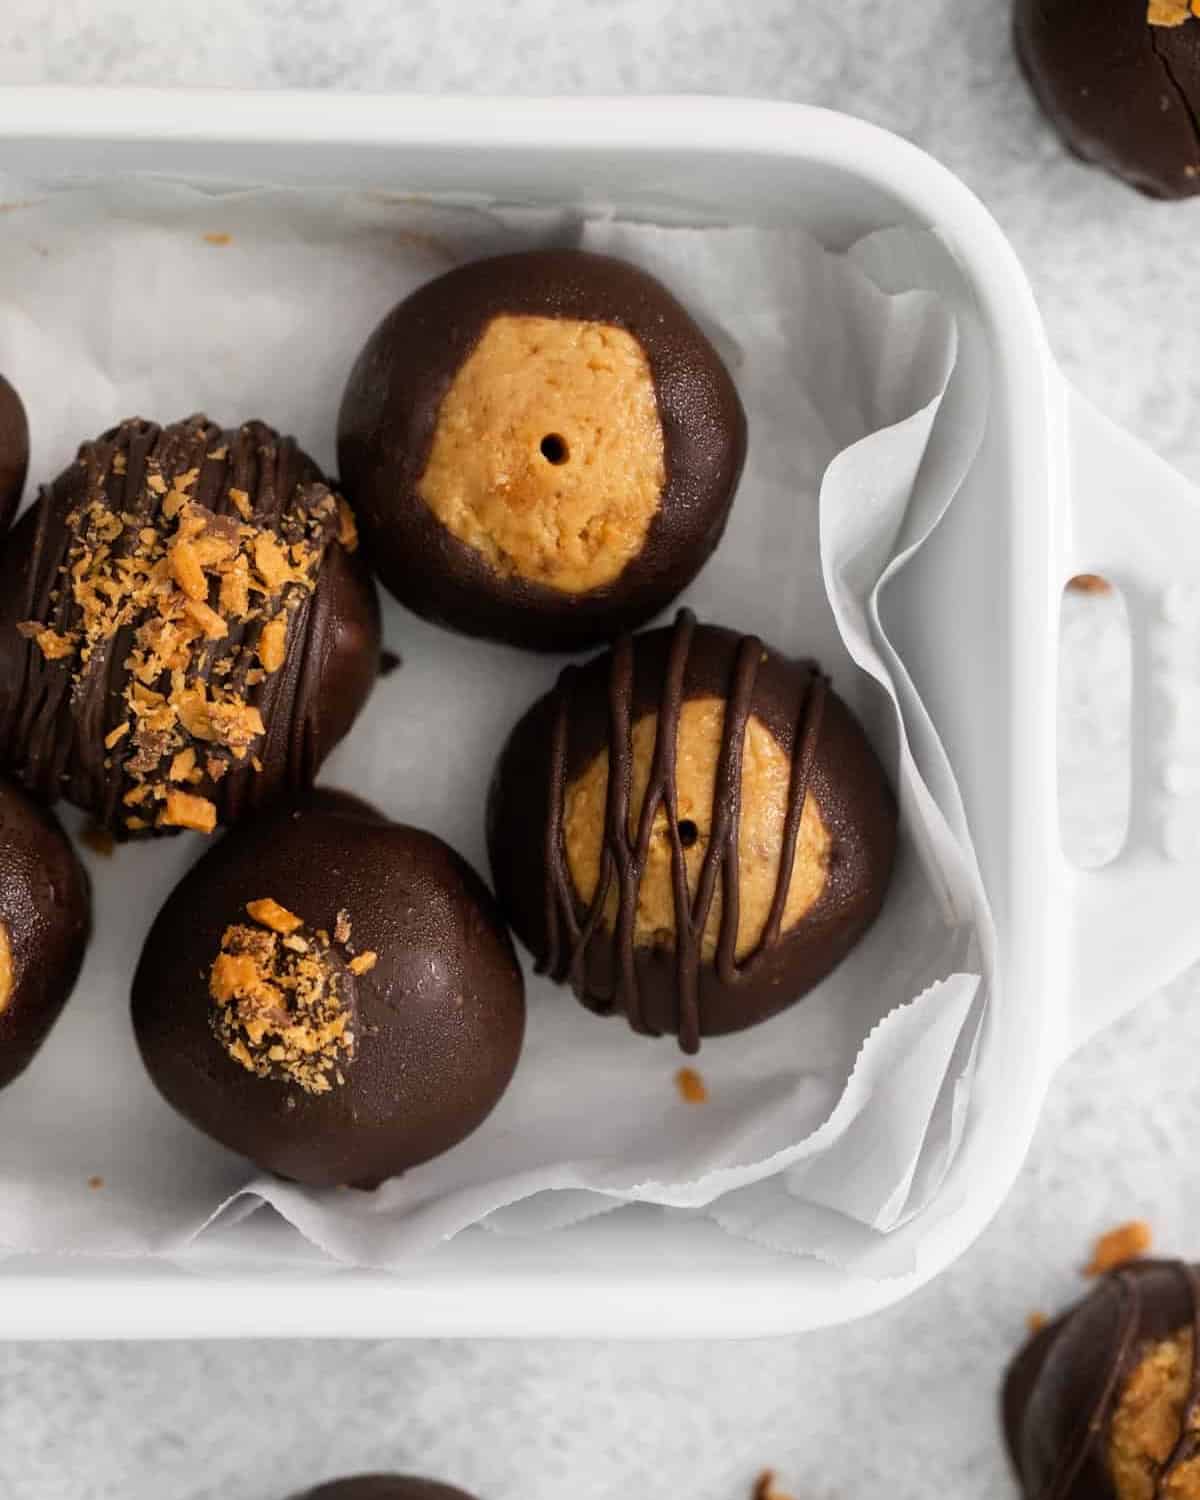
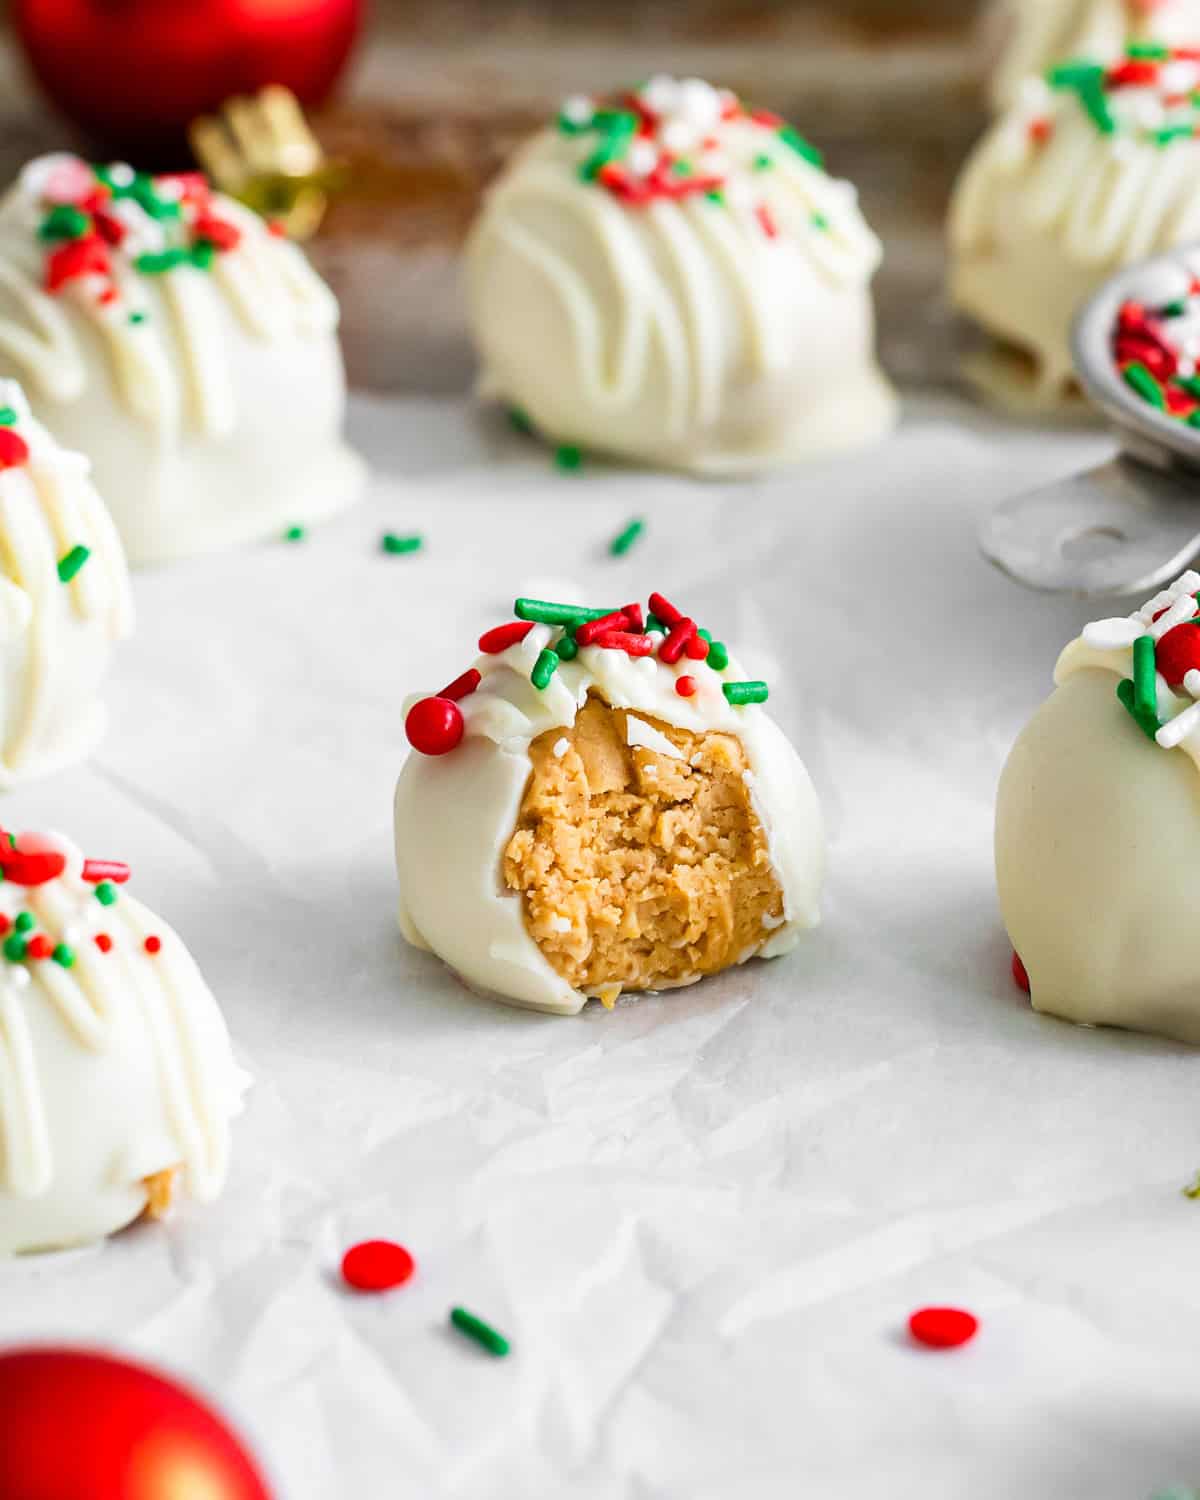
My no-bake Butterfinger balls are the perfect combination of chocolate and peanut butter, all in one bite! I mix creamy peanut butter, crisp Butterfinger bits, and graham cracker crumbs, then coat them in smooth chocolate with a bit of flakey sea salt to make these irresistible buckeye-style candies. They’re so addictive, I can never eat just one!

Top Reader Review
“Couldn’t stop eating these! Perfect!!” –Barbara L Surrett
No Bake Butterfinger Peanut Butter Balls
If you’re a fan of buckeyes and peanut butter balls, then let me introduce you to my latest treat: butterfinger balls!
I added crisp Butterfinger candies and graham cracker crumbs with creamy peanut butter to create a crunchy texture that makes these chocolate-coated truffles absolutely to die for. These no bake Butterfinger truffles take just 15 minutes to prep with 7 simple ingredients, and they’re ready to enjoy in less than 1 hour–so easy!


Email this Recipe
Enter your email and we’ll send the recipe directly to you!
By submitting this form, you consent to receive emails from Easy Dessert Recipes.
Use the Right Chocolate
I use chocolate almond bark to coat these butterfinger balls because it’s a great shortcut to perfectly-tempered chocolate. But if you can’t find it, chocolate candy melts are the next best thing. You can also use chocolate chips, but I recommend adding a teaspoon of coconut oil or vegetable shortening to help give the chocolate that tempered “snap.”

Butterfinger Balls Recipe
Equipment
- Kitchen Scale (optional)
- Hand Mixer or Stand Mixer
- Baking Sheet
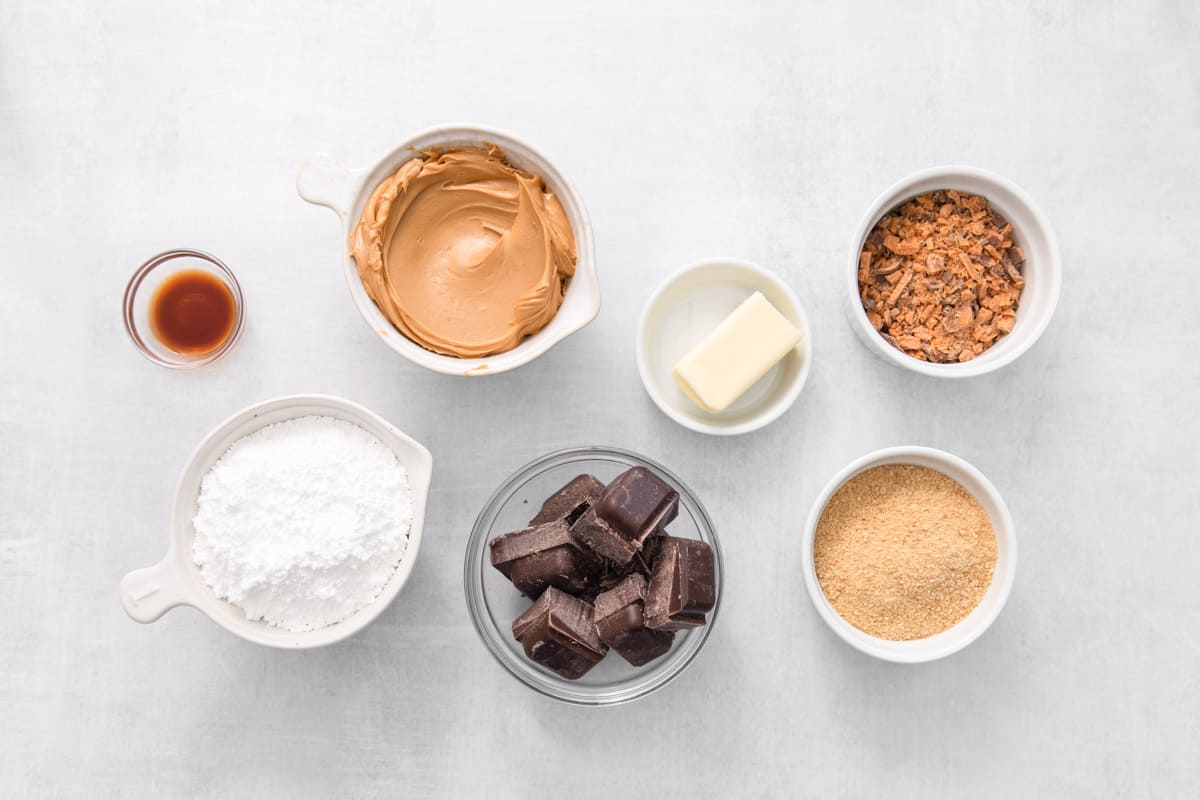
Ingredients
- 1 cup creamy peanut butter *
- 4 tablespoons unsalted butter room temperature (½ stick)
- 1 teaspoon pure vanilla extract
- 1 cup powdered sugar
- ¾ cup graham cracker crumbs (from about 7 cracker sheets)**
- ½ cup crushed Butterfinger candy bars plus more for garnish
- 8 ounces chocolate almond bark ***
Instructions
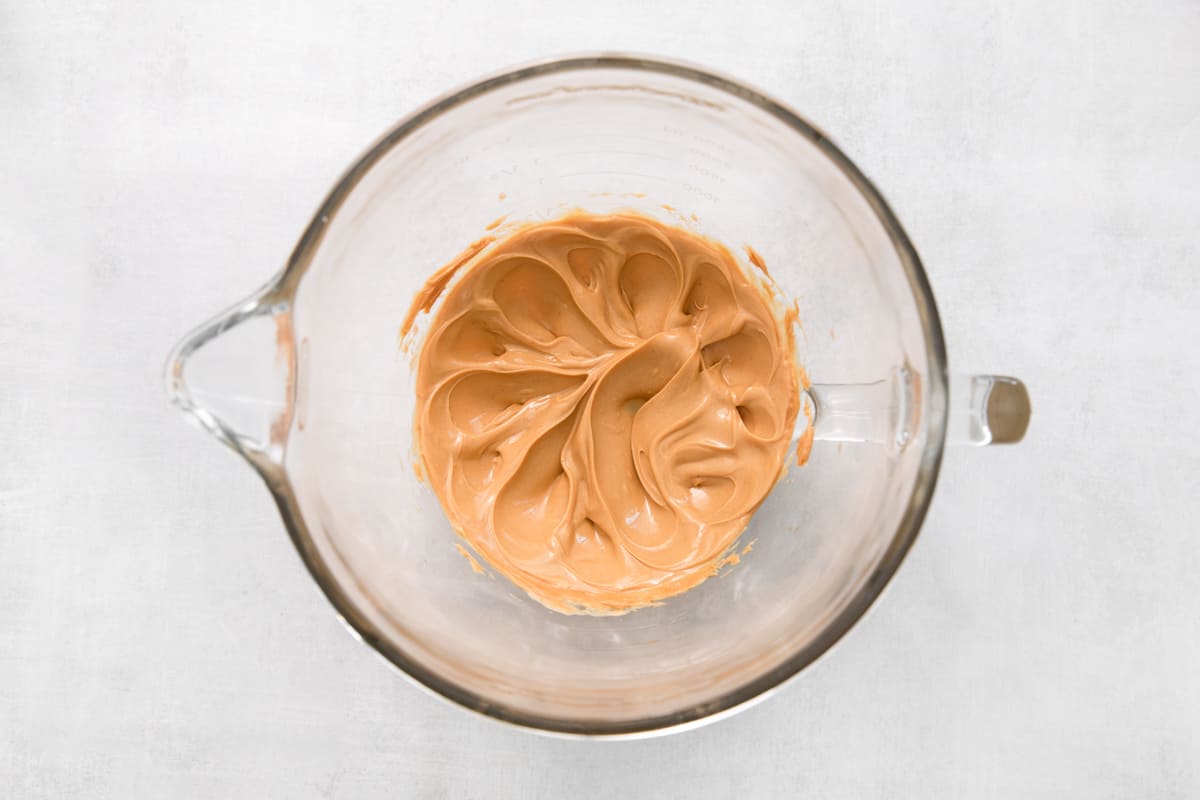
- In the bowl of a stand mixer fitted with the paddle attachment, beat the peanut butter and softened butter on medium speed until well combined.1 cup creamy peanut butter, 4 tablespoons unsalted butter

- Add the vanilla and mix to combine. Scrape down the sides of the bowl as needed.1 teaspoon pure vanilla extract
- With the mixer on low speed, slowly add the powdered sugar and graham cracker crumbs.1 cup powdered sugar, ¾ cup graham cracker crumbs
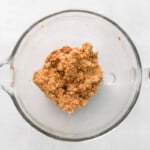
- Add the crushed butterfinger and fold it gently into the dough.½ cup crushed Butterfinger candy bars
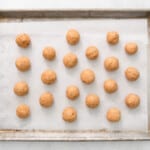
- Line a large baking sheet with parchment paper and scoop out 1-tablespoon-sized portions.
- Roll the truffles into smooth balls and then place them in the freezer to chill completely, about 30 minutes.
- When the truffles have chilled, melt the chocolate bark in a microwave-safe bowl.8 ounces chocolate almond bark
- Dip the truffles into the chocolate, covering them either partly or all the way– however you like them!
- While the chocolate is still wet, sprinkle over additional crushed butterfingers or some flakey sea salt. Allow the chocolate to set completely and enjoy.

Notes
- Crush the Butterfingers finely for smoother balls, or leave bigger chunks if you love a crispy bite. Either texture works; just stay consistent so the balls roll evenly.
- Grease your hands before rolling the peanut butter mixture into balls to prevent them from sticking.
- If the mixture feels too soft to roll, add an extra tablespoon of powdered sugar or graham crumbs until it firms up.
- If the mixture is too dry or crumbly, mix in 1-2 teaspoons of peanut butter at a time until it holds together.
- Don’t let the candies sit out for too long before coating them. If they begin to sweat, the chocolate will not stick as well.
- You can keep them in the freezer for about 30 minutes to allow them to get cold, making it easier for the chocolate to stick to them.
- Work in small batches when dipping in chocolate. Keep some balls in the freezer while you dip the others.
- Be sure to use a fork or toothpick when dipping your peanut butter balls in the chocolate so that you can leave room for the top to remain open!
- Allow the excess melted chocolate to drip off so you don’t get a puddle of chocolate on the paper.
- If your chocolate gets too thick while dipping, microwave it for 10 seconds or stir in 1-2 teaspoons of coconut oil or shortening to thin it.
- Garnish immediately. Chocolate sets fast on cold dough, so sprinkle on crushed Butterfinger the second you dip.
- If you notice the chocolate cracking off as the balls cool, your centers were too cold. Let them sit out for 2-3 minutes at room temperature before dipping.
- I like to serve them slightly chilled for the best texture.
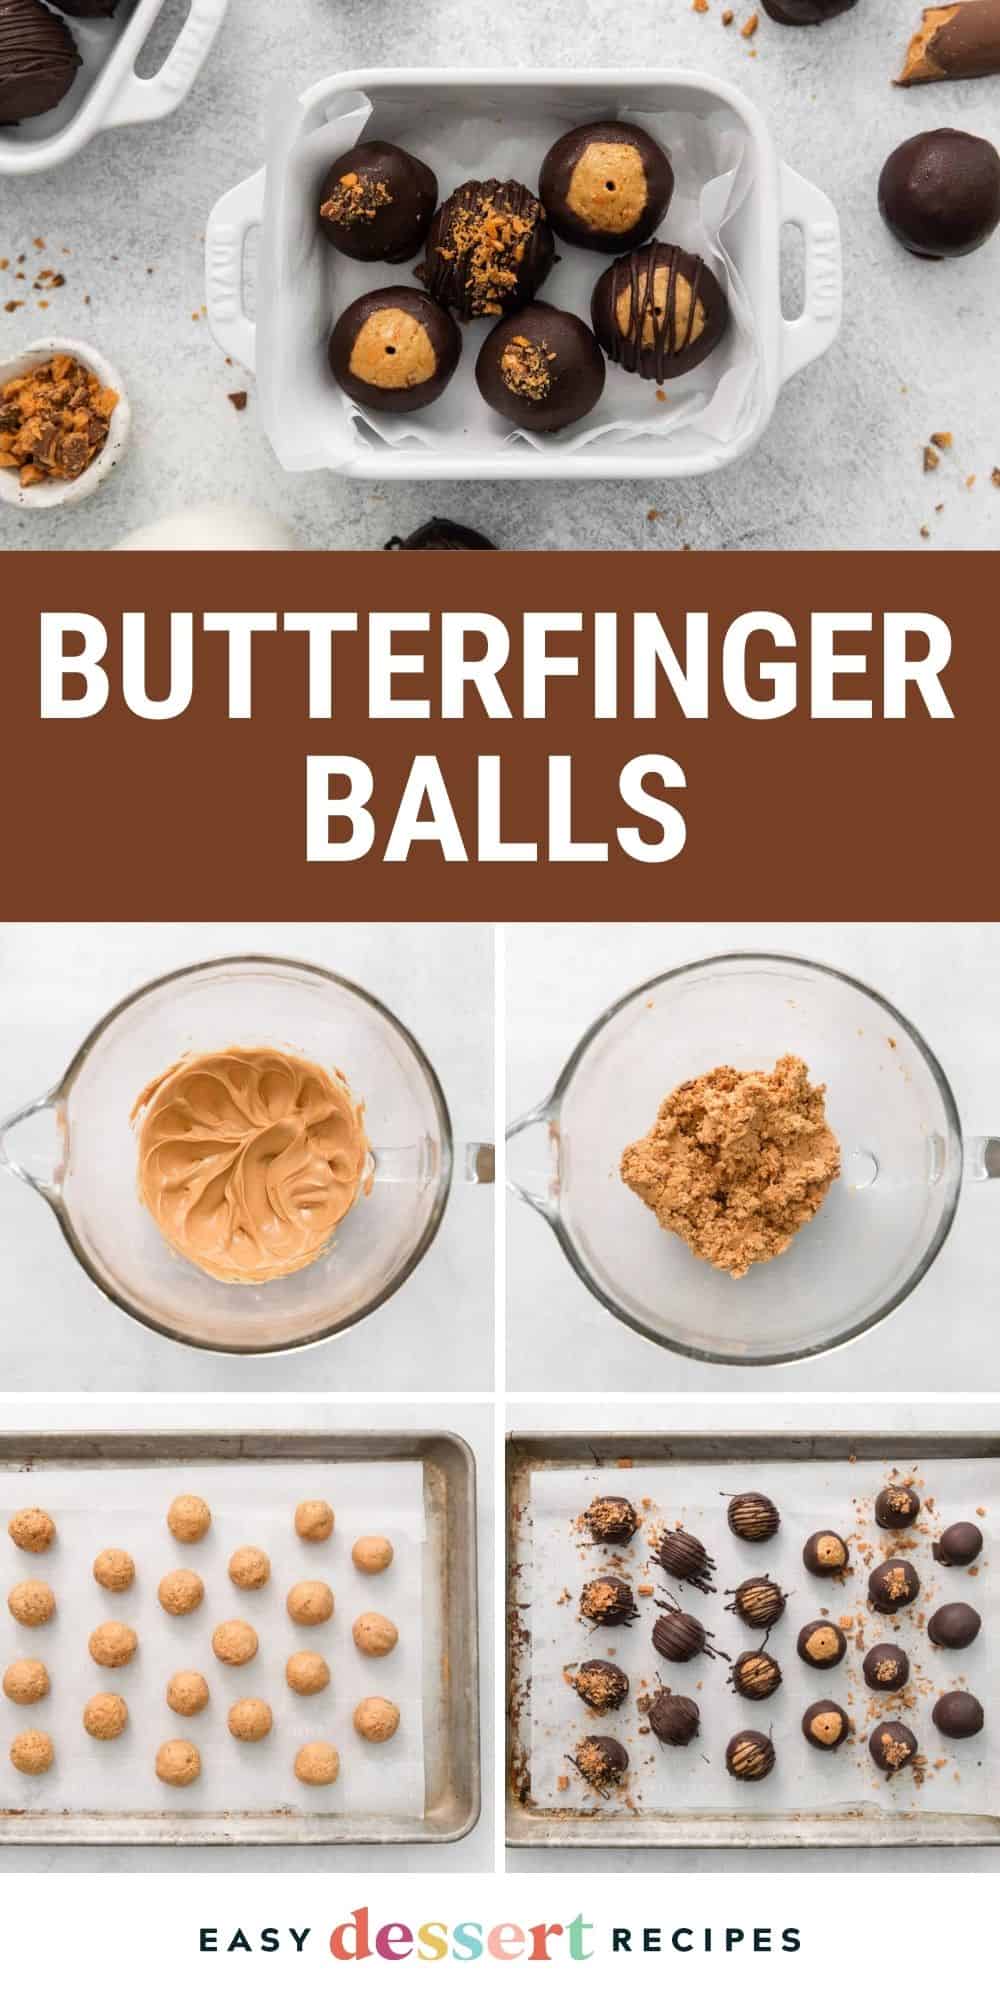
How to Make Butterfinger Balls Step-by-Step
Prep: Gather the list of ingredients needed for this easy butterfinger ball recipe. Bring the butter to room temperature for 30-60 minutes before beginning so that it mixes in more easily. If you store your peanut butter in the refrigerator, I also recommend bringing it to room temperature. Crush the graham cracker crumbs and Butterfinger candy bars into small pieces. To do this, I usually throw each into a resealable bag, seal it, and use a rolling pin to crush them up. You can also use a food processor for ease. I recommend crushing the graham crackers first, then the Butterfingers (no need to wipe out between).
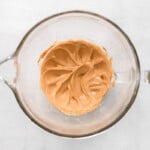
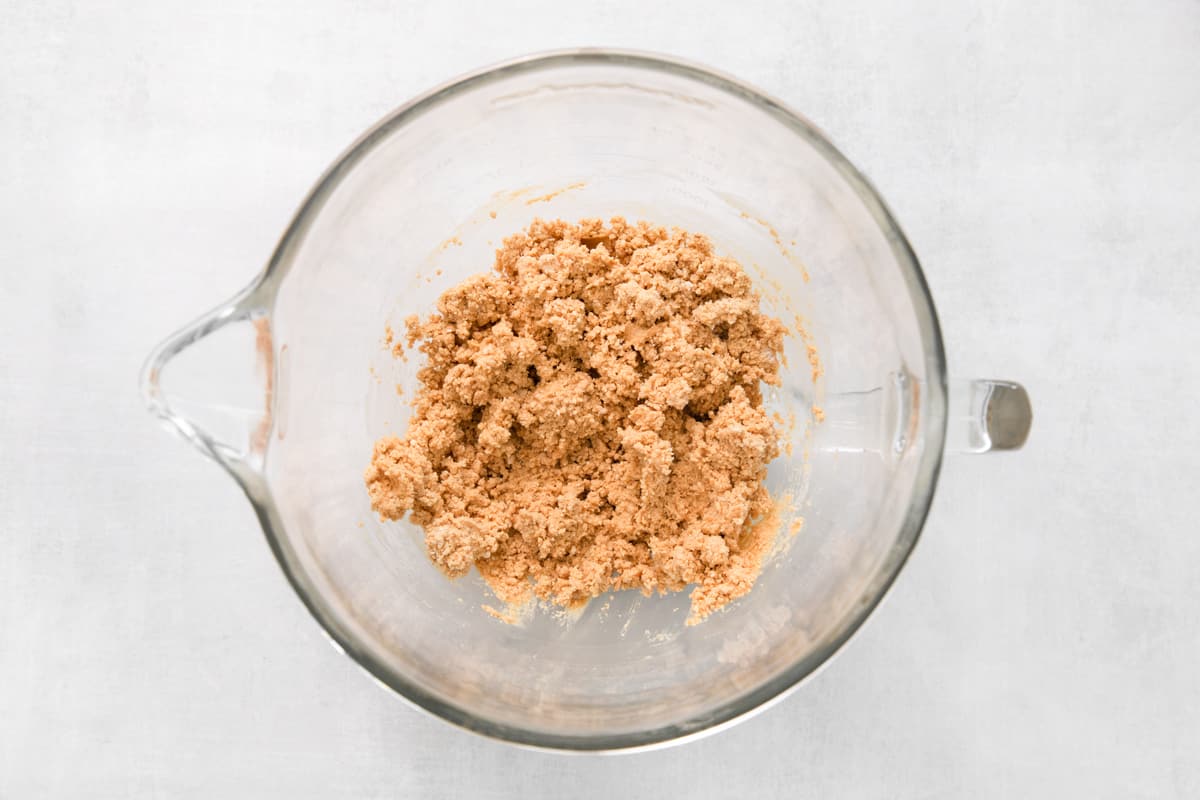
Beat the Peanut Butter: In the bowl of a stand mixer fitted with the paddle attachment, beat 1 cup of room-temperature creamy peanut butter and 4 tablespoons of room-temperature unsalted butter on medium speed until well combined.
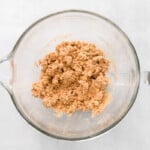
Add the Graham Cracker Crumbs: Add 1 teaspoon of vanilla extract and mix to combine. Scrape down the sides of the bowl as needed. With the mixer on low speed, slowly add 1 cup of powdered sugar and ¾ cup of graham cracker crumbs.
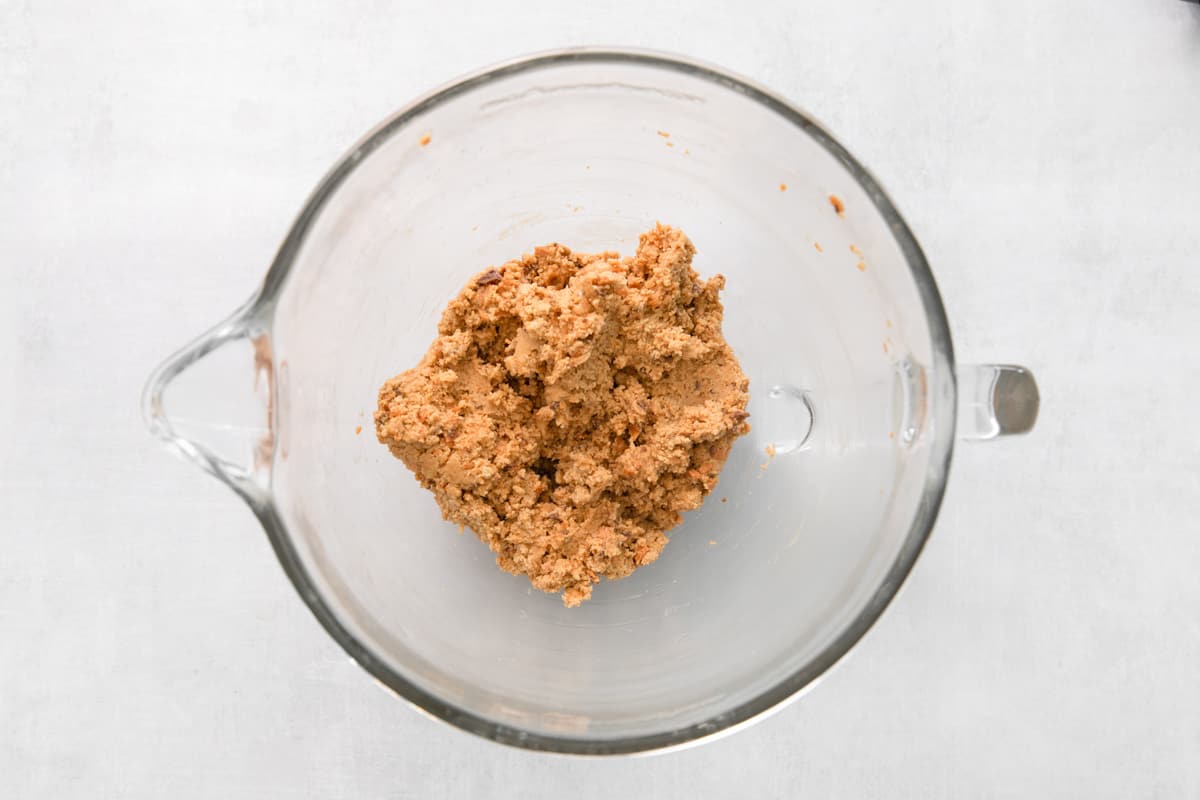
Add the Butterfinger: Add ½ cup of crushed Butterfinger candies and fold them gently into the dough. I like to do this part with a rubber spatula so I can be extra gentle.
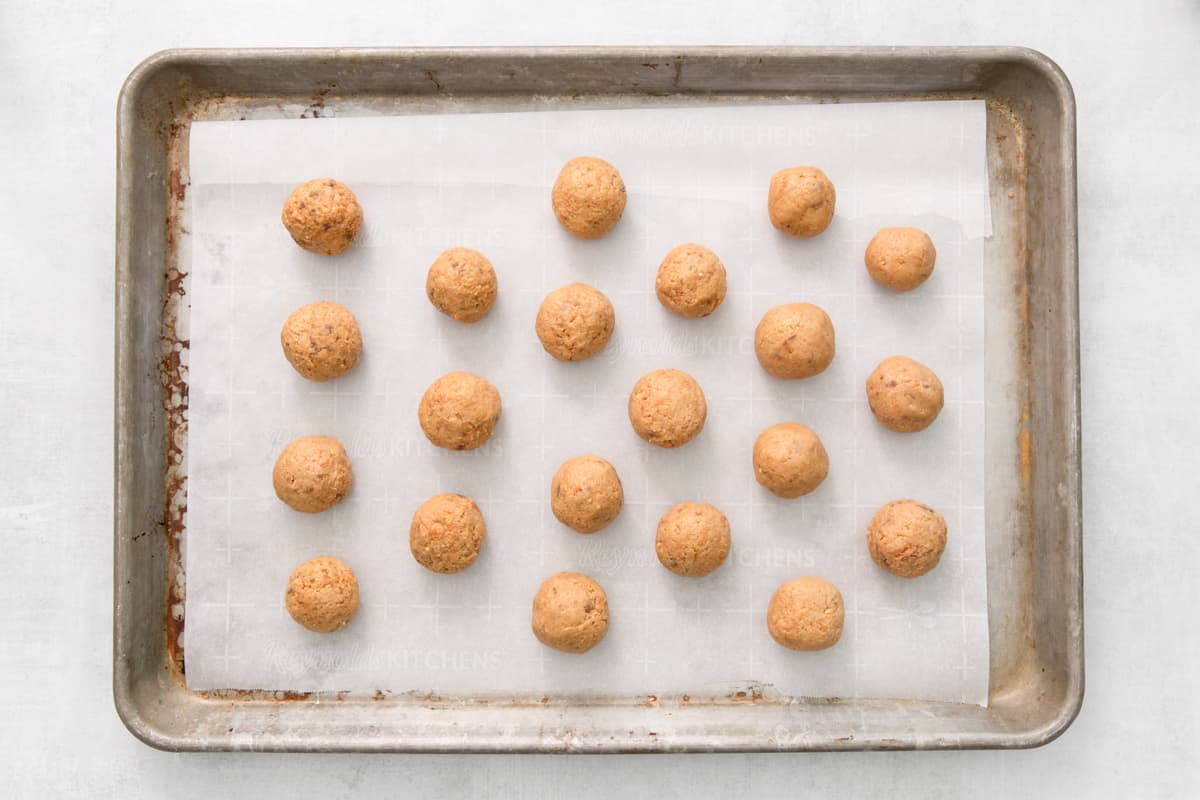
Portion the Candies: Line a large baking sheet with parchment paper and scoop out 1-tablespoon-sized portions of the Butterfinger-peanut-butter mixture. I used a cookie scoop to get mine all the same size. Using greased hands, roll the truffles into smooth balls, then place them in the freezer to chill completely, about 30 minutes. If the mixture feels too soft to roll, add an extra tablespoon of powdered sugar or graham crumbs until it firms up. If it feels too dry or crumbly, add in 1-2 teaspoons of peanut butter at a time until it holds together.
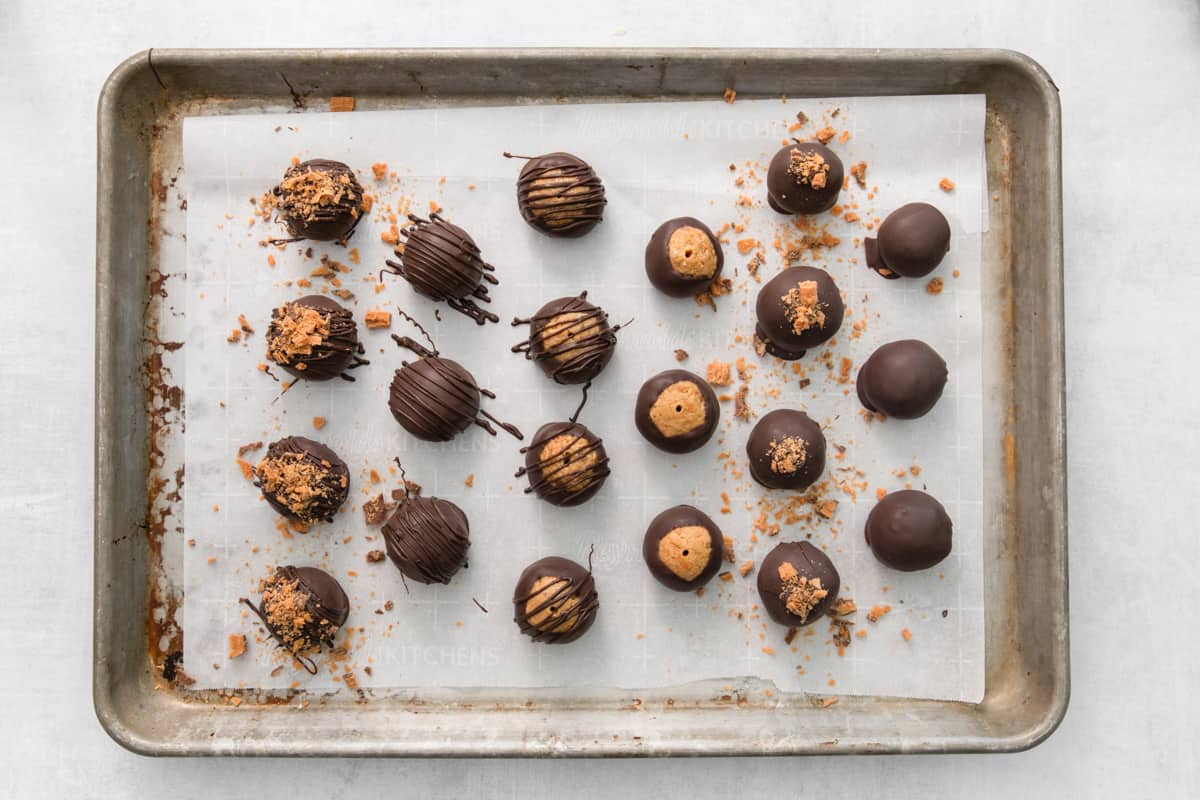
Coat the Candies: When the truffles have chilled, melt 8 ounces of chocolate bark in a microwave-safe bowl (I recommend stirring every 30 seconds) Alternatively, you can melt the chocolate in a double-boiler on the stovetop. Working in small batches (to keep the balls cold so the chocolate sticks), dip the butterfinger balls into the chocolate, covering them either partly or all the way–however you like them! I recommend using a fork or a toothpick to help dip cleanly. While the chocolate is still wet, sprinkle over additional crushed butterfingers or flakey sea salt. Allow the chocolate to set completely and enjoy.
How to Store and Freeze
Store no bake Butterfinger balls in an airtight container in the refrigerator for up to 5 days, or in the freezer for up to 2 months. I recommend enjoying them chilled for the best texture, but they’re also great (although a bit softer) at room temperature.


Leave a Reply