


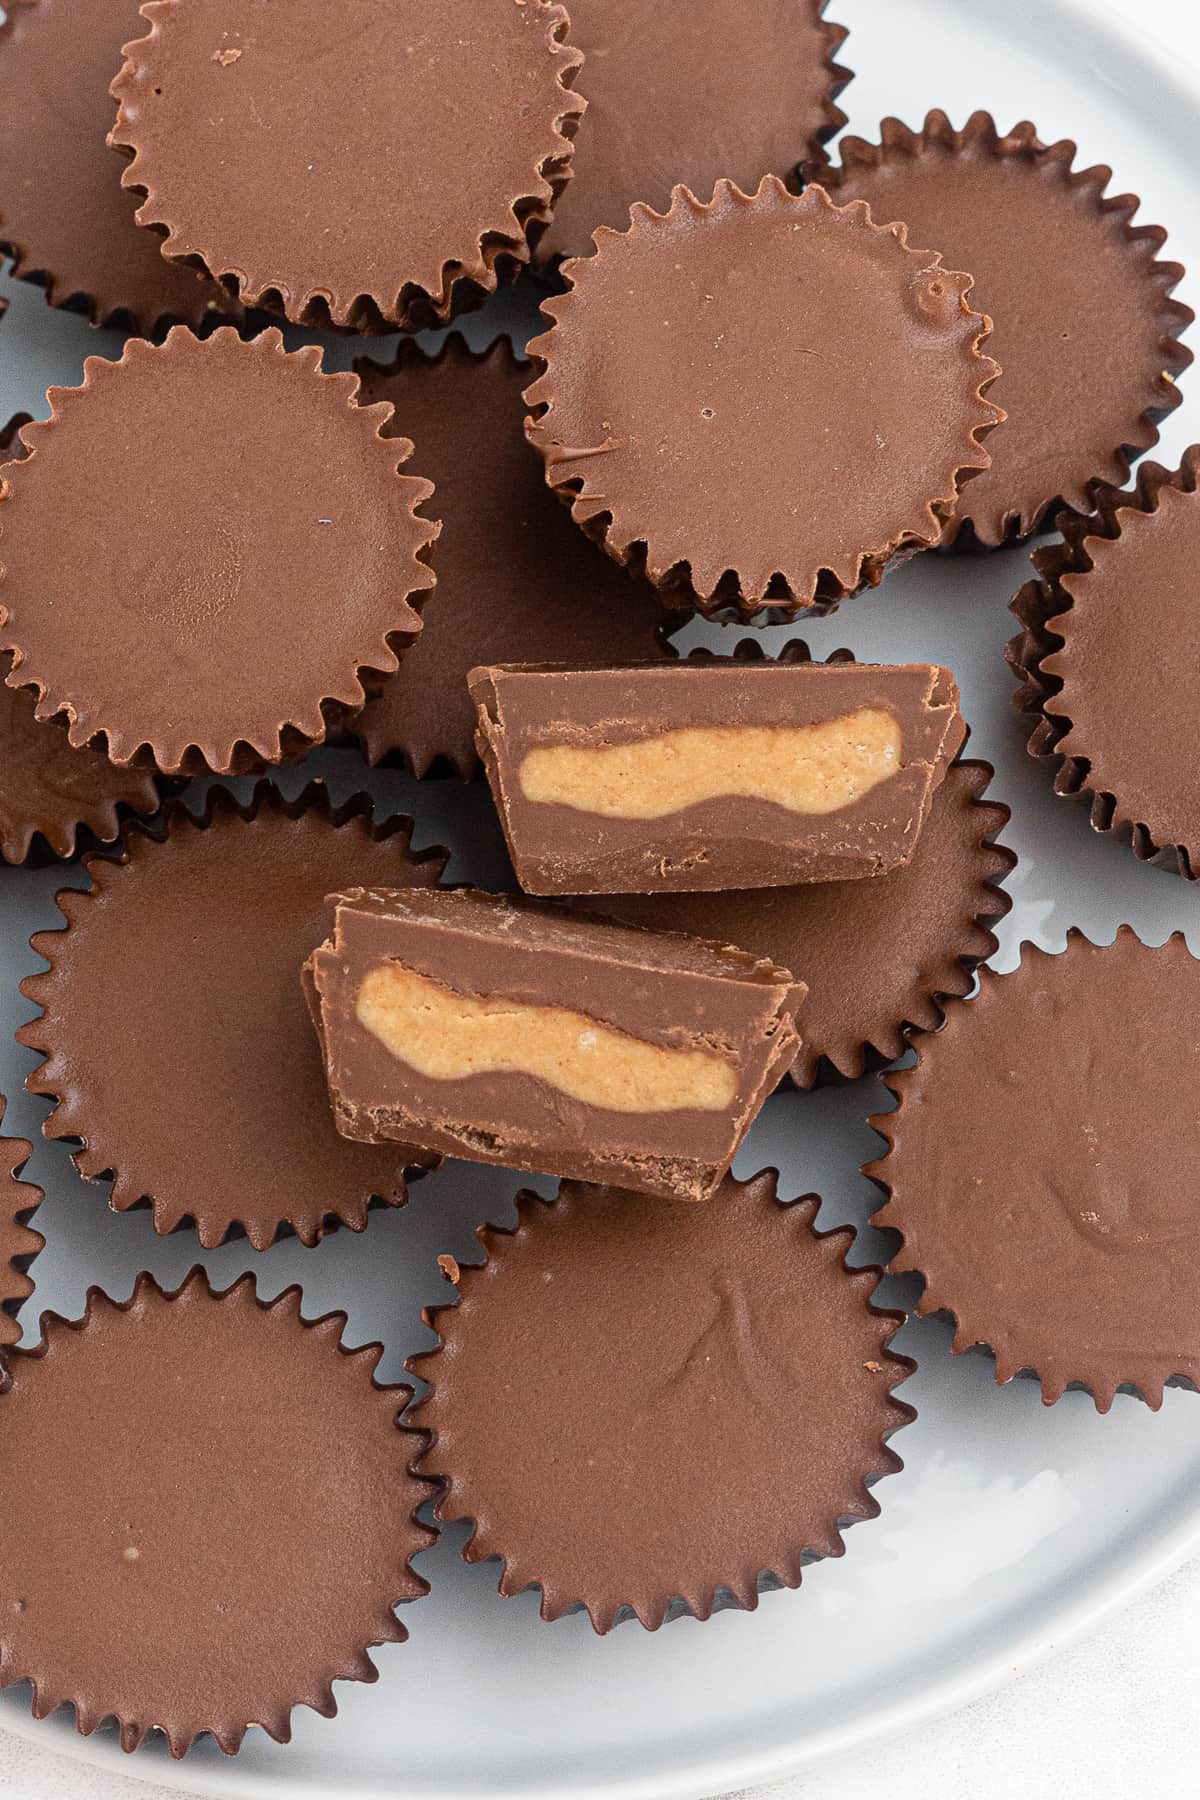
If you’ve ever wished you could have Reese’s on demand (haven’t we all?!), these homemade peanut butter cups are the answer. They taste just like my favorite chocolate and peanut butter candy, but with no artificial flavors or preservatives. Just five simple ingredients come together to make these no bake peanut butter cups–so simple! I love keeping a stash in the fridge for when that chocolate craving hits!
DIY Chocolate Peanut Butter Cups
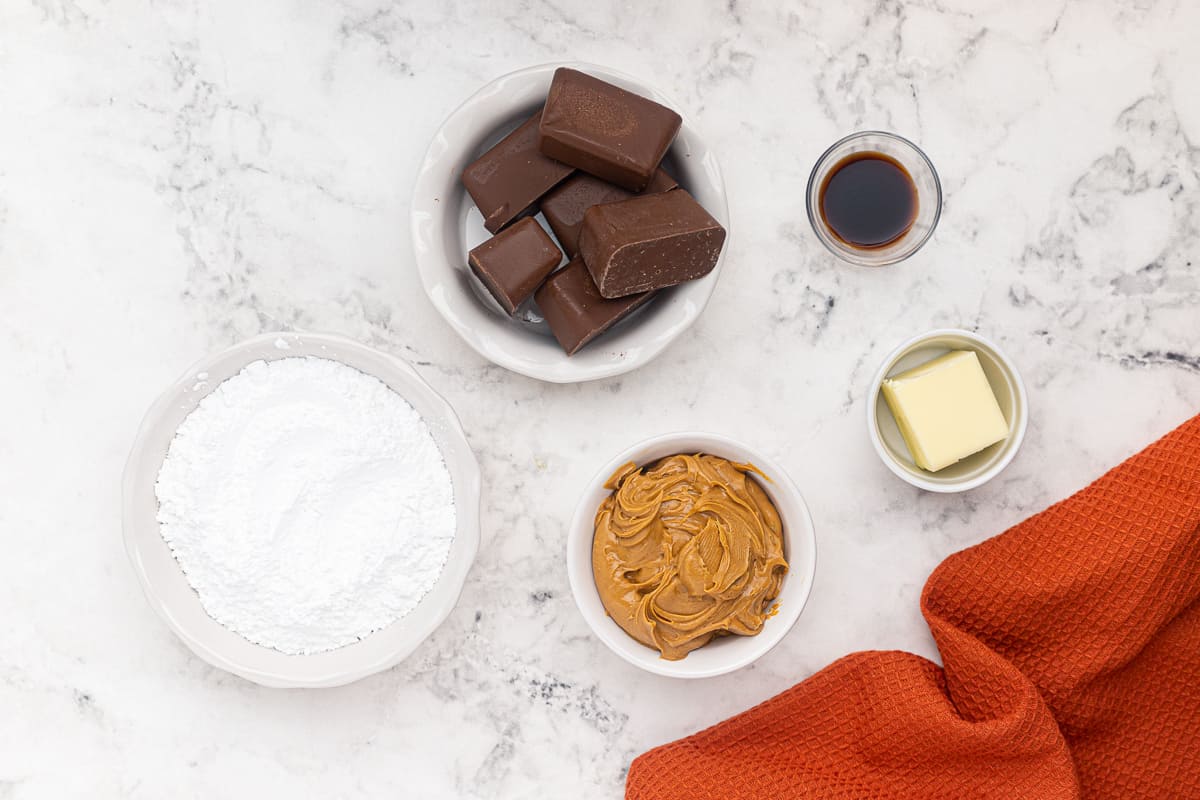
Making your own copycat Reese’s peanut butter cups is surprisingly easy. All you need is peanut butter, butter, vanilla, powdered sugar, and melting chocolate. No tempering required! The peanut butter filling comes together in minutes, and the chocolate layers set beautifully in a mini muffin tin.
These DIY peanut butter cups are great for lunchboxes, after-school snacks, or even as a healthier dessert after dinner. Because they’re so simple, I usually double the recipe–40 little cups never last long in my house. And while I usually stick with the classic version, you can always swap in dark chocolate or natural peanut butter if you want a slightly healthier peanut butter cup that still tastes indulgent.
Looking for a holiday version? Check out my Reese’s peanut butter eggs! They’re perfect for Easter!

Email this Recipe
Enter your email and we’ll send the recipe directly to you!
By submitting this form, you consent to receive emails from Easy Dessert Recipes.
Keep the Snap (Without Tempering Chocolate)
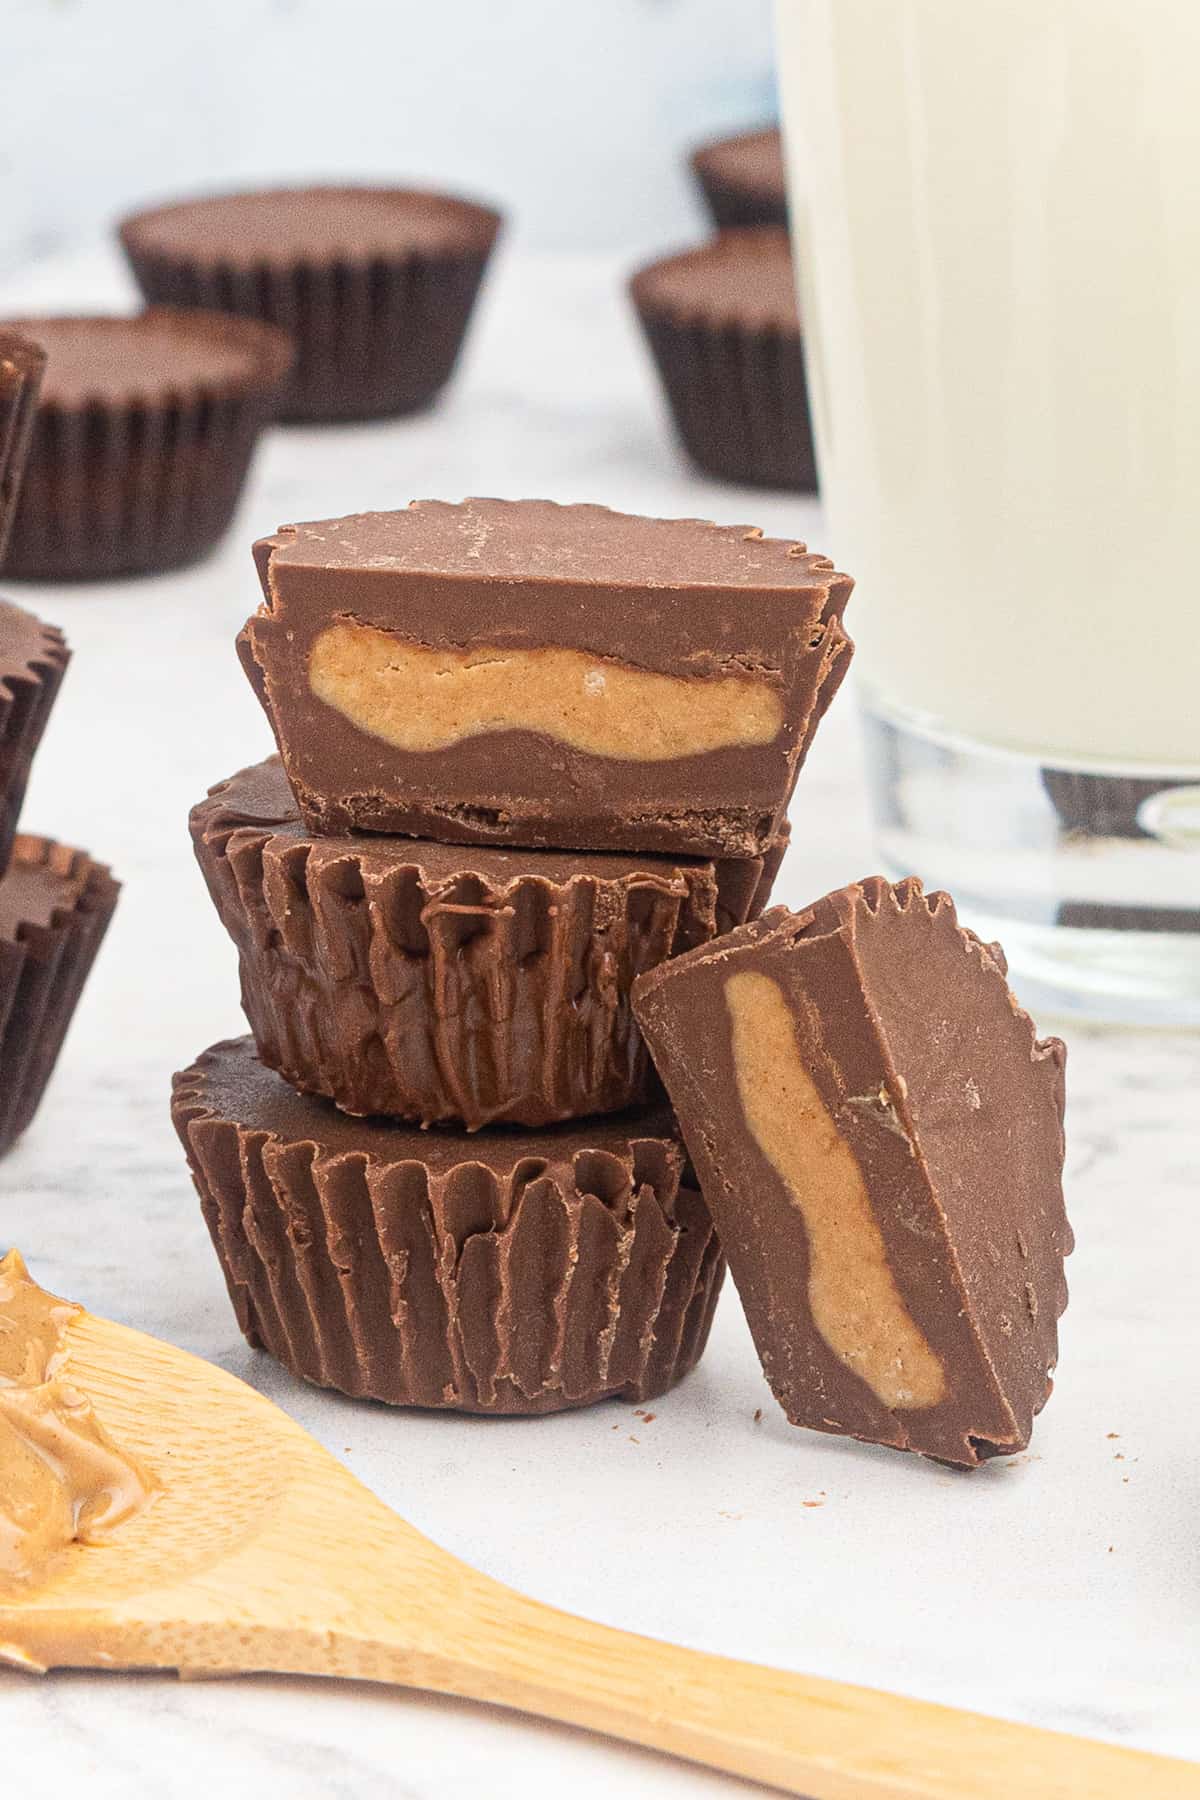
In my opinion, one of the best parts of a store-bought peanut butter cup is that satisfying little snap when I bite into the chocolate. The trick to recreating it at home (without going through the whole process of tempering) is to chill your muffin tin before adding the first layer of chocolate. Starting with a cold surface helps the chocolate set quickly, keeps it glossy, and makes it less likely to bloom. You’ll still get that clean bite and shiny finish on your homemade peanut butter cups, without the hassle of tempering.
Homemade Peanut Butter Cups Recipe
Equipment
- Kitchen Scale (optional)
- Mini Cupcake Tin
- Mini Cupcake Liners
Ingredients
- 24 ounces melting chocolate divided
- 1 cup creamy peanut butter
- ¼ cup unsalted butter (½ stick)
- 1½ cups powdered sugar
- 1 teaspoon pure vanilla extract
Instructions
- Line a mini cupcake tin with mini liners, and set the pan aside.

- In a medium microwave-safe bowl, heat half of the chocolate, starting with 1 minute, and then checking and stirring every 30 seconds, until it is completely melted and smooth.24 ounces melting chocolate
- Spoon about 1 teaspoon of the melted chocolate into the bottom of each mini liner, until the chocolate is completely used. Let that layer of chocolate cool and set while you prepare the peanut butter filling.
- In a medium saucepan, heat the peanut butter and butter together until they are melted. Remove from heat and then stir in the powdered sugar and vanilla until it thickens.1 cup creamy peanut butter, ¼ cup unsalted butter, 1½ cups powdered sugar, 1 teaspoon pure vanilla extract
- Drop about 1 teaspoon of the peanut butter mixture onto the cooled chocolate in the liners. Repeat until all of the cups have been topped with some of the peanut butter.
- Melt the remaining half of the chocolate, and then drop about 1-1½ teaspoons over the peanut butter mixture, covering the entire top. Once they have all been covered, tap the pan onto the counter until the tops are smooth.
- Let the cups sit until they are cooled, for about 30 minutes.


Notes
- You don’t have to use a muffin tin to hold the liners, but it helps them have a uniform shape.
- Make sure to stir the chocolate every 30 seconds while you are melting it in the microwave. It can burn easily so you want to keep an eye on it.
- I used a teaspoon to scoop the chocolate and the peanut butter to keep them a consistent size and proportion, and was able to make exactly 40 mini cups.
- Don’t spread the peanut butter completely over the chocolate. Leaving a small edge will allow the top chocolate to connect with the bottom chocolate, and it will hide the peanut butter filling. You can even pull the liners back just a bit when adding the top chocolate to make sure it connects with the bottom chocolate.
- You can place the peanut butter cups in the freezer to have them harden faster.
How to Make Peanut Butter Cups Step-by-Step
Gather your Ingredients: Gather up everything you need to get started. Line a mini cupcake tin with mini liners, and set the pan aside.
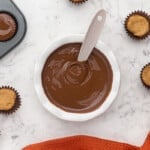
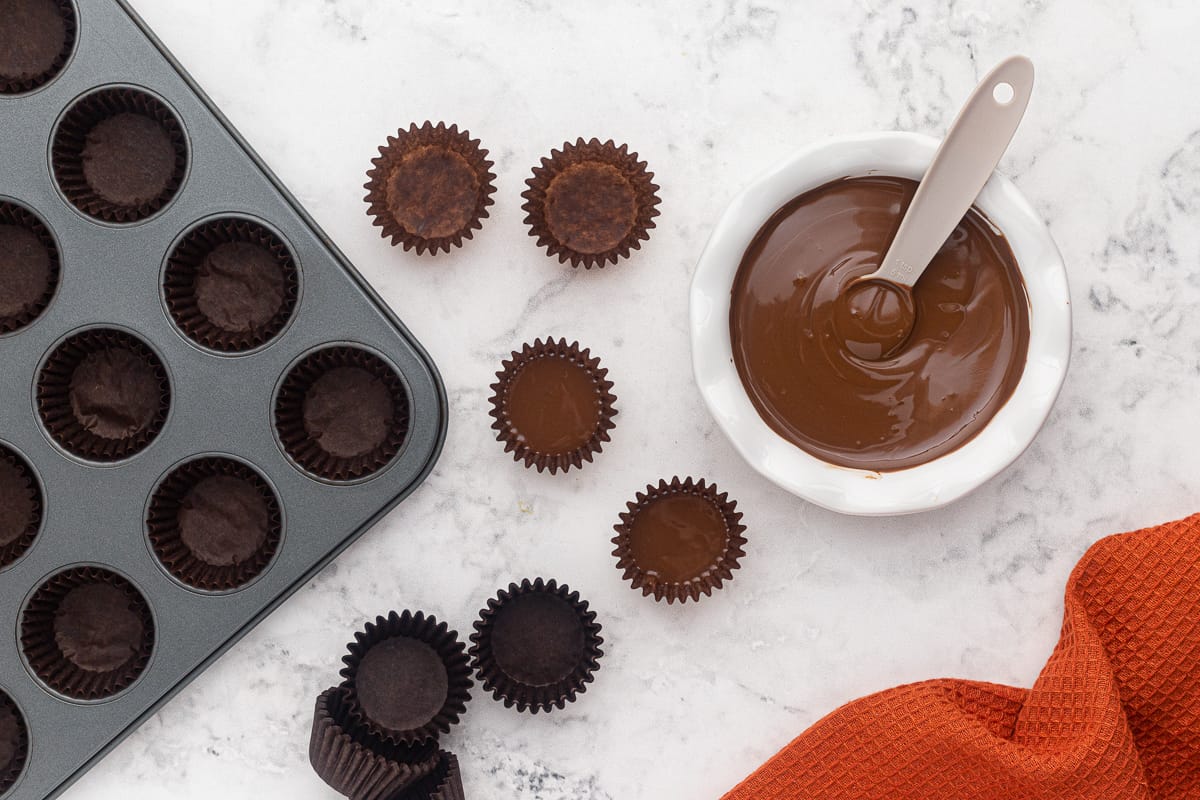
Melt the Chocolate: In a medium microwave-safe bowl, heat 12 ounces of melting chocolate, starting with 1 minute, and then checking and stirring every 30 seconds, until it is completely melted and smooth. I recommend using a melting chocolate, also commonly called chocolate bark or almond bark, for this recipe, as it is already tempered and will set up snappy without the additional steps of tempering.

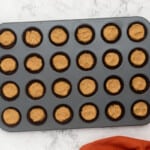
Set the Bottoms: Spoon about 1 teaspoon of the melted chocolate into the bottom of each mini liner, until the chocolate is completely used. Let that layer of chocolate cool and set while you prepare the peanut butter filling. You do not need to turn the chocolates or rotate them upside-down to coat the sides of the wrappers. You’ll see how I get the chocolate all the way around in the next steps.
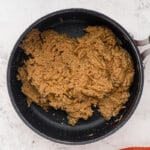
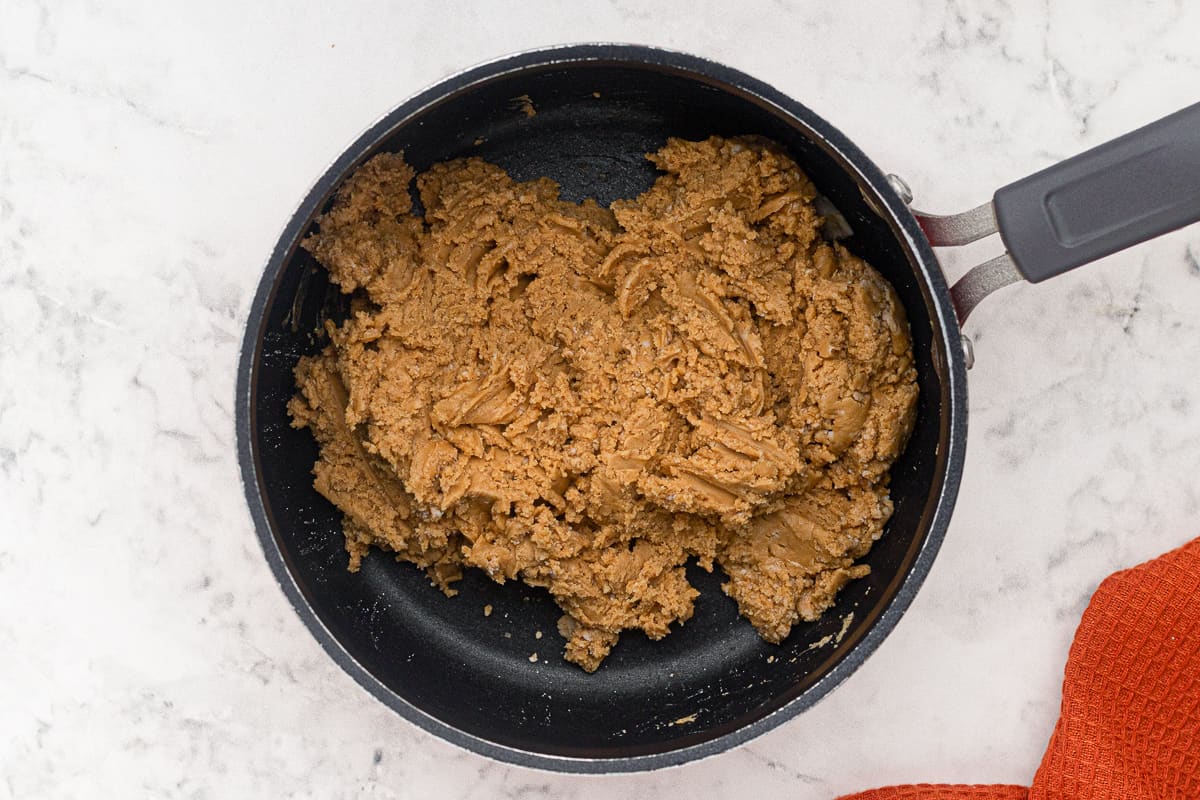
Mix the Filling: In a medium saucepan, heat 1 cup of creamy peanut butter and ¼ cup of unsalted butter together until they are melted. Remove from heat and then stir in 1½ cups of powdered sugar and 1 teaspoon of vanilla extract until it thickens. It should have a play-dough-like texture and be easy to mold.
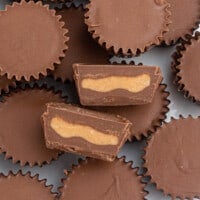
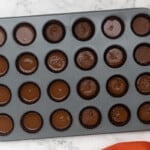
Fill the Cups: Drop about 1 teaspoon of the peanut butter mixture onto the cooled chocolate in the liners. Repeat until all of the cups have been topped with some of the peanut butter. If using a measuring spoon, I recommend spray it with nonstick spray to prevent the peanut butter from sticking. Do not press the peanut butter to completely fill the cup, but rather place it in the center, leaving space around the sides for the chocolate to fill in and enrobe the peanut butter.

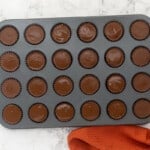
Top the Cups: Melt the remaining 12 ounces of melting chocolate, and then drop about 1-1½ teaspoons over the peanut butter mixture, covering the entire top. Once they have all been covered, tap the pan onto the counter until the tops are smooth.
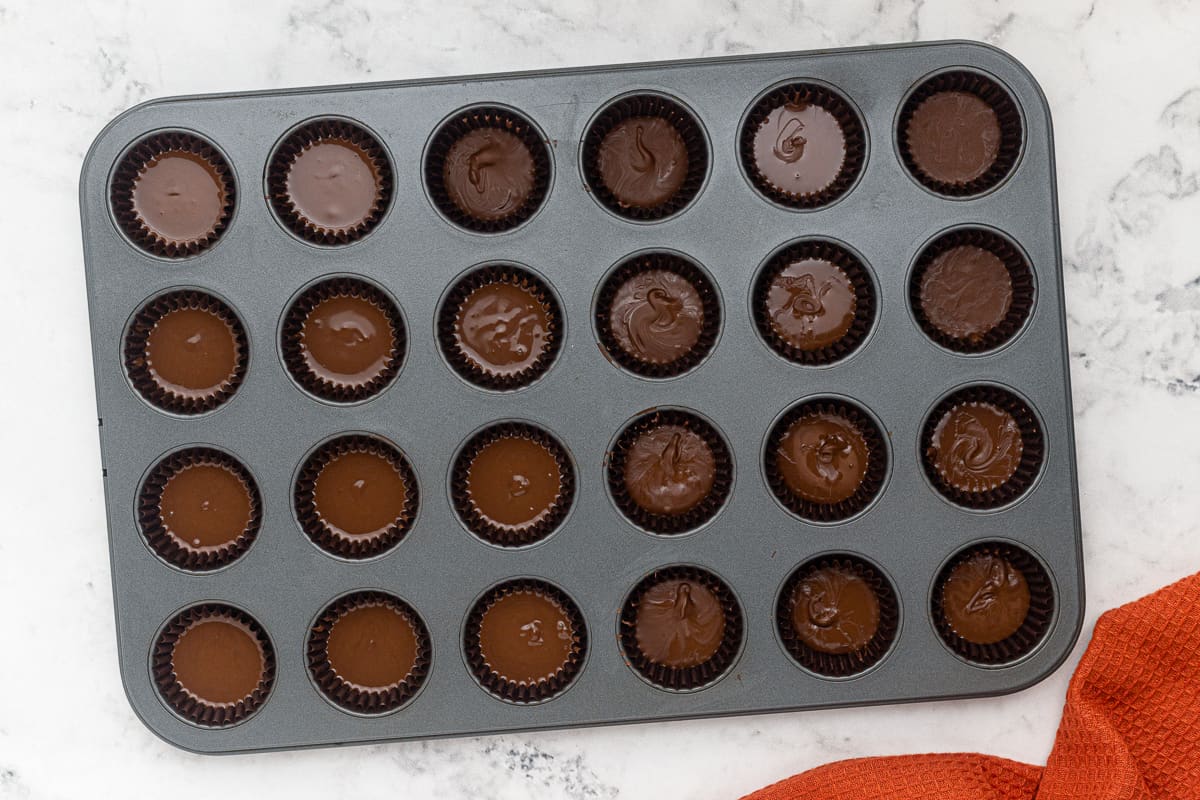
Set the Cups: Let the cups sit until they are cooled, for about 30 minutes, before removing them from the cupcake pan and serving.

How to Store
Store leftover homemade peanut butter cups in an airtight container in the refrigerator for up to 1 week or in the freezer for up to 3 months. Let thaw at room temperature before enjoying.


Leave a Reply