

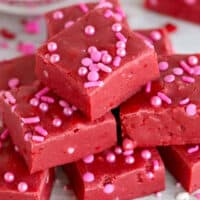
My easy red velvet fudge recipe is made with just 3 ingredients (white chocolate, red velvet cake mix, and sweetened condensed milk), and made entirely in the microwave. The deep red color makes it look fancy, but the recipe is so simple, it makes me feel like I’ve discovered the ultimate kitchen shortcut!

Top Reader Review
Are you kidding me? Sooo easy and a real winner. My mother in law raved for weeks when I made for her Valentine surprise. Making it again for her hospital stay 🙂![]()
–
Microwave Red Velvet Fudge Made with Cake Mix
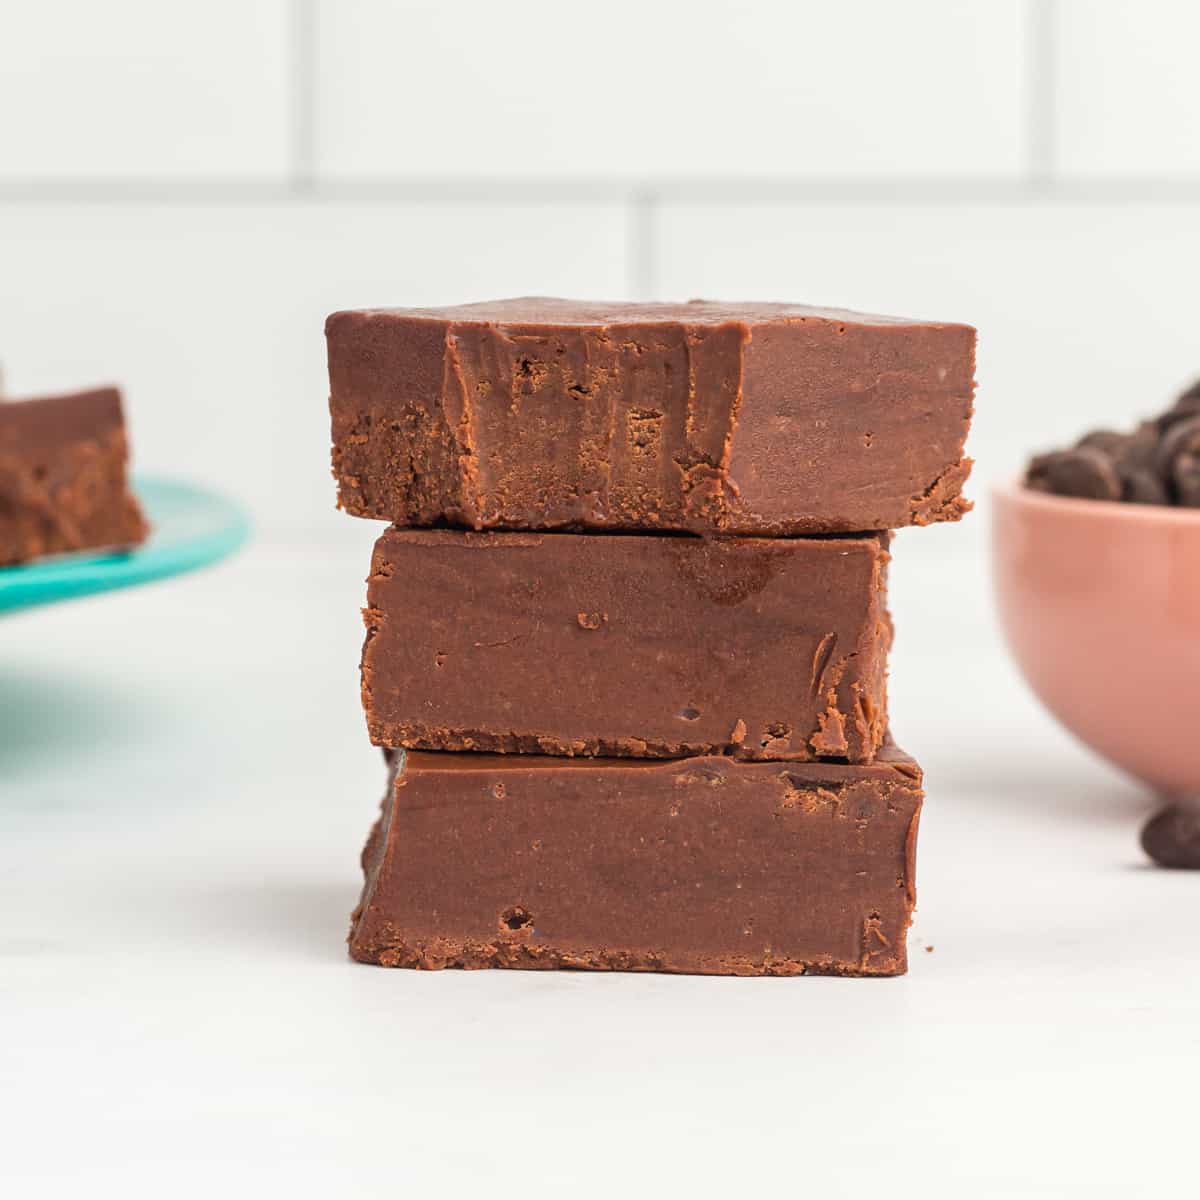
This red velvet fudge with cake mix is my favorite no-fail candy for holidays and special occasions. The cake mix delivers that unmistakable red velvet flavor while skipping the hassle of measuring multiple ingredients. And the combination of melted white chocolate and sweetened condensed milk creates a smooth, fudge-like base without the need for stovetop cooking or candy thermometers.
I love that I can make this microwave fudge ahead of time for Valentine’s Day, Christmas, or gifting, and it stays fresh and chewy for weeks. It’s a fun, low-stress recipe that looks like you spent hours on it, even though you didn’t.


Email this Recipe
Enter your email and we’ll send the recipe directly to you!
By submitting this form, you consent to receive emails from Easy Dessert Recipes.
One Simple Trick!
I always heat treat cake mix to make it safe to use in no-bake recipes like this. However, that can sometimes make the cake mix lumpy. For the smoothest, creamiest texture, sift it before adding it to the melted chocolate. This removes clumps, ensures even flavor, and gives your fudge a flawless, creamy finish!
Microwave Red Velvet Fudge Recipe
Equipment
- Kitchen Scale (optional)
- 8×8 Baking Pan
Ingredients
- 12 ounces white baking chocolate like Baker’s Premium (3 bars)*
- ¾ cup red velvet cake mix heat treated
- 14 ounces sweetened condensed milk (1 can)
- Sprinkles optional, for garnish
Instructions
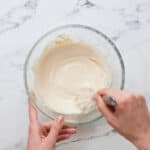
- In a large microwave-safe bowl, break up the white chocolate and melt in 30-second intervals.12 ounces white baking chocolate

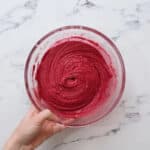
- Stir in cake mix and sweetened condensed milk.¾ cup red velvet cake mix, 14 ounces sweetened condensed milk
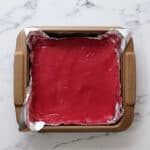
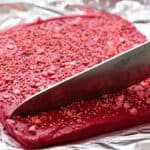
- Pour the mixture into an 8×8-inch pan lined with parchment paper.
- Evenly add sprinkles over top.Sprinkles
- Chill for 1 hour or until fudge is set, then slice into squares.

Notes
- To heat-treat the cake mix, microwave on HIGH in 30-second intervals until it reaches 160°F.
- An 8×8 pan makes thick fudge squares; a larger pan will produce thinner pieces.
- Melt the white chocolate slowly, stirring often, to prevent overheating.
- The mixture should be thick but pourable. If it’s too stiff, microwave for 10-15 seconds and stir.
- Add sprinkles right after pouring so they stick.
- For clean slices, let the fudge fully set, then wipe the knife between cuts.
- Nutritional information does not include optional ingredients.
How to Store and Freeze
Store leftover red velvet cake mix fudge cut into squares in an airtight container with the layers separated with parchment. It will keep well for around 2 weeks at room temperature, up to 1 month in the refrigerator, and up to 1 year (!) in the freezer.
It’s important to store and thaw it correctly so that the texture isn’t altered. Cut the fudge into squares, wrap individually in plastic wrap, and place into a Ziplock bag, removing as much air as possible. To thaw, remove from the freezer, but keep the fudge in the plastic bag, and leave it at room temperature for a couple of hours until it’s ready to eat.


Leave a Reply