

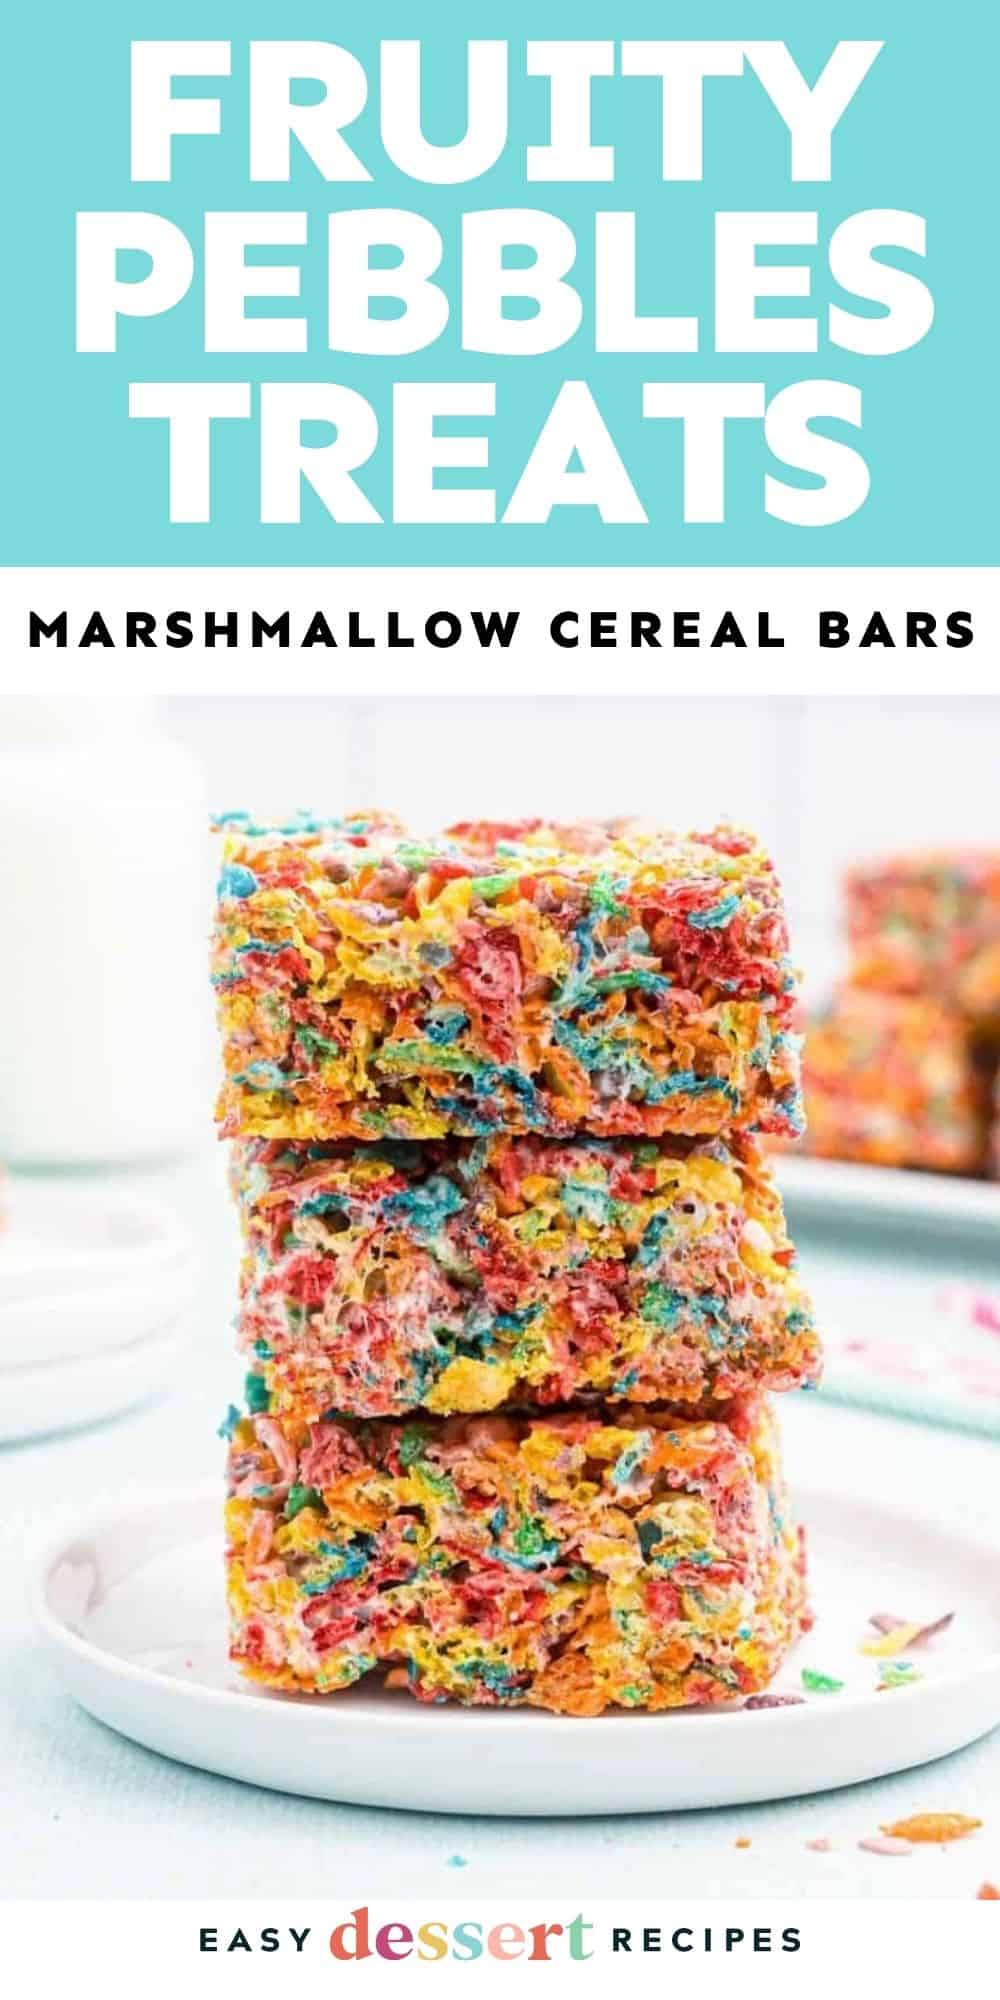

Fruity, sweet, and perfectly gooey, my Fruity Pebbles treats recipe is irresistible! These easy no-bake bars call for only 3 inexpensive ingredients (Fruity Pebbles cereal, butter, and marshmallows) and are so simple to put together. Making Rice Krispie Treats with Fruity Pebbles puts a colorful spin on a classic after-school snack. These are a big winner at my house, especially around St. Patrick’s Day!

Fruity Pebbles Rice Krispies Treat Bars
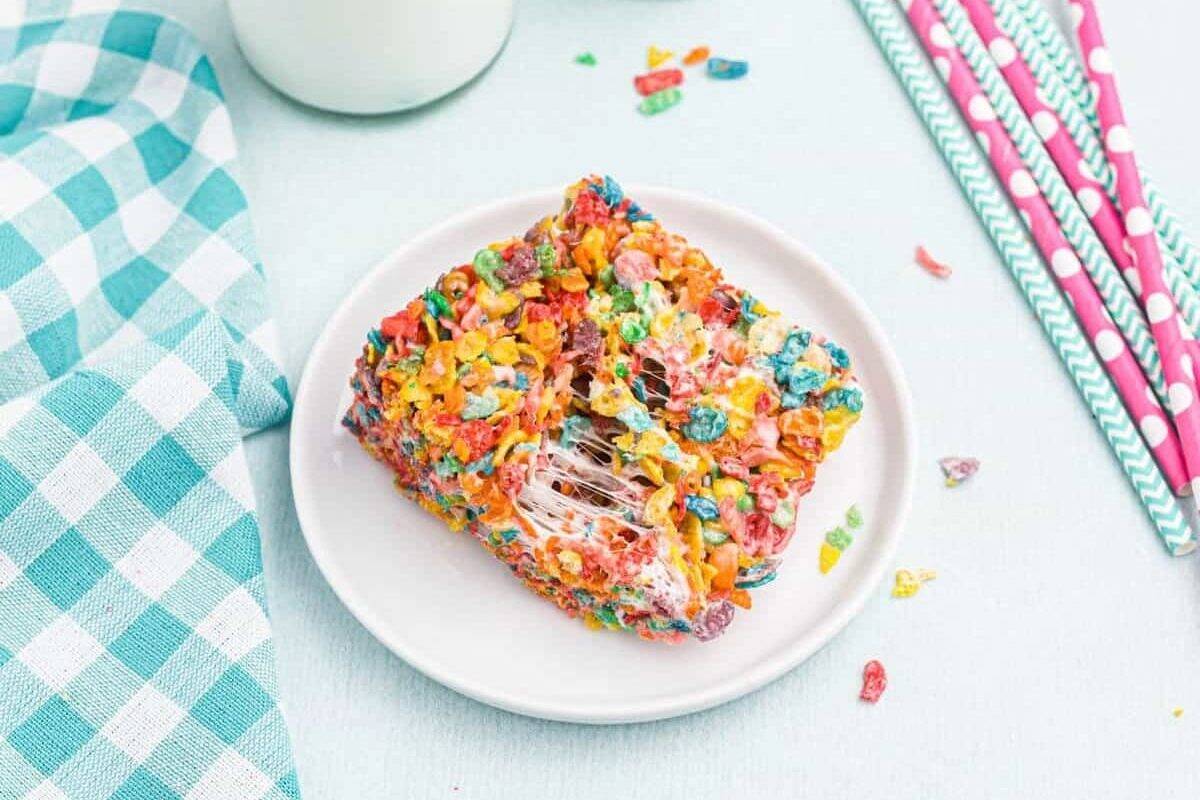
I love Rice Krispies treats, and these Fruity Pebbles treats are a fun and fruity version that’s guaranteed to liven up everything from lunchboxes to dessert spreads. The Fruity Pebbles cereal makes these gooey marshmallow treats technicolor, and the fruity flavor is so good! It doesn’t get much easier than cereal, marshmallows, and butter–that’s all you need to make these yummy no-bake bars.

Email this Recipe
Enter your email and we’ll send the recipe directly to you!
By submitting this form, you consent to receive emails from Easy Dessert Recipes.
My Secret for Soft, Chewy Treats
The most common mistake I see when making cereal treats is waiting for the marshmallows to be completely liquid while the pan is still on the stove. If you cook them too long, the sugar gets too hot and turns into a hard candy, which makes your treats feel like a brick!
Turn off the burner when you can still see a few small, lumpy marshmallow shapes. Keep stirring off the heat, and the “leftover” warmth in the pan will melt them perfectly. This guarantees your treats stay soft and stretchy for days!

Fruity Pebbles Treats Recipe
Equipment
- Kitchen Scale (optional)
- 8×8 or 9×13-inch Baking Pan
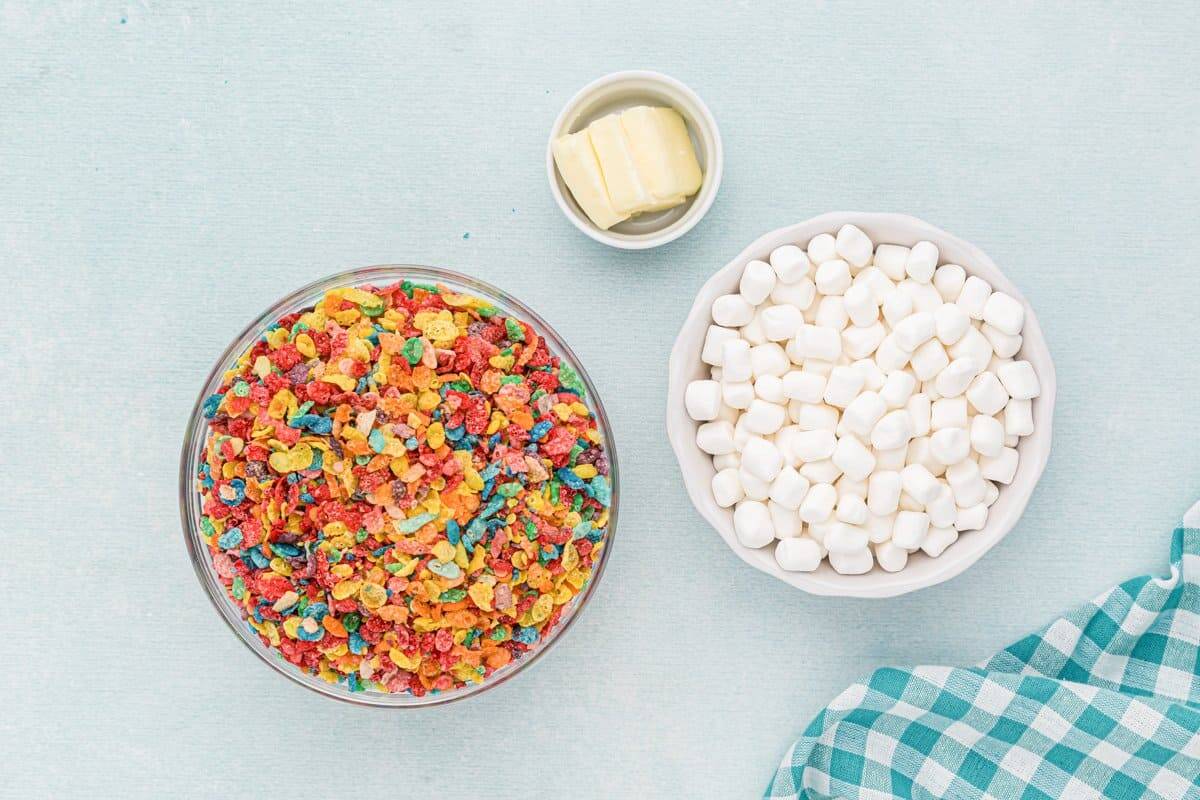
Ingredients
- 3 tablespoons unsalted butter
- 10 ounces miniature marshmallows or 40 large marshmallows*
- 6 cups Fruity Pebbles cereal
Instructions
- Line an 8×8-inch or 9×13-inch baking pan with wax paper, or coat with butter.

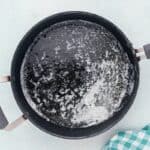
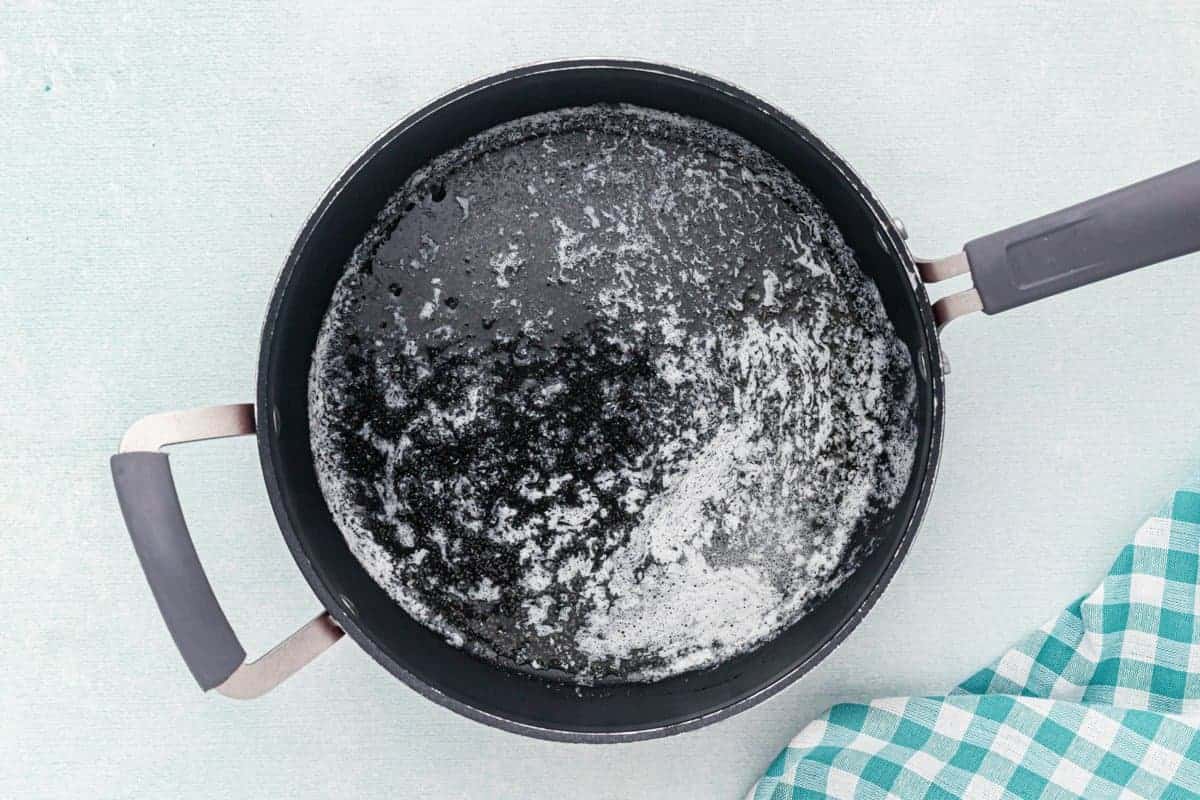
- In a large saucepan, melt the butter over low heat, stirring continuously.3 tablespoons unsalted butter
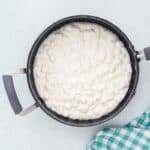
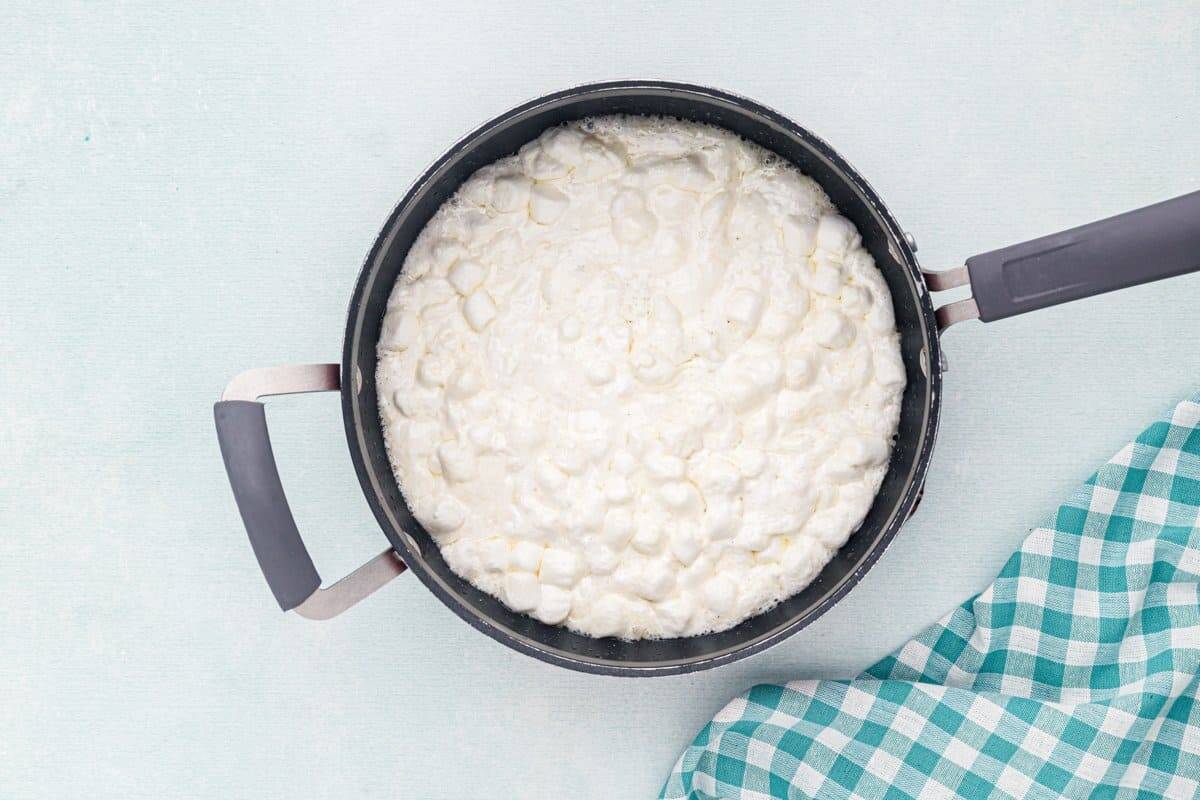
- Once the butter is melted, pour in the marshmallows and continue stirring until they have mostly melted with the butter. Remove the pan from the heat.10 ounces miniature marshmallows
- Quickly stir in the Fruity Pebbles cereal until it is evenly coated with the melted marshmallow and butter.6 cups Fruity Pebbles cereal
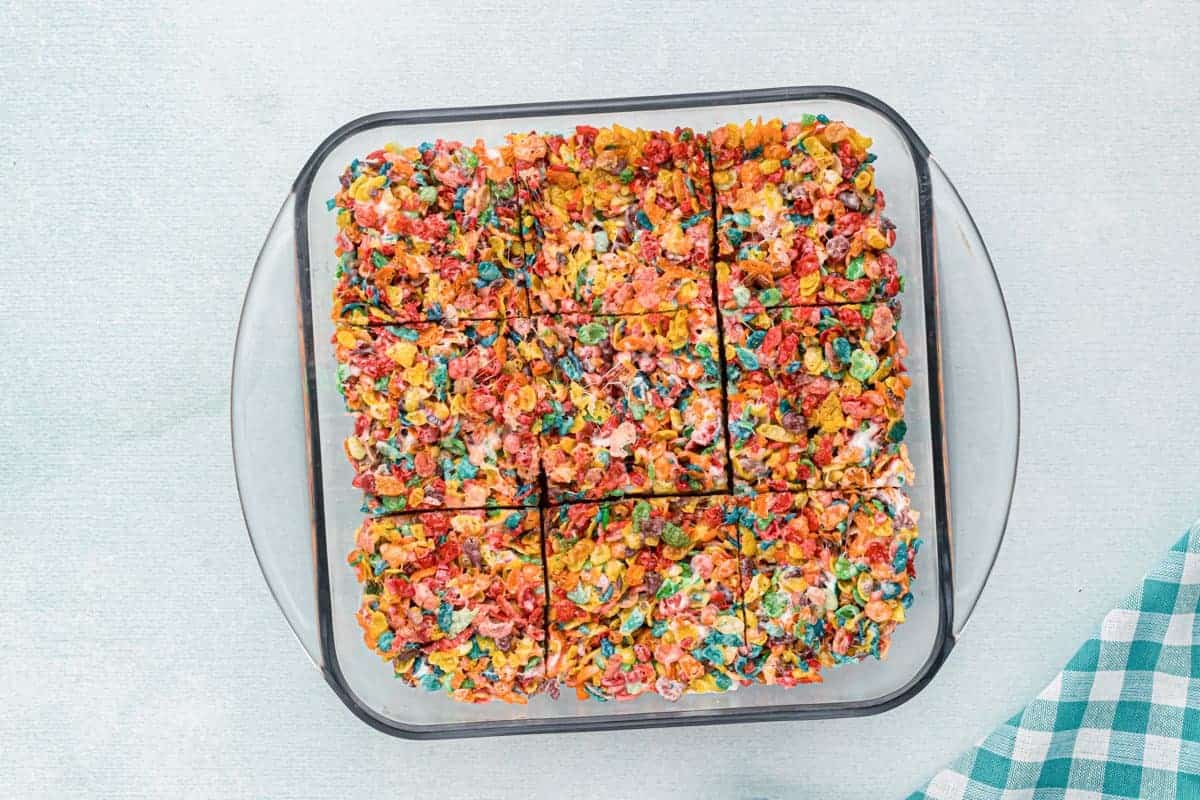
- Use a rubber spatula to press the mixture into the pan. Allow the treats to cool and set for about 30 minutes. Cut into squares and serve.

Notes
- Optional Upgrade: For a nutty flavor, brown the butter by continuing to cook it until it smells nutty and looks golden brown and toasty.
- Check expiration dates! Stale marshmallows result in a grainy, stiff texture rather than a gooey one.
- Save 1-2 cups of mini marshmallows to fold in after the cereal for pockets of gooey goodness.
- Be careful not to overcook the marshmallows, or the treats will be hard. Take them off the heat as soon as they have melted.
- Optionally stir in a pinch of kosher salt to balance the sweetness of these treats.
- Press the mixture into the pan with a very light touch; packing too firmly makes the bars hard.
- Place a piece of greased parchment or wax paper over top and press into a smooth layer for even bars.
How to Make Fruity Pebbles Cereal Marshmallow Bars Step-by-Step
Prep: Gather the list of ingredients for this Fruity Pebbles cereal bar recipe. Line an 8×8-inch or 9×13-inch baking pan with wax paper, or coat it with butter to prevent the treats from sticking. Leave a little overhang on the sides for easy removal.
Melt the Butter: In a large saucepan, melt 3 tablespoons of unsalted butter over low heat, stirring continuously. For a nutty, browned butter base, continue cooking and stirring until the butter has brown specks throughout and smells toasty.
Melt the Marshmallows: Turn the heat to low and pour in 10 ounces of fresh mini marshmallows (save a handful for later!). Stir constantly until they are about 90% melted, then remove the pan from the heat so they don’t seize up.
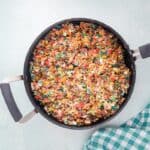
Stir in the Fruity Pebbles: Quickly but gently fold 6 cups of Fruity Pebbles cereal into the melted marshmallows. Once the cereal is halfway coated, toss in that extra handful of whole marshmallows you saved–this will give you pockets of gooey marshmallow!

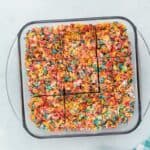
Press and Set the Treats: Transfer the cereal mixture into your prepared pan. Lightly grease your fingers or a spatula and gently nudge the mixture to the edges. Do not squash it, or your treats will be hard as rocks! Let the Fruity Pebbles bar mixture sit at room temperature for about 30 minutes. If you try to cut them while they’re hot, they’ll be a sticky (though delicious) mess. Once cool, lift the parchment paper out, slice into squares with a sharp knife, and enjoy.
How to Store and Freeze
Store leftover Fruity Pebbles treats in an airtight container at room temperature for up to 3 days or in the freezer for up to 6 weeks. Let thaw at room temperature before enjoying. If the treats seem a bit too firm, microwave them for 8-10 seconds, or until softened.


Leave a Reply