


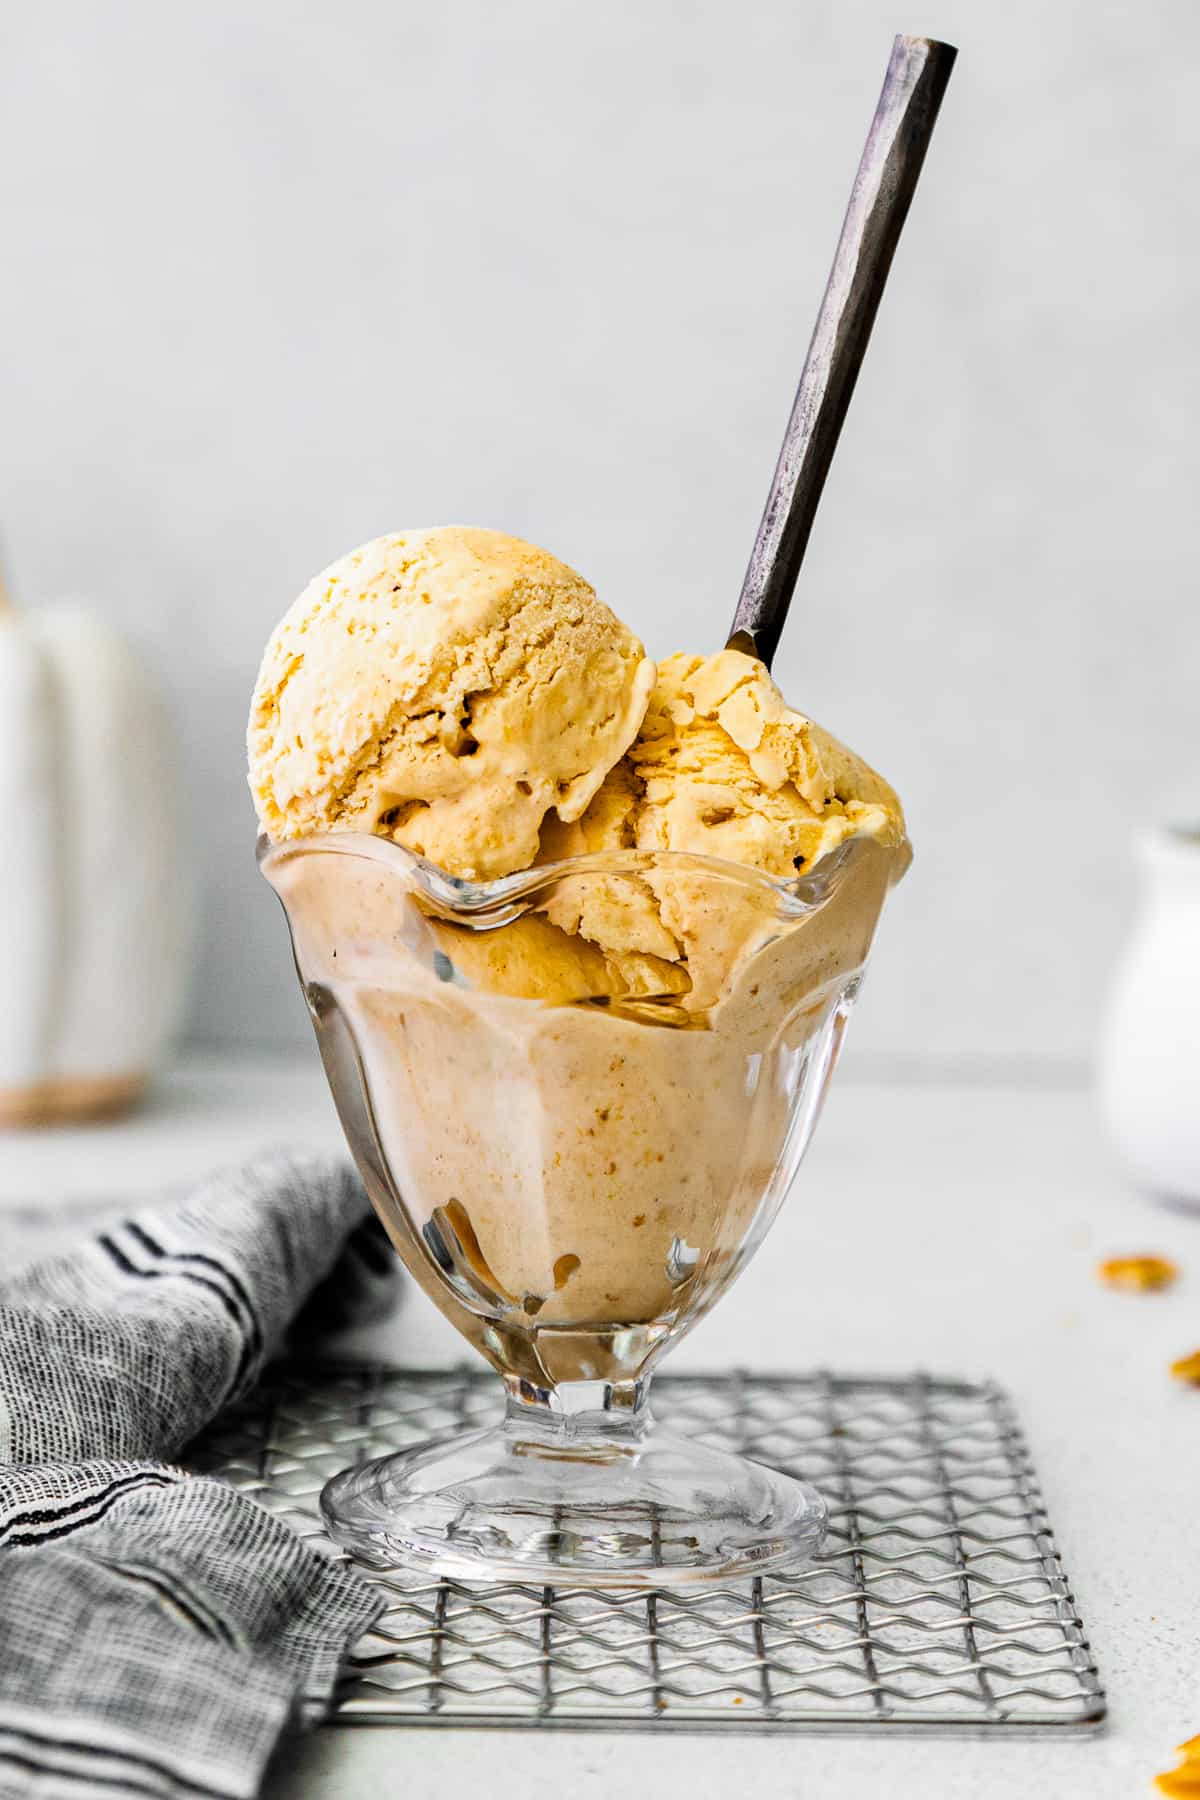
My no churn vanilla ice cream recipe is the easiest way to make a homemade frozen treat for the whole family! No ice cream machine, eggs, or extra ingredients are needed for this simple dessert. I just combine heavy whipping cream with sweetened condensed milk to create the ultra sweet and creamy base, then customize the flavor to satisfy every craving!
Homemade Ice Cream without a Machine
My kids are obsessed with ice cream, so making it at home was their number one dessert request. I prefer to skip the ice cream machines because they’re so bulky, and it’s such a hassle moving it in and out of the cabinets every time we want to make a little treat. So I created the easy no churn ice cream recipe as my base for just about any flavor idea, and we use it all the time in the summer.
It only takes 3 ingredients, a mixer, and a loaf pan to make this vanilla ice cream. I like using vanilla bean paste for a more old-fashioned flavor, but regular vanilla extract works well too. No matter what you mix in, this method creates a smooth, dense, sweet, and creamy ice cream. It works perfectly every time!

No Churn Vanilla Ice Cream Recipe
Equipment
- Hand Mixer or Stand Mixer
- 9×5-inch Loaf Pan
Ingredients
- 2 cups heavy whipping cream
- 14 ounces sweetened condensed milk (1 can)
- 2 teaspoons vanilla bean paste *
Instructions
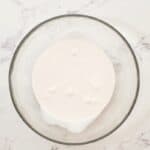
- Add heavy whipping cream to a large mixing bowl, or the bowl of a stand mixer.2 cups heavy whipping cream

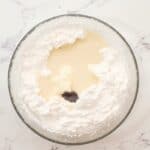
- Using a hand or stand mixer, mix the cream until stiff peaks form, about 2-3 minutes.
- Add sweetened condensed milk and vanilla bean paste.14 ounces sweetened condensed milk, 2 teaspoons vanilla bean paste
- Using a rubber spatula, gently fold the ingredients together until a smooth, even mixture forms.
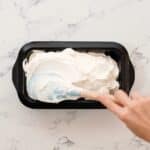
- Pour the ice cream mixture into a loaf pan, and spread into an even consistency.
- Cover the pan with plastic wrap, and press it firmly into the surface of the ice cream.
- Place the loaf pan in the freezer. Freeze for 8-12 hours, or overnight for best results.
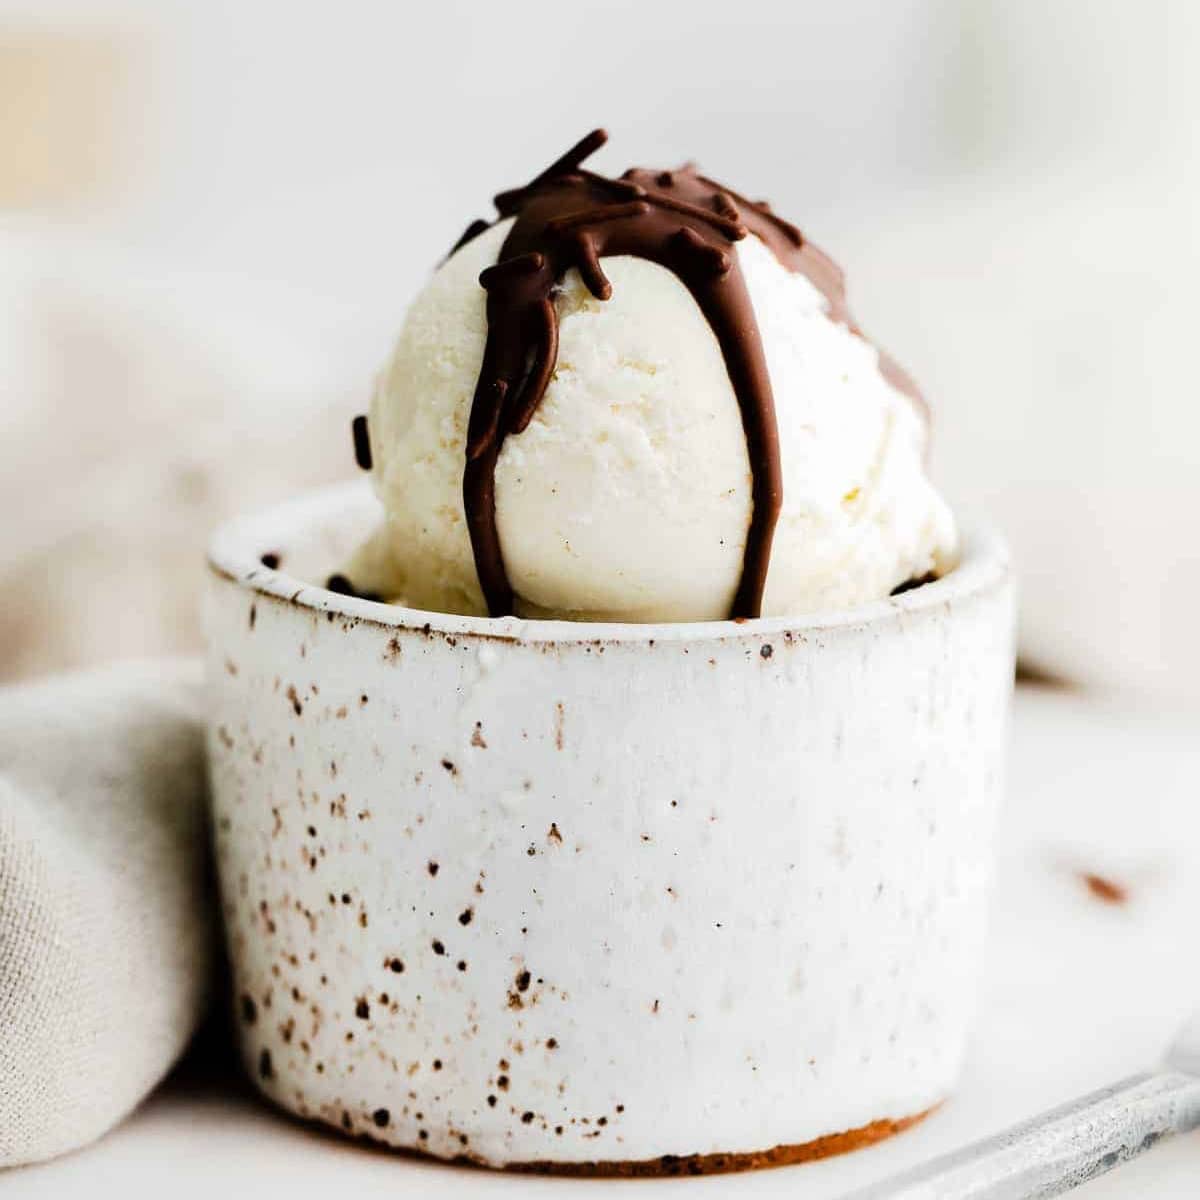
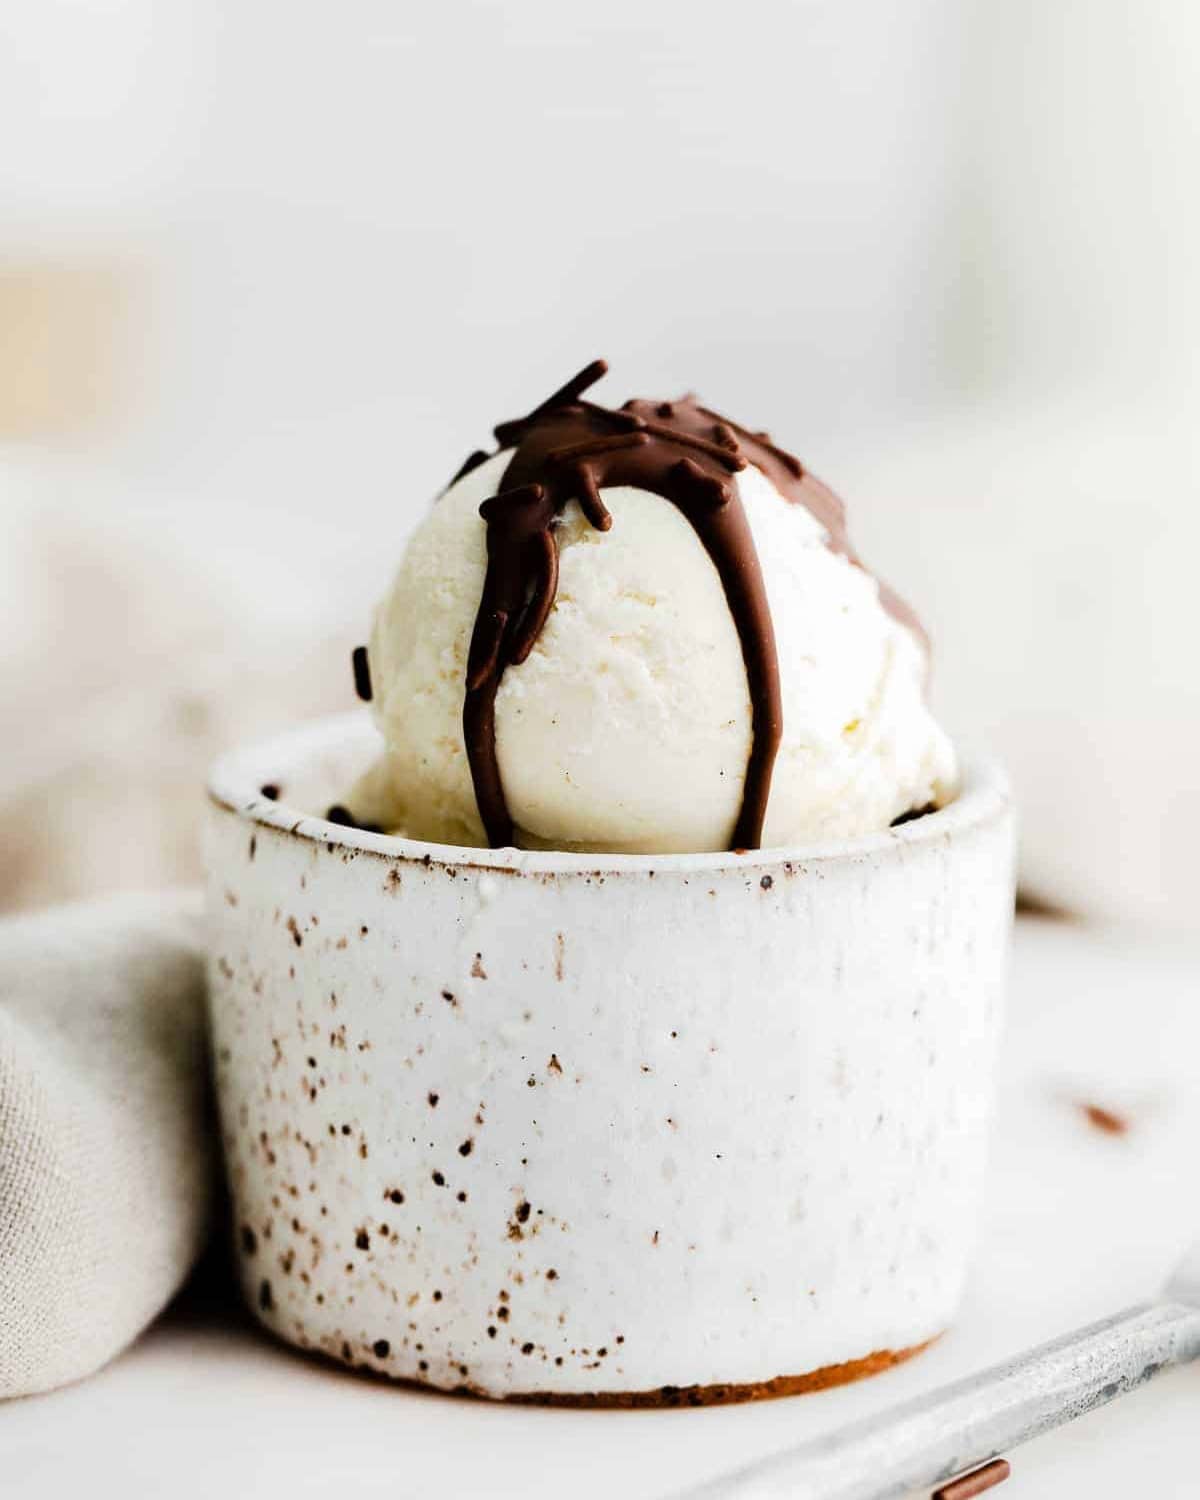
- To serve, set ice cream out to soften before scooping.
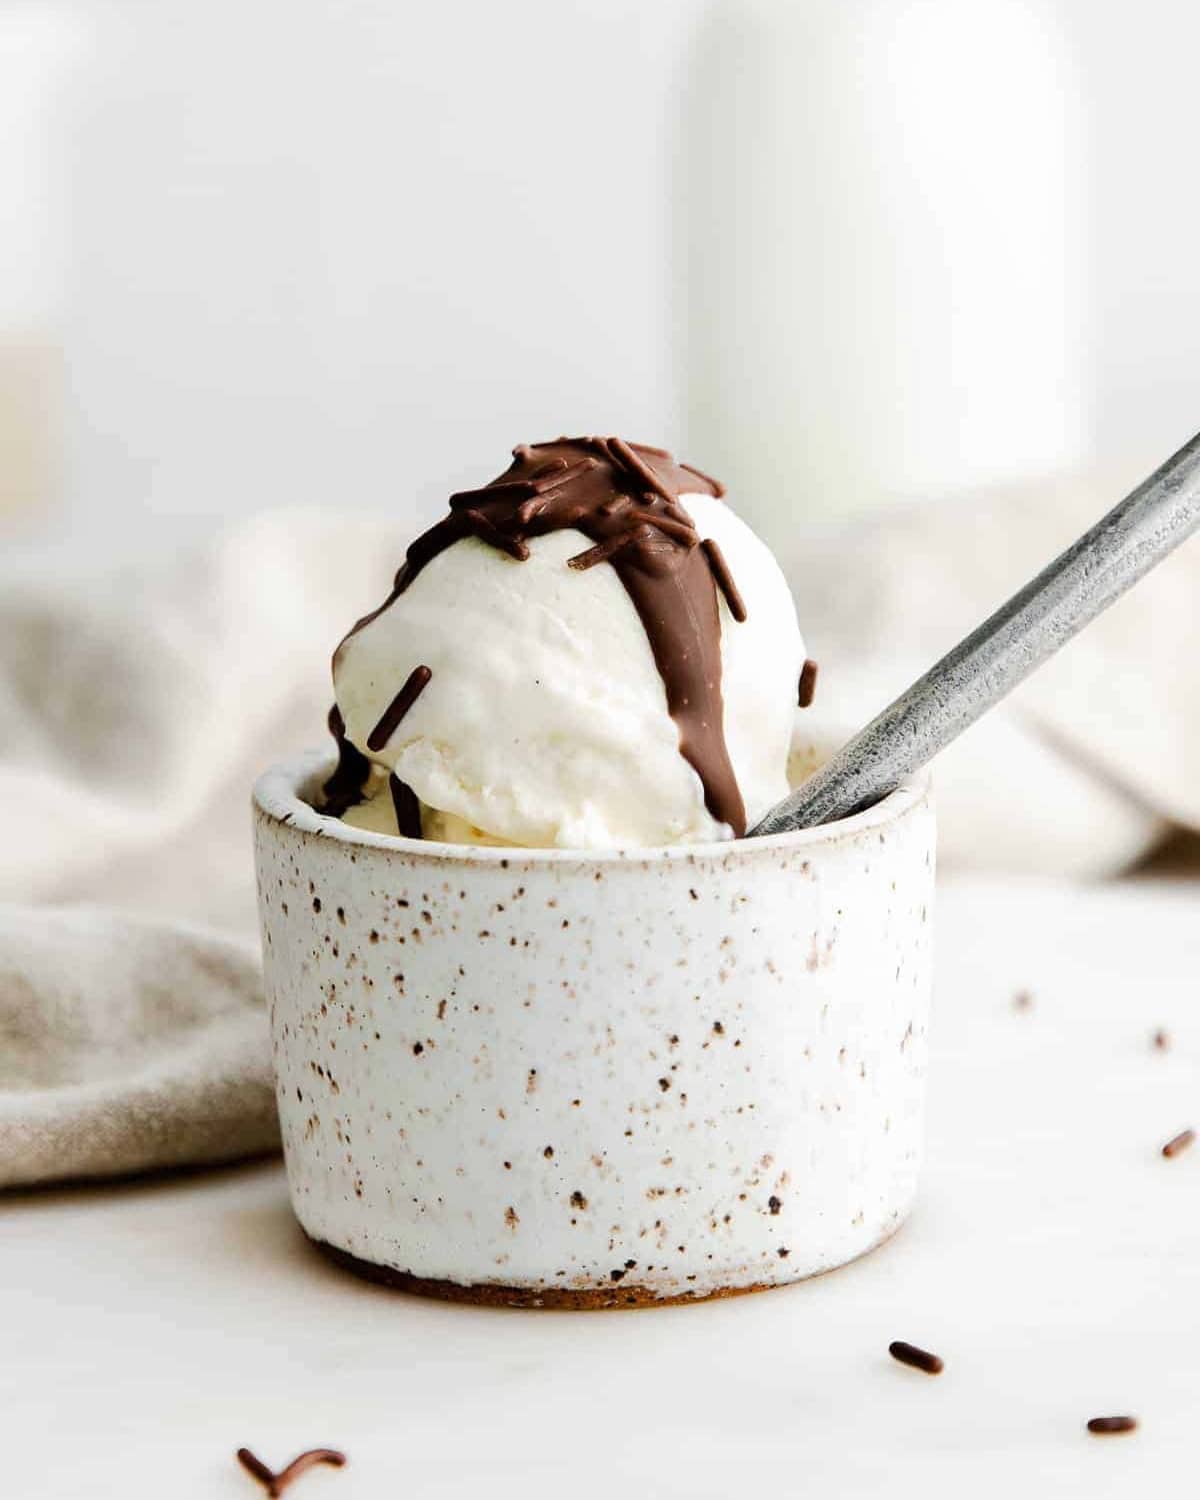
- Serve scoops of ice cream with desired toppings.


Notes
- Use a shallow, even-sized container for freezing. Deep containers and mixing bowls will result in uneven freezing.
- Press plastic wrap or parchment paper directly onto the exposed surface of the ice cream before freezing to prevent ice crystals.
- I highly recommend freezing for a full 12 hours to ensure the ice cream is fully set and frozen.
- After freezing, set ice cream out at room temperature for 10-15 minutes before scooping.
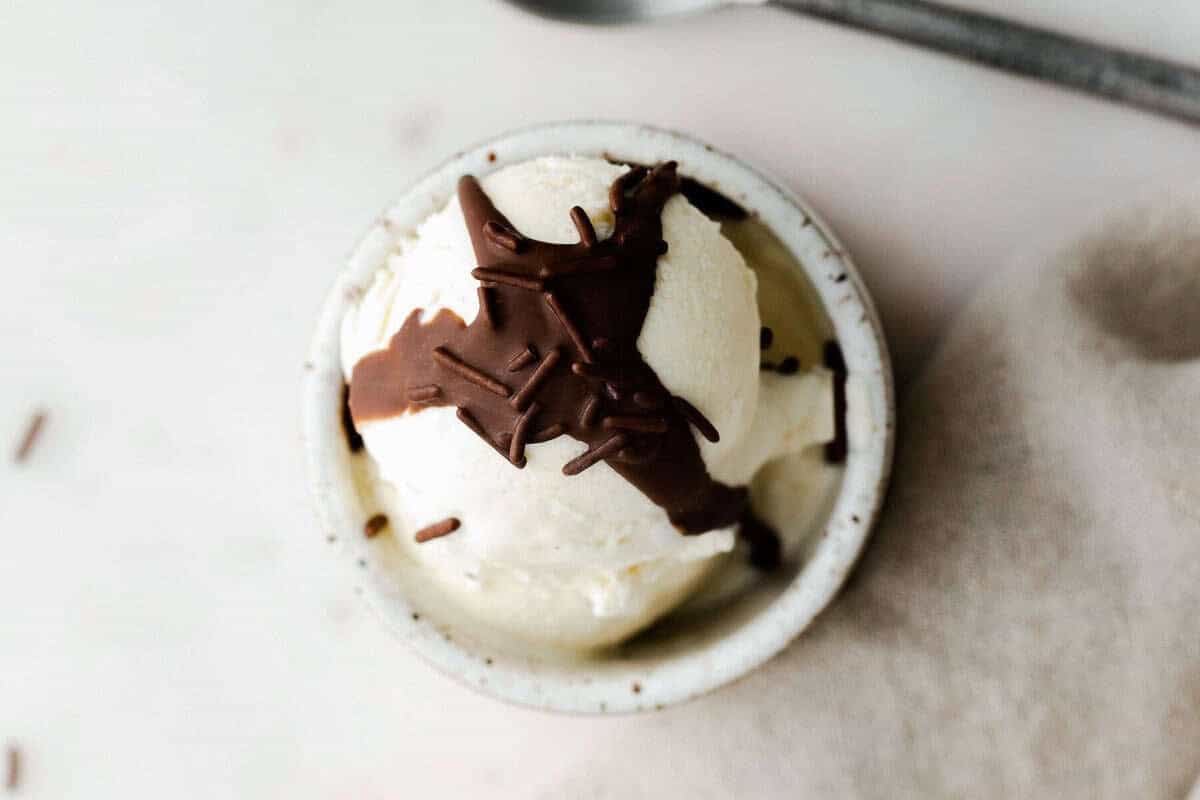
- Serve with chopped nuts, chocolate syrup, fruit, or whatever your heart desires!
- Add other mix-ins to change the flavor. Crushed cookies, candies, fruit, or chocolate chips all work well.
Foolproof Tips
- Use sweetened condensed milk. This ingredient has a thick consistency and a higher sugar content, which is necessary to get a smooth and creamy texture. So be sure to use sweetened condensed milk when making no churn ice cream recipes — not evaporated milk.
- Freeze it in a loaf pan. A standard 9×5 loaf pan is perfect for this recipe, because it creates a shallow rectangular shape that helps the ice cream freeze through evenly. However, a well-sealed and insulated ice cream container works well if you have one.
- Seal tightly to prevent freezer burn. Since a loaf pan doesn’t have a lid, be sure to tightly wrap and seal it with layers of plastic wrap. Press the wrap directly onto the surface of the ice cream to prevent ice crystals, which can leave you with a less-than-ideal texture.
- Freeze for 12 hours. This ice cream is super quick to prep, but it will need ample time to freeze properly. I recommend giving it a full 12 hours (overnight) in the freezer before scooping to make sure it’s all set.

Email this Recipe
Enter your email and we’ll send the recipe directly to you!
By submitting this form, you consent to receive emails from Easy Dessert Recipes.
Homemade Ice Cream Flavors & Add-ins
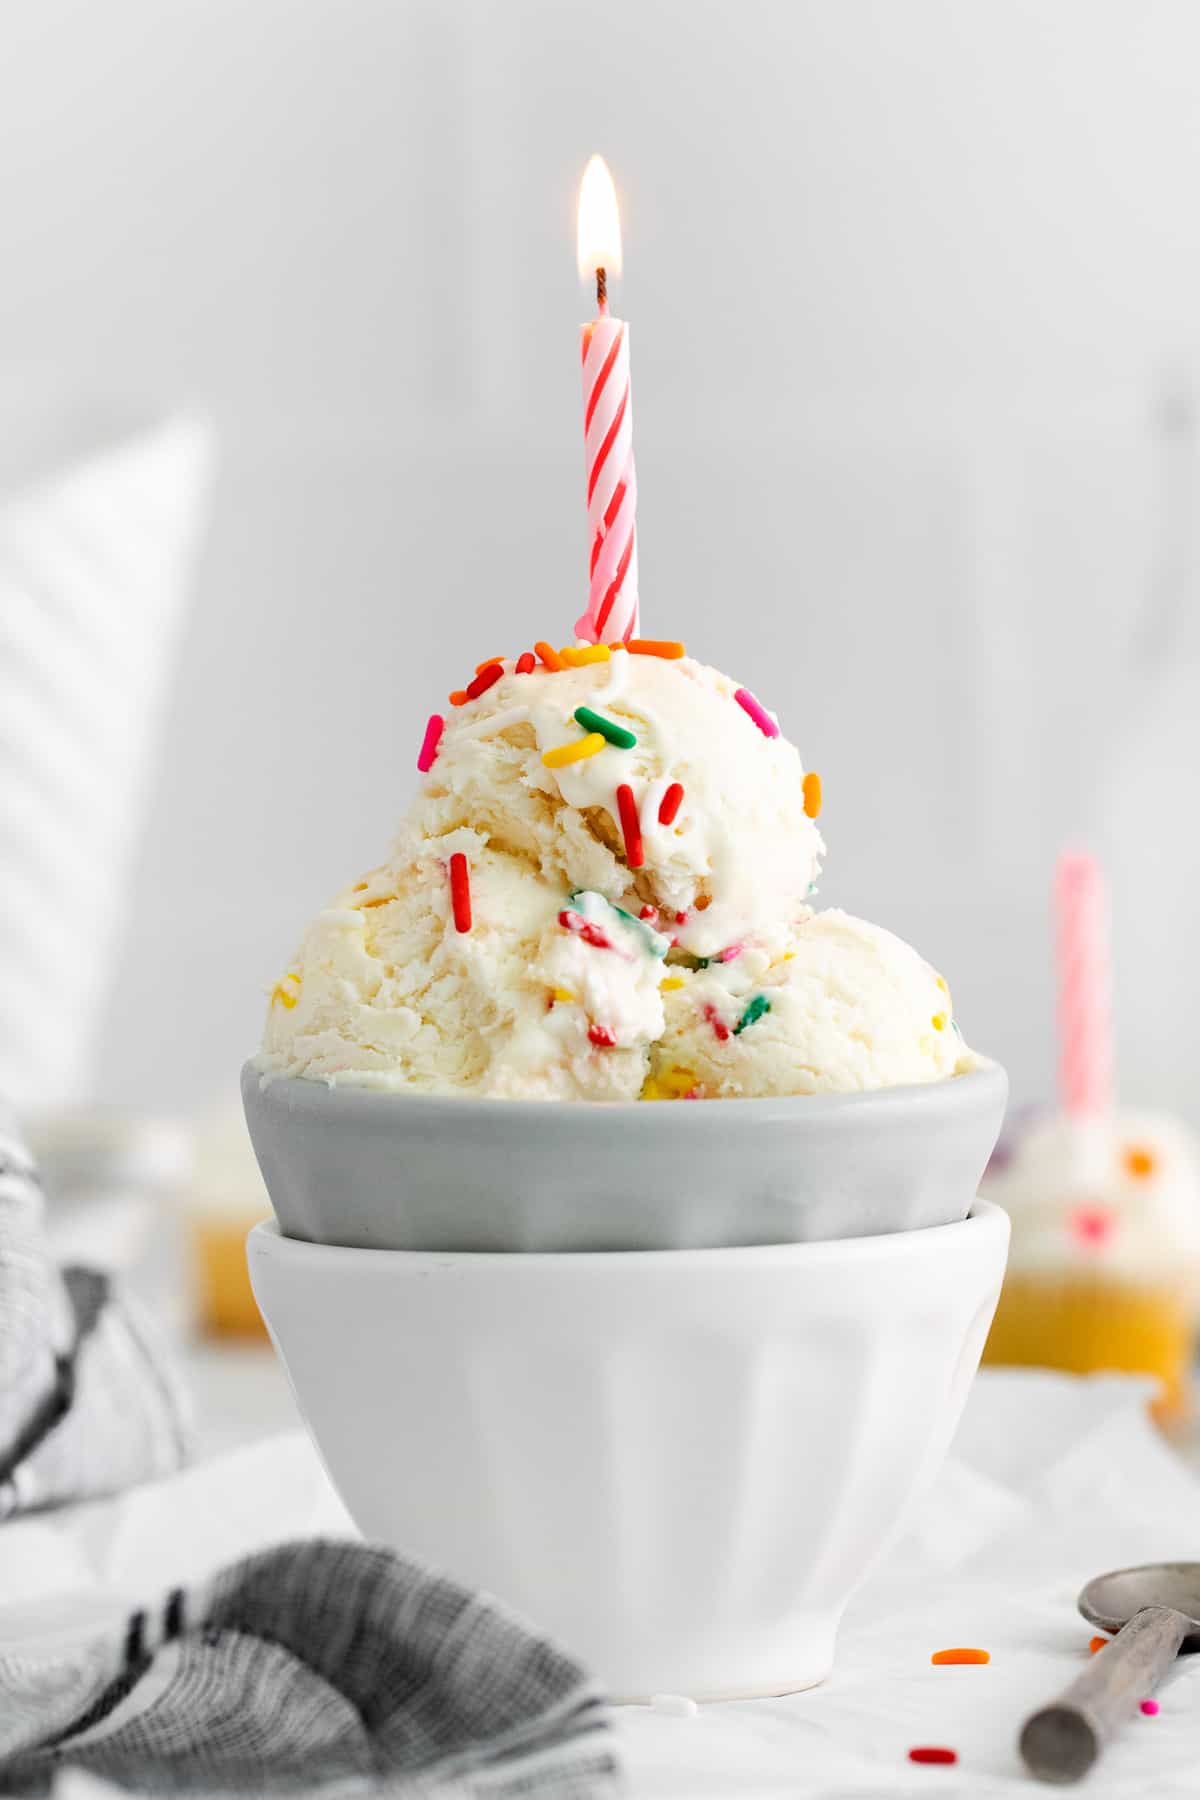
This simple vanilla ice cream base is easy to customize with all kinds of flavors and mix-ins!
- Rocky Road: Fold in 1 cup of mini marshmallows, 1 cup of chopped peanuts, and 1 cup of chocolate chips.
- Cookies n’ Cream: Fold in 2 cups of crushed Oreo cookies.
- Mint Chocolate Chip: Instead of vanilla (or in addition to), add ½ teaspoon of mint extract to the base. Then fold in 1½ cups of chocolate chips. If you like, add a drop of green food coloring!
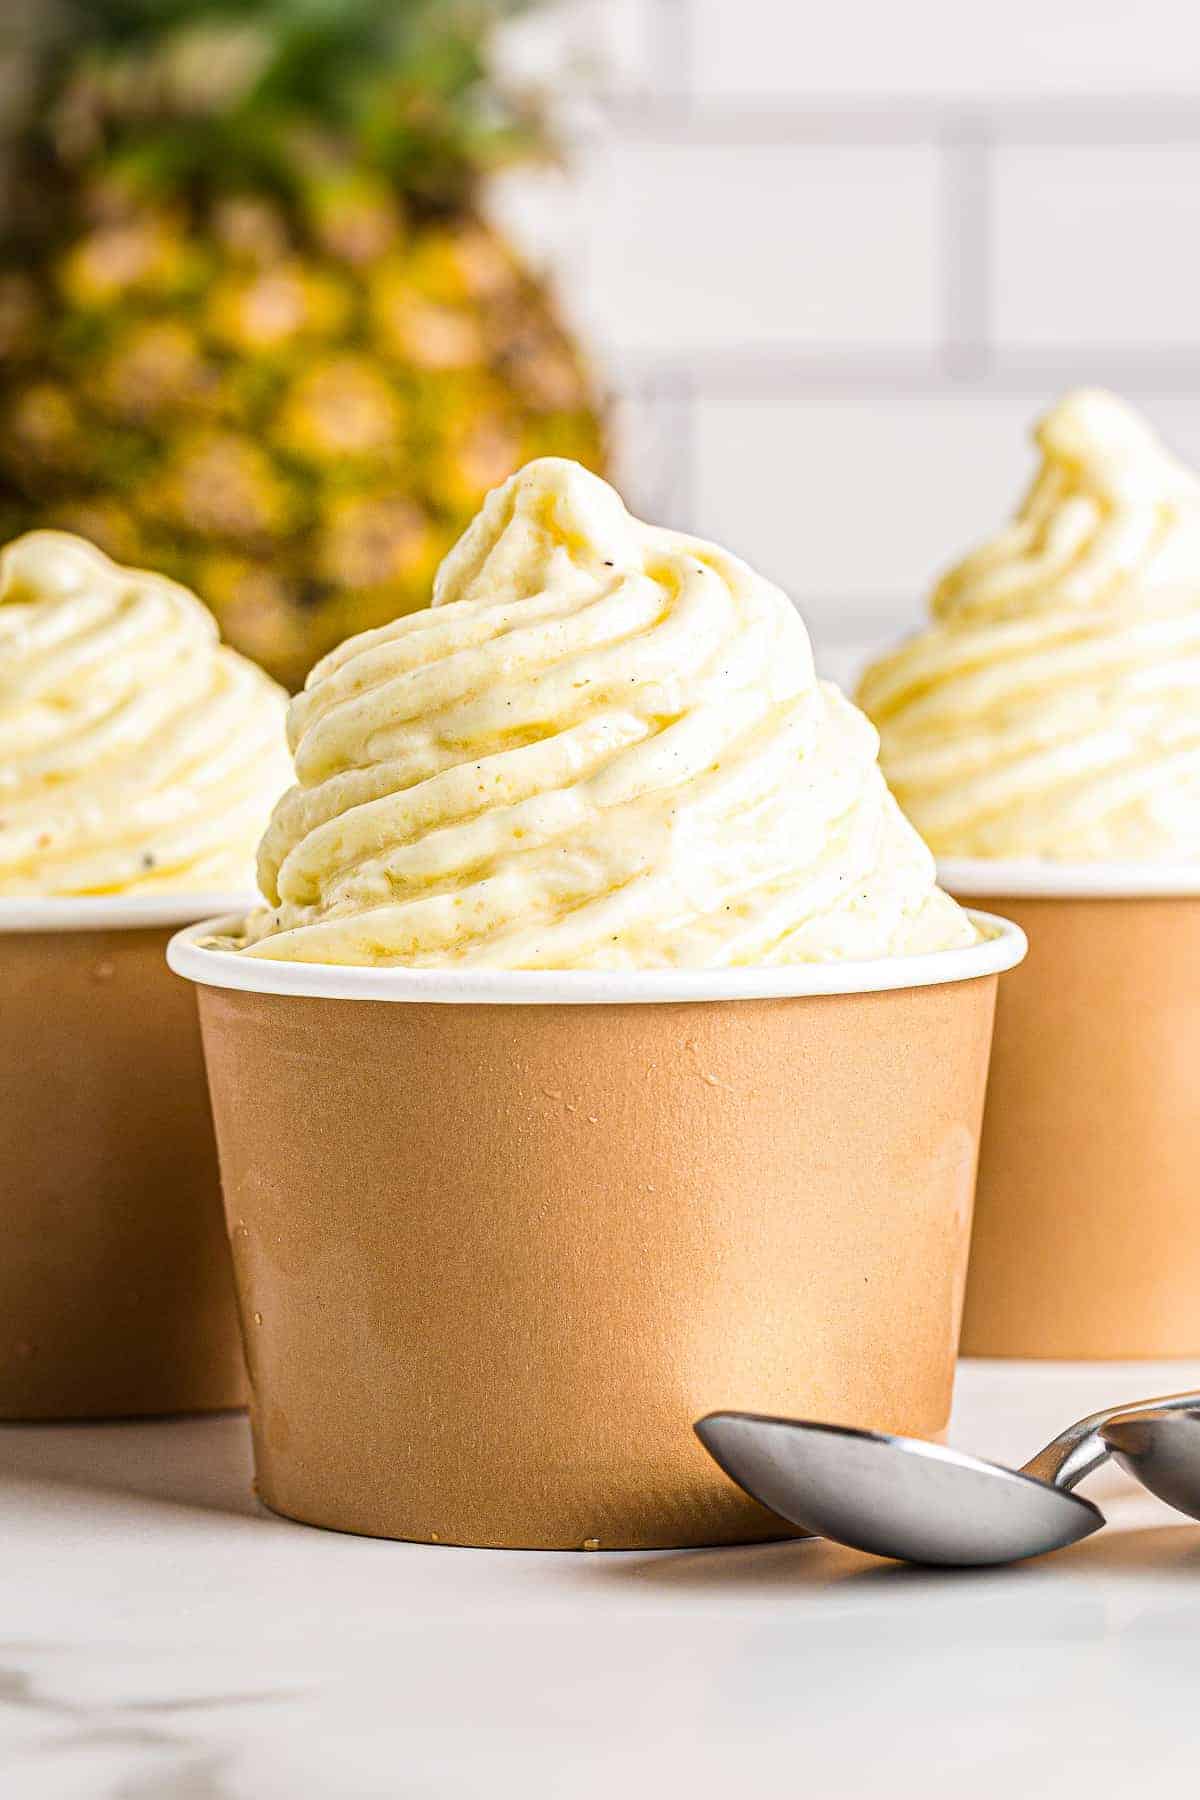
- Fruit: Fold in fresh, frozen, or dried fruit pieces. Berries, bananas, peaches, and pineapple all work great. You can also swirl in fruit jams.
- Candy: Fold in crushed or bite-sized pieces of your favorite candies, like Butterfingers, Reese’s peanut butter cups, or M&Ms.
How to Freeze
Store homemade no churn ice cream in an airtight container in the freezer for up to 1 month. A loaf pan with plastic wrap works well short-term (up to 1 week), but I’ve found that a well-sealed plastic container works better for long-term storage.


Leave a Reply