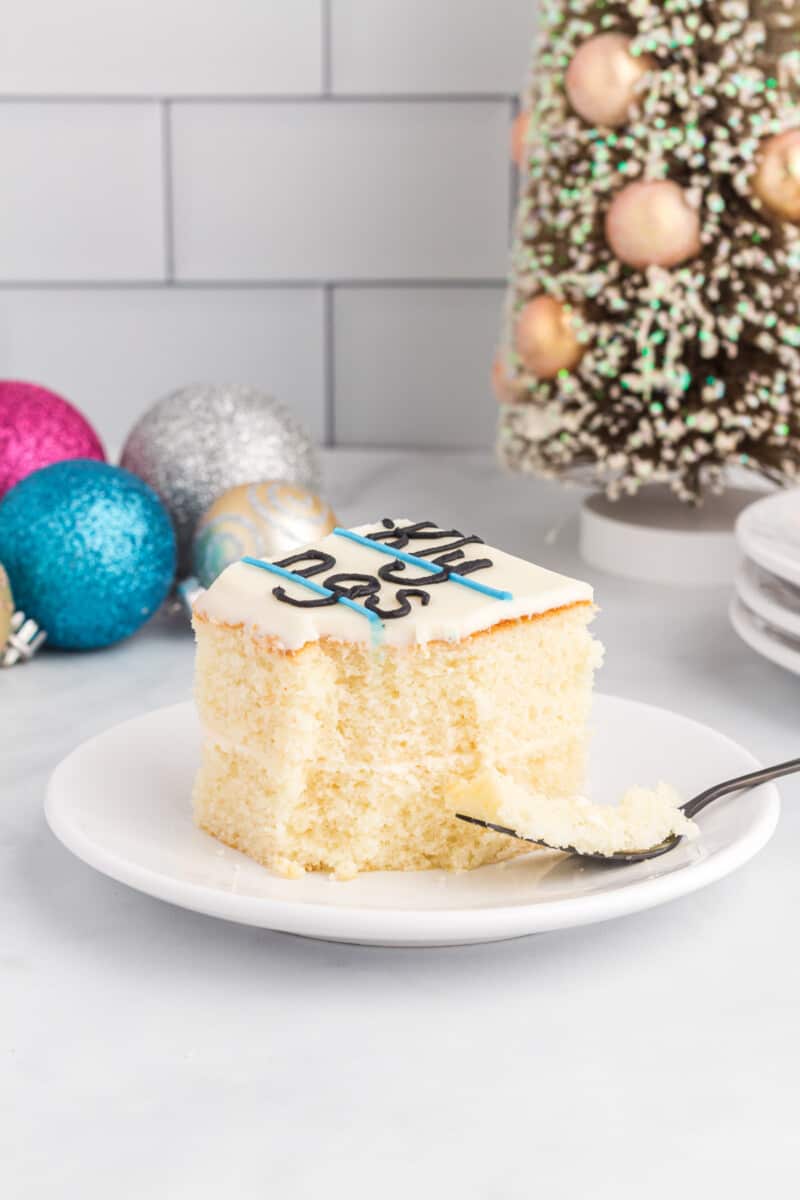
This Letter to Santa Cake is a unique and festive treat to include at your next Christmas party! This recipe is also a wonderful kid-friendly dessert for your little ones to help set out on Christmas Eve.

Dear Santa Cake
This Dear Santa Cake is such a special dessert idea that is sure to create lasting memories for friends and family this holiday season. This delicious treat also makes a fantastic specialty gift!
Why You’ll Love this Christmas Cake Recipe:
- So cute: Aside from being a great-tasting dessert recipe, this cake is adorable and full of holiday spirit that everyone can enjoy!
- So good: This decadent cake is sure to become a new holiday tradition and a quick family favorite!

Email This Recipe
Enter your email and we’ll send the recipe directly to you!
How to Make Letter to Santa Cake
Be sure to see the recipe card below for full ingredients & instructions!
- Preheat the oven and prep your cake pans with non-stick spray.
- Make the cake batter according to recipe instructions.
- Divide the cake batter into the pans and bake.
- Cool the cakes then remove from the pan before cooling for longer.
- Make the frosting.
- Assemble the cake with frosting according to recipe instructions.
- Add final frosting decorations and serve as desired.
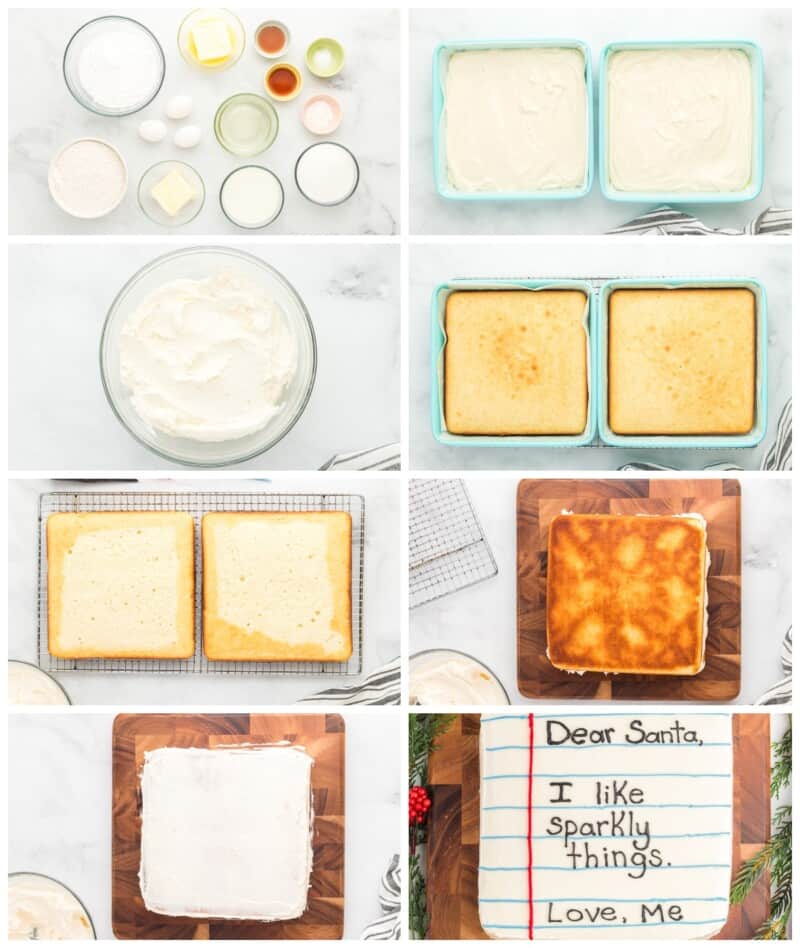
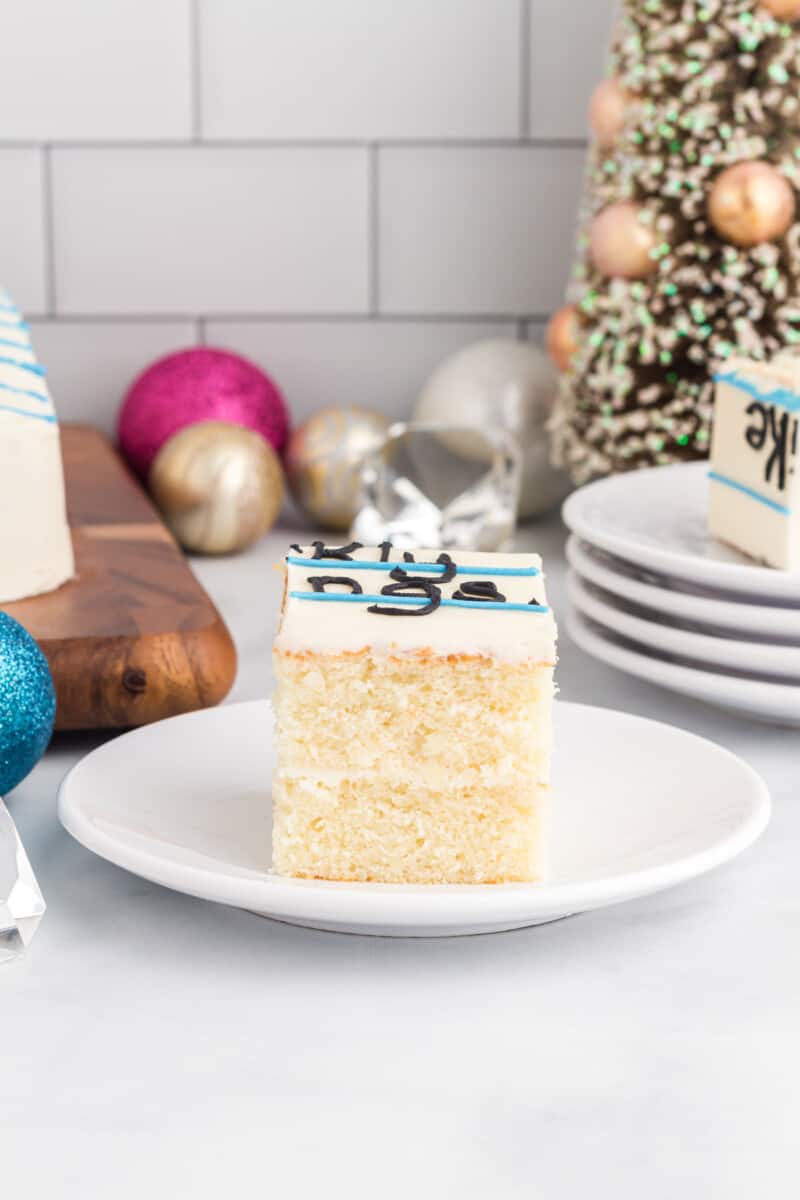
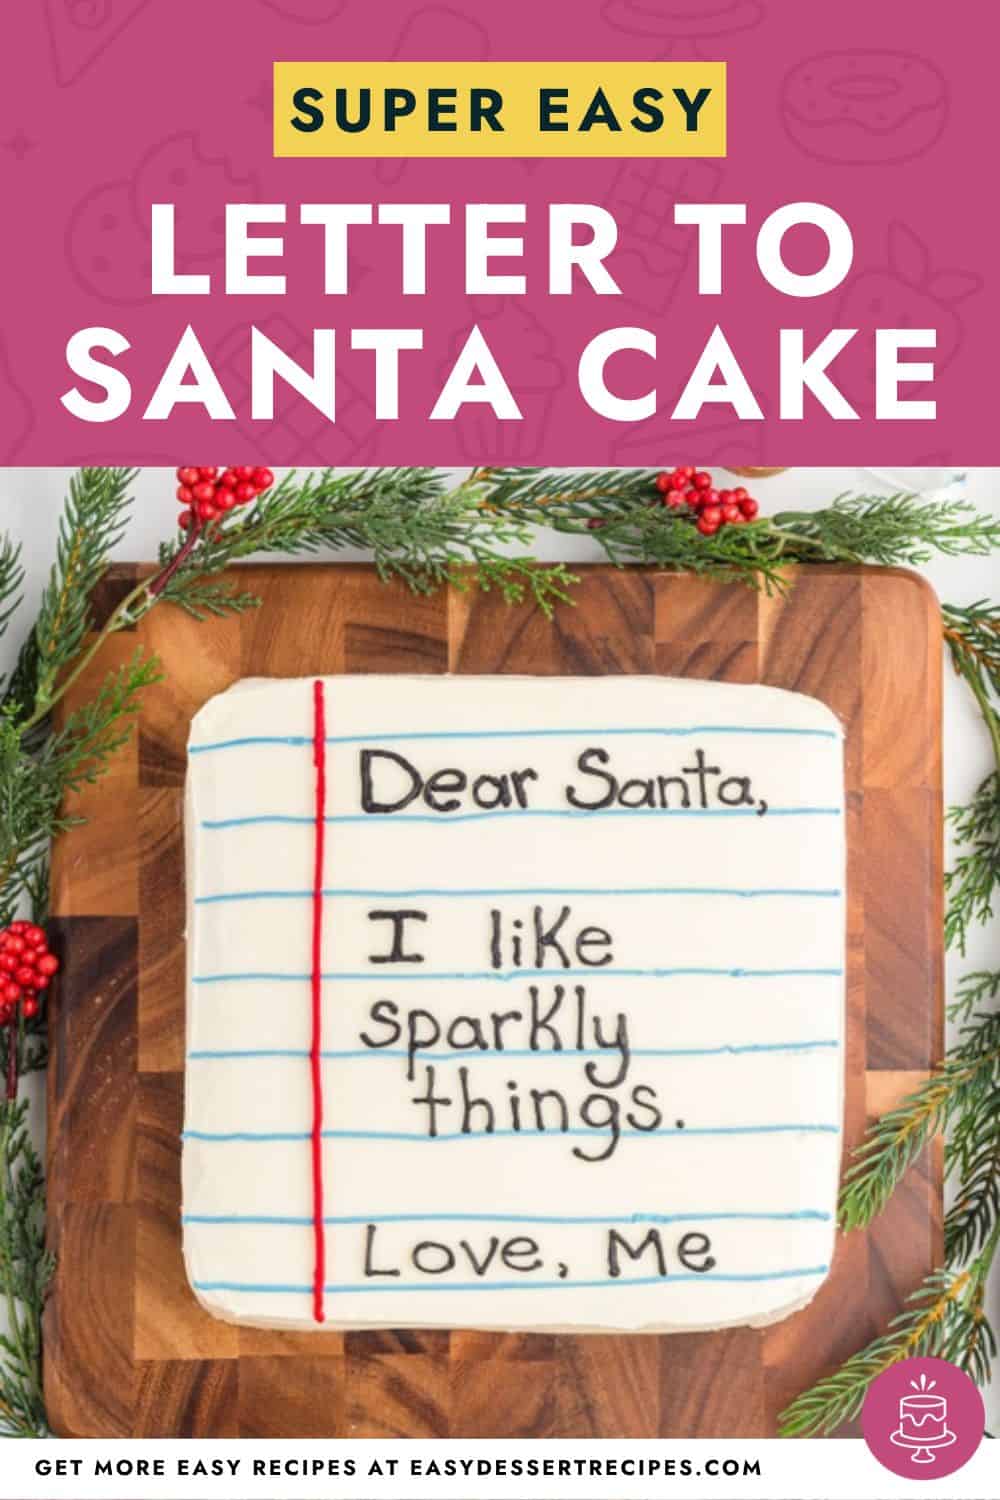
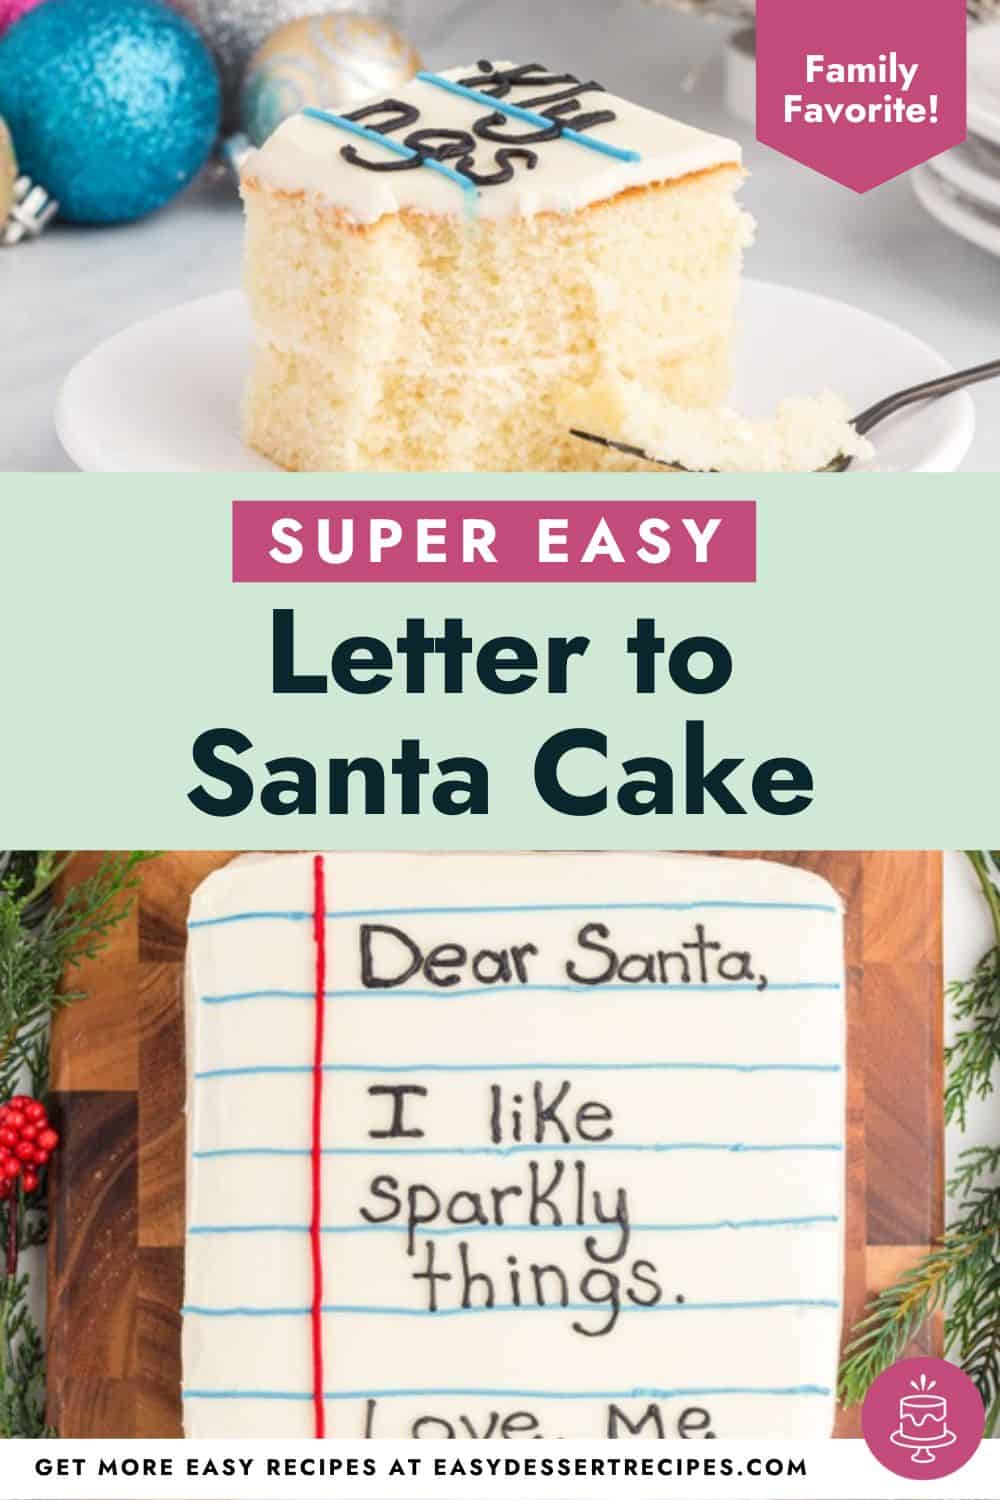
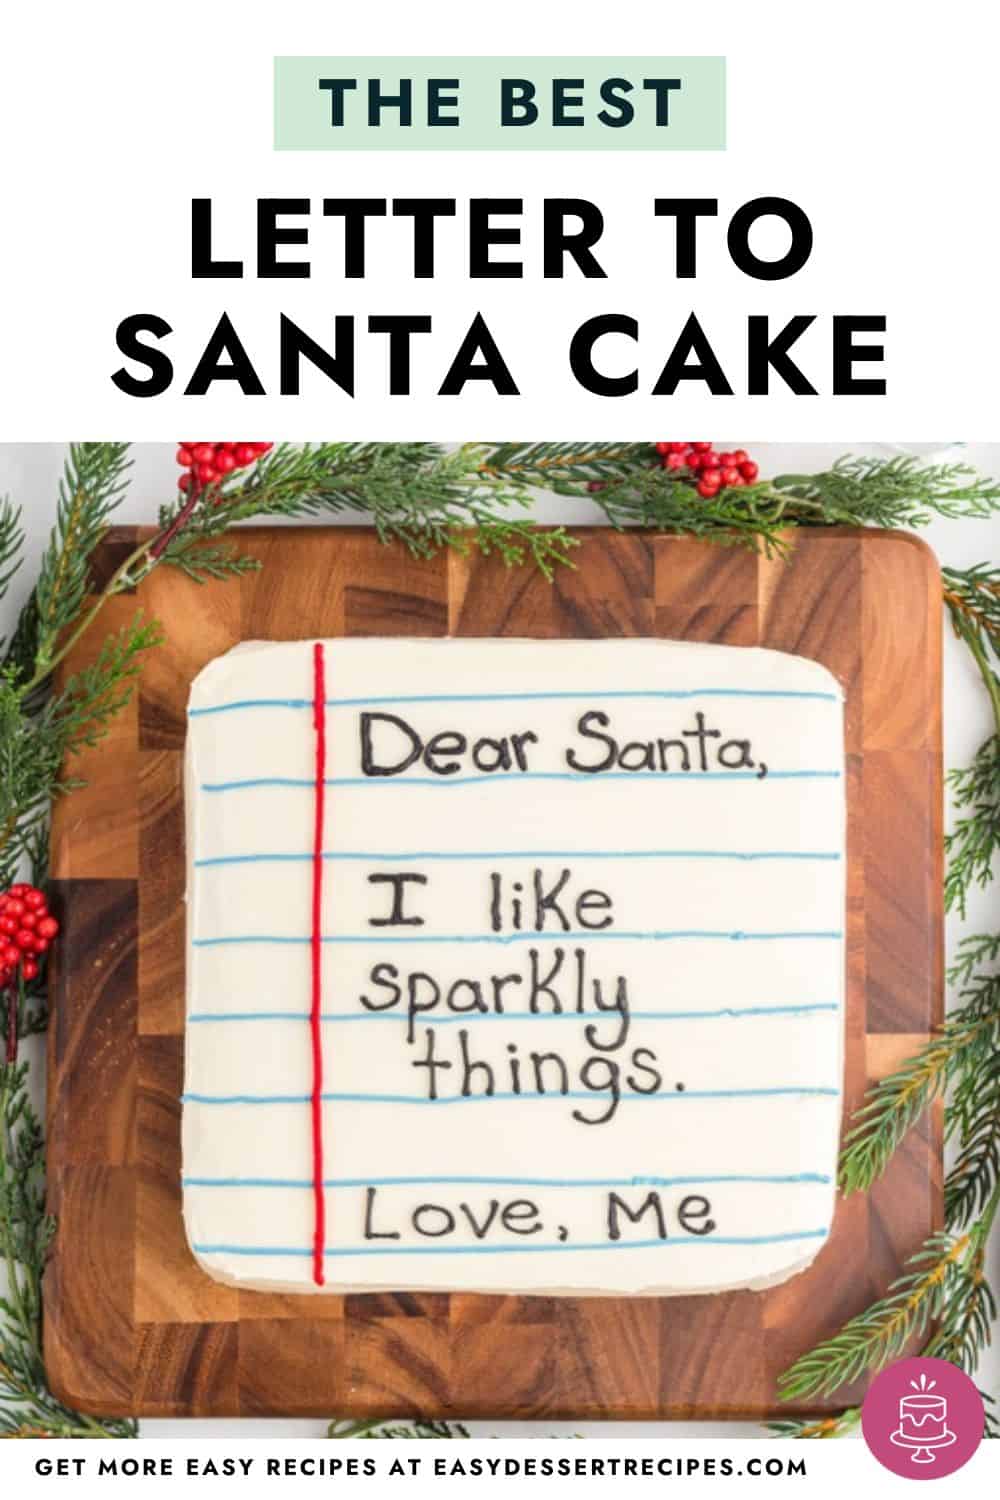
Letter to Santa cake is a moist vanilla cake filled with vanilla buttercream, and decorated to look like a letter to Santa written on notebook paper. Does it get any cuter than that?!
Yes! Room temperature ingredients will combine more readily, leading to a better-textured cake.
If your cake is a bit flat, that’s most likely because you didn’t add enough baking powder. Also, be sure to check the expiration date on your baking powder! If it’s expired, it just won’t do the trick.
A dry cake can be caused by 2 things. You may have measured the ingredients incorrectly, or you might have overmixed the batter. It’s important to spoon and level your ingredients if you’re not using a scale, and it’s important to have a light hand when mixing the batter.
The cake should be refrigerated for 2 hours before you start frosting (be sure to wrap it well in food-safe plastic wrap so it doesn’t dry out). This helps the cake become firmer so it doesn’t crumble as easily. Also, check that your frosting is an easily spreadable consistency. If the frosting is too thick, beat in a tablespoon or 2 of heavy cream.
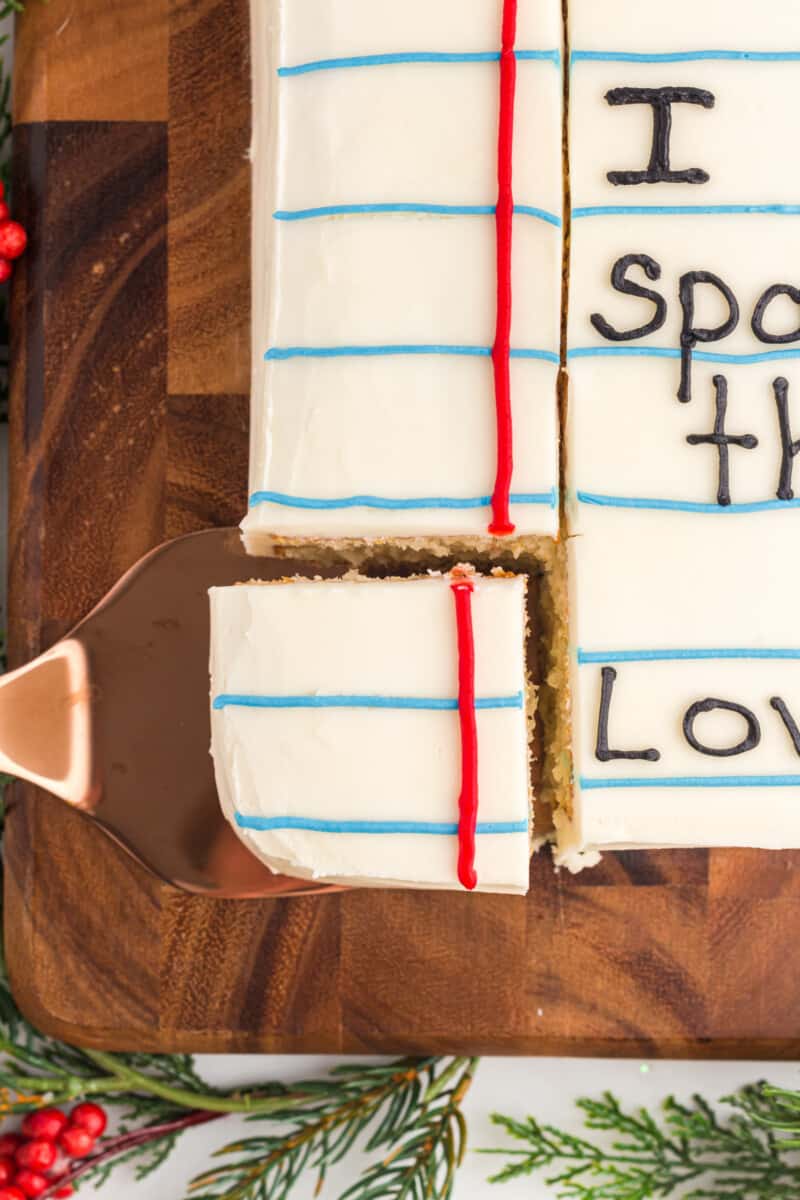
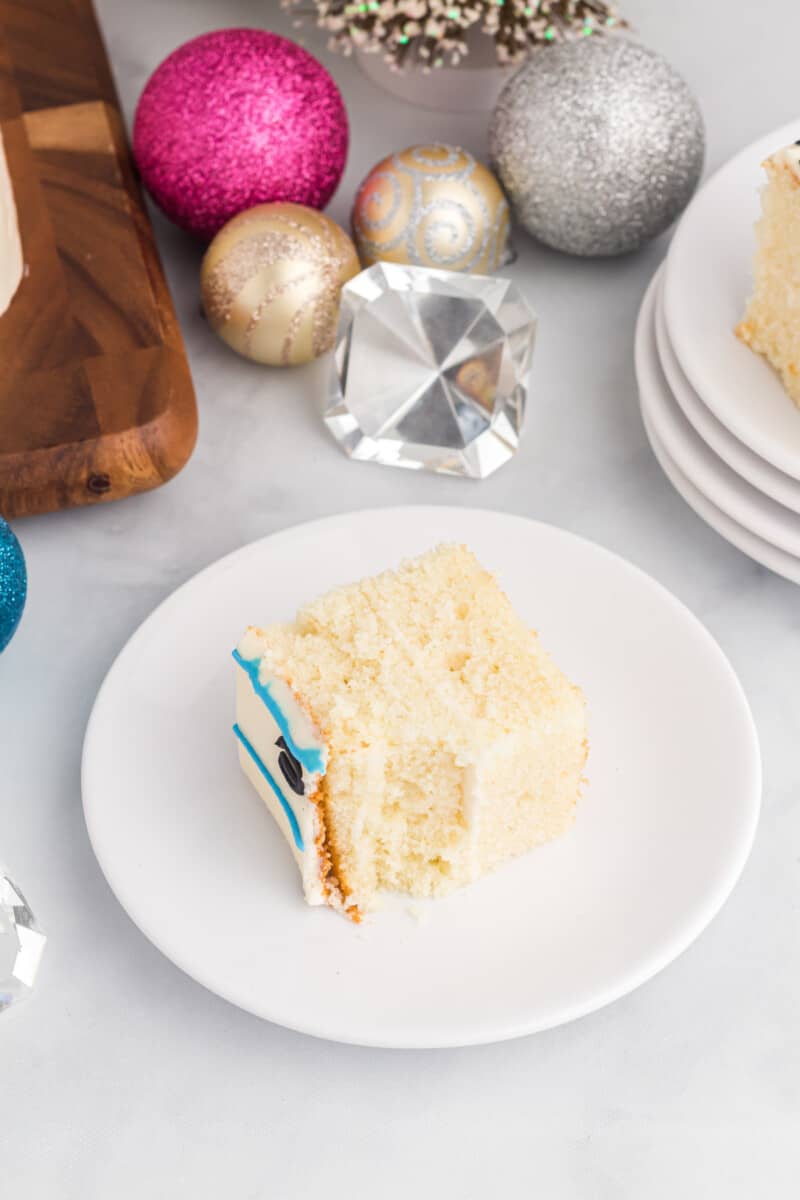
Give Santa Claus a different type of treat this Christmas and make him this holiday dessert instead! Add your own letters and wish him a Merry Christmas and safe travels on his way back to the north pole!
Make Ahead Instructions
The cakes can be baked up to 2 days in advance and stored tightly wrapped in plastic wrap in the refrigerator until ready to decorate.
The frosting can be made up to 5 days in advance of when you plan to use it. Store it in an airtight container or Ziplock bag in the refrigerator until ready to color and use.
Storage Instructions
Store leftover Letter to Santa cake in an airtight container at room temperature for up to 3 days or in the refrigerator for up to 5 days. Enjoy at room temperature.
Freezing Instructions
Freeze Letter to Santa cake whole or in individual slices tightly wrapped in 2 layers of plastic wrap and 1 layer of aluminum foil for up to 1 month. Let thaw overnight in the refrigerator before enjoying.
Substitutions
- For a gluten-free Letter to Santa cake, replace the all-purpose flour with an equal amount of gluten-free 1:1 baking flour.
- If using salted butter, omit the kosher salt.
- In place of the vegetable oil, you can use canola, avocado, or (melted) coconut oil.
- You can use any milk you have on hand, including plant-based milk.
- In place of the heavy cream, you can use half-and-half.
Tips for the Best Letter to Santa Cake
- Use the spoon-and-level method to measure the flour to ensure the cake will not be dry.
- Do not overmix the batter; otherwise, your cake will come out tough and dry.
- Rotate the cakes halfway through baking to ensure they bake evenly.
- Let the cakes chill for at least 2 hours before frosting them.
- Use a very small piping tip (or cut a very small hole) to write on the cake more legibly.
- If you’re nervous about writing, print out your message on paper and trace it with frosting a few times to practice!
Add more customization to this Letter to Santa Cake by drawing a Christmas tree in icing on the bottom of the letter. A great way to create a perfect tree with frosting is to lightly press a tin cookie cutter into the frosted cake then remove it and trace around it with icing.

The kids will absolutely love this Dear Santa cake, especially if you let them help. It’s so fun to set out before everyone goes to bed the night before Christmas, and even more fun to eat!
If you make this recipe be sure to leave us a comment or rating. Enjoy!

Letter to Santa Cake Recipe

Email This Recipe
Enter your email and we’ll send the recipe directly to you!
Ingredients
For the Cake
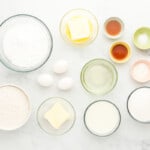
- 2½ cups all-purpose flour 350 grams
- 2 teaspoons baking powder 8 grams
- ½ teaspoon kosher salt
- ½ cup unsalted butter 115 grams, room temperature
- 1½ cups granulated sugar 300 grams
- ⅓ cup vegetable oil 67 grams
- 3 large eggs 150 grams, room temperature
- 1 tablespoon pure vanilla extract 12 grams
- 1 cup milk 227 grams, room temperature
For the Frosting
- 3½ cups powdered sugar 420 grams
- 1 cup unsalted butter 227 grams, slightly melted (if cold from fridge, about 45 seconds in the microwave)
- 2 teaspoons pure vanilla extract 8 grams
- 1 tablespoon heavy cream optional, for consistency
- Gel food coloring red, black, and blue
Equipment
- Kitchen Scale (optional)
- 2 9-inch Square Cake Pan
- Stand Mixer
- Piping Tip Set (optional)
Instructions
For the Cake
- Preheat to 350°F. Spray two 9-inch square cake pans with nonstick spray and line the inside bottom of each pan with parchment paper. Set aside.
- In a medium bowl, whisk the flour, baking powder, and salt together. Set aside for now.2½ cups all-purpose flour, 2 teaspoons baking powder, ½ teaspoon kosher salt
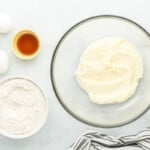
- In the bowl of a stand mixer fitted with the paddle attachment, beat the butter, granulated sugar, and vegetable oil together on high speed until well combined.½ cup unsalted butter, 1½ cups granulated sugar, ⅓ cup vegetable oil
- Add the eggs and vanilla extract into the wet mixture and beat until combined.3 large eggs, 1 tablespoon pure vanilla extract
- On low speed, beat half of the dry ingredients into the wet mixture. Do not overmix – mix just until you no longer see streaks of white flour in the batter.
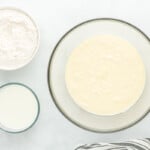
- Add all of the milk and beat on low speed until just combined.1 cup milk
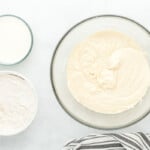
- Beat in the remaining dry ingredients. Again, do not overmix.
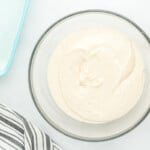
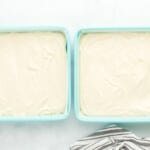
- Pour the cake batter evenly between both prepared cake pans. To ensure even baking time, try to split the mixture equally between both pans (about 615 grams per pan).
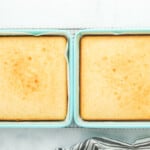
- Bake for 28-30 minutes, or until a toothpick inserted in middle comes out clean.
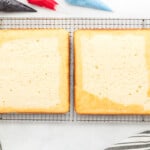
- Let cakes cool in pans for 15 minutes before removing cakes from pans then placing on wire racks to finish cooling. Be sure to let cakes cool completely before the next step.
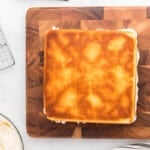
- Once cakes have completely cooled, use a large serrated knife to cut the dome tops off both cakes so they both have a flat top.
- Before frosting, cover cakes completely in food-safe plastic wrap and refrigerate for 2 hours. You’ll want the cakes to be firm before frosting so that they don’t crumble or tear while spreading frosting.
For the Frosting
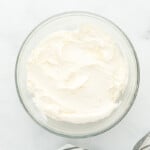
- In the bowl of a stand mixer fitted with the whisk attachment, beat the powdered sugar, butter, and vanilla extract on high speed until light and fluffy, about 5 minutes. If the frosting seems too thick to spread smoothly onto the cake, beat in a tablespoon of heavy cream.3½ cups powdered sugar, 1 cup unsalted butter, 2 teaspoons pure vanilla extract, 1 tablespoon heavy cream
- Place a bit of frosting (about 2 tablespoons spread thin) on a cake board or cake plate then place one cake (cut side facing up) on top of that frosting. This thin layer of frosting helps prevent the cake from sliding off the cake board or cake plate while you’re decorating it.
- Add a generous layer of frosting on top of that first layer then place the second layer (bottom facing up) on top of the first layer. You’ll now have a two-layer cake.
- Frost a thin layer of frosting around the top and sides of the cake. This first layer of frosting is called the “crumb coat”. This crumb coat is meant to secure all the crumbs to the cake so you don’t have crumbs showing in your final layer. To get the layers of frosting smooth, use a tool like a cake scraper to smooth the icing out.
- Place the lightly frosted cake in the freezer for 10 minutes so the crumb coat hardens up a bit before frosting the final layer.
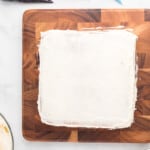
- Remove cake from freezer and frost the cake with the final layer of white frosting. Spread this layer as smoothly as you can using the cake scraper or angled offset spatula.
- Place about ⅓ cup of white frosting (make sure it’s an easily spreadable consistency) in each of 3 small bowls (each bowl will have ⅓ cup of frosting). Use gel food coloring to color one black, one blue, and one red. Place each of these colored frostings into tipless piping bags. Cut a small hole at the tip of each bag. You don’t want the hole too small or it will be hard to use it for straight lines. You also don’t want it too big that you’re unable to make lines and print with it.Gel food coloring
- Start by making blue lines – you can use a ruler to make sure the lines are evenly spread apart. Then do the red margin line. Then use the black to do the printing.
Notes
- For a gluten-free Letter to Santa cake, replace the all-purpose flour with an equal amount of gluten-free 1:1 baking flour.
- If using salted butter, omit the kosher salt.
- In place of the vegetable oil, you can use canola, avocado, or (melted) coconut oil.
- You can use any milk you have on hand, including plant-based milk.
- In place of the heavy cream, you can use half-and-half.
- Use the spoon-and-level method to measure the flour to ensure the cake will not be dry.
- Do not overmix the batter; otherwise, your cake will come out tough and dry.
- Rotate the cakes halfway through baking to ensure they bake evenly.
- Let the cakes chill for at least 2 hours before frosting them.
- Use a very small piping tip (or cut a very small hole) to write on the cake more legibly.
- If you’re nervous about writing, print out your message on paper and trace it with frosting a few times to practice!



Leave a Review