
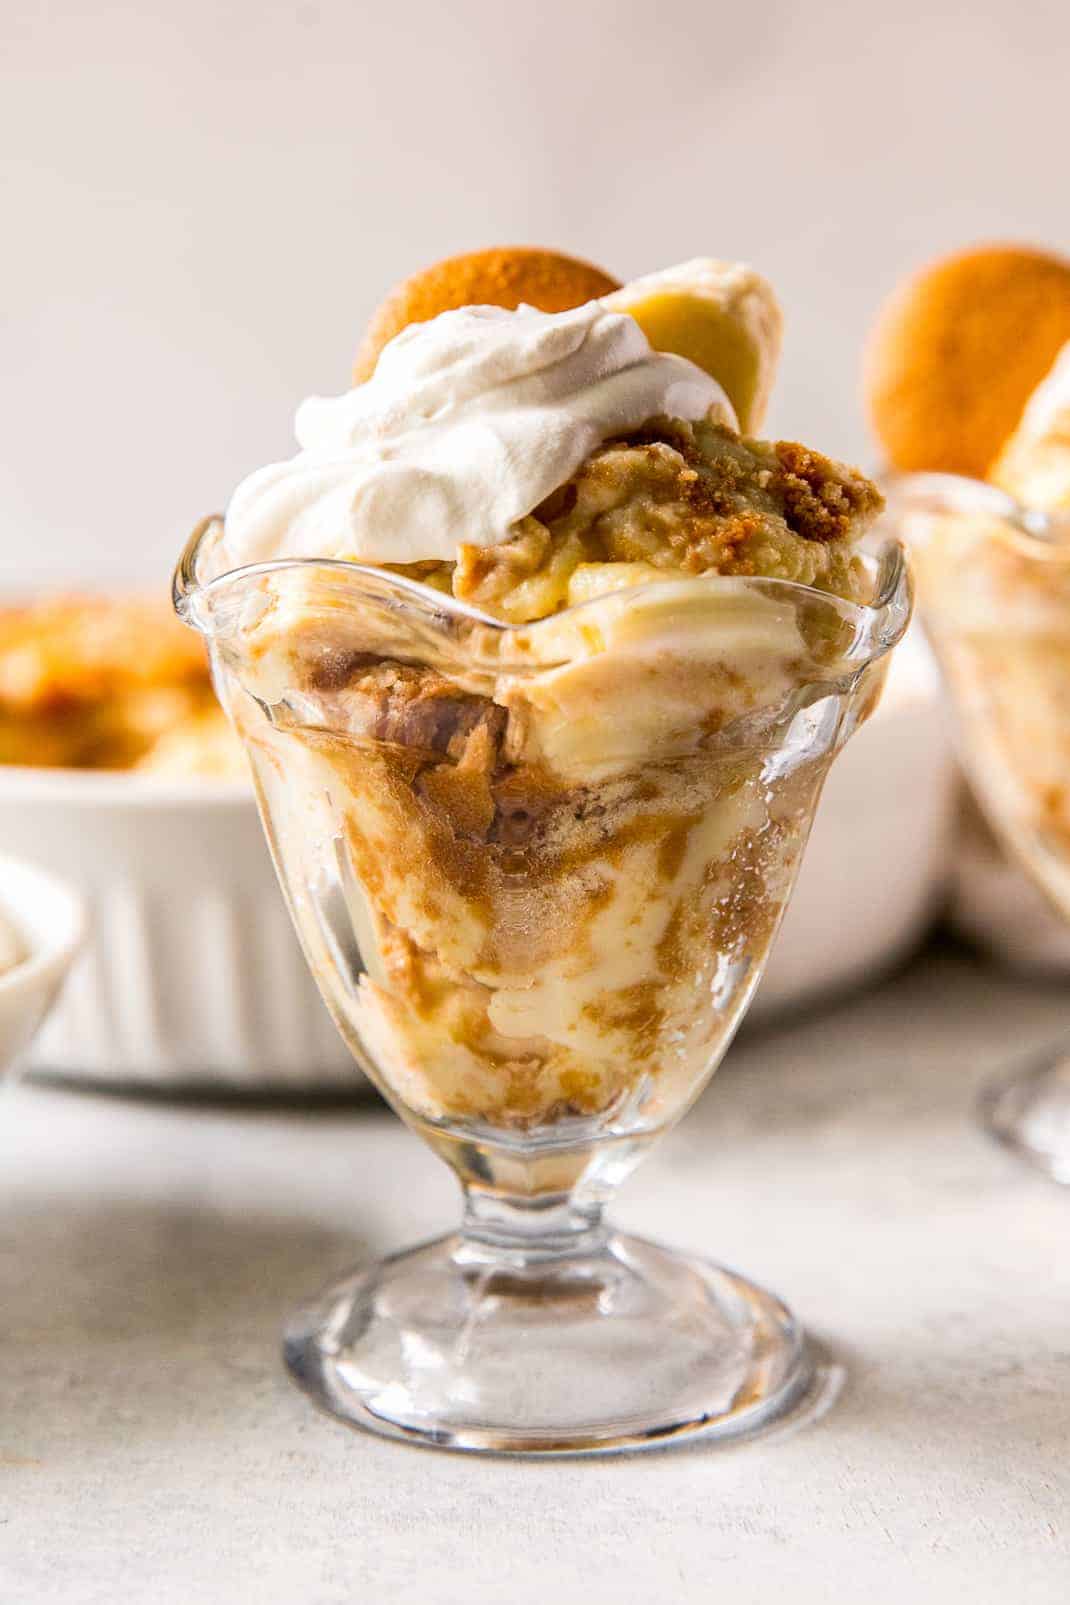
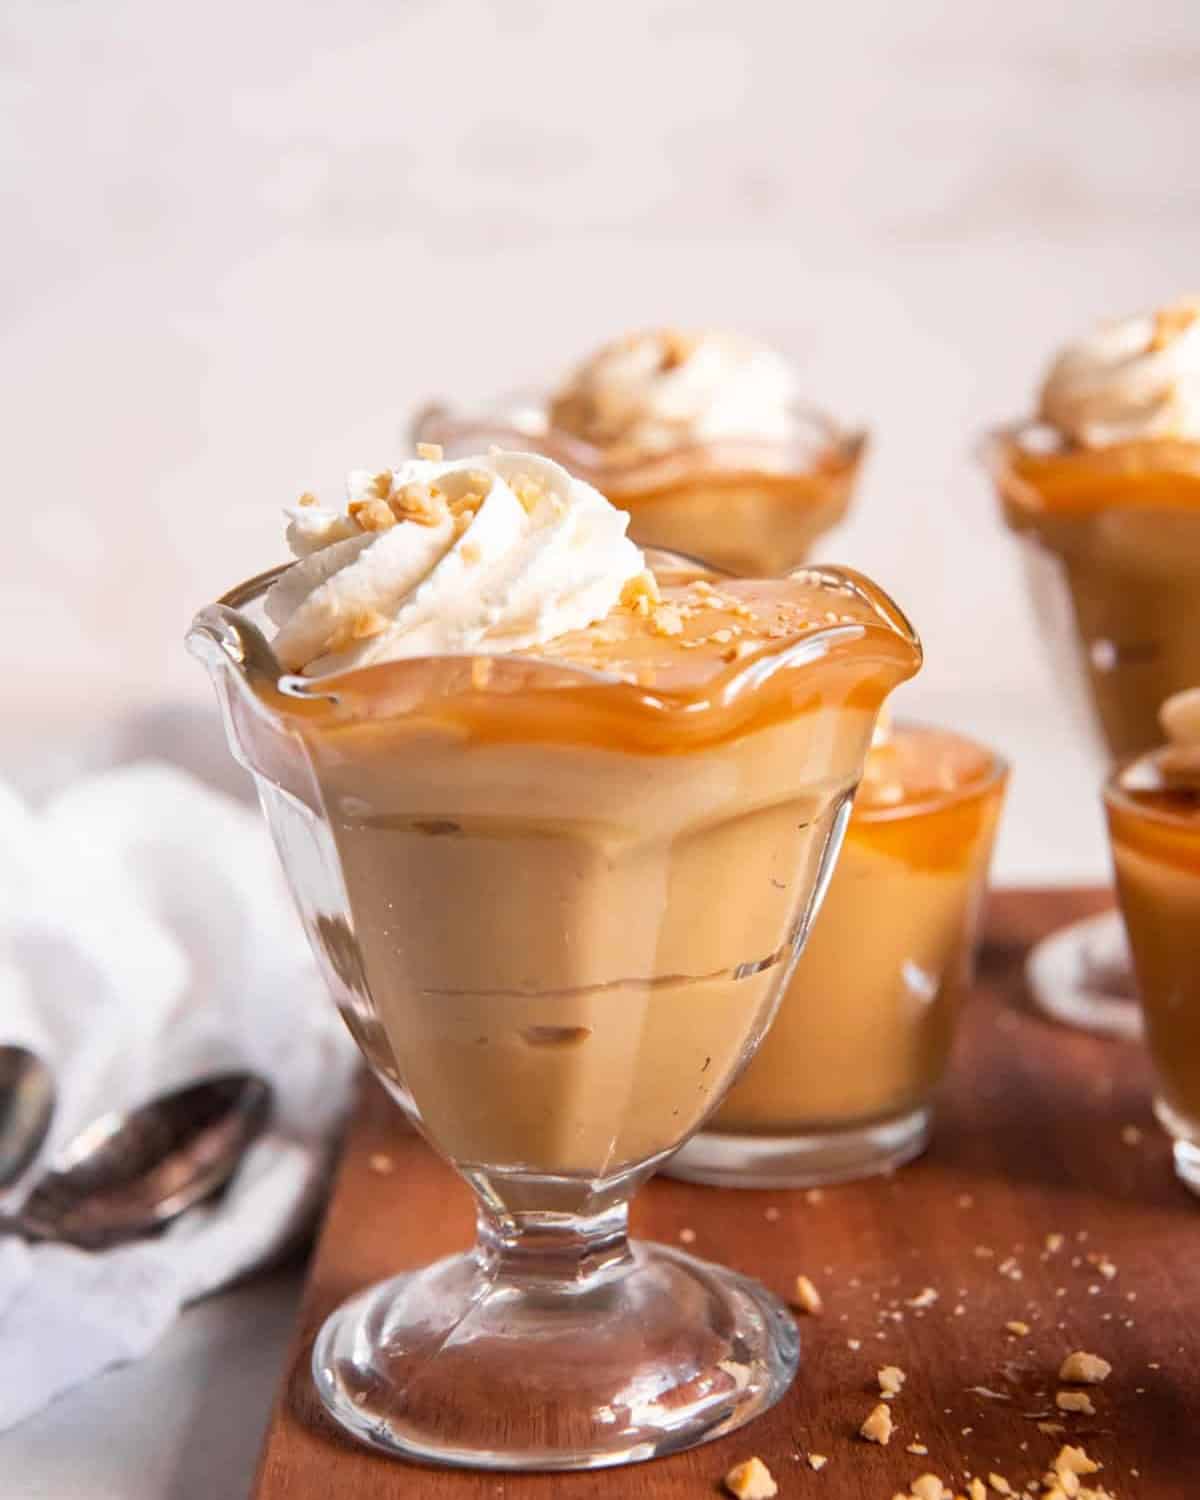
Banana pudding is a classic for a reason, and I’m glad it’s so easy to make from scratch! With just a handful of basic ingredients, I can whip up this creamy homemade pudding in 30 minutes for holidays or family gatherings. Layering the silky vanilla custard into cups with fresh bananas slices, vanilla wafers, and whipped cream makes the simplest dessert that’s sure to please!
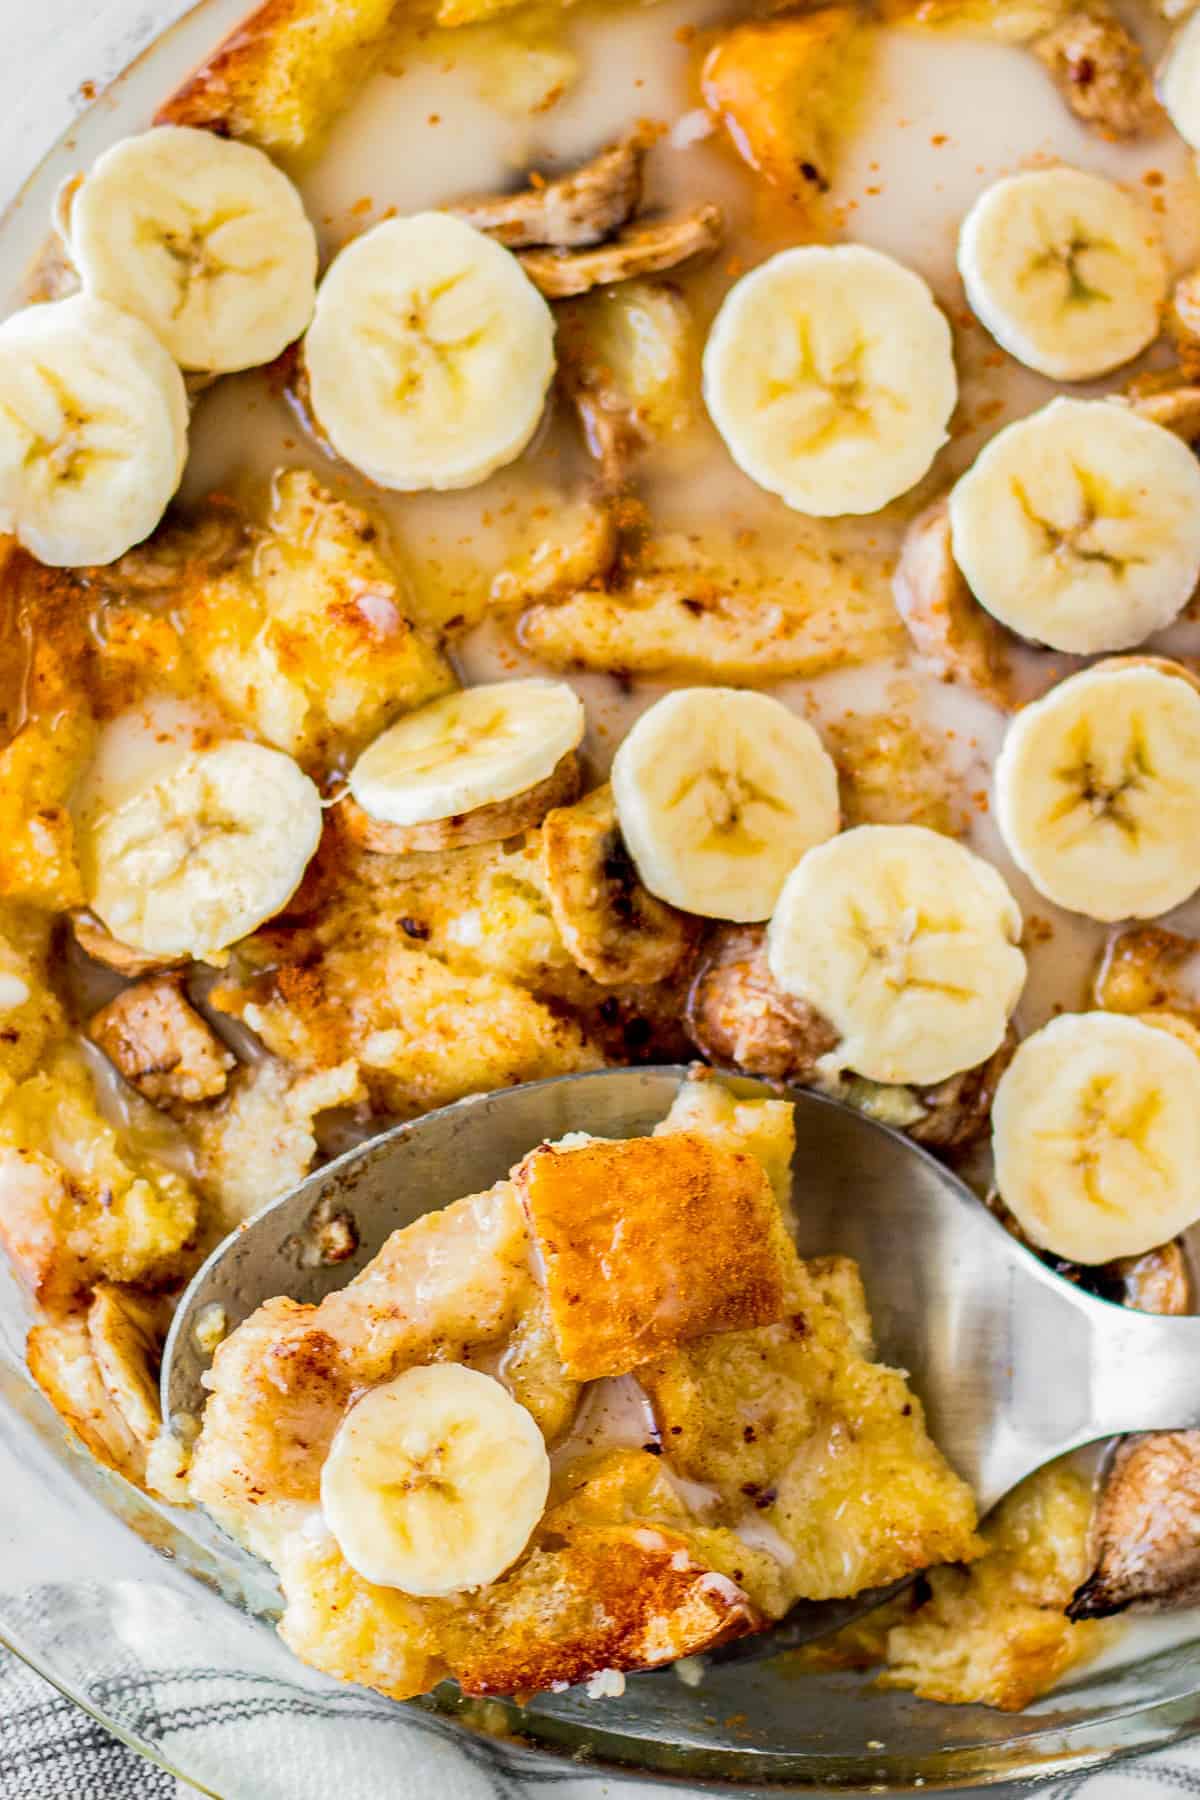
Homemade Pudding Layered with Fresh Bananas and Vanilla Wafers
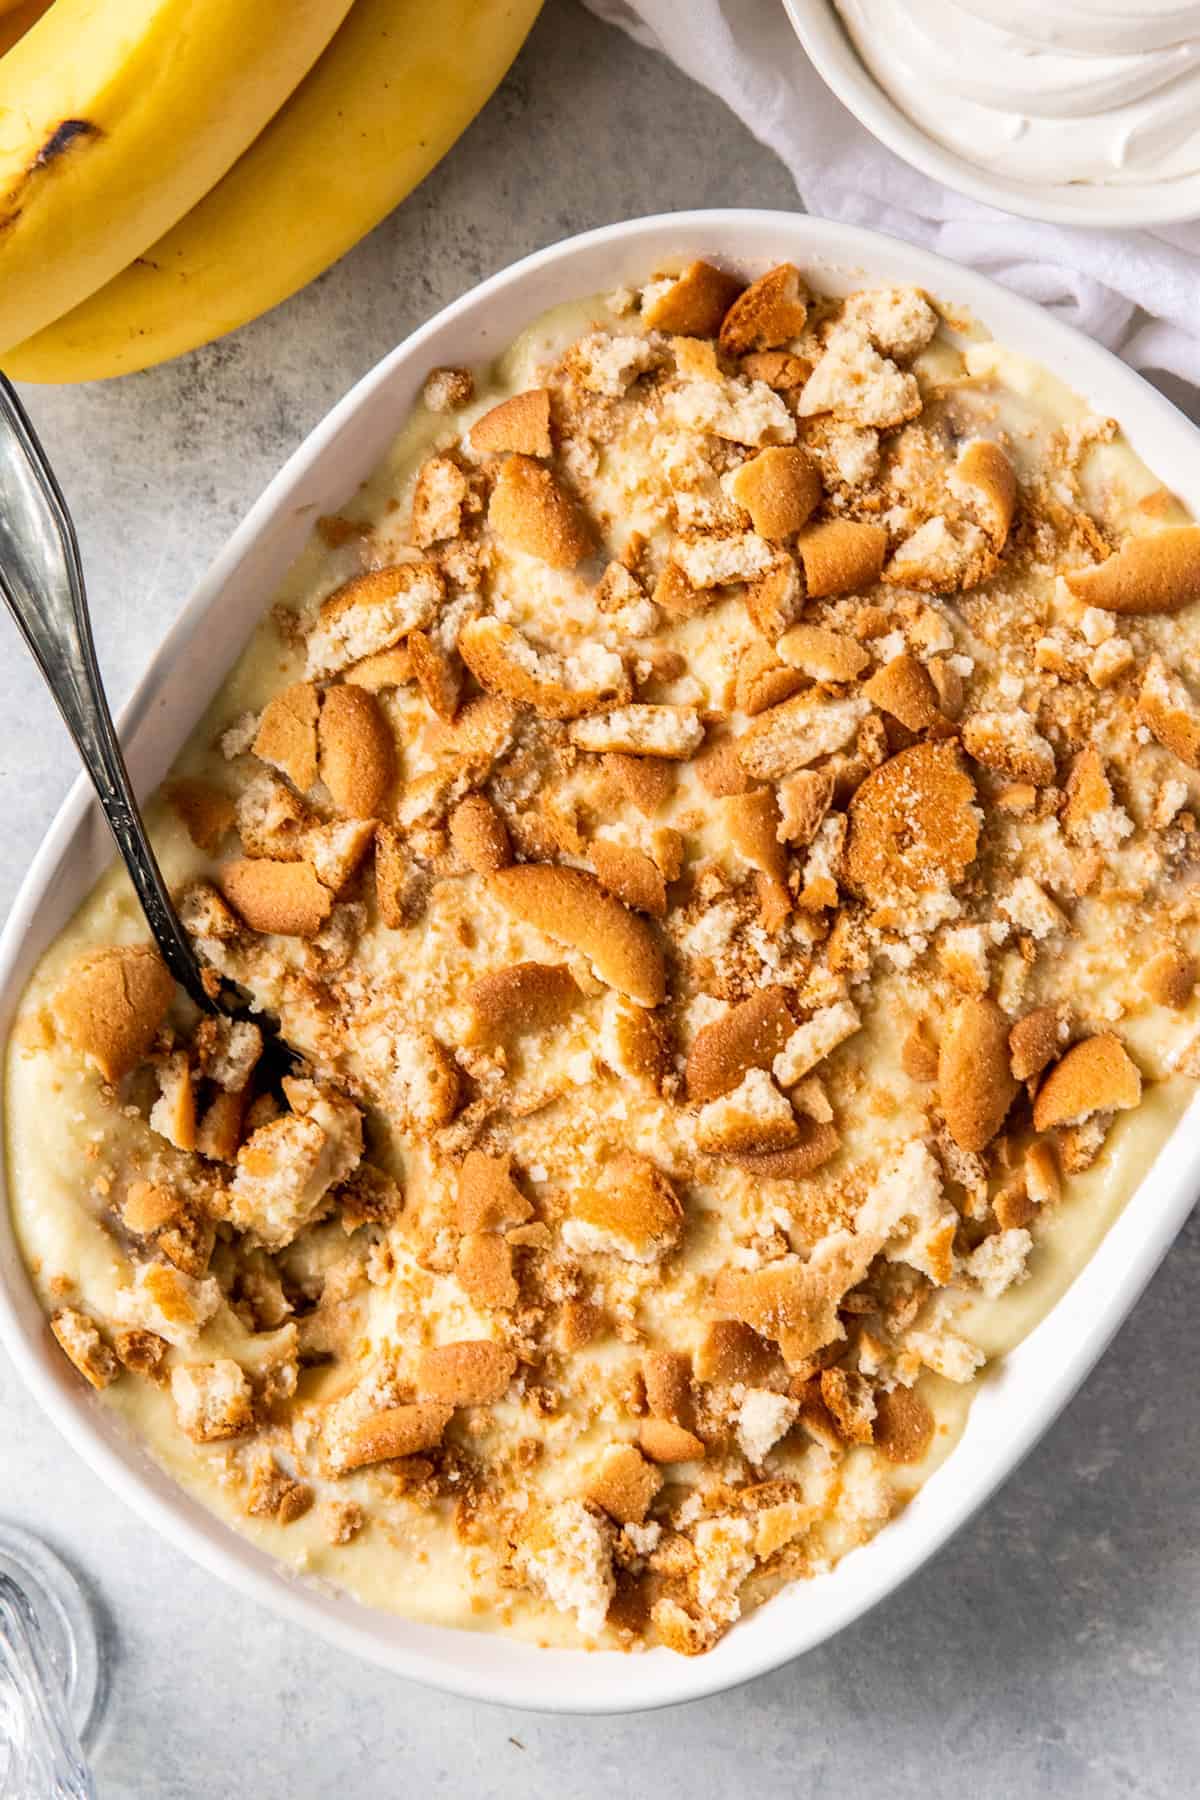
I’m no stranger to boxed pudding mixes, but when I realized how easy it is to make banana pudding without the box, I decided to go the homemade route instead. I start by whisking together a simple vanilla-flavored custard on the stovetop until it’s nice and thick. Once it’s had a few minutes to cool, I layer it with fresh ripe bananas and crushed vanilla wafer cookies. That’s all there is to it! This banana pudding is fine to chill until it’s ready to serve, so you don’t have to scramble to assemble it while everyone is waiting. Trust me, you’ll never rely on the pre-made stuff again!

Email this Recipe
Enter your email and we’ll send the recipe directly to you!
By submitting this form, you consent to receive emails from Easy Dessert Recipes.

Homemade Banana Pudding Recipe
Equipment
- Kitchen Scale (optional)
- 9×13 Baking Pan
Ingredients
- 4 large eggs room temperature
- ½ cup granulated sugar
- 3 tablespoons all-purpose flour
- ½ teaspoon kosher salt
- 2½ cups whole milk
- 2 tablespoons unsalted butter (¼ stick)
- 1 teaspoon pure vanilla extract
- 40 vanilla wafers
- 4 ripe bananas sliced crosswise
- Whipped cream for serving
Instructions
- Separate the yolks from the whites of 3 of the eggs. Set aside the whites for another recipe. Add the remaining whole egg to the yolks and whisk well.4 large eggs

- In a large saucepan, whisk together the sugar, flour, and salt. Whisk in the milk. Cook over medium heat, stirring frequently, until it begins to bubble and thicken.½ cup granulated sugar, 3 tablespoons all-purpose flour, ½ teaspoon kosher salt, 2½ cups whole milk
- Remove from heat and pour ½ cup of the milk mixture into the eggs, whisking constantly, to temper. Whisk the egg mixture back in the saucepan and return to medium-low heat, bringing it to a gentle boil.
- Cook over low heat for 2-3 minutes, whisking frequently. Remove from the stovetop and stir in the butter and vanilla. Allow the pudding to cool for 10-15 minutes.2 tablespoons unsalted butter, 1 teaspoon pure vanilla extract
- Spread a thin layer of the pudding in a shallow 9×13-inch baking pan. Place a layer of vanilla wafers on top of the pudding, then top with a layer of banana slices. Spread half of the remaining pudding over the bananas.40 vanilla wafers, 4 ripe bananas
- Continue layering wafers, bananas, and pudding, then top with crumbled wafers.
- When ready to serve, add a dollop of whipped cream to each serving.Whipped cream


Notes
- Gluten-Free: To make this recipe gluten-free, swap the all-purpose flour for a 1:1 gluten free flour blend and use gluten-free vanilla wafers.
- The most important time for thickening your pudding is during the cooking process. The longer you heat and whisk in the saucepan, the thicker the milk mixture will become (just don’t burn it).
- Cook the pudding on the stove, and let that fully cool before layering. Once you’ve combined everything, you can serve it immediately (no chilling necessary). But 2 hours (or overnight) in the fridge will help it to set and thicken.
- After a couple of days in the fridge, the bananas may start to brown a little. If you plan to make it several days ahead, toss the bananas in some lemon juice to slow the browning process.
Stop Bananas from Browning
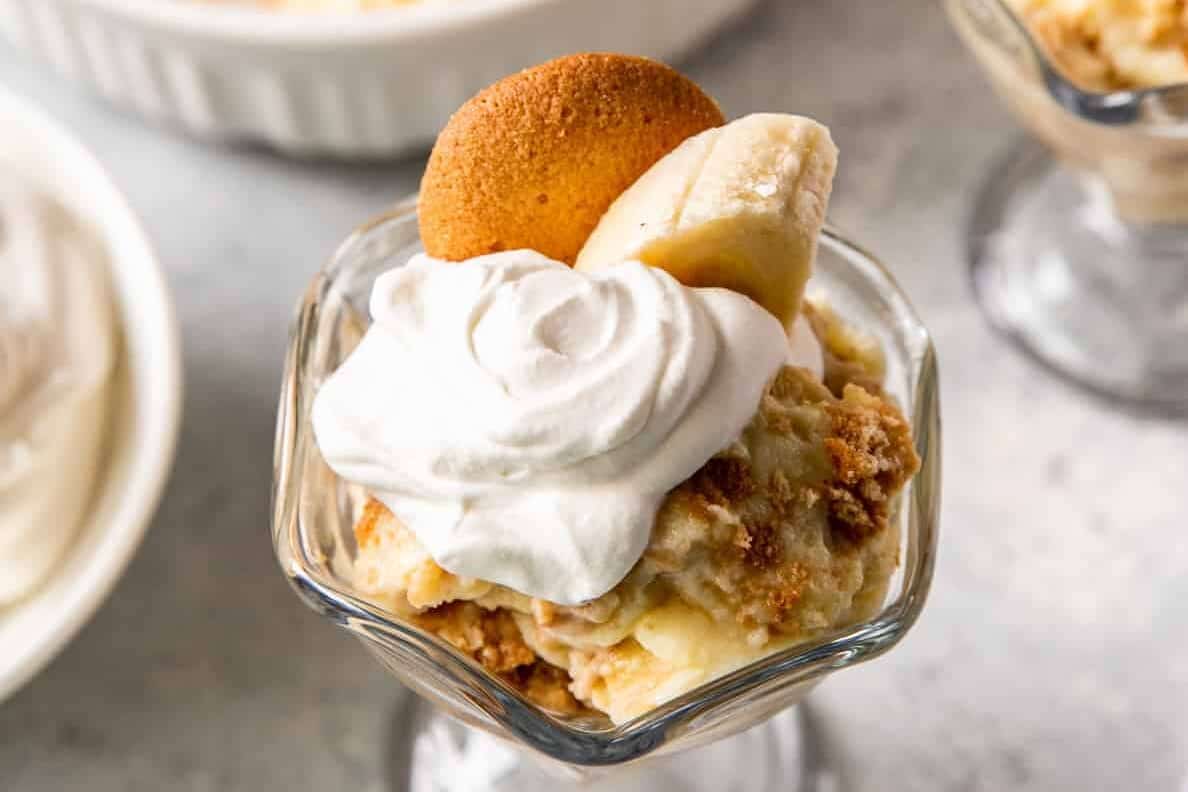
For a perfectly sweet pudding parfait, I choose yellow bananas (no more green on the peel) that are just starting to spot. I don’t want them quite as ripe as what I’d use for banana bread, though. And to keep the bananas from browning after adding them to the layered pudding, I squeeze them with some lemon juice first.
How to Store
Store banana pudding tightly covered with a layer of plastic wrap pressed onto the surface, in the refrigerator for up to 3 days. It tastes great chilled!
If you’d like to freeze this dish, I recommend freezing only the pudding (not layered with the wafers and fresh bananas) in an airtight container for up to 1 month. Let thaw overnight in the refrigerator before layering and serving.


Leave a Reply