
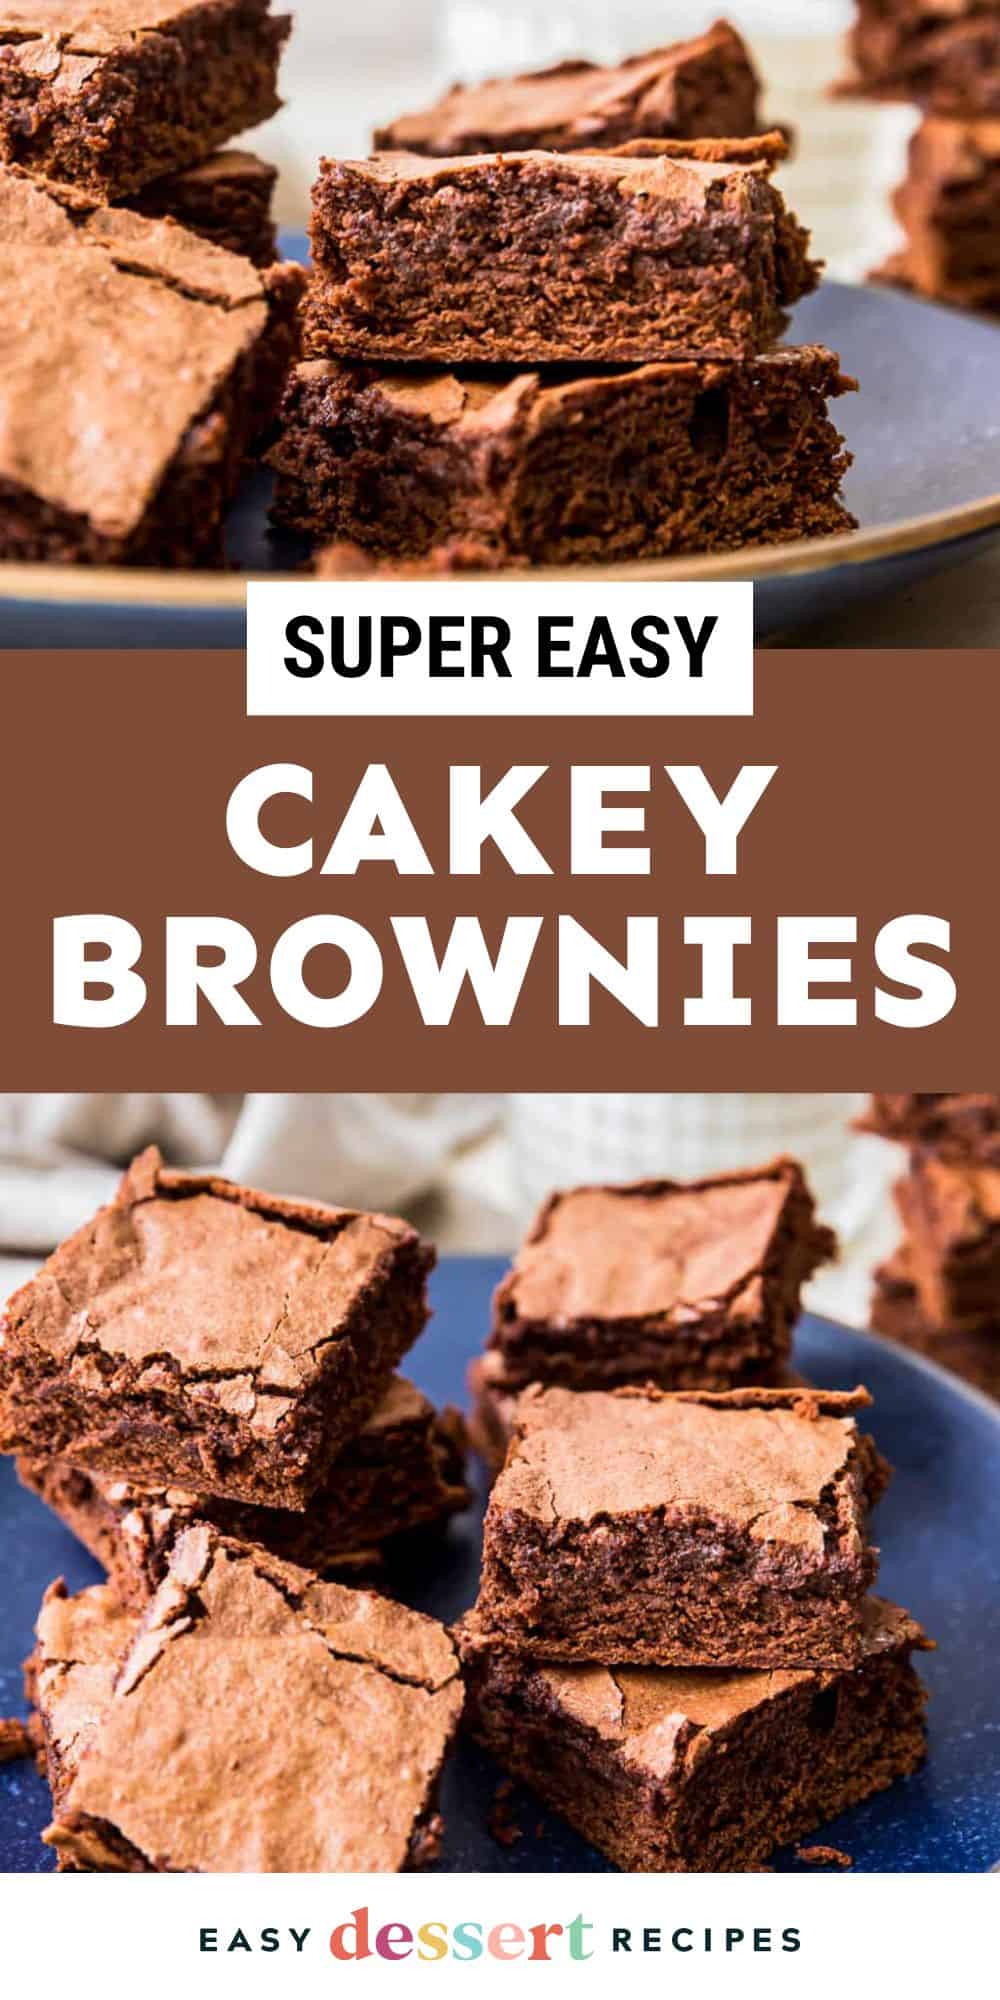
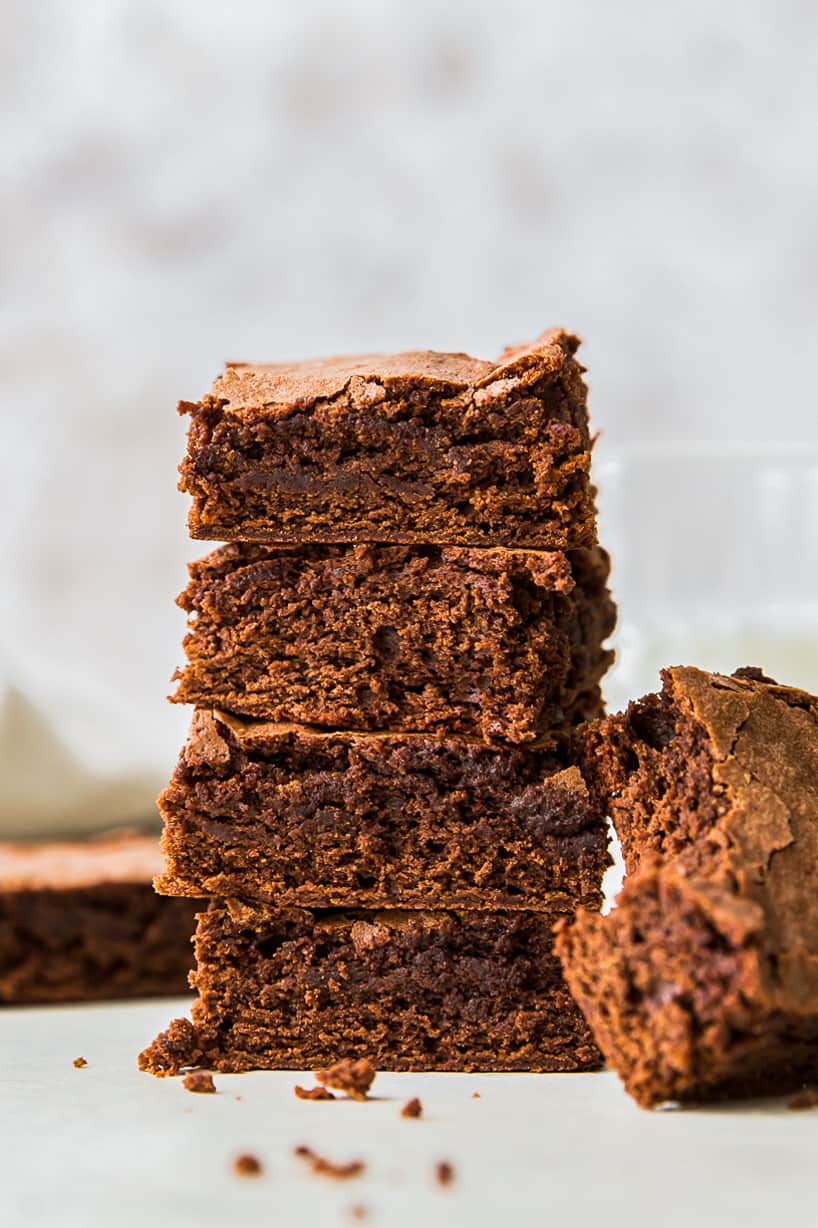
There’s always been a fierce debate: should brownies be dense and fudgy or light and cakey? While I love a rich, gooey brownie, sometimes I want something a little more lifted. These cakey brownies are tall, chocolatey, and irresistibly soft, like the perfect cross between a fudgy brownie and a slice of chocolate cake.

Top Reader Review
I’ve made these 3 times now and they are so good. I usually omit the coffee in chocolate but I followed the recipe and added it and it definitely gives it a little different flavor I was wanting. The first time I made them I cut into them too soon and they flattened, definitely make sure they are cooled before cutting into them. They are both fudgy and cake like, I’ve had lots of compliments and made them for my daughter’s graduation party.![]()
–
Fluffy Cake Like Brownies
If you’ve never tried cakey brownies from scratch, you’re in for a treat. I make my cake brownies with cocoa powder and a little melted chocolate for a rich flavor that’s never dry or bland. To achieve that perfect fluffy texture, I use less fat and whisk in the eggs while the chocolate is still warm to aerate the batter. A little baking powder gives these cake like brownies just the right amount of lift without making them crumbly.
But what really sets my fluffy brownie recipe apart is a touch of coffee. It boosts the chocolate flavor tenfold. But don’t worry; it won’t make them taste like mocha! Airy, chewy, and structured, these cake like brownies hold their shape beautifully. They’re great for layering in trifles, packing into lunchboxes, or just enjoying warm with a scoop of vanilla ice cream.

Email this Recipe
Enter your email and we’ll send the recipe directly to you!
By submitting this form, you consent to receive emails from Easy Dessert Recipes.
Temperature Matters
Want that light, cakey texture every time? Make sure your eggs are truly at room temperature before whisking them into the batter. I learned the hard way that cold eggs can ruin the texture. If they’re too chilly, the batter won’t aerate properly, and the brownies fall flat. I usually place my eggs in a bowl of warm water for 5-10 minutes to take the chill off fast.

Cakey Brownies Recipe
Equipment
- Kitchen Scale (optional)
- 8×8 Baking Pan
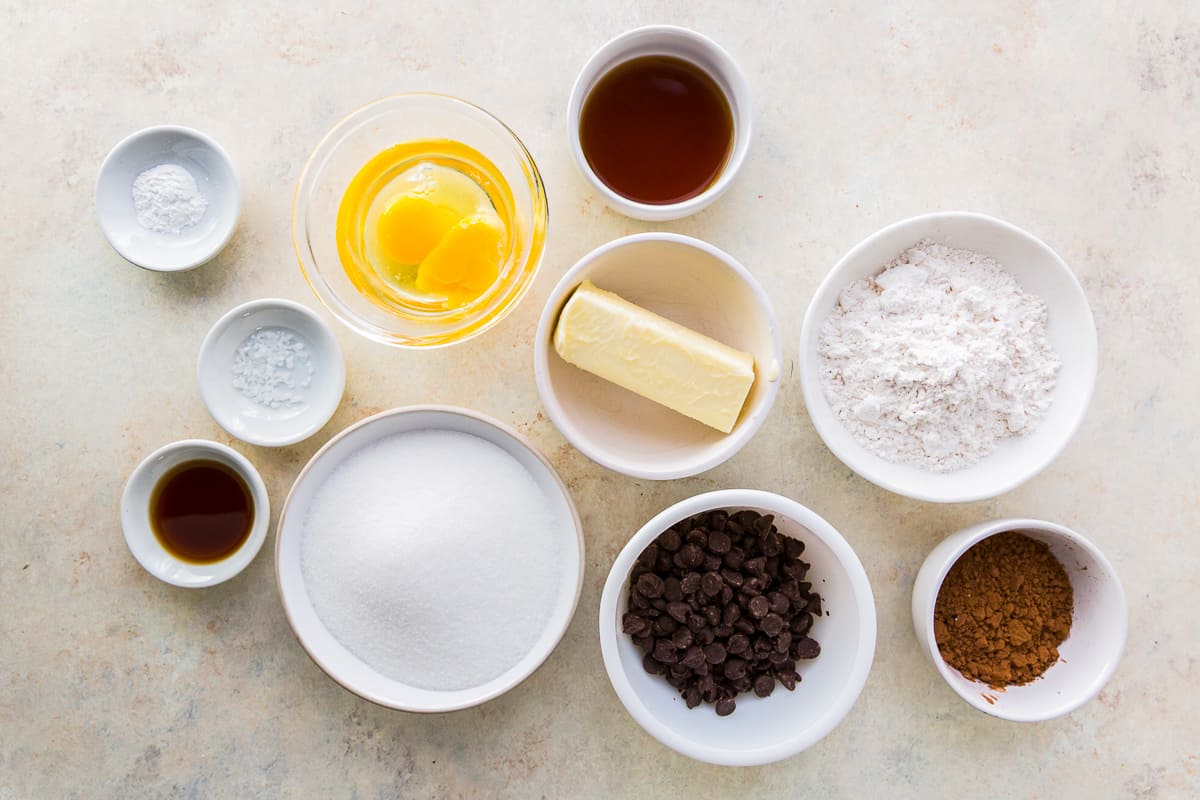
Ingredients
- 6 ounces dark chocolate chips
- 6 tablespoons unsalted butter (¾ stick)
- 1 cup granulated sugar
- 2 large eggs room temperature
- 2 tablespoons brewed black coffee hot (180-200°F)
- 2 teaspoons pure vanilla extract
- ¾ cup all-purpose flour
- ¼ cup unsweetened cocoa powder
- ½ teaspoon baking powder
- ½ teaspoon kosher salt
- ½ cup chocolate chips optional
- ½ cup chopped nuts optional
Instructions
- Preheat the oven to 350°F. Line an 8×8-inch baking pan with parchment paper. Set aside.
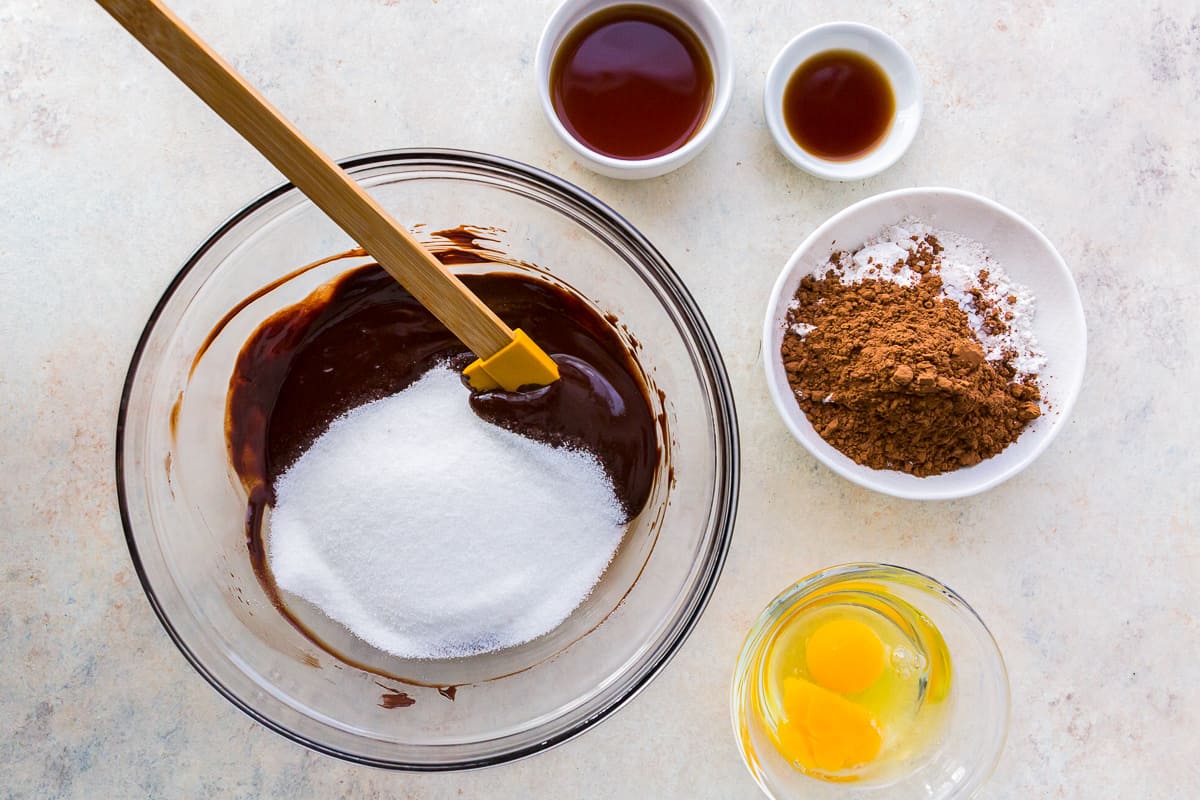
- Place the butter and chocolate chips in a heatproof glass bowl and microwave in 30-second intervals, stirring between each blast of heat, until smooth. Add the sugar and whisk well. Set aside to cool for about 5 minutes.6 ounces dark chocolate chips, 6 tablespoons unsalted butter, 1 cup granulated sugar

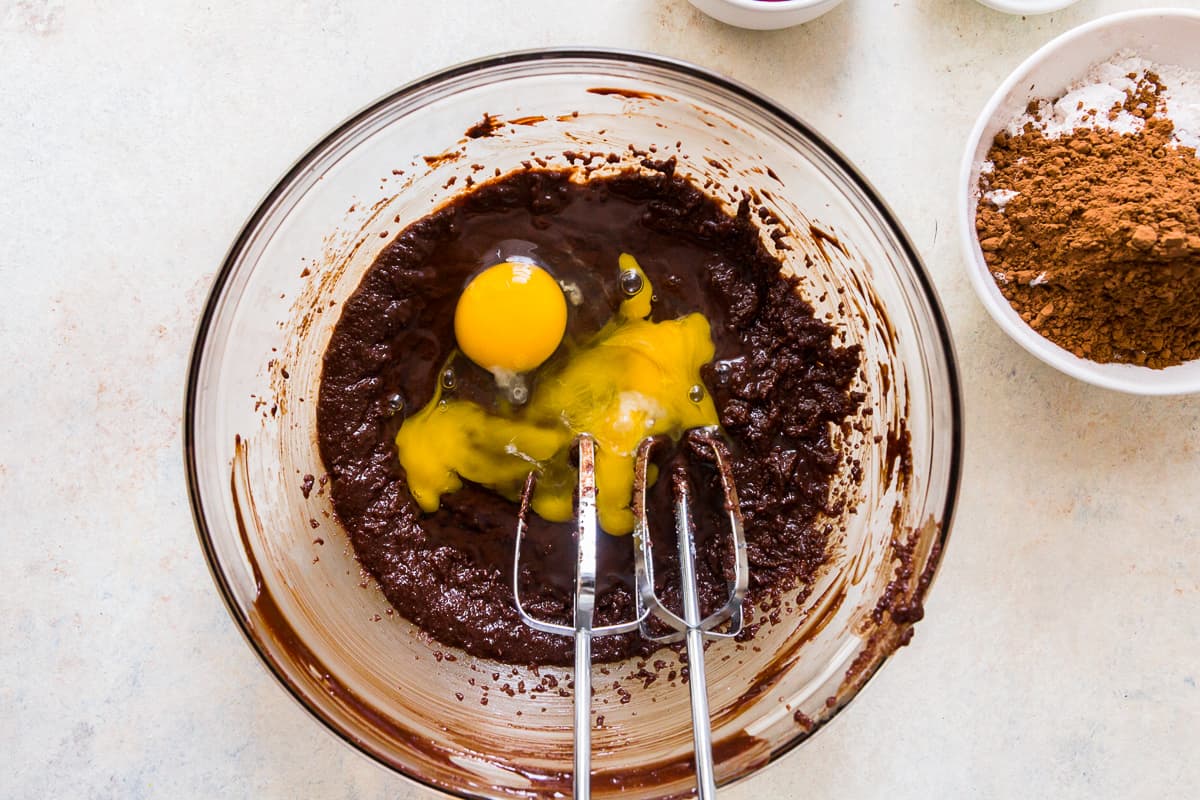
- Add the eggs to the cooled chocolate mixture and whisk well until the batter thickens.2 large eggs
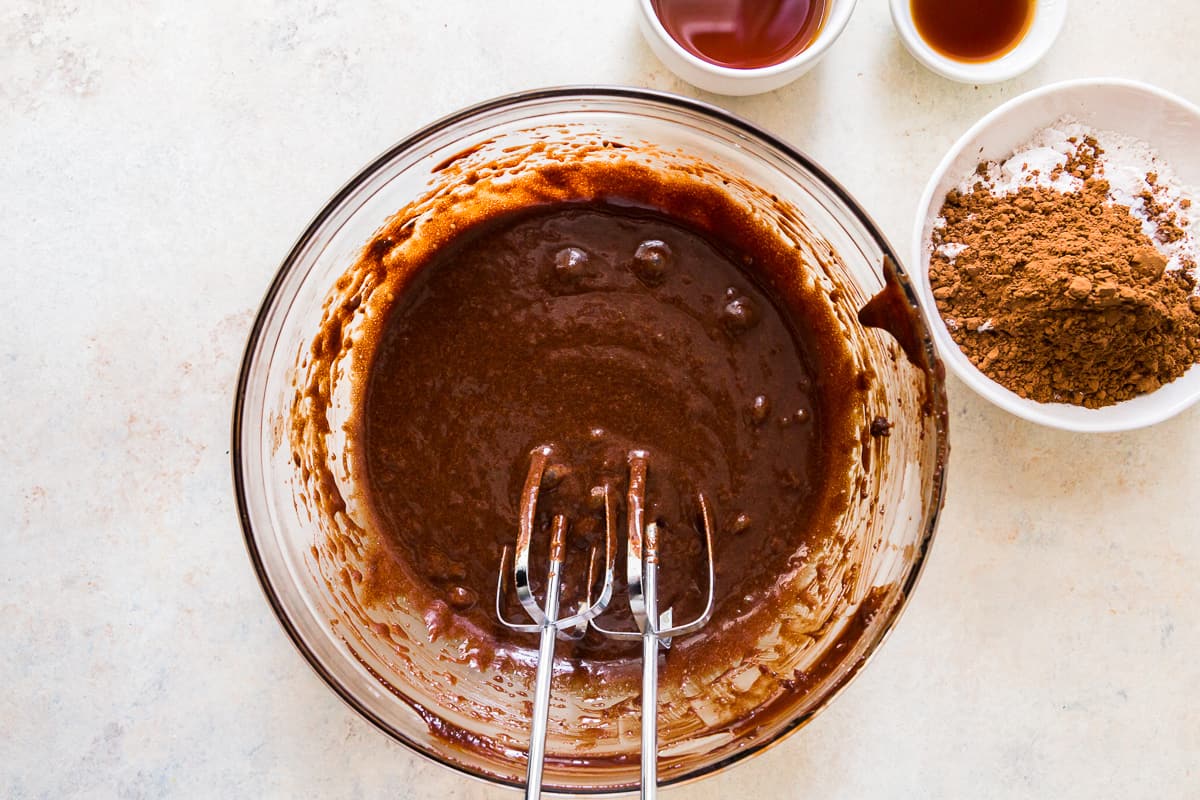
- Add the coffee and vanilla and mix until combined, about 1-2 minutes.2 tablespoons brewed black coffee, 2 teaspoons pure vanilla extract
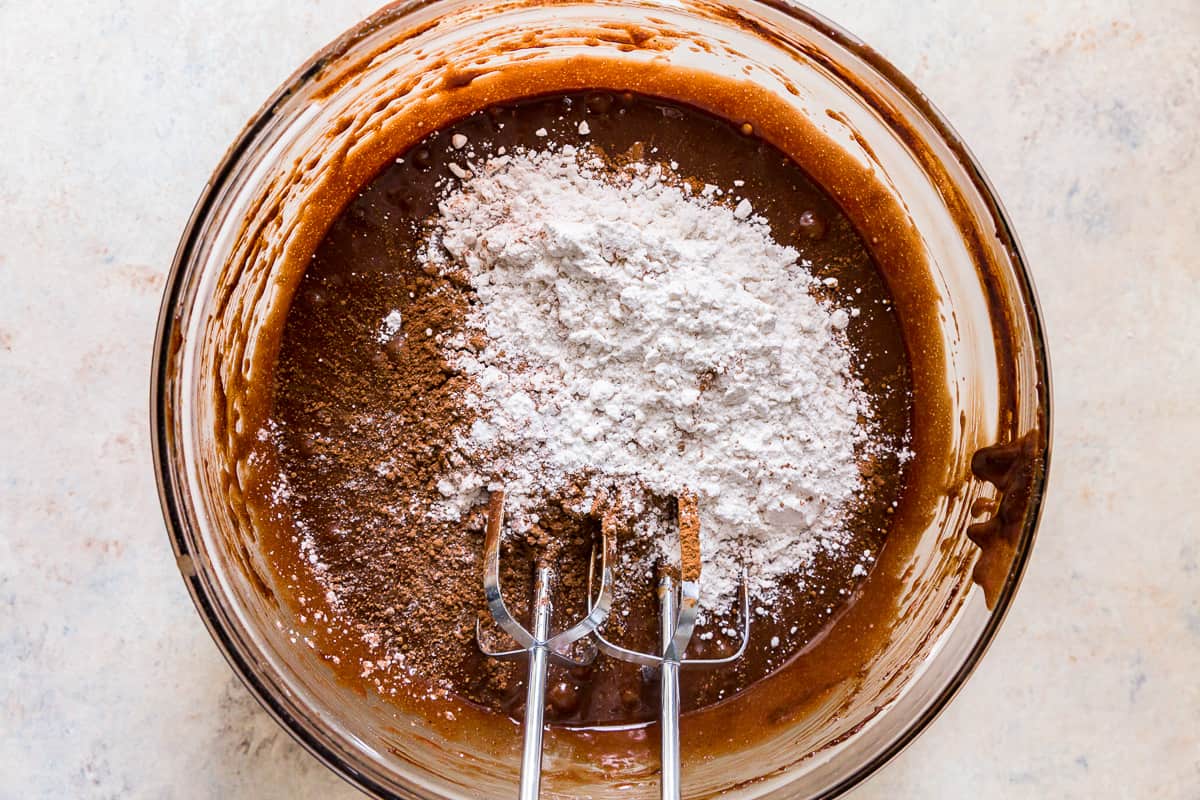
- Whisk in the flour, cocoa powder, baking powder, and salt until well combined.¾ cup all-purpose flour, ¼ cup unsweetened cocoa powder, ½ teaspoon baking powder, ½ teaspoon kosher salt
- Fold in nuts or chocolate chips, if using.½ cup chocolate chips , ½ cup chopped nuts
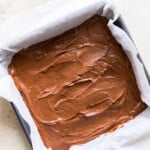
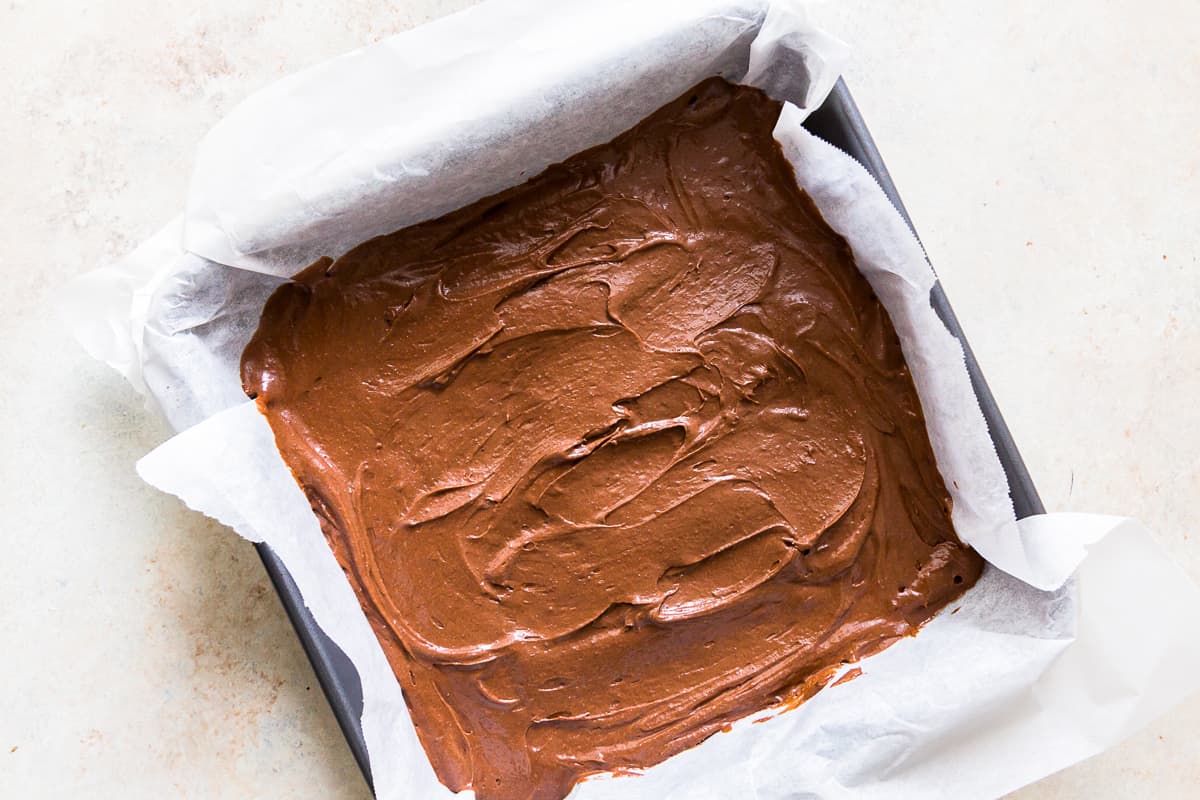
- Transfer the batter to the prepared baking pan.
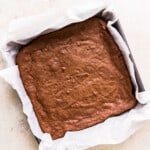
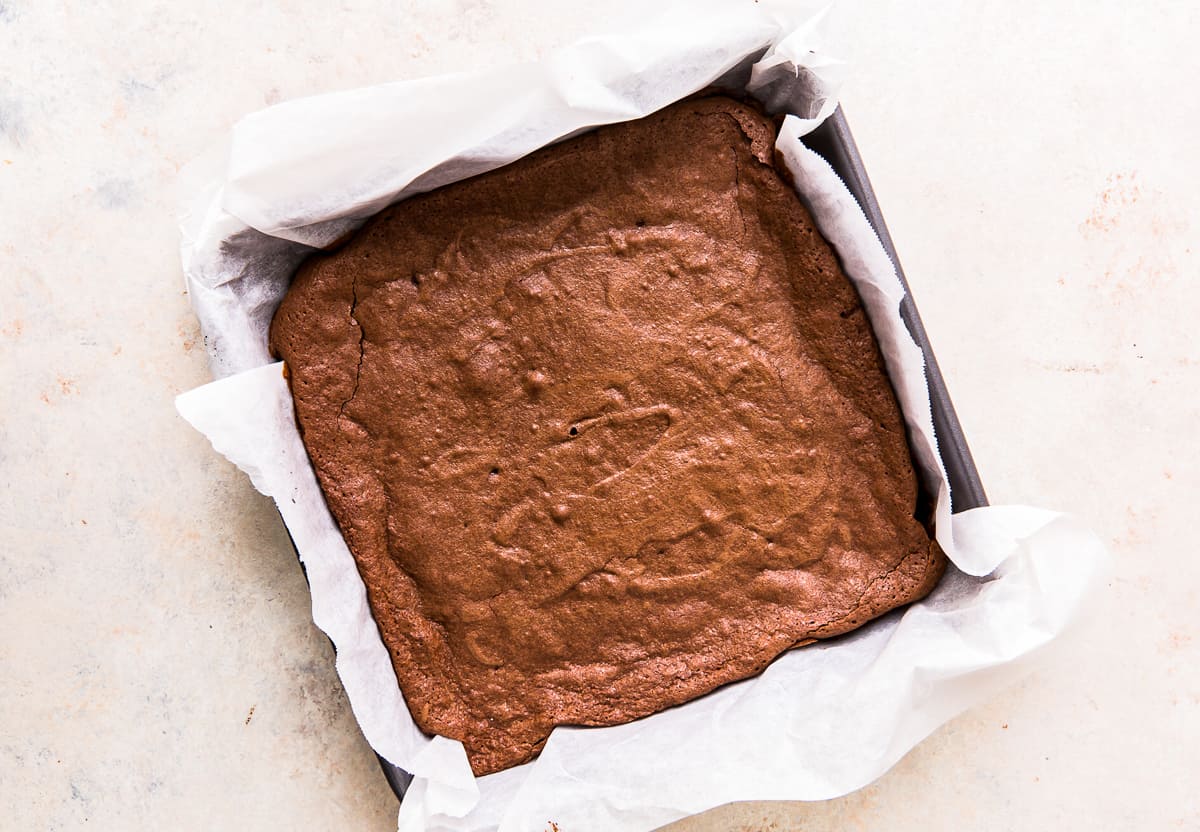
- Bake for 25-30 minutes until top is dry, then remove to cool completely.


Notes
- I beat my brownie batter with a hand mixer, but a regular old whisk will work just fine.
- To make sure you get that cakey texture, don’t skimp on the whisking. Whisking helps aerate the batter to create a fluffier brownie.
- If you want these cakey brownies to be even sweeter, use more chocolate chips than the recipe calls for. Or, use milk chocolate chips instead of dark chocolate chips.
- This recipe calls for baking powder! Don’t try to substitute with baking soda. It won’t have the same effect.
- The center of your brownies should be moist, but not necessarily gooey. You want to make sure that the batter is cooked and not still raw in the center before removing them from the oven. Do the toothpick test to make sure they are fully baked.
How to Make Cakey Brownies Step-by-Step
Prep: Gather and measure out all of your ingredients so they’re ready to use. Bring the eggs to room temperature. Preheat your oven to 350°F, line an 8×8-inch baking pan with parchment paper, and set aside. Go ahead and brew some coffee as well–it should be done (and still hot) by the time you’re ready to add it to the batter.
Melt the Chocolate: Place 6 tablespoons of unsalted butter and 6 ounces of dark chocolate chips in a heatproof glass bowl and microwave in 30-second intervals, stirring between each blast of heat, until smooth. Add 1 cup of granulated sugar and whisk well. Set aside to cool for about 5 minutes.
Add the Eggs: Add 2 large, room-temperature eggs to the cooled chocolate mixture and whisk well until the batter thickens.
Enhance the Flavor: Add 2 tablespoons of brewed coffee and 2 teaspoons of vanilla extract and mix until combined, about 1-2 minutes.
Mix the Batter: Whisk in ¾ cup of all-purpose flour, ¼ cup of unsweetened cocoa powder, ½ teaspoon of baking powder, and ½ teaspoon of kosher salt until well combined.
Fold in the Mix-Ins: Fold in ½ cup of chopped nuts or chocolate chips, if using. Transfer the batter to the prepared baking pan.
Bake the Brownies: Bake your cakey brownies for 25-30 minutes, until the top is dry, then remove them from the oven to cool completely in the pan.
How to Store
Store leftover cakey brownies in an airtight container at room temperature for up to 3 days, in the refrigerator for up to 1 week, or in the freezer for up to 3 months. Let thaw overnight in the refrigerator before enjoying at room temperature or gently reheated in the microwave.


Leave a Reply