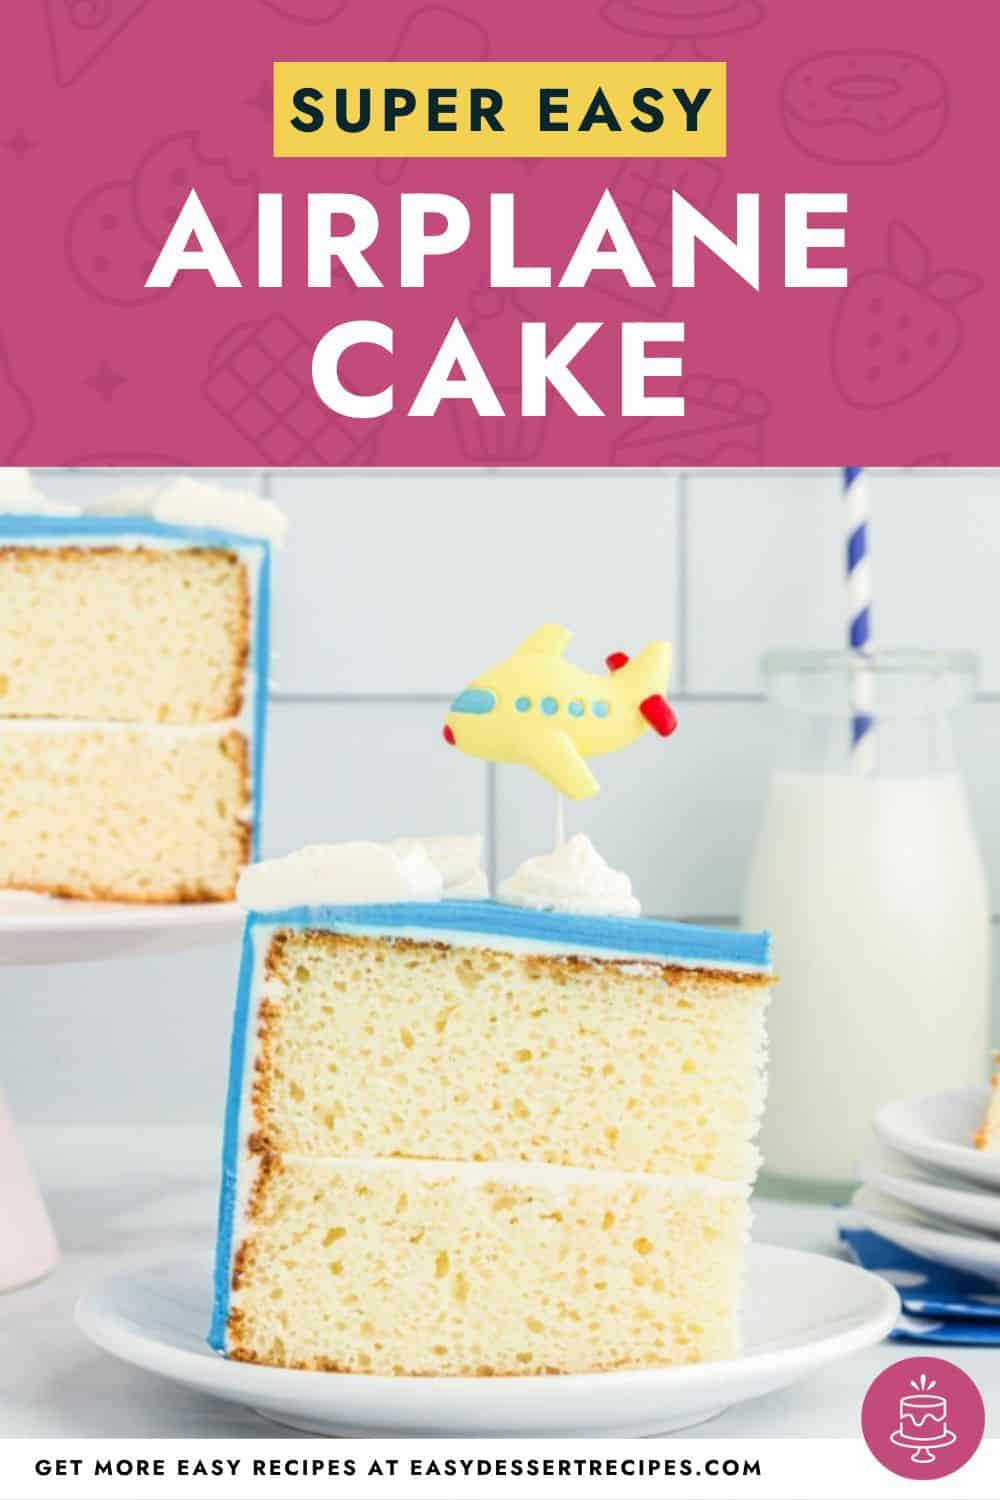

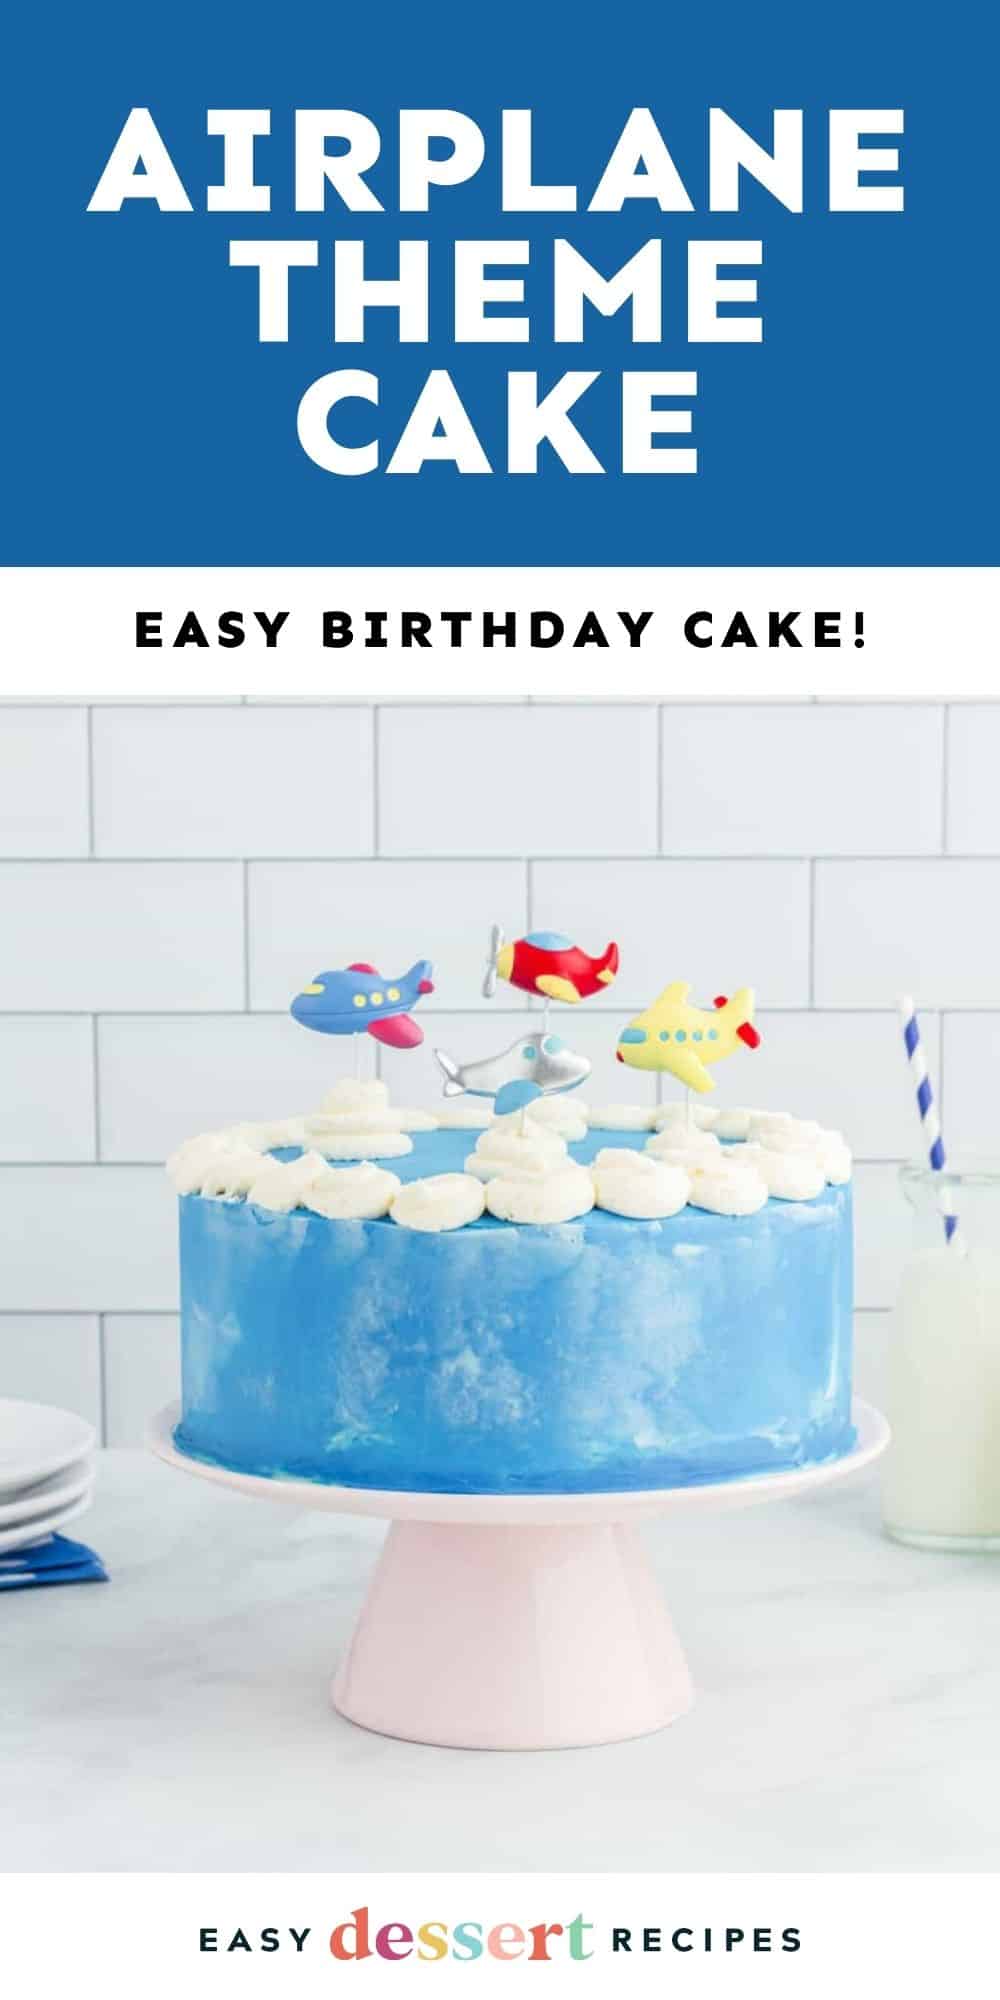
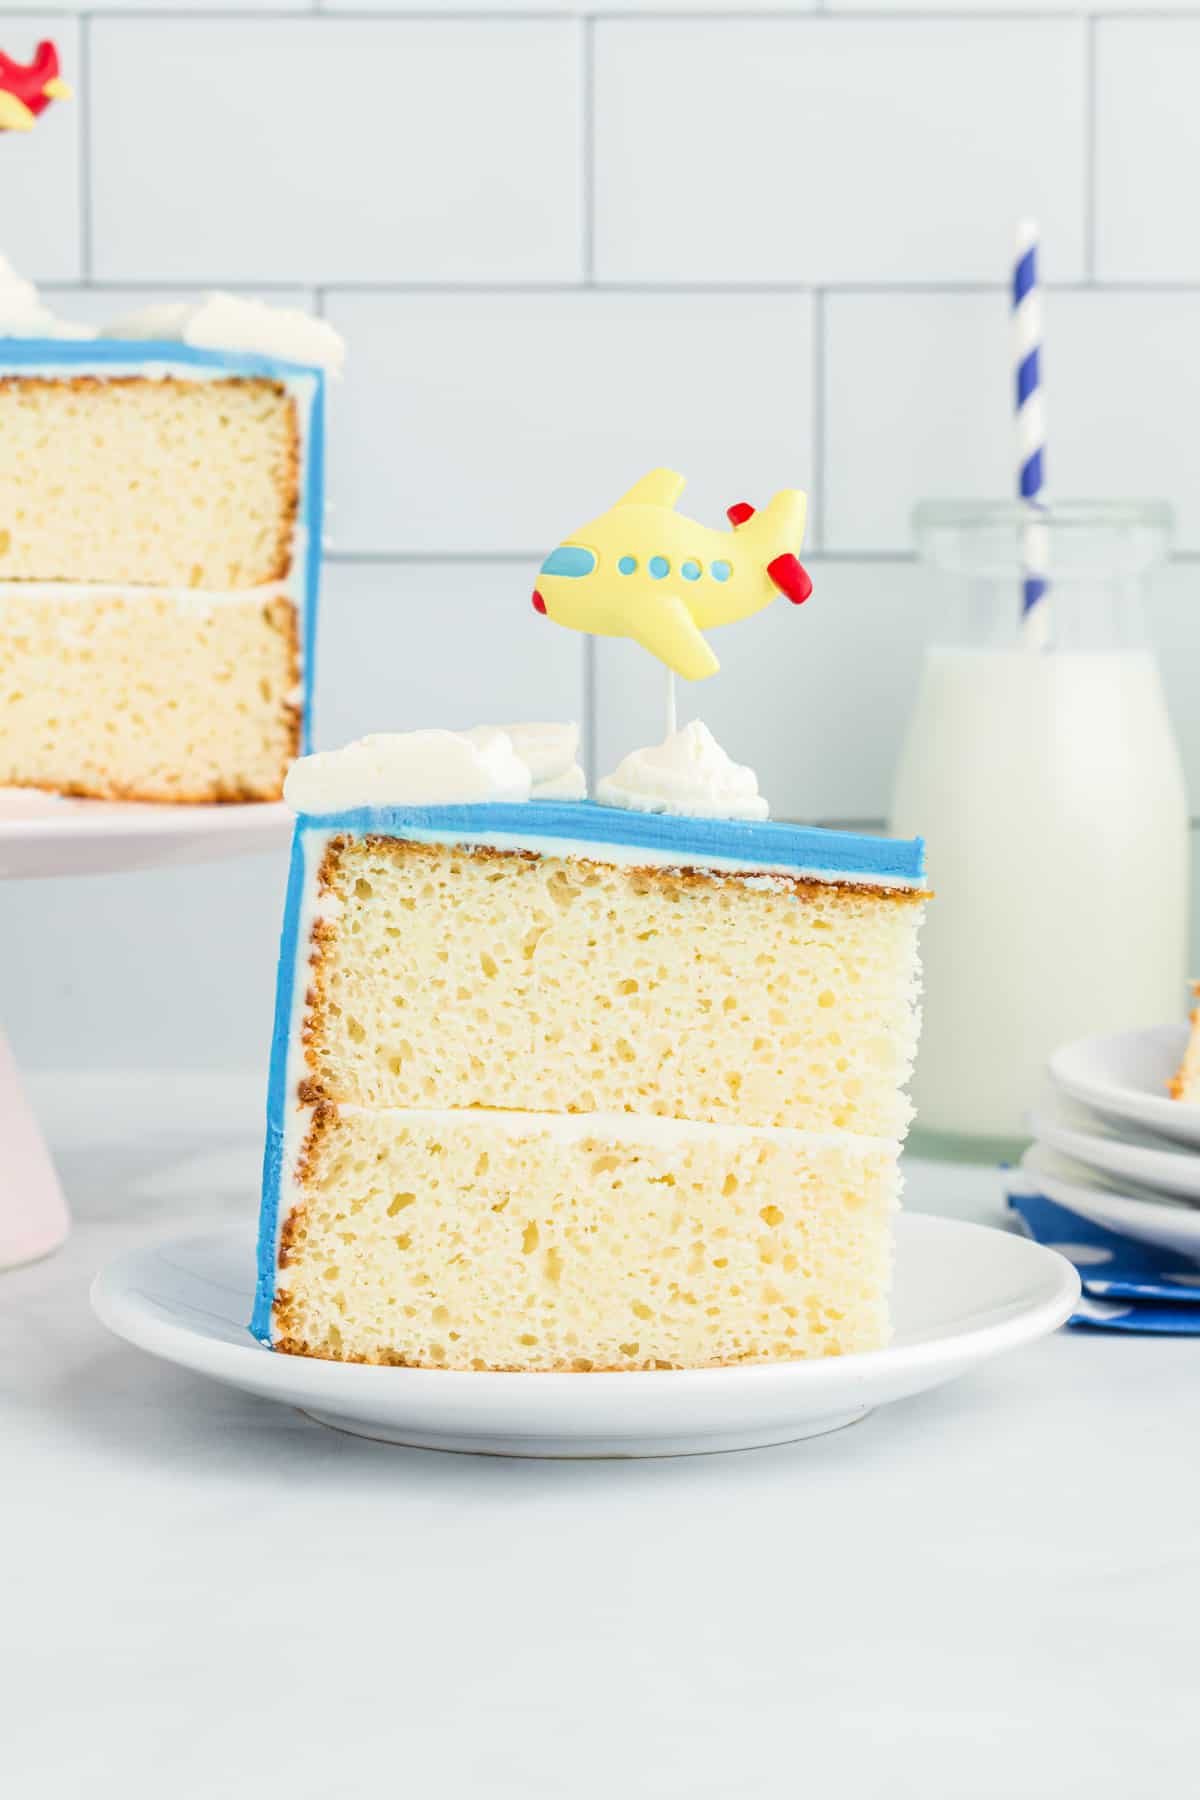
Both of my sons love trains, planes, and automobiles, but I’m no professional baker by any means. This airplane cake is quick, easy, and looks amazing with so little effort. I upgraded boxed vanilla cake mix with a few simple ingredients, layered it with an easy homemade buttercream, and decorated it with frosting clouds and pretty airplane cake toppers. It was such a hit at Henry’s birthday that I made it again the next year for Jack’s!

Airplane Cake Recipe
This airplane birthday cake was such a hit! I love that the cake was basically foolproof since I started with boxed cake mix. It turned out light, fluffy, and so moist thanks to my additions of sour cream and buttermilk. My three-ingredient buttercream frosting tastes so good and is so easy to work with, making this cake perfect for beginners.

Email This Recipe
Enter your email and we’ll send the recipe directly to you!
How to Store
Store leftover airplane cake tightly wrapped in plastic wrap or covered with a cake dome at room temperature for up to 2 days, in the refrigerator for up to 4 days, or in the freezer for up to 3 months. Let thaw overnight in the refrigerator before enjoying.
Tips for Success
- You can use any flavor cake mix you like, such as yellow, chocolate, strawberry, funfetti, or red velvet!
- Measure the flour using the spoon-and-level method to prevent a dense, floury cake.
- Do not use regular milk in place of buttermilk. The acid in the buttermilk is necessary to create a light, fluffy cake.
- Do not over-mix the batter, or else you will end up with a dense, rubbery cake!
- Do not skip chilling the cakes or they may begin to crumble apart when you frost them.
- If your buttercream looks curdled, it is likely too cold. Place the buttercream in a heat-proof bowl set over a pot of simmering water until the edges begin to melt, then whip again until it comes together.
- If you don’t have a piping tip set, you can place your frosting in a sealed Ziplock bag with one corner cut off to create a DIY piping bag!
- To create a solid base for decorating, place a bit of frosting onto the cake board/stand to secure the bottom layer of cake.
- Be sure to level the cakes by cutting off any domed parts to ensure that the cakes will stack evenly.
- Fill the cake with about ⅓ of the frosting, and save the rest for decorating.
- Crumb-coat the cake before frosting to catch any crumbs for a smoother appearance.
- The airplane cake toppers shown here can be found on Amazon
Airplane Cake Recipe
Ingredients
For the Cake
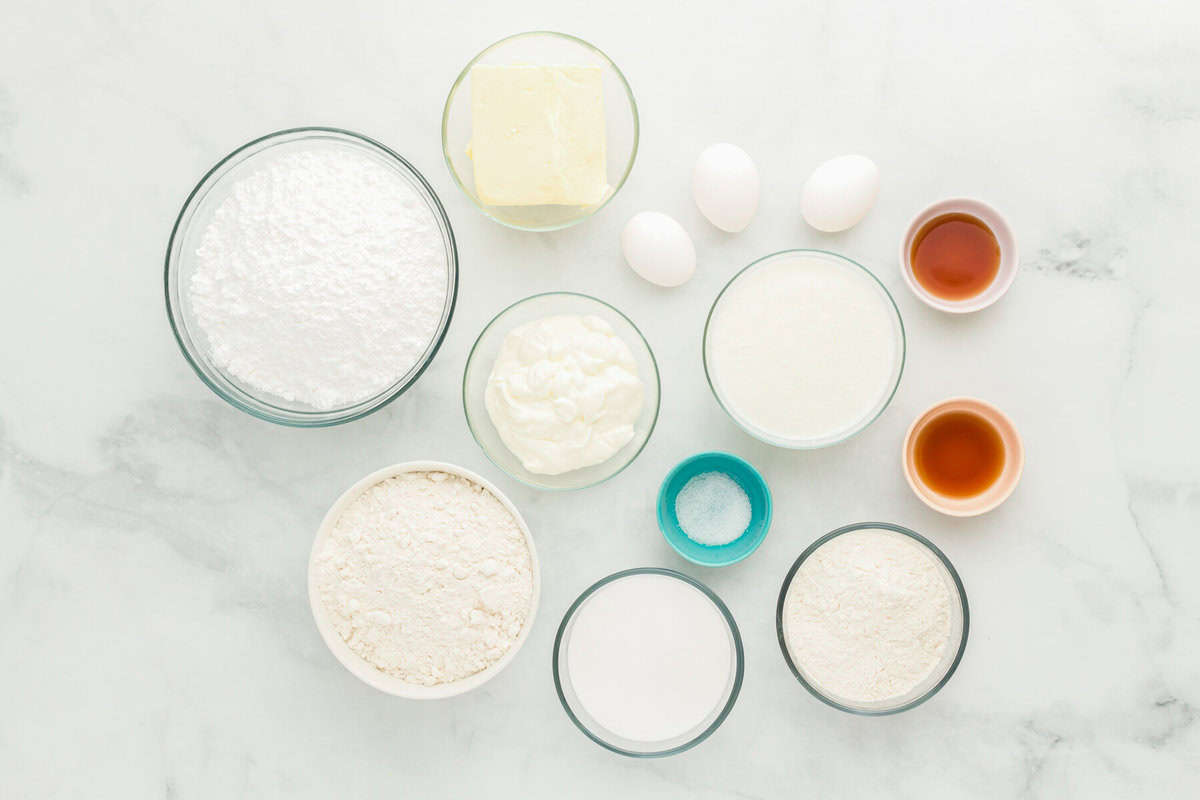
- 15.25 ounces white cake mix (1 box)
- 1 cup all-purpose flour
- 1 cup granulated sugar
- ½ teaspoon kosher salt
- 1½ cups buttermilk room temperature
- 1 cup full-fat sour cream room temperature
- 3 large eggs room temperature
- 2 teaspoons pure vanilla extract
For the Buttercream Frosting
- 5 cups powdered sugar
- 1½ cups unsalted butter slightly melted (3 sticks)
- 1 tablespoon pure vanilla extract
- Blue gel food coloring
Equipment
- Kitchen Scale (optional)
- 2 8-inch Round Cake Pan
- Hand Mixer
- Piping Tip Set
- Airplane Cake Toppers (click to buy)
Instructions
For the Cake
- Preheat oven to 350°F. Spray two 8-inch round cake pans with nonstick spray and line the inside bottom of each pan with parchment paper. Set aside.
- In a medium bowl, stir the dry cake mix, flour, granulated sugar, and salt together. Set aside for now.15.25 ounces white cake mix, 1 cup all-purpose flour, 1 cup granulated sugar, ½ teaspoon kosher salt

- In a separate large bowl, using a hand mixer, beat the buttermilk, sour cream, eggs, and vanilla extract together on high until well combined.1½ cups buttermilk, 1 cup full-fat sour cream, 3 large eggs, 2 teaspoons pure vanilla extract
- Beat the dry ingredients into the wet ingredients on high until smooth, about 1 minute.
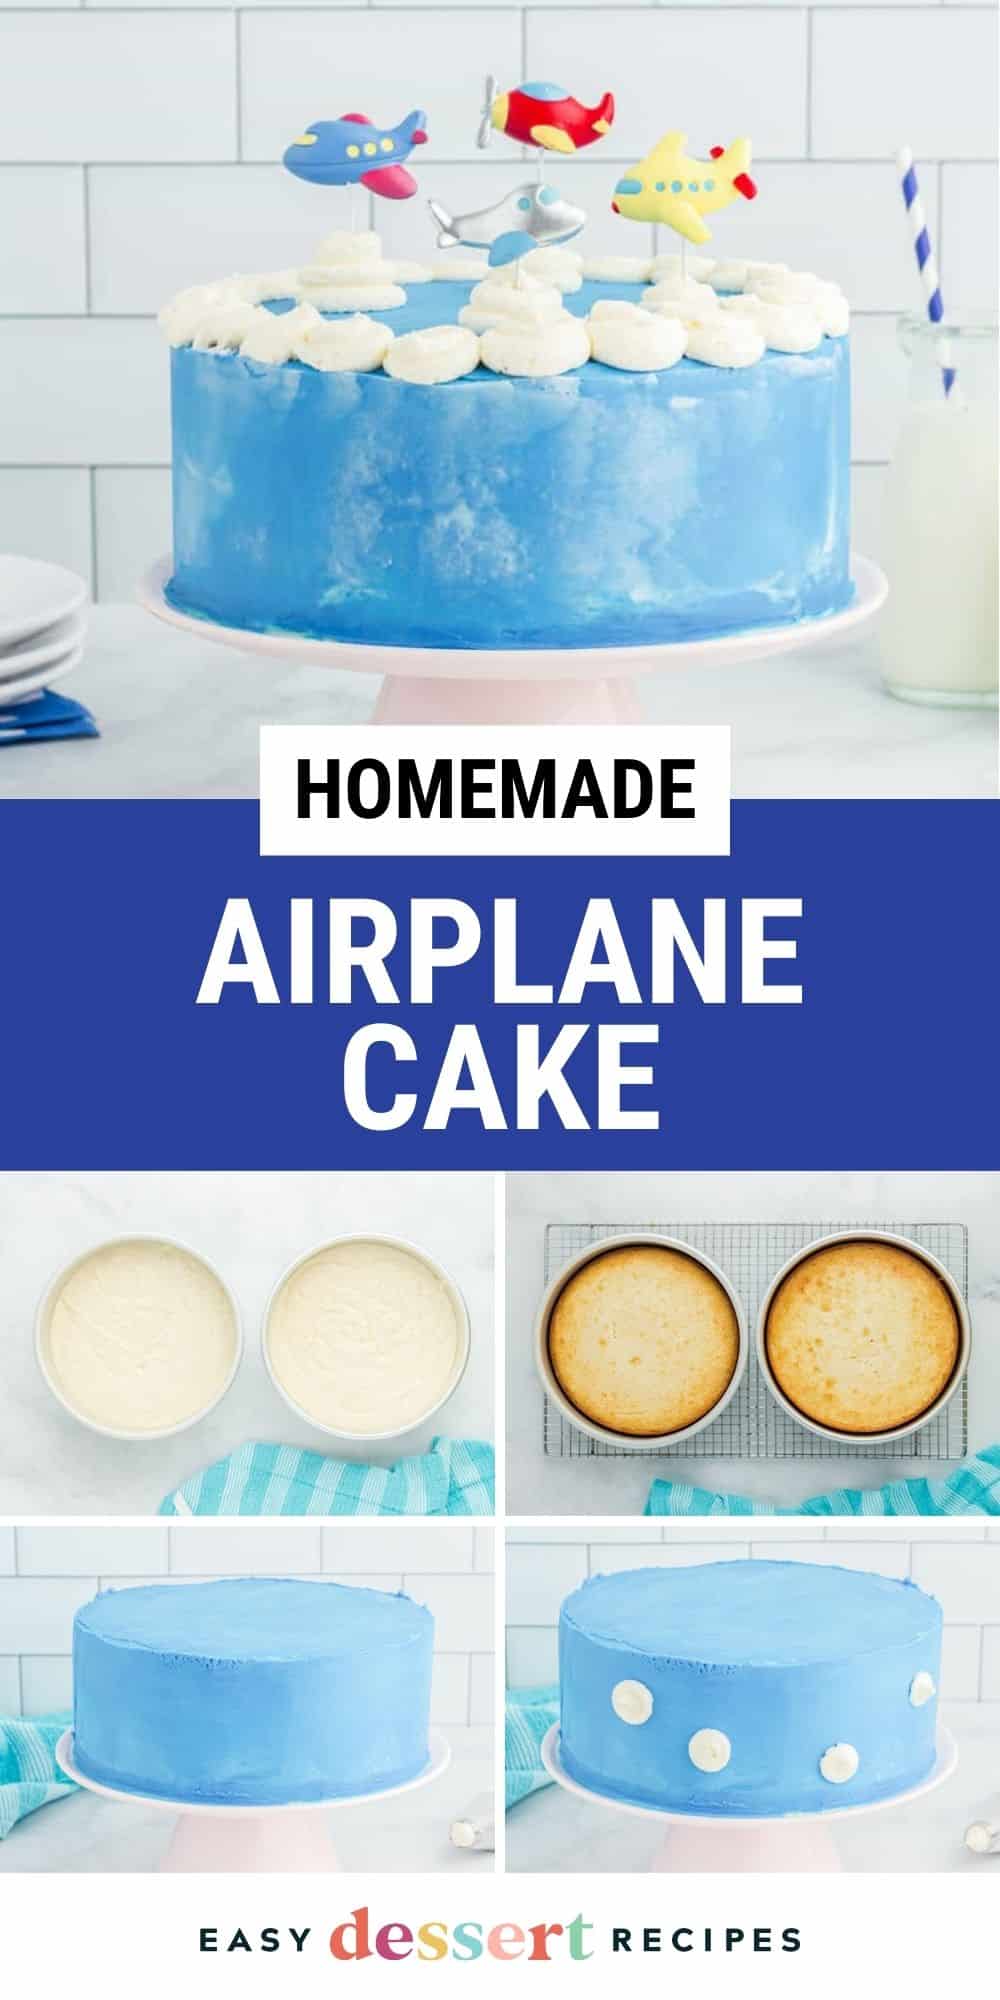
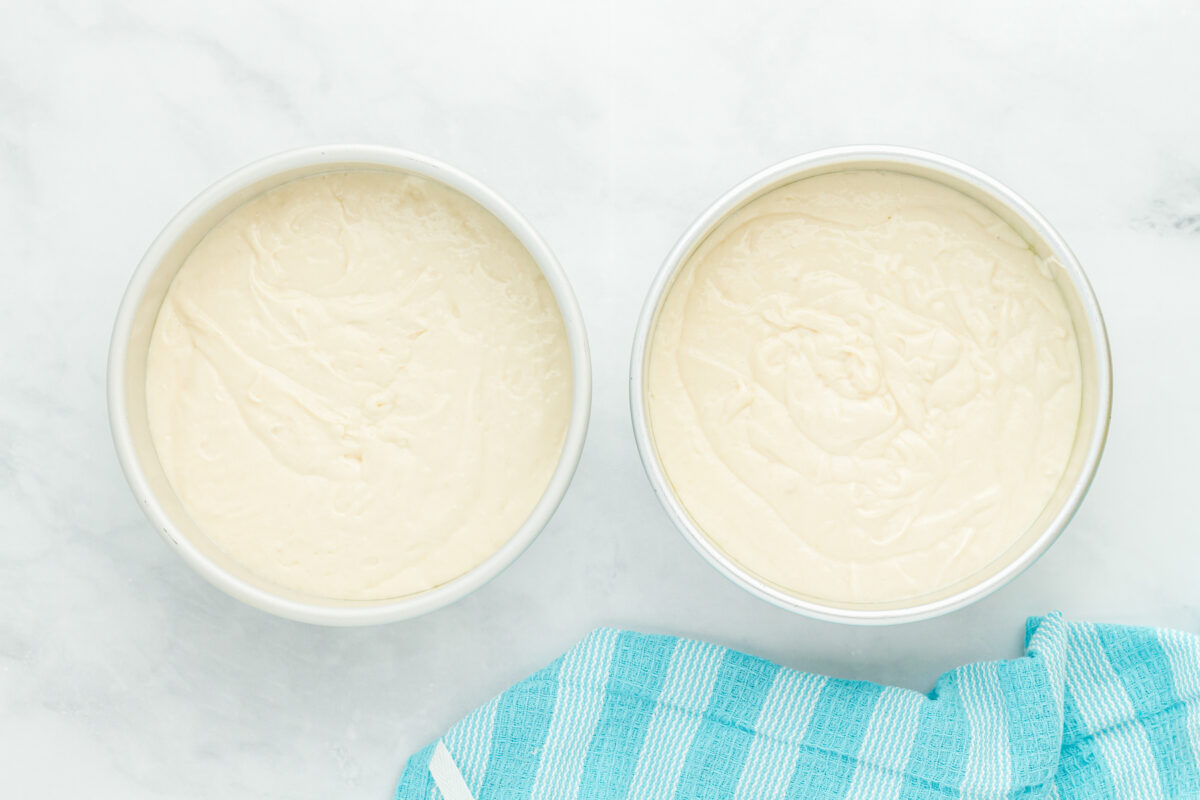
- Pour cake batter evenly between both prepared cake pans (about 749 grams per pan). Try to get the same amount in each pan so that the cake layers bake up to the same size.
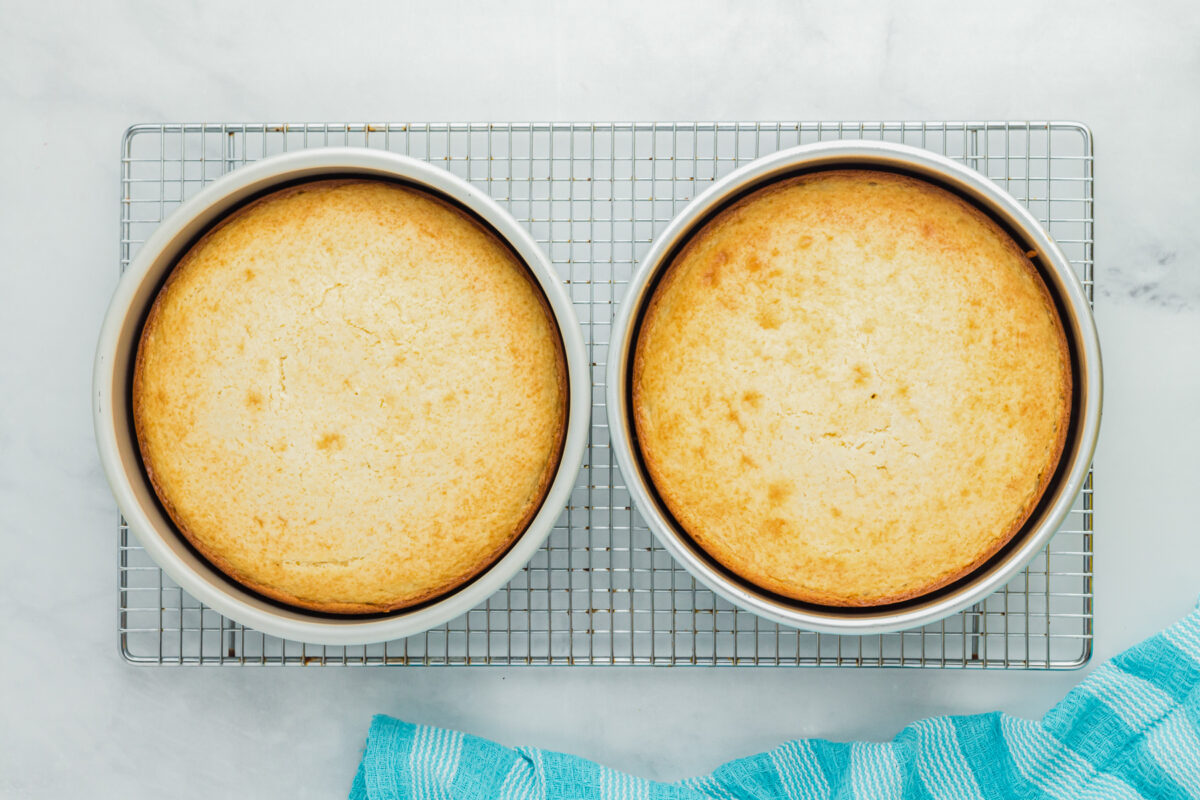
- Bake for 33-35 minutes, or until a toothpick inserted in middle comes out clean.
- Remove cakes from oven and let cakes cool in pans for 15 minutes before removing cakes from pans. Place cake layers on a wire rack and allow cakes to cool to room temperature.
- Once cakes have cooled to room temperature, cover cakes completely in food-safe plastic wrap (wrap each layer separately) and refrigerate cake layers for two hours. Chilled cakes are easier to decorate since they don’t crumble as easily.
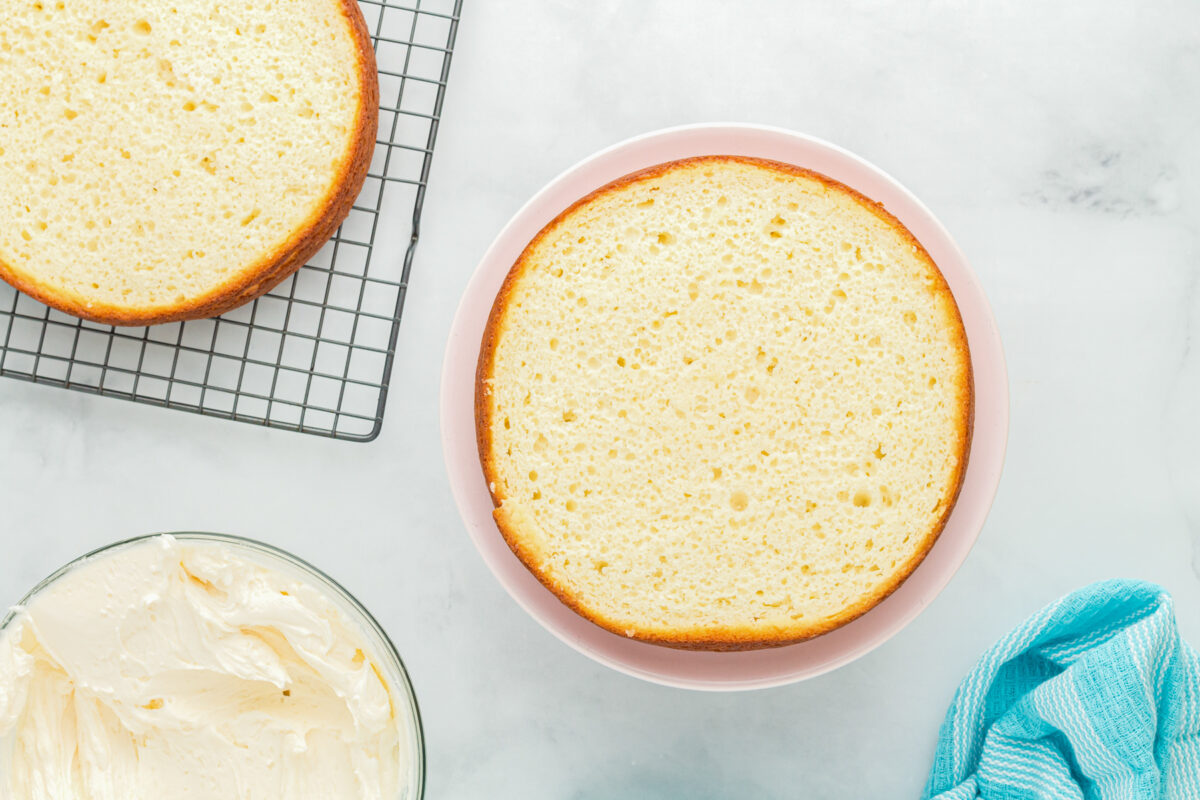
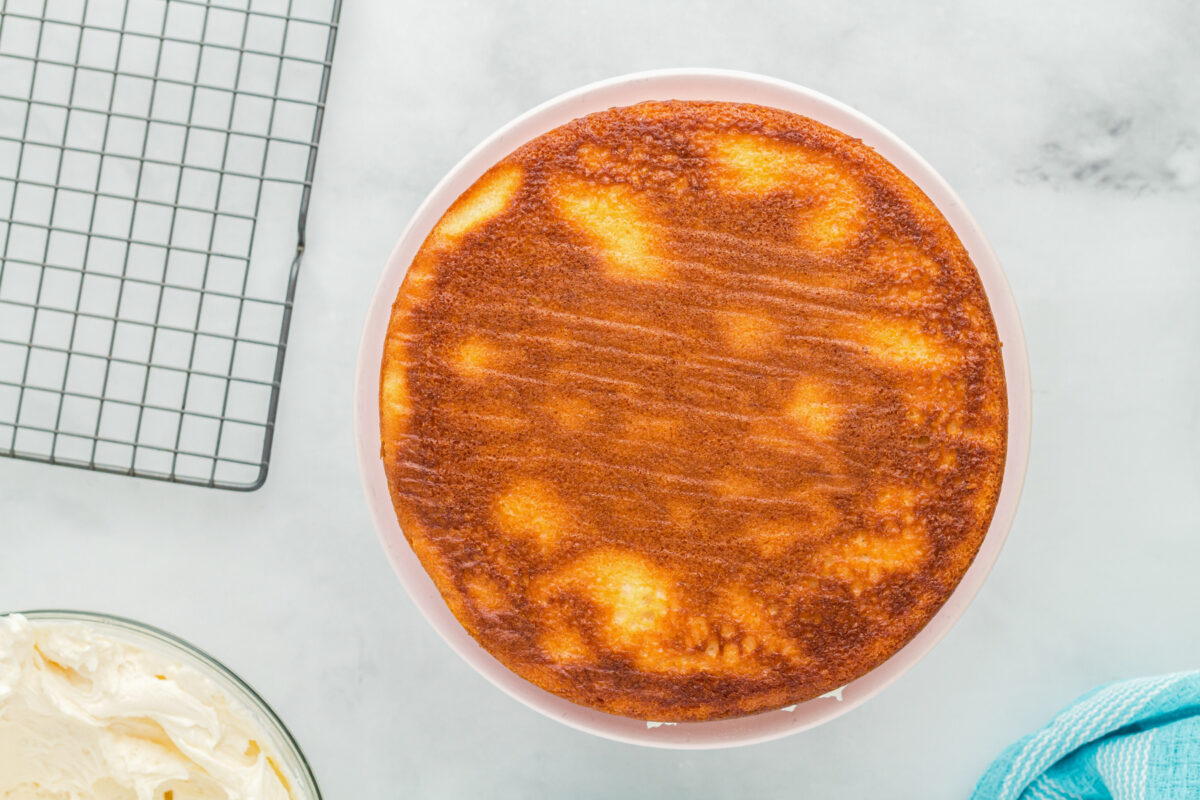
- Once cakes have been removed from the fridge, use a large serrated knife to cut the dome tops off both cakes so they both have a flat top. You won’t need these dome tops so feel free to snack on those while you work on the rest of the cake.

For the Frosting
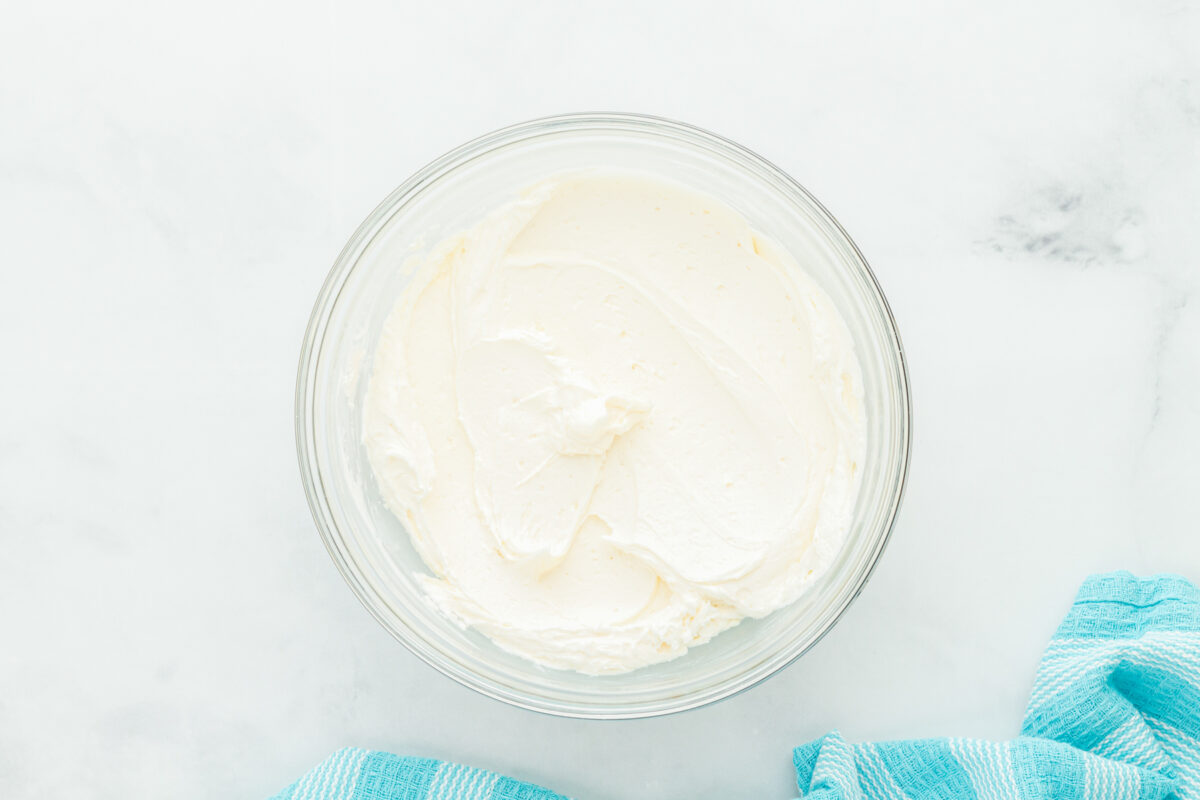
- In a large bowl, using a hand mixer, beat the powdered sugar, butter, and vanilla extract on high speed until light and fluffy, about 5 minutes. If the frosting is too thick to smooth onto the cake, beat in a tablespoon of heavy cream. If the frosting seems too thin, add a bit more powdered sugar.5 cups powdered sugar, 1½ cups unsalted butter, 1 tablespoon pure vanilla extract
For Assembly
- Place a thin layer of frosting (about 2 tablespoons) in the middle of a cake board or cake plate then place one cake (cut side facing up) on top of that frosting. This small amount of frosting helps to secure the cake to the cake plate so it doesn’t slide around during the decorating process.
- Add a generous layer of frosting on top of that first cake layer then place the second cake layer (bottom facing up) on top of the first cake layer.
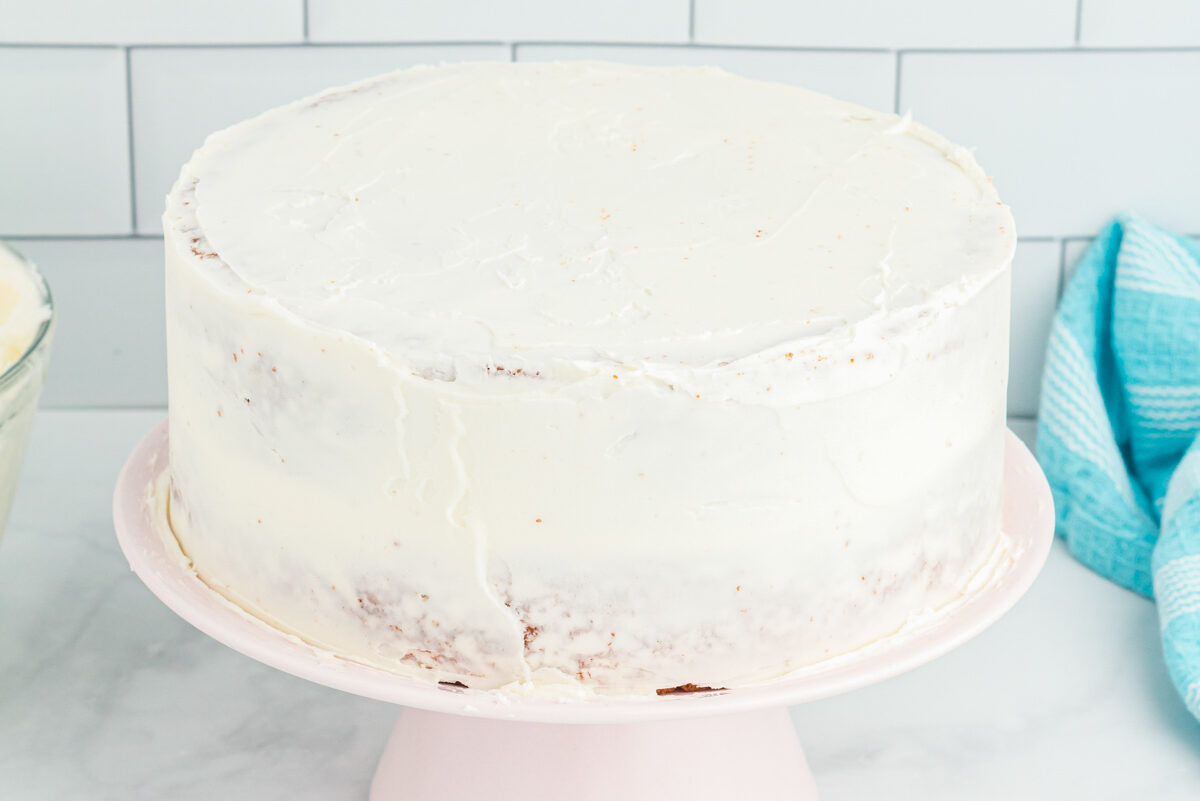
- Frost a thin layer of frosting around the top and sides of cake. This first thin layer of frosting is meant as a base to help secure crumbs to the cake. This first layer of frosting should be thin so it’s okay if you can still see the cake through the frosting. To get the layers of frosting smooth, use a tool like a cake scraper to smooth the icing out.
- Place the lightly frosted cake in the freezer for 10 minutes so the frosting hardens up a bit before frosting the next layer.
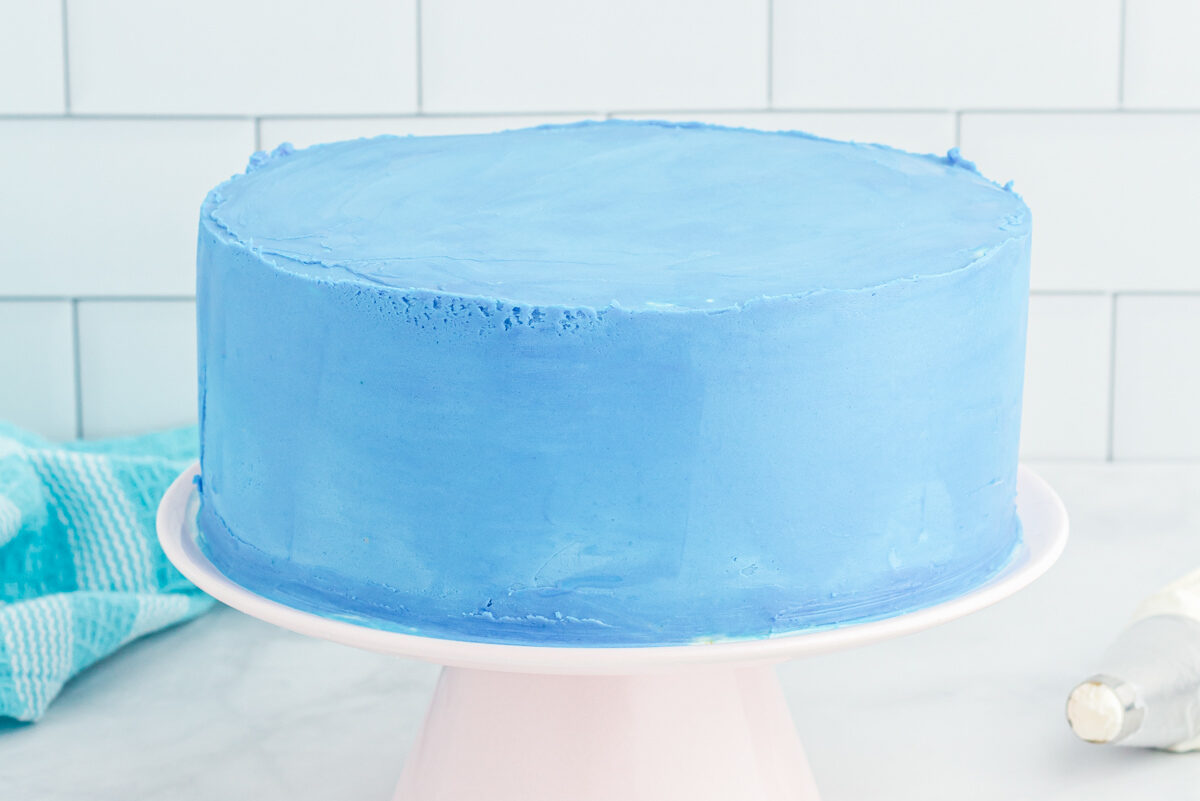
- Place about 2 cups of white frosting into an icing bag with a large round piping tip (like the Ateco 808). Color the remaining frosting in the bowl blue (for this blue I used Chefmaster Liqua-gel in the color Royal Blue).Blue gel food coloring
- Remove cake from freezer and apply the second layer of frosting – this will be the blue frosting. Spread this layer as smoothly as you can using the cake scraper.
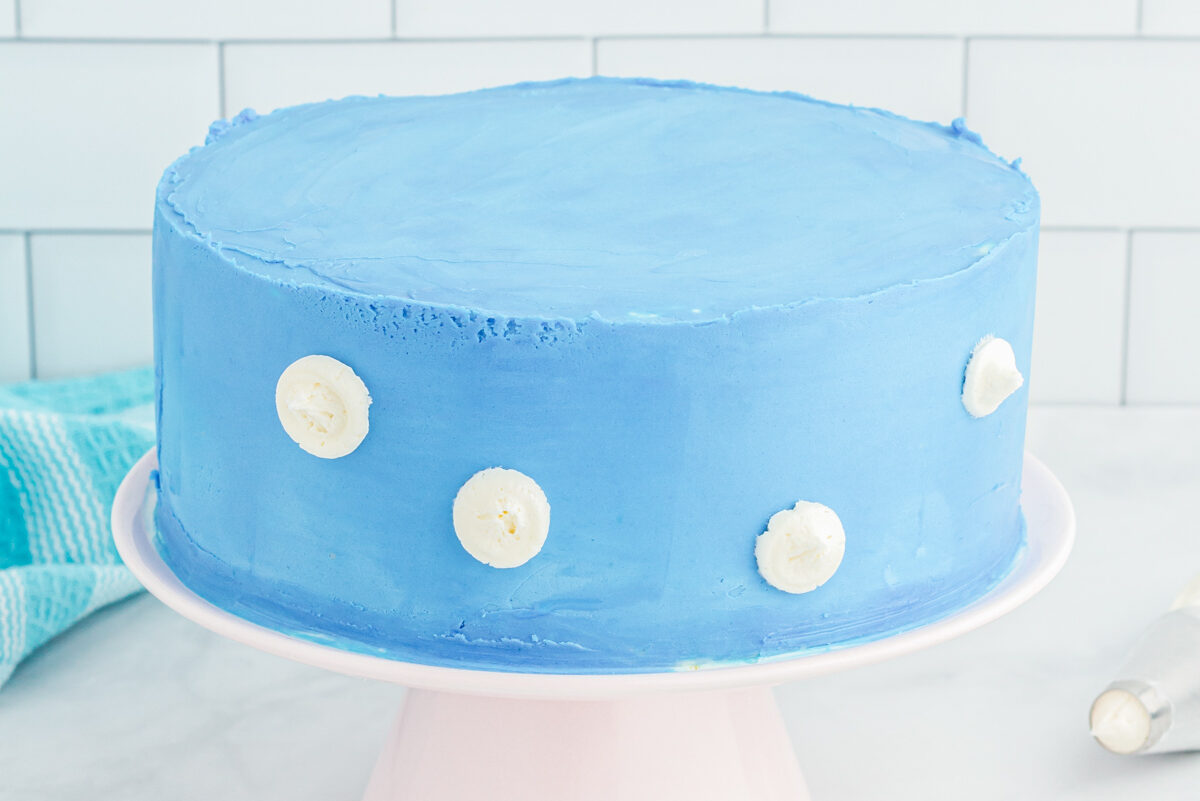
- Pipe a few white dots randomly around the sides of the cake. Not too many as we still want the cake to mostly be blue. Use the cake scraper to smear those dots smoothly onto the cake. This will give a cloudy look to the frosting.
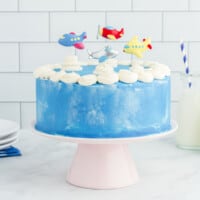
- Use the remaining white frosting to pipe frosting around the top of the cake including a few clouds on the top of the cake. Place the airplane cake toppers on those clouds.

Notes
How to Make Airplane Cake Step-by-Step
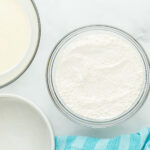
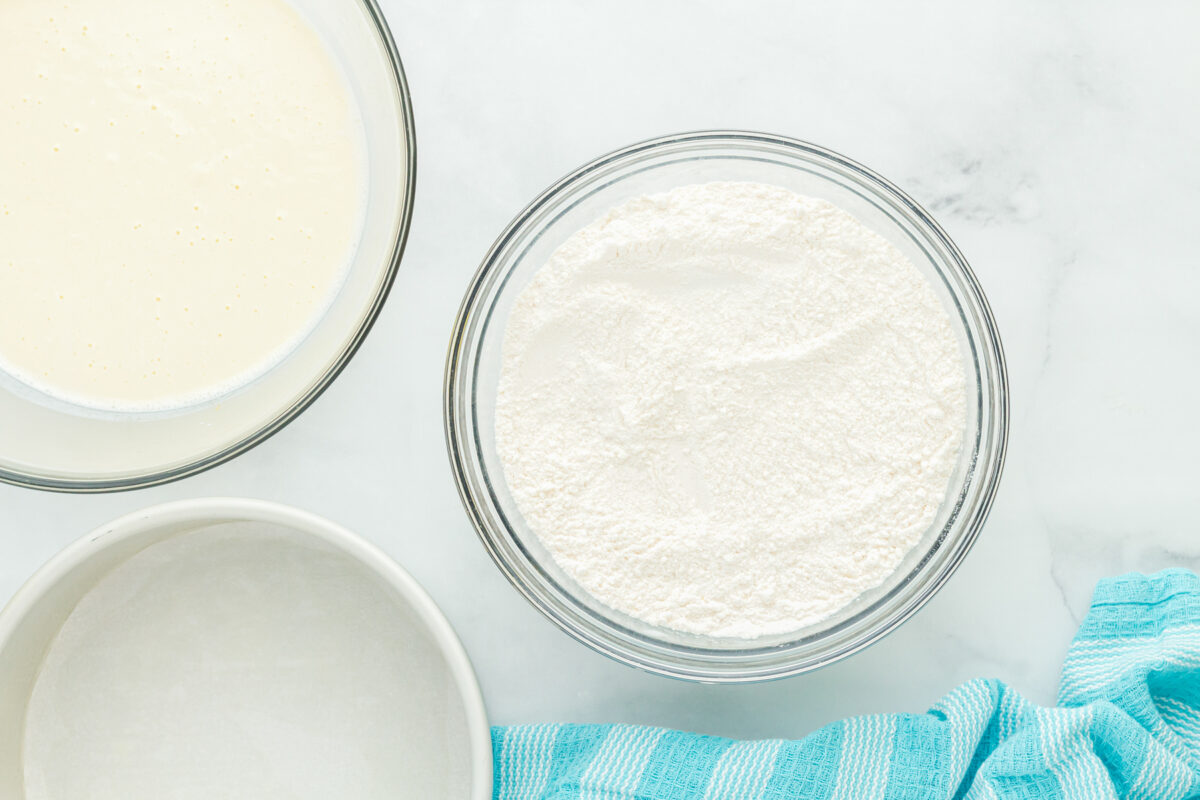
Mix the Dry Ingredients: Preheat your oven to 350°F, spray two 8-inch round cake pans with nonstick spray, line the inside bottom of each pan with parchment paper, and set aside. In a medium bowl, stir 15.25 ounces (1 box) of white cake mix, 1 cup of all-purpose flour, 1 cup of granulated sugar, and ½ teaspoon of kosher salt together. Set aside for now.
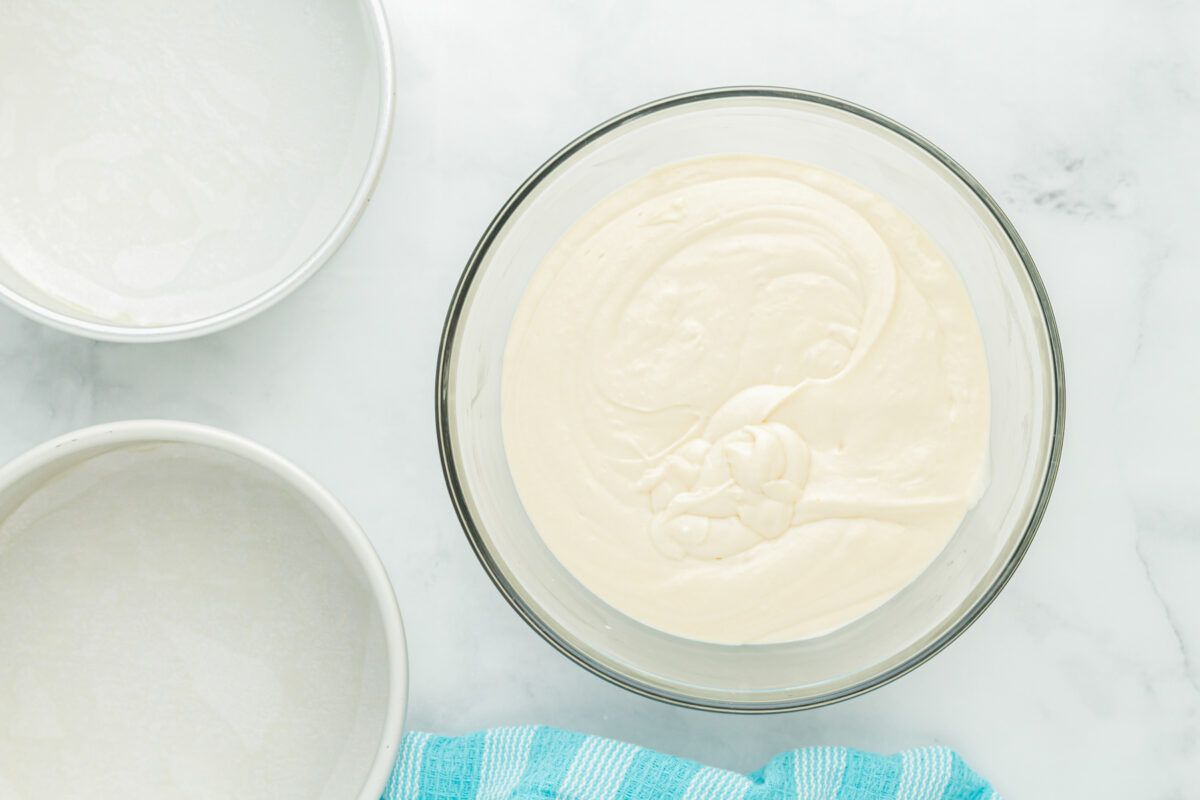
Combine the Batter: In a separate large bowl, using a hand mixer, beat 1½ cups of buttermilk, 1 cup of full-fat sour cream, 3 large eggs, and 2 teaspoons of vanilla extract together on high until well combined. Beat the dry ingredients into the wet ingredients on high until smooth, about 1 minute.
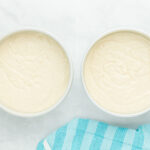
Portion the Cakes: Pour cake batter evenly between both prepared cake pans (about 749 grams per pan). Try to get the same amount in each pan so that the cake layers bake up to the same size.
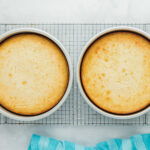
Bake the Cakes: Bake for 33-35 minutes, or until a toothpick inserted in the middle comes out clean. Remove cakes from oven and let cakes cool in pans for 15 minutes before removing cakes from pans. Place cake layers on a wire rack and allow cakes to cool to room temperature. Once cakes have cooled to room temperature, cover cakes completely in food-safe plastic wrap (wrap each layer separately) and refrigerate the cake layers for two hours. Chilled cakes are easier to decorate since they don’t crumble as easily.
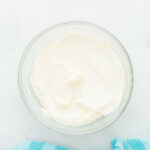
Beat the Frosting: In a large bowl, using a hand mixer, beat 5 cups of powdered sugar, 1½ cups of unsalted butter, and 1 tablespoon of vanilla extract on high speed until light and fluffy, about 5 minutes. If the frosting is too thick to smooth onto the cake, beat in a tablespoon of heavy cream. If the frosting seems too thin, add a bit more powdered sugar.
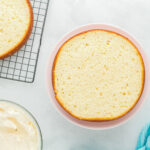
Secure the Cakes: Once the cakes have been removed from the fridge, use a large serrated knife to cut the dome tops off both cakes so they both have a flat top. You won’t need these dome tops so feel free to snack on those while you work on the rest of the cake. Place a thin layer of frosting (about 2 tablespoons) in the middle of a cake board or cake plate then place one cake (cut side facing up) on top of that frosting. This small amount of frosting helps to secure the cake to the cake plate so it doesn’t slide around during the decorating process.
Layer the Cakes: Add a generous layer of frosting on top of that first cake layer then place the second cake layer (bottom facing up) on top of the first cake layer.
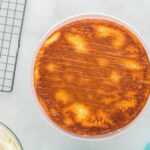
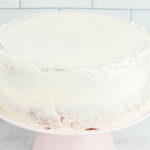
Crumb-Coat the Cake: Frost a thin layer of frosting around the top and sides of the cake. This first thin layer of frosting is meant as a base to help secure crumbs to the cake. This first layer of frosting should be thin so it’s okay if you can still see the cake through the frosting. To get the layers of frosting smooth, use a tool like a cake scraper to smooth the icing out. Place the lightly frosted cake in the freezer for 10 minutes so the frosting hardens up a bit before frosting the next layer.
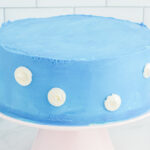
Frost the Cake: Place about 2 cups of white frosting into an icing bag with a large round piping tip (like the Ateco 808). Color the remaining frosting in the bowl blue (for this blue I used Chefmaster Liqua-gel in the color Royal Blue). Remove the cake from the freezer and apply the second layer of frosting – this will be the blue frosting. Spread this layer as smoothly as you can using the cake scraper.
Decorate the Cake: Pipe a few white dots randomly around the sides of the cake. Not too many as we still want the cake to mostly be blue. Use the cake scraper to smear those dots smoothly onto the cake. This will give a cloudy look to the frosting. Use the remaining white frosting to pipe frosting around the top of the cake including a few clouds on the top of the cake. Place the airplane cake toppers on those clouds.


Leave a Review