


This homemade red velvet cake with raspberry cream cheese frosting is a show-stopping dessert that’s as delicious as it looks. I stack moist, tender layers of from-scratch red velvet cake with tangy-sweet raspberry frosting to create a rich, velvety, and flavorful bite! This raspberry red velvet cake was made for special occasions (or really, any time you want to impress!). It’s surprisingly easy to make and totally worth the effort!
Raspberry Red Velvet Cake
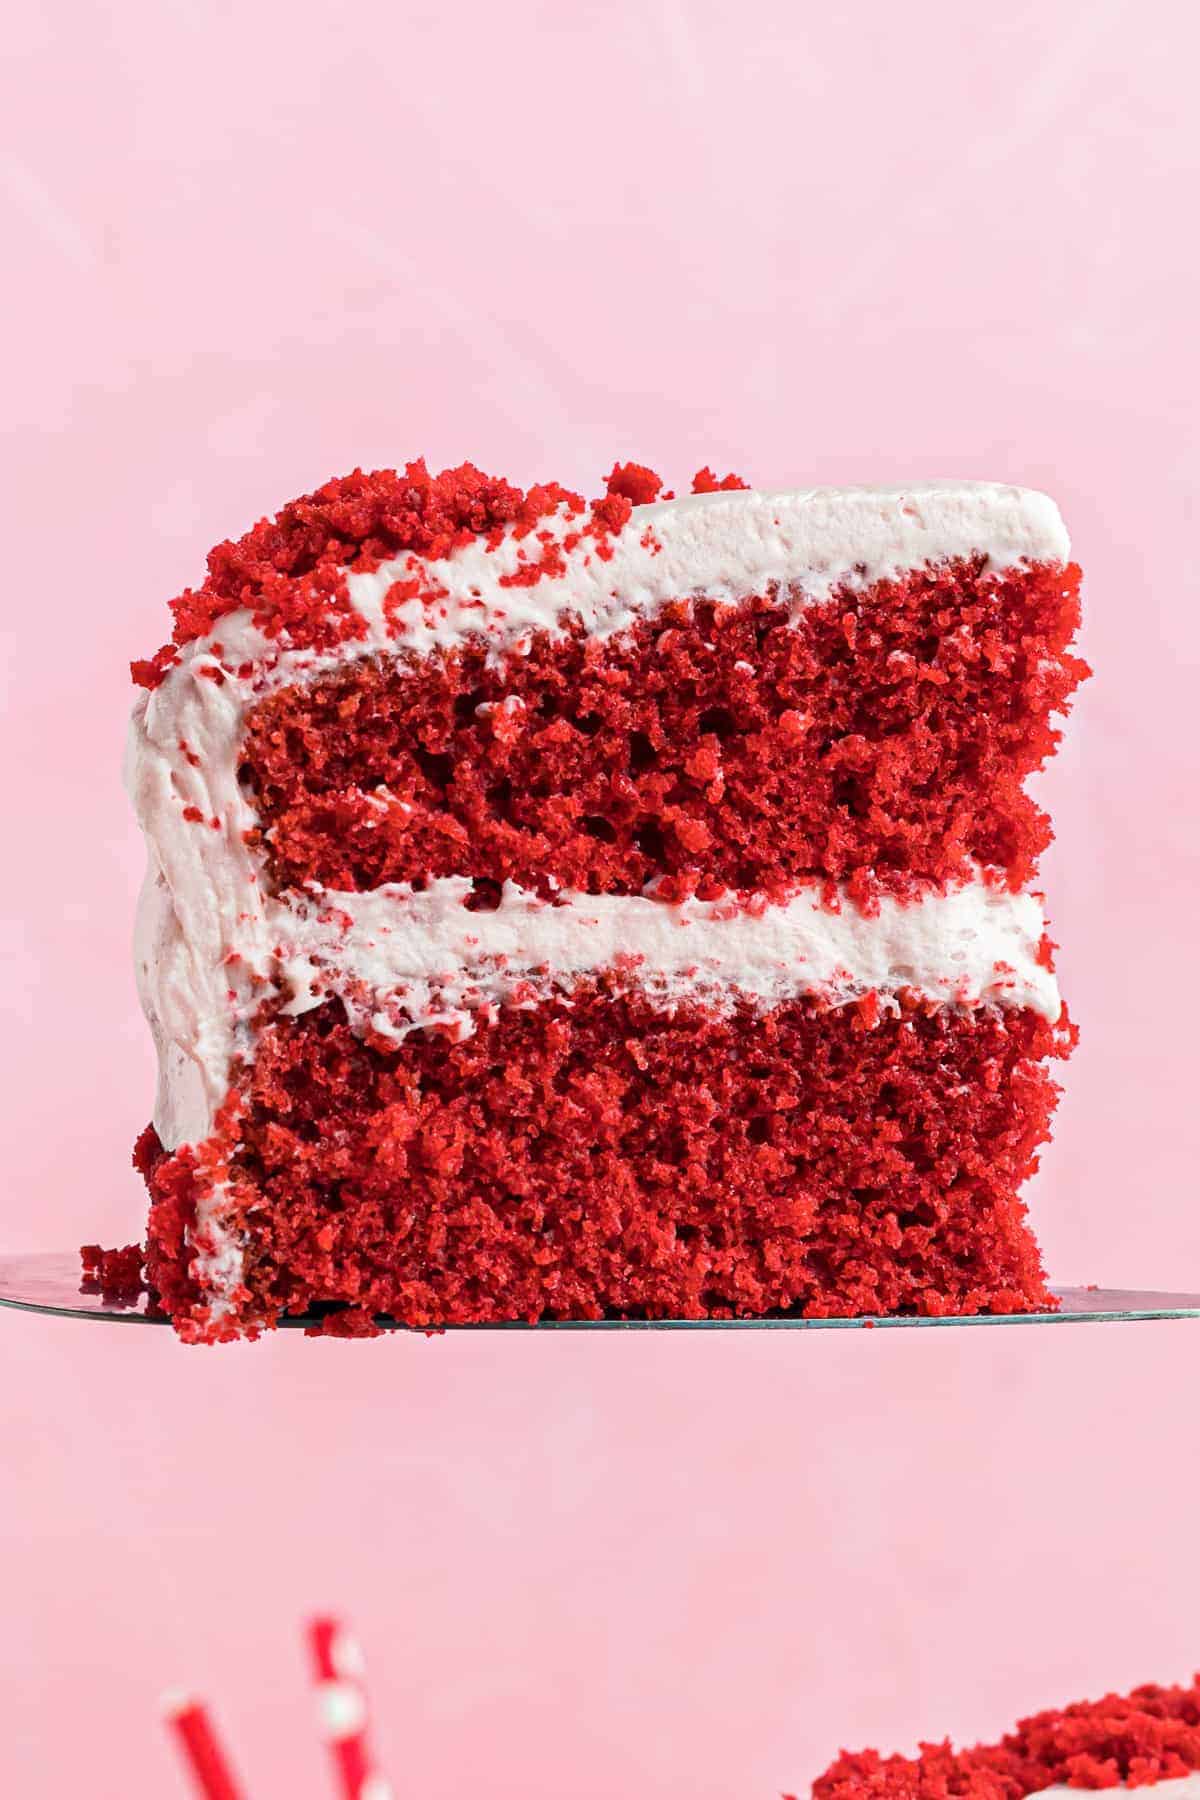
There’s nothing more beautiful to me than slicing into a vibrant red velvet cake! And while I usually opt to make my red velvet with cake mix, this homemade recipe has truly changed my mind. It’s an easy red velvet cake with a scratch-made flavor, vibrant red color, and the perfect light and fluffy texture.
I top this moist red velvet layer cake with homemade raspberry cream cheese frosting for a sweet and tangy surprise that’s just so good! The light chocolate note in the cake pairs so well with the fruity raspberry jam. Plus, the frosting has a beautiful pink hue that’s perfect for Valentine’s Day.


Email this Recipe
Enter your email and we’ll send the recipe directly to you!
By submitting this form, you consent to receive emails from Easy Dessert Recipes.
Elevate Your Frosting with Warm Jam
For a fresher, fruit-forward frosting, I recommend warming the raspberry jam slightly before folding it into the cream cheese mixture. This helps it blend smoothly without streaks and intensifies the natural raspberry flavor, giving your frosting a bright color and flavor!

Homemade Red Velvet Cake with Raspberry Cream Cheese Frosting
Equipment
- Kitchen Scale (optional)
- Stand Mixer
- 2 8-inch Round Cake Pan(s)
Ingredients
For the Cake
- 2¼ cups cake flour *
- 2 tablespoons unsweetened cocoa powder **
- 1 teaspoon baking soda
- ½ cup salted butter room temperature (1 stick)
- 1½ cups granulated sugar
- 2 large eggs room temperature
- 1 teaspoon pure vanilla extract
- 1 cup buttermilk room temperature
- 2 tablespoons red food coloring ***
For the Frosting
- 8 ounces cream cheese room temperature (1 brick)
- ½ cup salted butter room temperature (1 stick)
- 1 teaspoon pure vanilla extract
- 3½ cups powdered sugar
- 2 tablespoons seedless raspberry jam
Instructions
For the Cake
- Preheat oven to 350°F. Spray 2 8-inch round cake pans with nonstick spray and set aside.

- In a large bowl, combine the cake flour, cocoa powder, and baking soda. Stir together to combine, then set the bowl aside.2¼ cups cake flour, 2 tablespoons unsweetened cocoa powder, 1 teaspoon baking soda
- In the bowl of a stand mixer fitted with the paddle attachment, beat the butter and sugar together until creamy. Add in the eggs and vanilla, mixing to combine.½ cup salted butter, 1½ cups granulated sugar, 2 large eggs, 1 teaspoon pure vanilla extract
- Add in the flour mixture and buttermilk, alternating, in two additions, to the butter mixture, mixing until well combined.1 cup buttermilk
- Add in the food coloring, mixing on medium speed until the color is evenly distributed. You may add in an additional teaspoon of color, until it reaches your desired color.2 tablespoons red food coloring
- Evenly pour the batter into the prepared cake pans (about 539 grams per pan). Bake for 25-30 minutes, until an inserted toothpick comes out clean or the top of the cake springs back when touched.
- Allow the cakes to cool before frosting. Cut any dome, or “tops”, of the cakes so they are both even and flat. Save the tops to crumble and coat/decorate the cake.


For the Frosting
- In the bowl of a stand mixer fitted with the paddle attachment, beat the cream cheese and butter together until soft and creamy. Add in the extract and powdered sugar, beating until the frosting is smooth and creamy.8 ounces cream cheese, ½ cup salted butter, 1 teaspoon pure vanilla extract, 3½ cups powdered sugar
- Mix in the seedless jam and mix until it is evenly distributed and the frosting is a soft pink color.2 tablespoons seedless raspberry jam


Assembly
- Place 1 chilled cake on a cake stand. Add a ¼-inch thick layer of the frosting to the top of the cake, then set the second cake on top.
- Frost the top and sides of the assembled cake, and coat with leftover cake crumbles to decorate.


Notes
- For easier release, place a parchment paper round in the bottom of each cake pan.
- For the best results, all ingredients should be at room temperature before you combine them. It helps the batter mix more easily, and the cake will get a better rise.
- Measure your flour using the spoon-and-level method to avoid making this cake dense or dry.
- I recommend sifting your cocoa powder if it’s lumpy to avoid dry pockets in your cake.
- Don’t overmix the batter after adding flour; it keeps the cake light and fluffy.
- Let the cakes cool completely before frosting. I recommend chilling them, as this prevents the frosting from melting and keeps layers stable.
- Beat the cream cheese and butter until very smooth to avoid lumps.
- You can gently warm the raspberry jam for 10 seconds in the microwave to make it easier to incorporate smoothly without streaks.
- Apply a thin layer of frosting (crumb coat) first, chill 10-15 minutes, then finish frosting to trap crumbs.
- Let the cake sit at room temperature 15-20 minutes before slicing for softer slices.
- Fresh raspberries or a light drizzle of raspberry sauce would make great decorations!
Dye-Free Red Velvet with Beet Puree
For a more vibrant, naturally colored red velvet, try using fresh beet puree instead of food coloring. To make homemade beet puree, simply place 1-2 cooked beets in your food processor and pulse until they are smooth and pasty.
I recommend starting with ¼-⅓ cup of beet puree. I always add a splash of vinegar or lemon juice, as the acidity prevents the beets from turning brown in the oven. To compensate for the extra added liquid, reduce the buttermilk by 2-3 tablespoons. And because beets can be a little earthy, I also recommend adding an extra 1-2 tablespoons of sugar to balance that flavor, although it’s totally optional.
How to Make Raspberry Red Velvet Cake Step-by-Step
Prep: Preheat your oven to 350°F, spray 2 (8-inch) round cake pans with nonstick spray, and set aside. Optionally, you can line your cake pans with parchment paper rounds to prevent sticking.

Mix the Dry Ingredients: In a large bowl, combine 2¼ cups of cake flour, 2 tablespoons of unsweetened cocoa powder, and 1 teaspoon of baking soda. Stir together to combine, then set the bowl aside. Spoon and level your dry ingredients (especially the flour) to avoid a dense, dry cake. I also recommend sifting your cocoa powder if it’s lumpy to avoid dry pockets in your cake.

Cream the Butter and Sugar: In the bowl of a stand mixer fitted with the paddle attachment, beat ½ cup of room-temperature salted butter and 1½ cups of granulated sugar together until creamy. Add in 2 large, room-temperature eggs and 1 teaspoon of vanilla extract, mixing to combine.

Alternate the Wet and Dry: Add in the flour mixture and 1 cup of buttermilk, alternating, in two additions, to the butter mixture, mixing until well combined. Take care not to overmix the batter at this point, or it will make your cake dense and gummy.

Color the Batter: Add in 2 tablespoons of red food coloring, mixing on medium speed until the color is evenly distributed. You may add in an additional teaspoon of color, until it reaches your desired color. Again, take care not to overmix!

Bake the Cakes: Evenly pour the batter into the prepared cake pans (about 539 grams per pan). Bake in the preheated oven for 25-30 minutes, or until an inserted toothpick comes out clean or the top of the cake springs back when touched. Allow the cakes to cool completely before frosting; otherwise, the frosting will melt off. I like to chill my cakes for an hour or two for additional stability.

Beat the Frosting: In the bowl of a stand mixer fitted with the paddle attachment, beat 8 ounces (1 brick) of room-temperature cream cheese and ½ cup of room-temperature salted butter together until soft and creamy. Add in 1 teaspoon of vanilla extract and 3½ cups of powdered sugar, beating until the frosting is smooth and creamy.

Add the Jam: Mix in 2 tablespoons of seedless raspberry jam and mix until it is evenly distributed and the frosting is a soft pink color. If your jam seems too solid, you can microwave it for about 10 seconds before mixing it into the frosting to help soften it up. You can add more jam, if desired, but you’ll also need to add more powdered sugar to compensate and maintain a creamy texture.

Stack the Cake: Using a serrated knife or cake leveler, cut any dome, or “tops”, of the cakes so they are both even and flat. Save the tops to crumble and coat/decorate the cake. Place 1 cake layer on a cake stand. Add a ¼-inch thick layer of the raspberry cream cheese frosting to the top of the cake, then set the second cake on top.

Frost the Cake: Frost the top and sides of the assembled cake, and coat with leftover cake crumbles to decorate. I like to apply a thin layer of frosting, known as a crumb coat, to the outside of the cake first, then chill it for 10-15 minutes before covering the cake with frosting. This helps trap any crumbs against the cake so they don’t dirty up your frosting.

How to Store and Freeze
Store leftover raspberry red velvet cake in an airtight container in the refrigerator for up to 3 days or tightly wrapped in plastic wrap in the freezer for up to 3 months. Let thaw overnight in the refrigerator before enjoying at room temperature.
Note: This recipe is one of those few exceptions on our site that has more than 10 ingredients. We try to keep things VERY easy around here, and limiting ingredients and time spent is one of our favorite ways. That being said, this recipe is too delicious to leave out of our recipe box! It’s an exception that is so flavorful and worth the extra ingredients if you have the time and resources to make it.


Leave a Reply