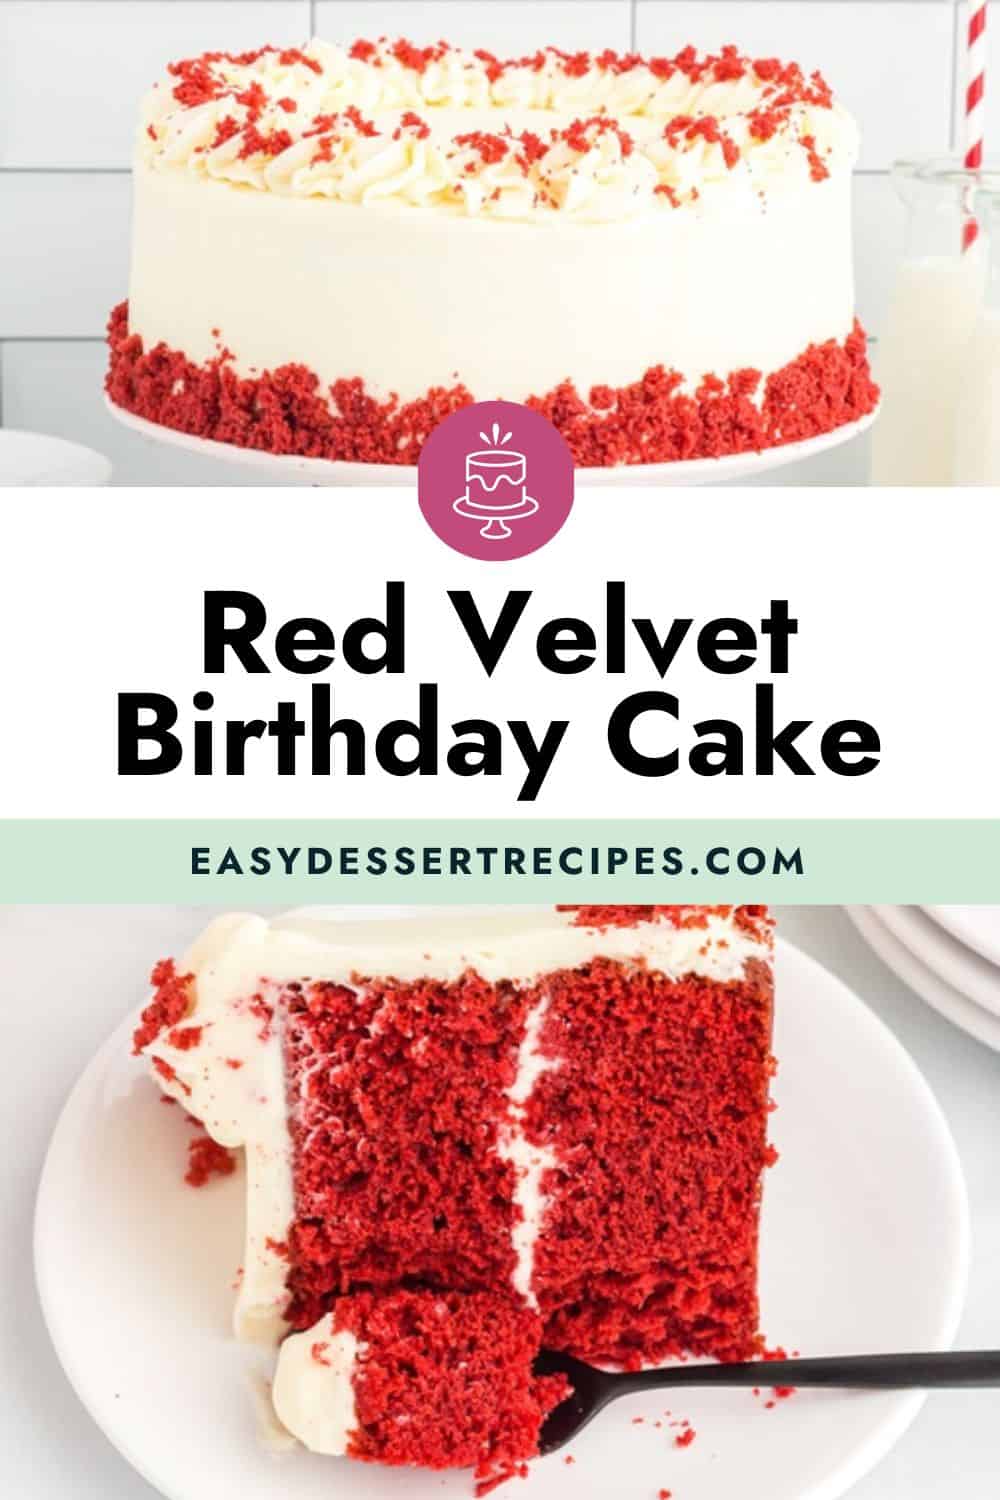
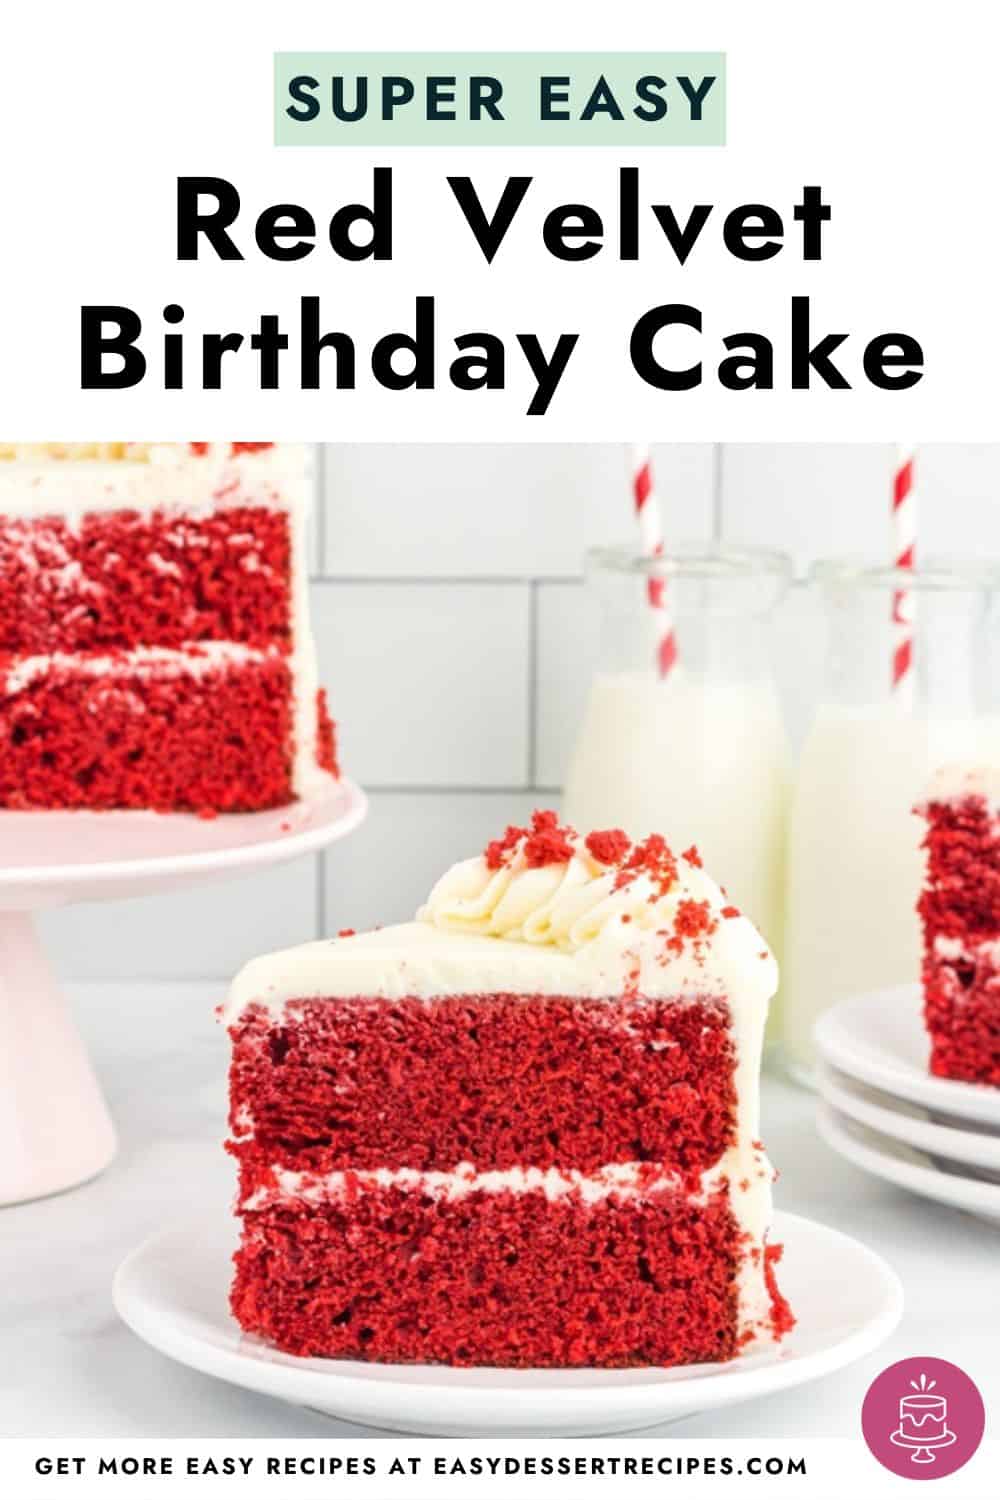
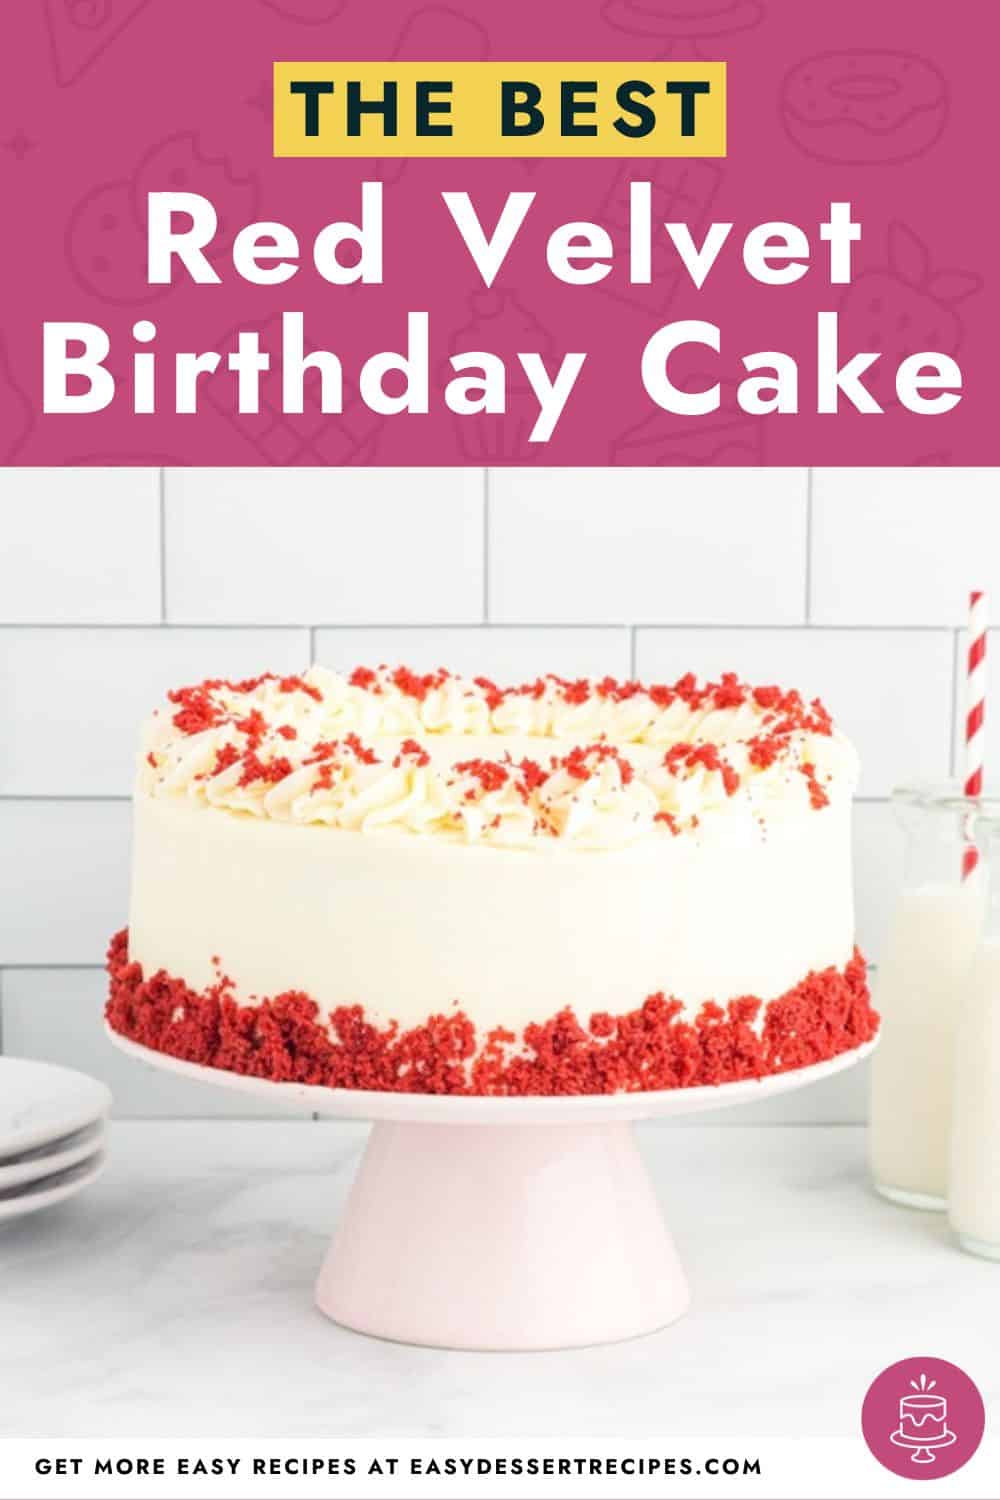
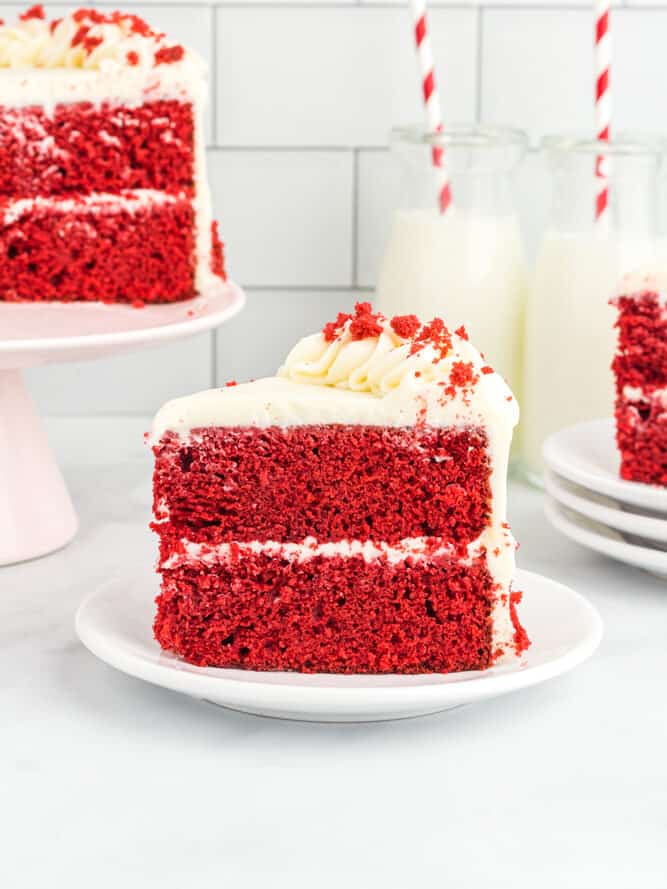
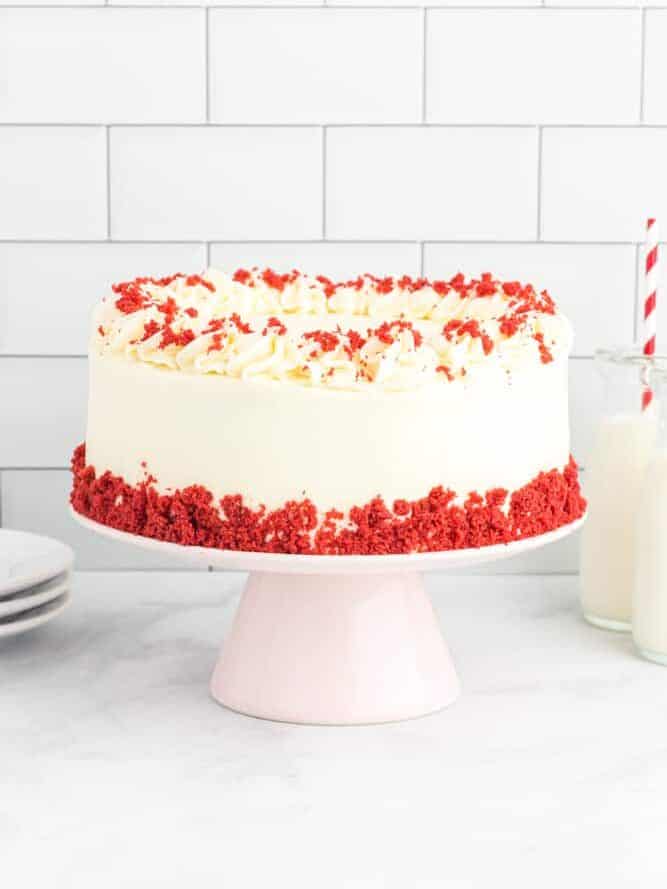
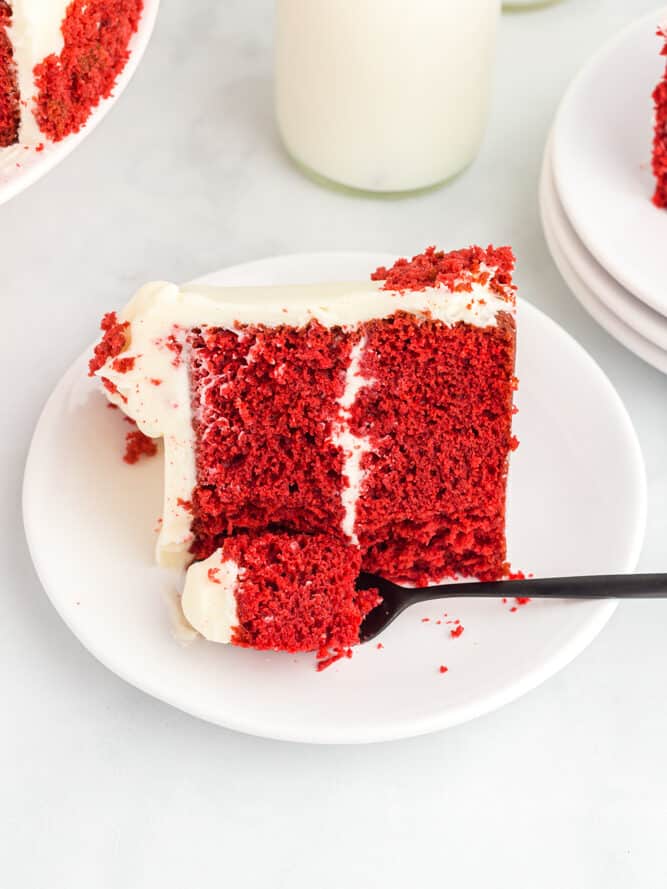
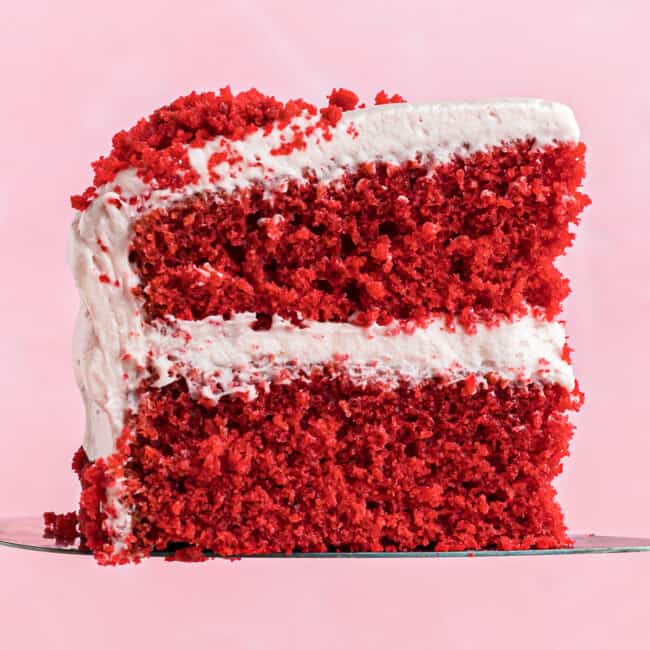
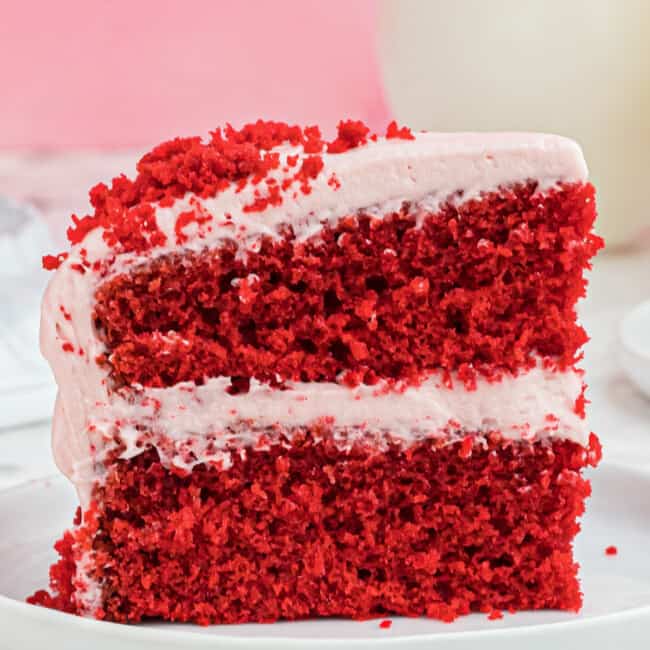
This Red Velvet Birthday Cake is two-layered with a subtle chocolate flavor covered in a sweet vanilla buttercream frosting. It’s perfect to make for your next birthday!
What’s in this Moist Red Velvet Cake Recipe?
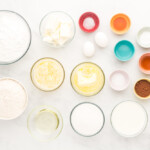
This red velvet cake recipe requires the staple ingredients that any cake might have but includes red food coloring to get a distinct red velvet appearance.
- All-Purpose Flour: Gives the cake structure.
- Granulated Sugar: Sweetens the cake.
- Unsweetened Cocoa Powder: Adds chocolatey flavor.
- Baking Soda: Makes the cake light and fluffy.
- Kosher Salt: Balances the sweetness of the cake and the frosting.
- Buttermilk: Adds moisture and helps give the cake its velvety texture.
- Unsalted Butter: Adds richness to the cake and the frosting.
- Eggs: Give the cake structure and add richness.
- Vegetable Oil: Makes the cake super moist.
- White Vinegar: Helps activate the baking soda, giving this cake extra lift. Vinegar also brings out the natural red color of the cocoa powder.
- Vanilla Extract: Enhances the sweetness of the cake and the frosting.
- Red Food Coloring: Enhances the red color of this cake.
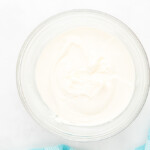
- Cream Cheese: Makes the frosting rich, creamy, and tangy.
- Powdered Sugar: Sweetens the frosting without making it gritty.
Pro Tip: For a lighter, fluffier cake, swap the all-purpose flour for cake flour.
Variations on Red Velvet Cake From Scratch
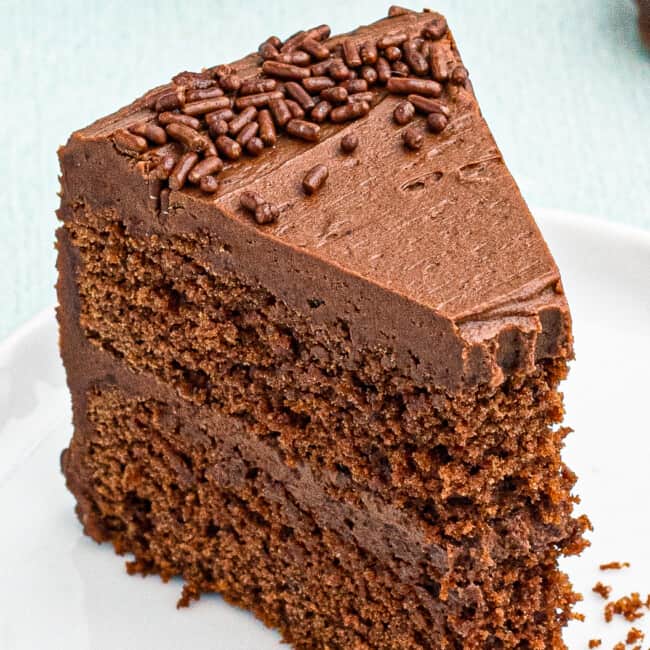
For a chocolatier cake, try using chocolate cream cheese frosting! You could also swirl some fruit jam into the cream cheese frosting to make a fruity version. I like strawberry, raspberry, or cherry!

Email This Recipe
Enter your email and we’ll send the recipe directly to you!
Red velvet cake is classic vanilla cake with a few tablespoons of cocoa powder and red food coloring mixed in. Tangy buttermilk brings some acid to the batter for a richer flavor, and it is topped with a sweet and tangy cream cheese frosting!
Red velvet cake is flavored with cocoa for a rich chocolate flavor, but it is so much more than that! The buttermilk and cream cheese frosting gives it a slight acidic taste that balances out wonderfully with the sugar.
Traditionally, red velvet cake got its color from the reaction of non-dutched cocoa powder with the acidic ingredients in the batter. It was more of a dull red color in those days. Nowadays, we achieve a brighter red color with food coloring!
Absolutely! It’s such an elegant-looking cake, and you can dress it up or down for any kind of birthday. The bright red center is show-stopping!
While you can use any unsweetened cocoa powder you prefer, I like to use natural cocoa powder here because the baking soda helps to neutralize the acidity of natural cocoa powder, letting its rich flavor shine.
A dry cake can be caused by 2 things. You may have measured the ingredients incorrectly, or you might have overmixed the batter. It’s important to spoon and level your ingredients if you’re not using a scale, and it’s important to have a light hand when mixing the batter.
Traditionally, red velvet cake is paired with a rich, tangy cream cheese frosting. This helps bring out the tanginess of the cake and balances the sweetness. You can also top your cake with buttercream frosting, if you prefer.
How to Store
Store leftover red velvet birthday cake in an airtight container or cake dome in the refrigerator for up to 3 days.
How to Freeze
Freeze red velvet birthday cake whole or in individual slices tightly wrapped in 2 layers of plastic wrap and 1 layer of aluminum foil for up to 3 months. Let thaw overnight in the refrigerator before enjoying.
Serving Suggestions
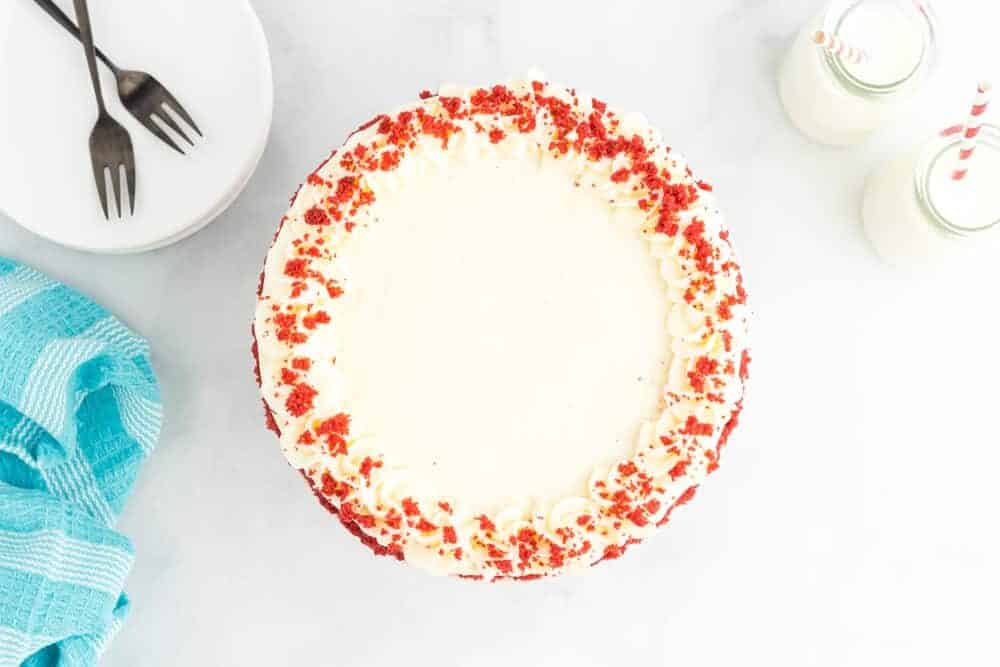
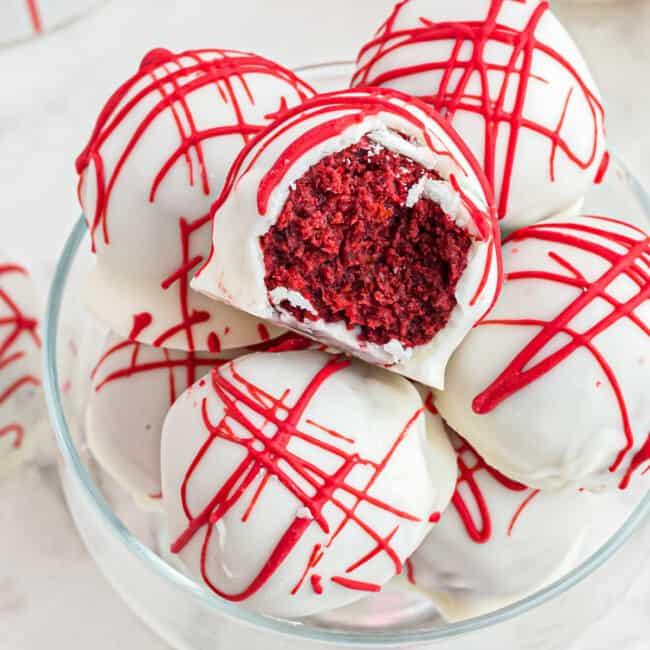
Decorate this elegant cake with crumbled cake scraps, colorful sprinkles, red velvet truffles, or a drizzle of hot fudge sauce.
Serve slices of birthday cake with scoops of vanilla bean or cheesecake ice cream.
Red Velvet Birthday Cake Recipe

Email This Recipe
Enter your email and we’ll send the recipe directly to you!
Ingredients
For the Cake
- 3 cups all-purpose flour 420 grams
- 2 cups granulated sugar 400 grams
- 2 tablespoons unsweetened cocoa powder 11 grams
- 1 teaspoon baking soda 6 grams
- 1 teaspoon kosher salt 3 grams
- 1 cup buttermilk 227 grams, room temperature
- ¾ cup unsalted butter 170 grams, melted and cooled
- 2 large eggs 100 grams, room temperature
- ¼ cup vegetable oil 50 grams
- 1 tablespoon white vinegar 14 grams
- 1 teaspoon pure vanilla extract 4 grams
- Red gel food coloring optional, for color
For the Frosting
- 8 ounces cream cheese 227 grams, room temperature (1 brick)
- ½ cup unsalted butter 115 grams, slightly melted
- 1 teaspoon pure vanilla extract 4 grams
- 4 cups powdered sugar 480 grams
- ¼ teaspoon kosher salt
Equipment
- Kitchen Scale (optional)
- 2 8-inch Round Cake Pan
- Stand Mixer
- Piping Tip Set
Instructions
For the Cake
- Preheat oven to 350°F. Spray two 8-inch round cake pans with nonstick spray and line the inside bottom of each pan with parchment paper. Set aside.

- In a large bowl, stir the flour, sugar, unsweetened cocoa powder, baking soda, and salt together. Set aside.3 cups all-purpose flour, 2 cups granulated sugar, 2 tablespoons unsweetened cocoa powder, 1 teaspoon baking soda, 1 teaspoon kosher salt
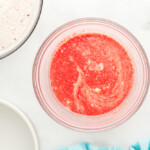
- In the bowl of a stand mixer fitted with the paddle attachment, beat the buttermilk, melted butter, eggs, vegetable oil, white vinegar, vanilla extract, and red gel food coloring together on low speed just until mixed.1 cup buttermilk, ¾ cup unsalted butter, 2 large eggs, ¼ cup vegetable oil, 1 tablespoon white vinegar, 1 teaspoon pure vanilla extract, Red gel food coloring
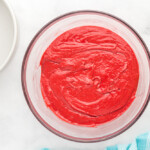
- Pour wet mixture into dry mixture and beat on a low speed just until mixed. Use a spatula to scrape down sides. Do not overmix.
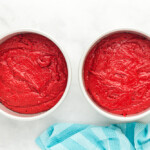
- Divide the cake batter evenly between the prepared cake pans (about 702 grams per pan).
- Bake for 33-35 minutes, or until a toothpick inserted in middle comes out clean.
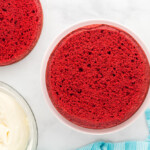
- Remove cakes from oven and let cakes cool in pans for 15 minutes before removing cakes from pans. Then place the cakes on wire racks to cool completely.
- Once cakes have cooled to room temperature, cover cakes completely in food-safe plastic wrap (wrap each layer separately so they don’t stick together) and refrigerate for 2 hours. This is an important step so the cakes firm up a bit. If this step is skipped, the cake will be too soft when frosting and will start to break apart.

For the Frosting
- While the cakes chill, make the cream cheese frosting: In the bowl of a stand mixer fitted with the whisk attachment, beat the cream cheese, butter, and vanilla extract on high speed until smooth, about 2 minutes.8 ounces cream cheese, ½ cup unsalted butter, 1 teaspoon pure vanilla extract
- Beat in the powdered sugar and salt until smooth, about an additional 2 minutes.4 cups powdered sugar, ¼ teaspoon kosher salt
For Assembly
- Once cakes have chilled, use a large serrated knife to cut the dome tops off both cakes so they both have a flat top. Place these cake tops in a sealed food-safe bag to save for later.
- Place a thin layer of frosting (about 2 tablespoons) in the middle of a cake board or cake plate then place one cake (cut side facing up) on top of that frosting. This step helps to secure the cake to the cake board or cake plate.
- Add a generous layer of frosting on top of that first layer then place the second layer (bottom facing up) on top of the first layer.
- Frost a thin layer of frosting around the top and sides of cake. This thin layer (called a crumb coat) is meant to secure all the crumbs to the cake. This shouldn’t be a thick layer and it’s okay if you can still see the cake through this thin layer. Use a tool like a cake scraper to smooth the icing out.
- Place the lightly frosted cake in the freezer for 10 minutes so the first layer of frosting hardens up a bit.
- While the cake is in the freezer, take the dome tops you cut off the cake and break these into fine crumbs.
- Remove cake from freezer and apply the second layer of frosting. Spread this layer as smoothly as you can using the cake scraper.
- Take about 2 cups of frosting and place it in an icing bag with a Wilton 1M tip. Pipe circle swirls around the top of the cake.
- Place cake crumbs along the bottom border of the cake and sprinkle some on the top of the cake as well.

Notes
- For a lighter, fluffier cake, swap the all-purpose flour for cake flour.
- You can use any unsweetened cocoa powder in this recipe, but I find that natural works best.
- In place of the buttermilk, you can use plain Greek yogurt or sour cream, or make your own buttermilk by measuring out 1 cup of milk, removing 1 tablespoon, and adding 1 tablespoon of vinegar or lemon juice.
- In the cake, you can use all butter or all vegetable oil instead of both, if you prefer.
- You can also color this cake with beet powder for a more natural color.
- Make sure your ingredients are at room temperature!
- Measure your flour using the spoon-and-level method to prevent a dense, dry cake.
- Don’t overmix the batter or you’ll end up with a dry, tough cake.
- For this rich red color, I used the brand Chefmaster Liqua-gel in the color Super Red.
- Let the cakes cool completely before frosting; otherwise, the frosting will melt off!
- Sift the powdered sugar to avoid a lumpy frosting.


Leave a Review